Micro-Adjust Clamp Use and Maintenance
An overview of the proper use and care of Park Tool Micro Adjust Clamps.
Overview
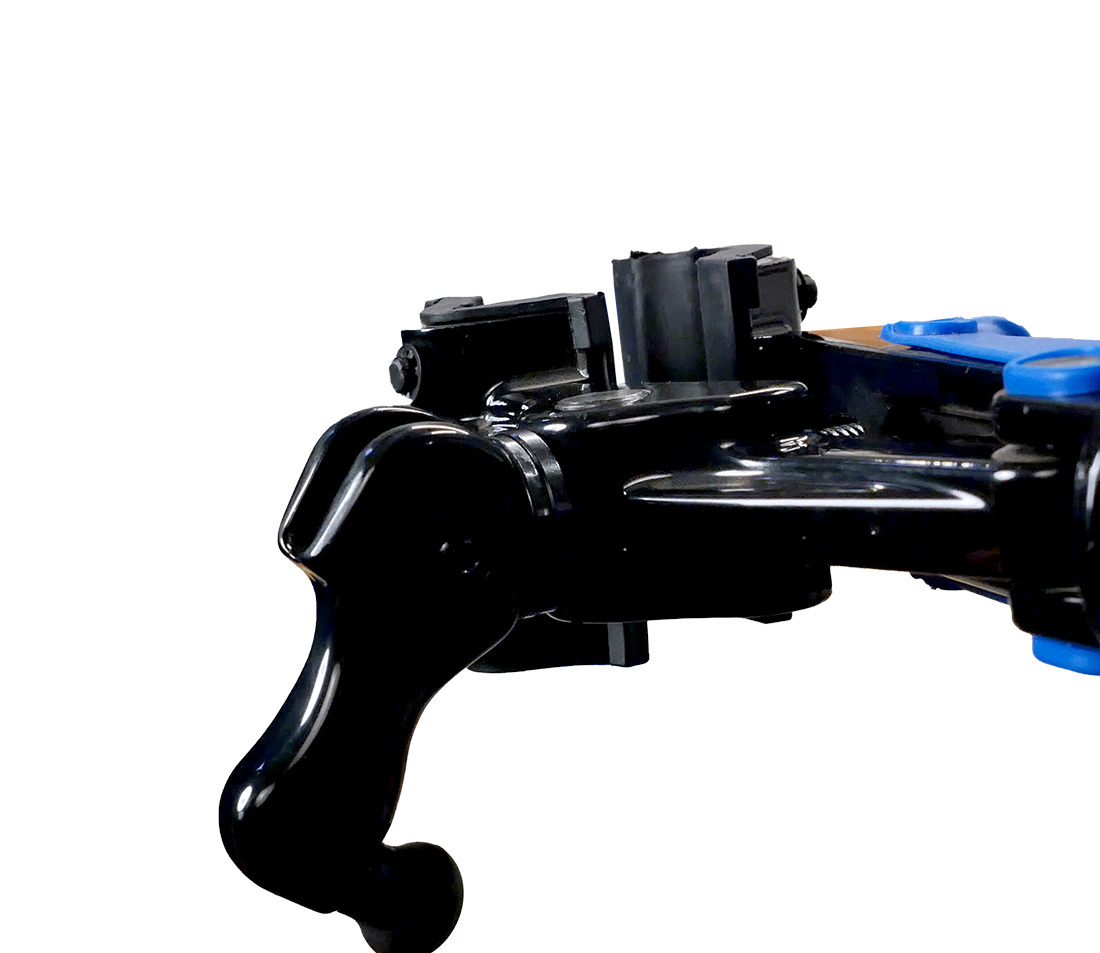
Park Tool Micro-Adjust Clamps are offered in three interface configurations.
- The 100-5D fits the PCS-4 and other stands that use the 939C composite top tube, including the final generation of the PCS-1.
- The 100-25D fits the PRS-25 and PRS-26 stands.
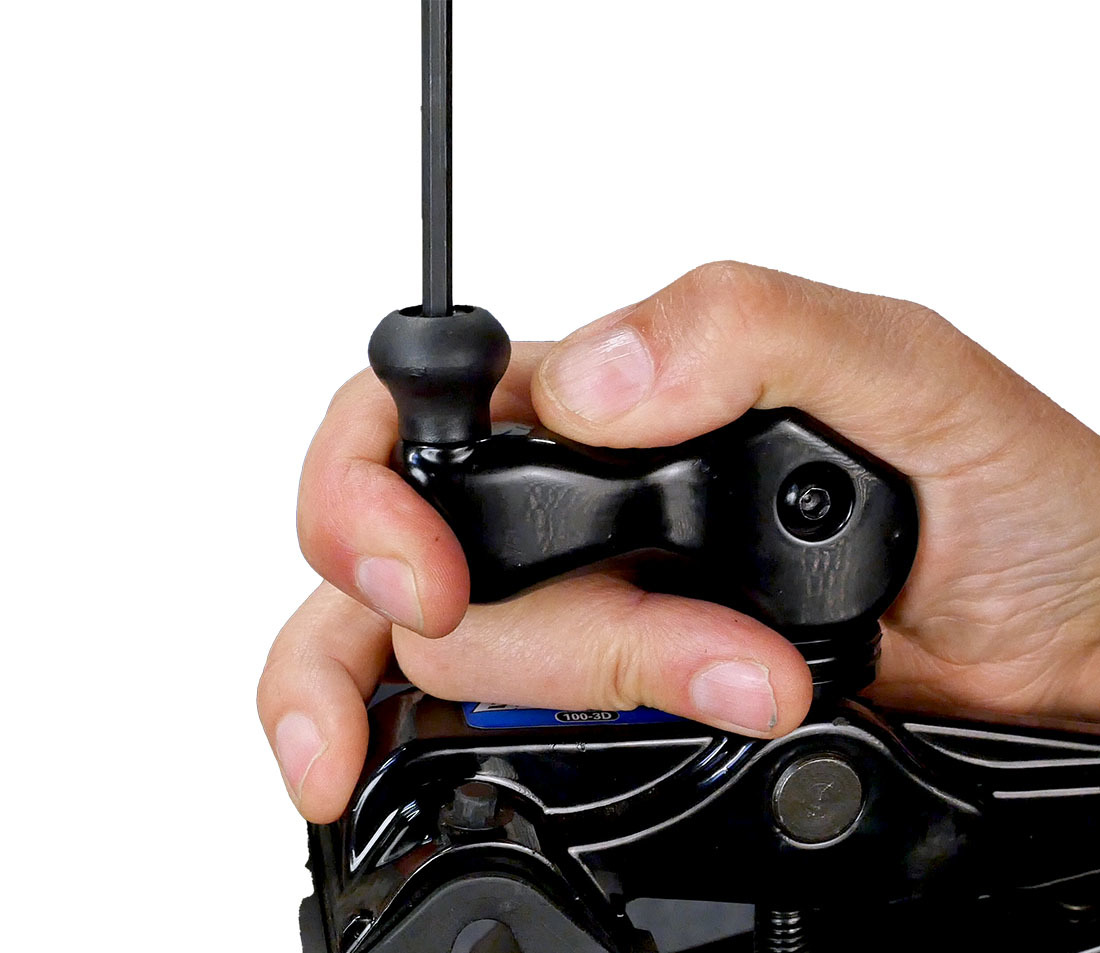
- The 100-3D fits in Park Tool professional repair stands, and is interchangeable with shop clamps such as the 100-3C.
Notice part #1951, the small tube protruding from the 100-3D clamp, has internal threads. These threads are for the #1949 Extension Bolt which should be installed and secured. The bolt acts as a safety catch should the user not notice the clamp has worked its way out of the top tube. The head of the bolt catches inside the top tube and prevents the clamp from falling on the ground.
Clamp Use
Micro-Adjust Clamps use a handle to turn the clamp screw and apply pressure. Proper use of Micro-Adjust Clamps requires the clamp to start loose, with the handle flipped back.
Install the bike in the jaws of the clamp and flip the handle forward.
Use the clamp handle to adjust pressure as you need.
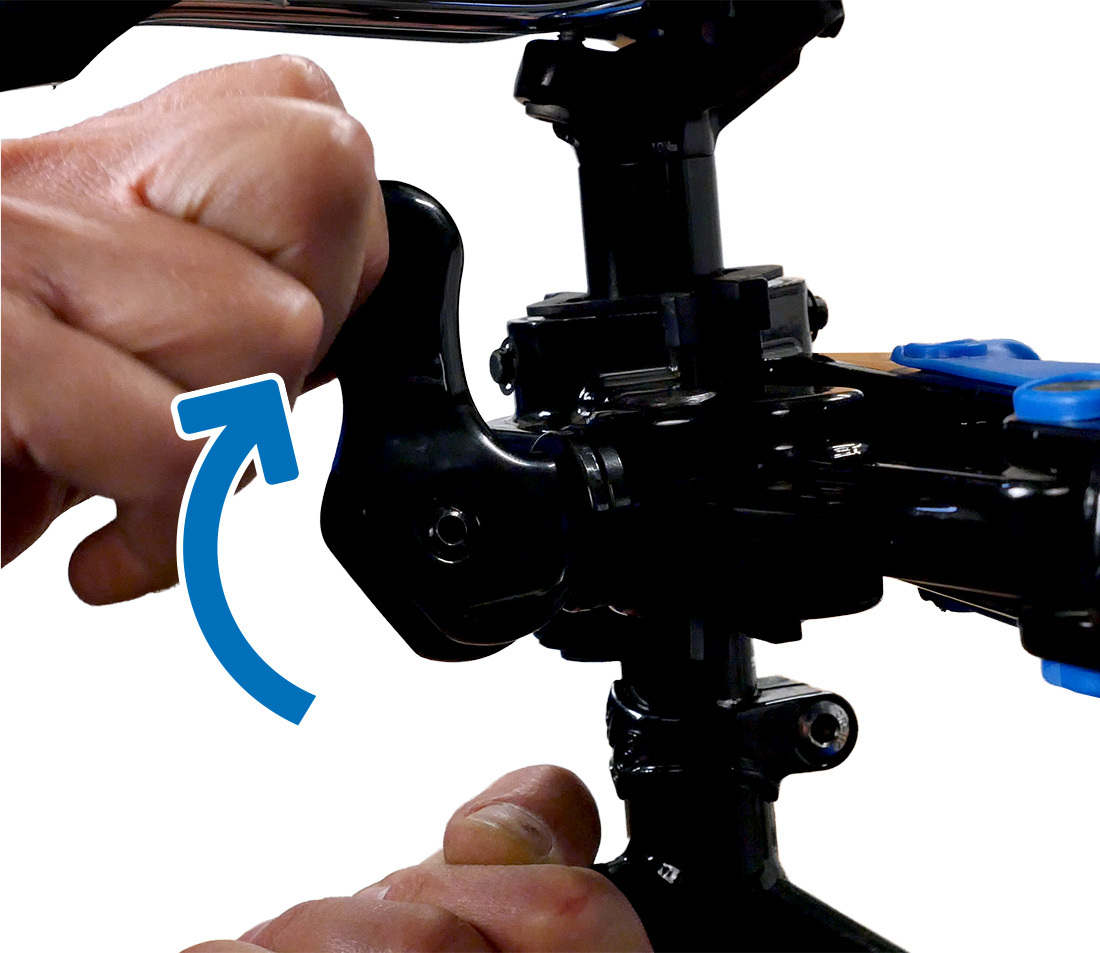
Engage handle once bike is in clamp
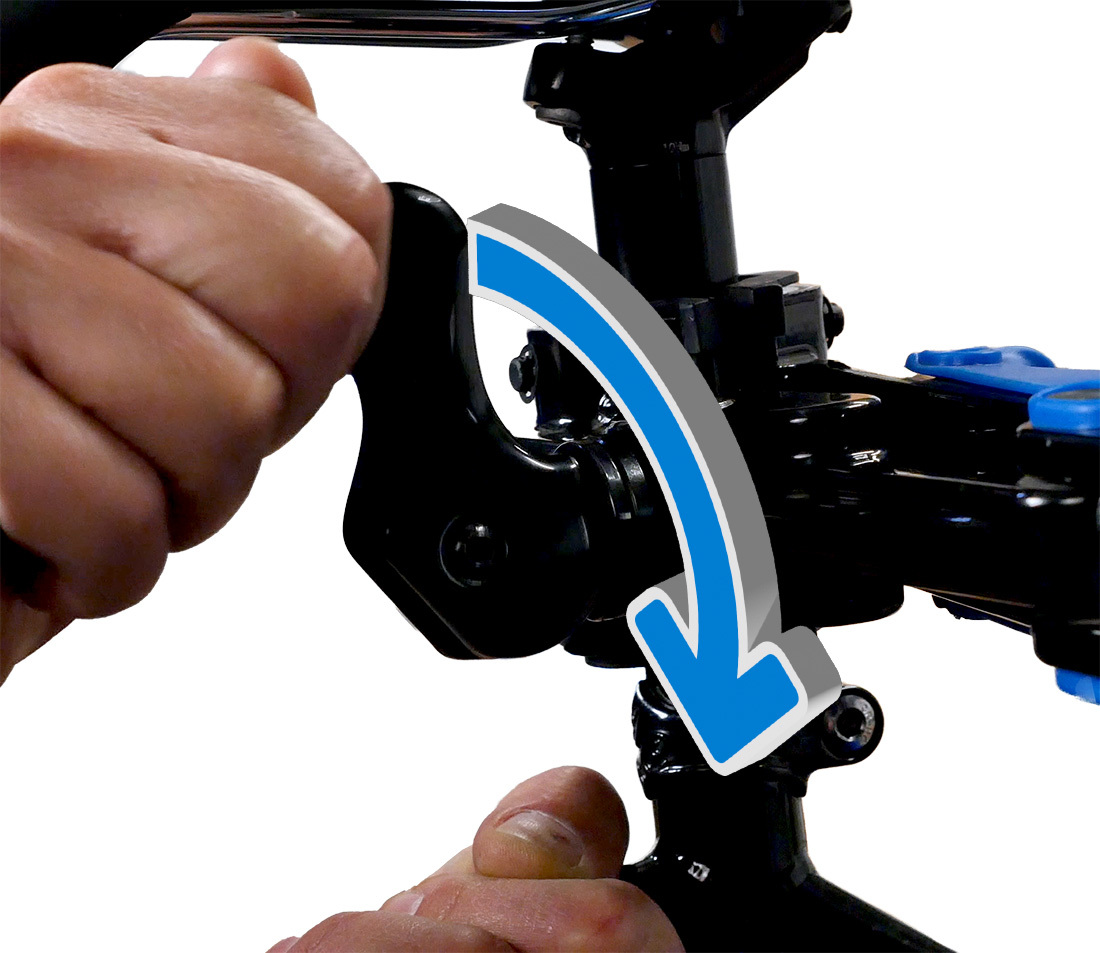
Tighten clamp clockwise
To remove the bike, loosen the clamp handle one half turn and flip the cam lever.
The clamp can be rotated and adjusted for use on either side of the bike in the stand, depending on preference and space.
Jaw Cover Replacement
The jaw covers are replaceable with the #1960 cover set.
To install new covers, remove the old covers from the clamp.
Fit a new cover on each side - the side with a relief faces the inside. Grabbing a small tube with the clamp pedal wrench to help seat the covers in place.
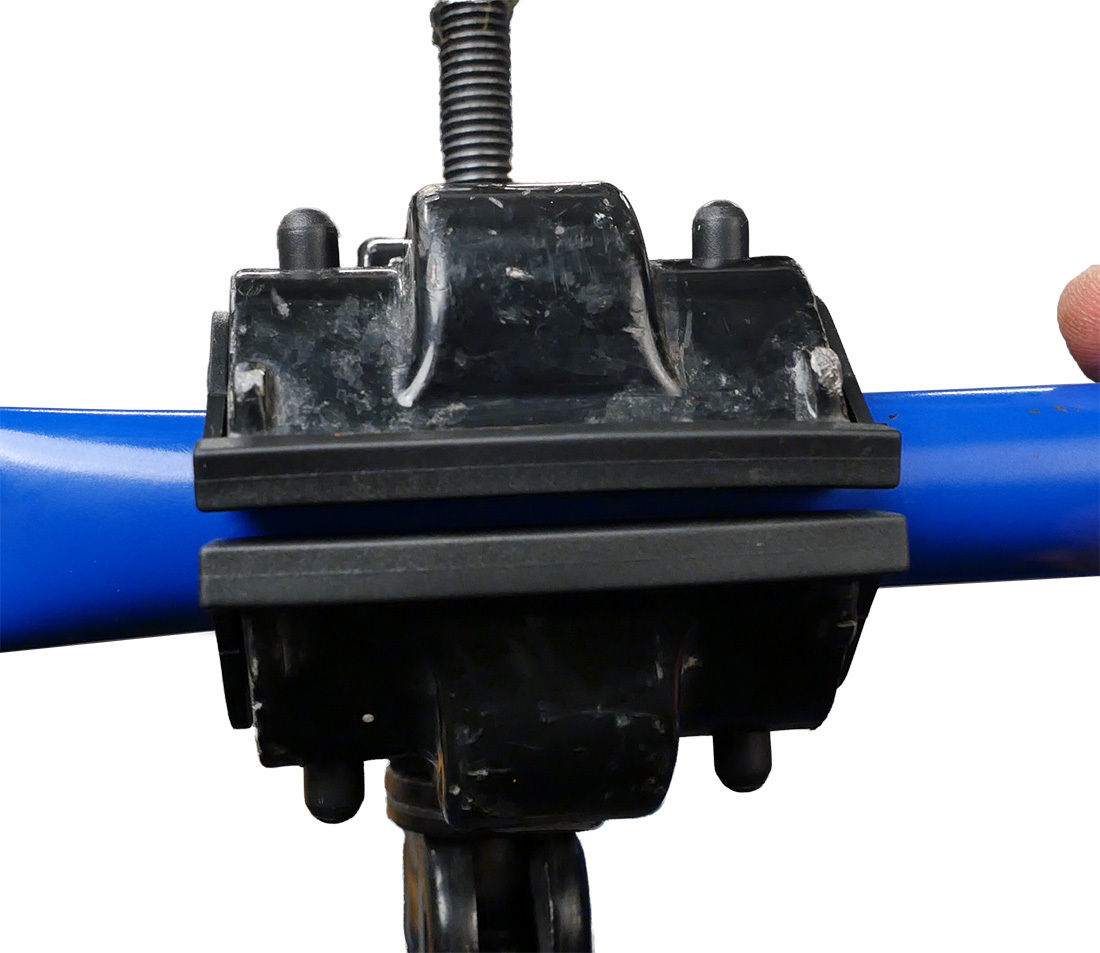
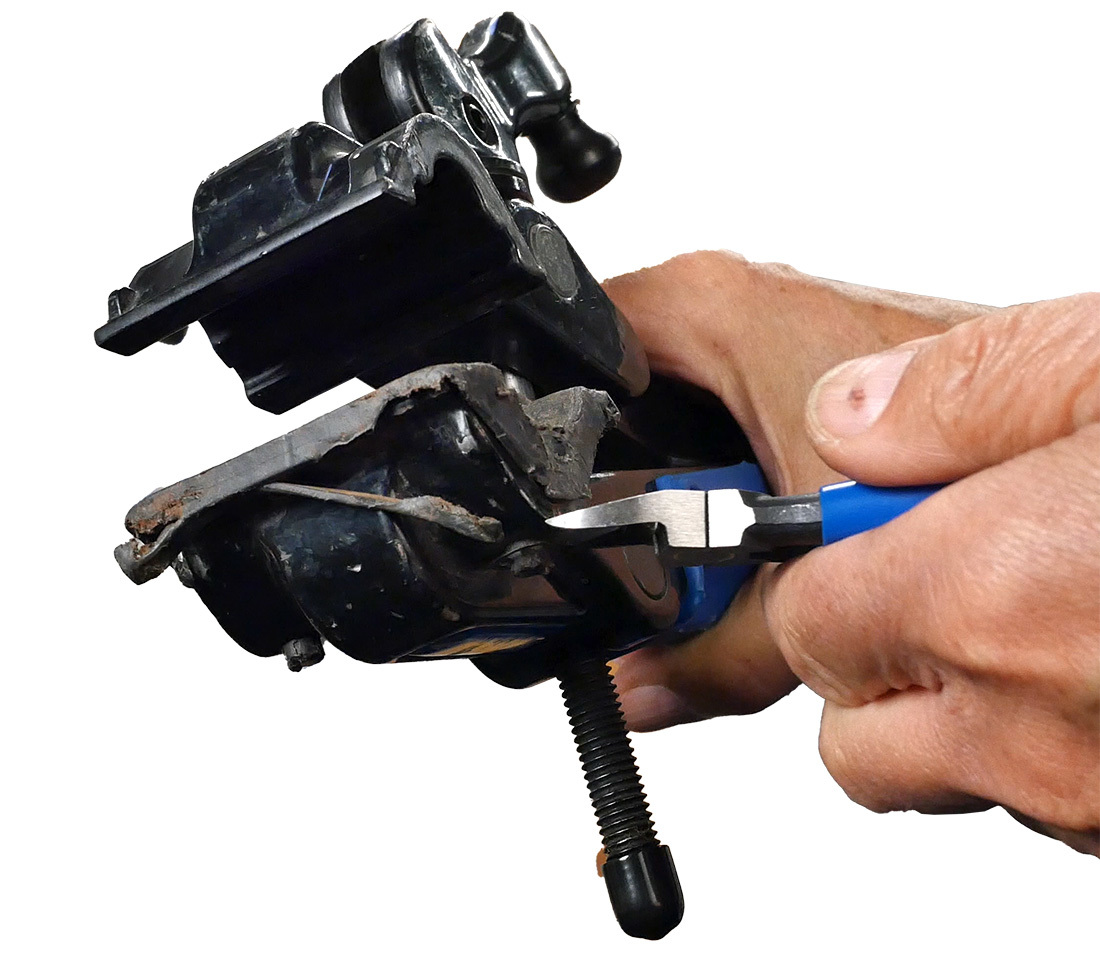
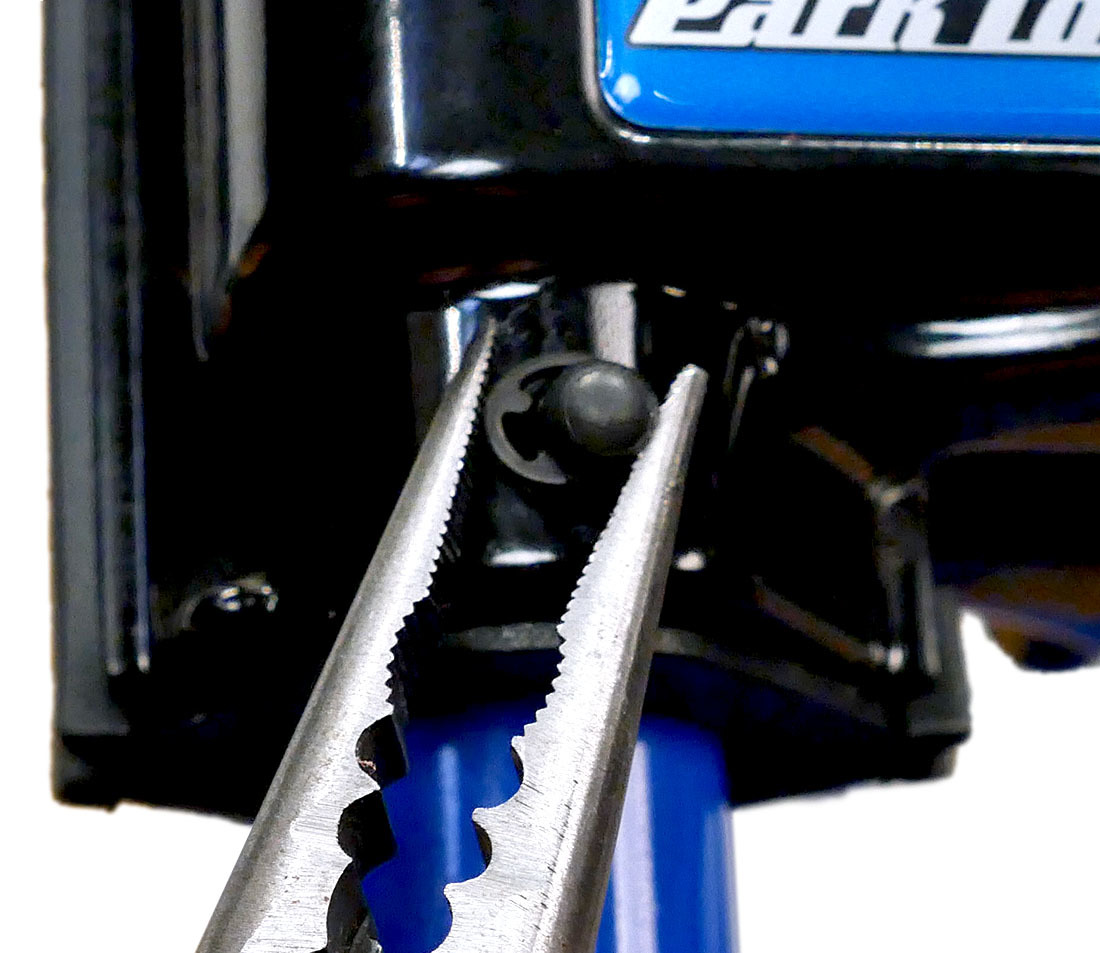
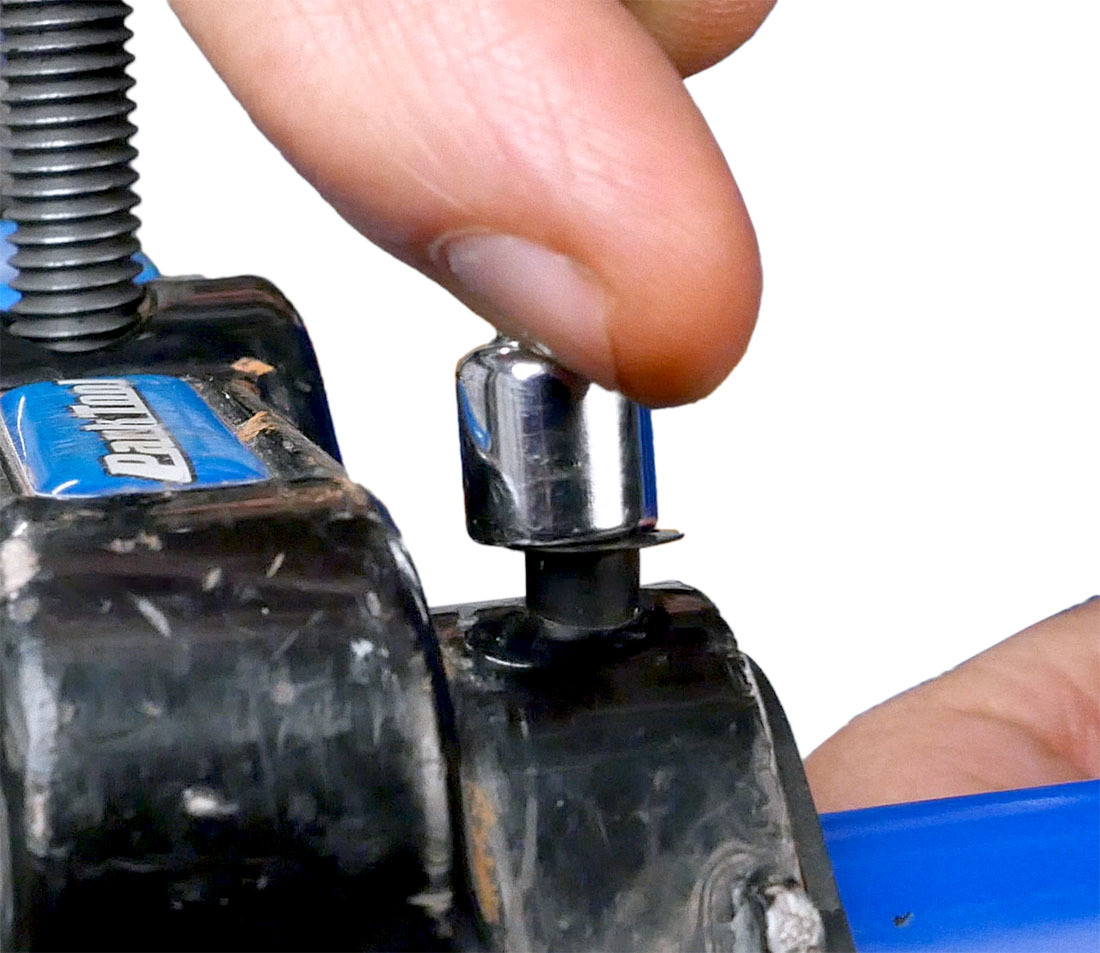
Install clips on each cover stud. The replacement jaw covers may include either an E-clip style or an internal tooth style clip.
For the E-clip, use needlenose pliers to install. For the internal tooth style, first place the clip over the stud. Push the clip straight down using a socket such as the ST-3.
Saddle Cradle Replacement
The Micro-Adjust Clamp also has a replaceable saddle cradle (part #1950) on the clamp body for hanging a bike.
Begin by removing the two small screws.
Next, remove the C-clip from the body pin, then pull out the pin (carefully) and remove the old pad.
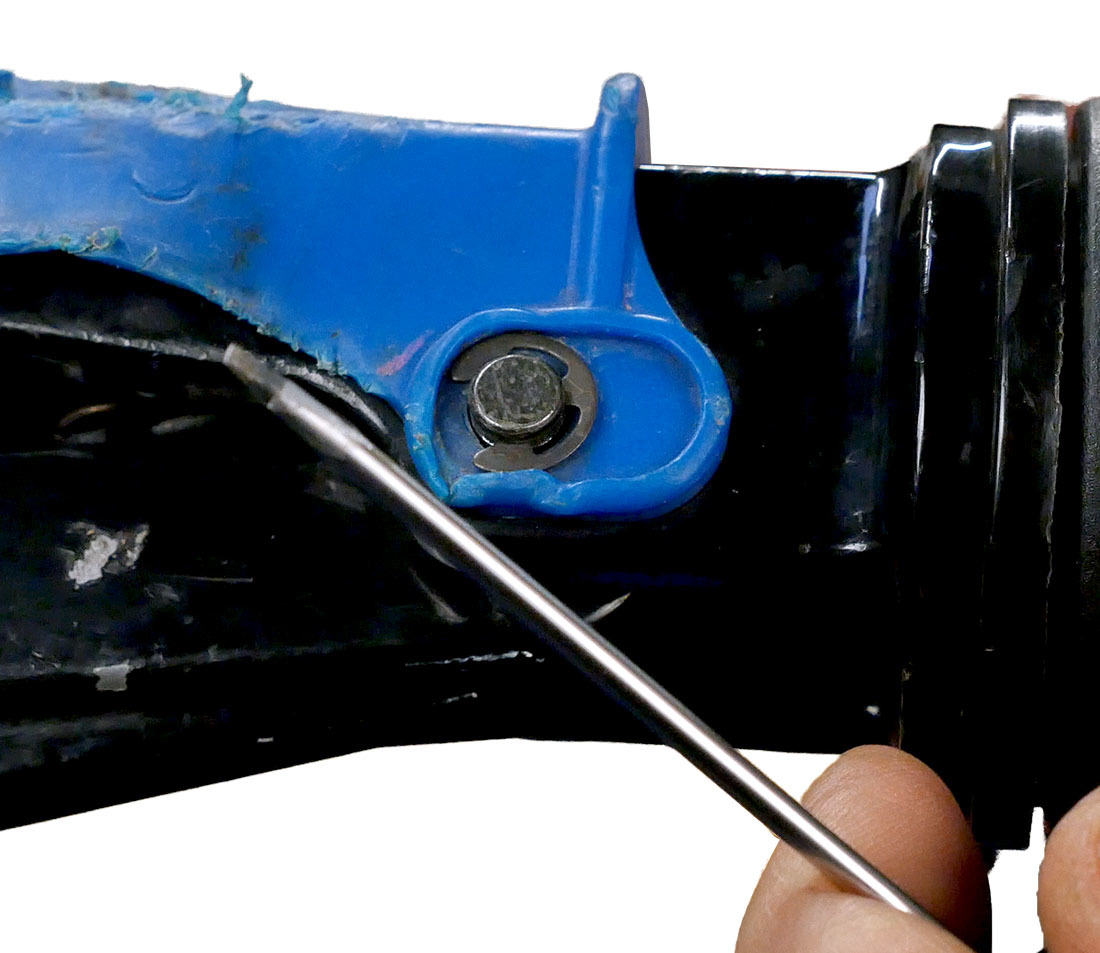
Use a small flat-blade screwdriver to remove the C-clip
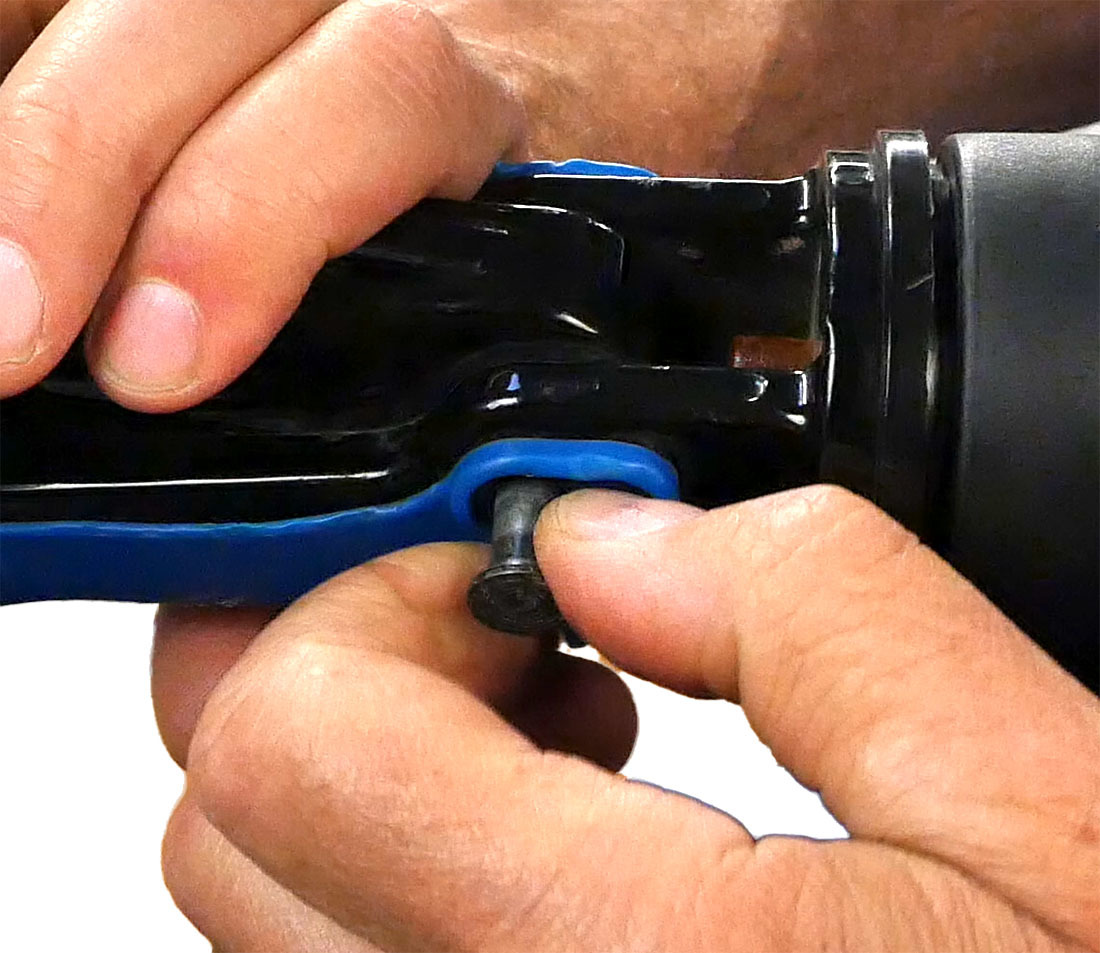
Hold onto both jaws while removing the pin, so as to avoid losing the spring
Install a new pad and re-install the pin, clip, and screws.
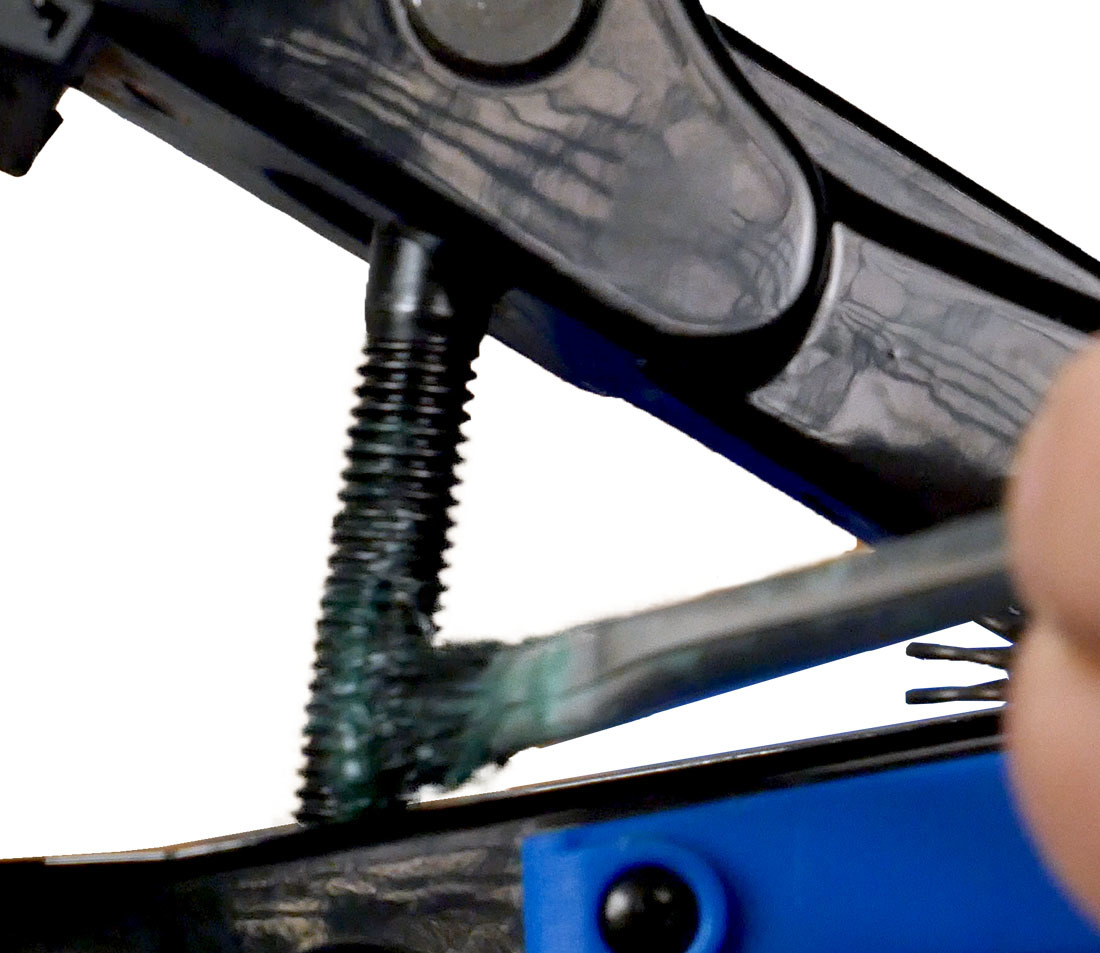
Cam Assembly Maintenance
To keep the clamp operating smoothly, periodically apply grease to the threads of the bolt, and under the handle washers. Also lightly grease the plates under the handle.

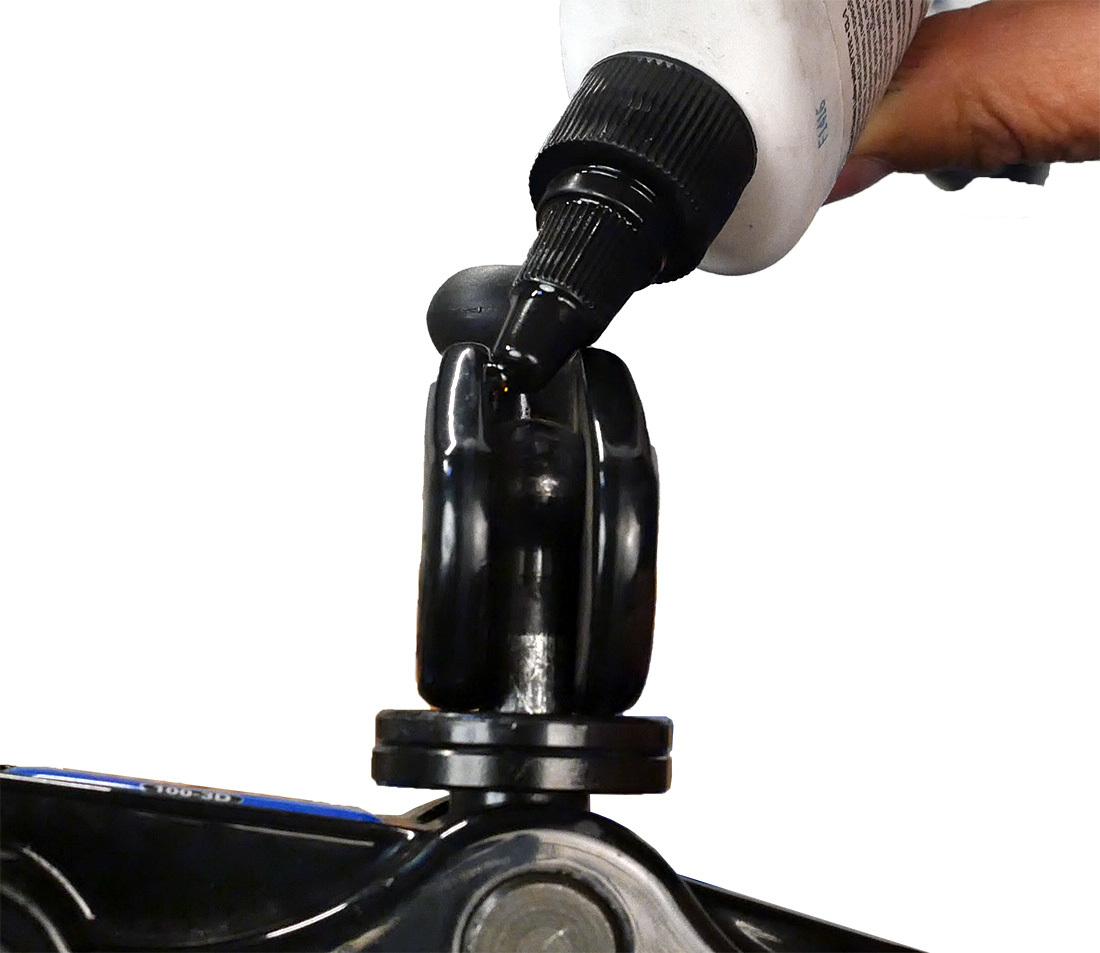
Put a drop of light lubricant such as CL-1 at the handle and clamp screw interface.
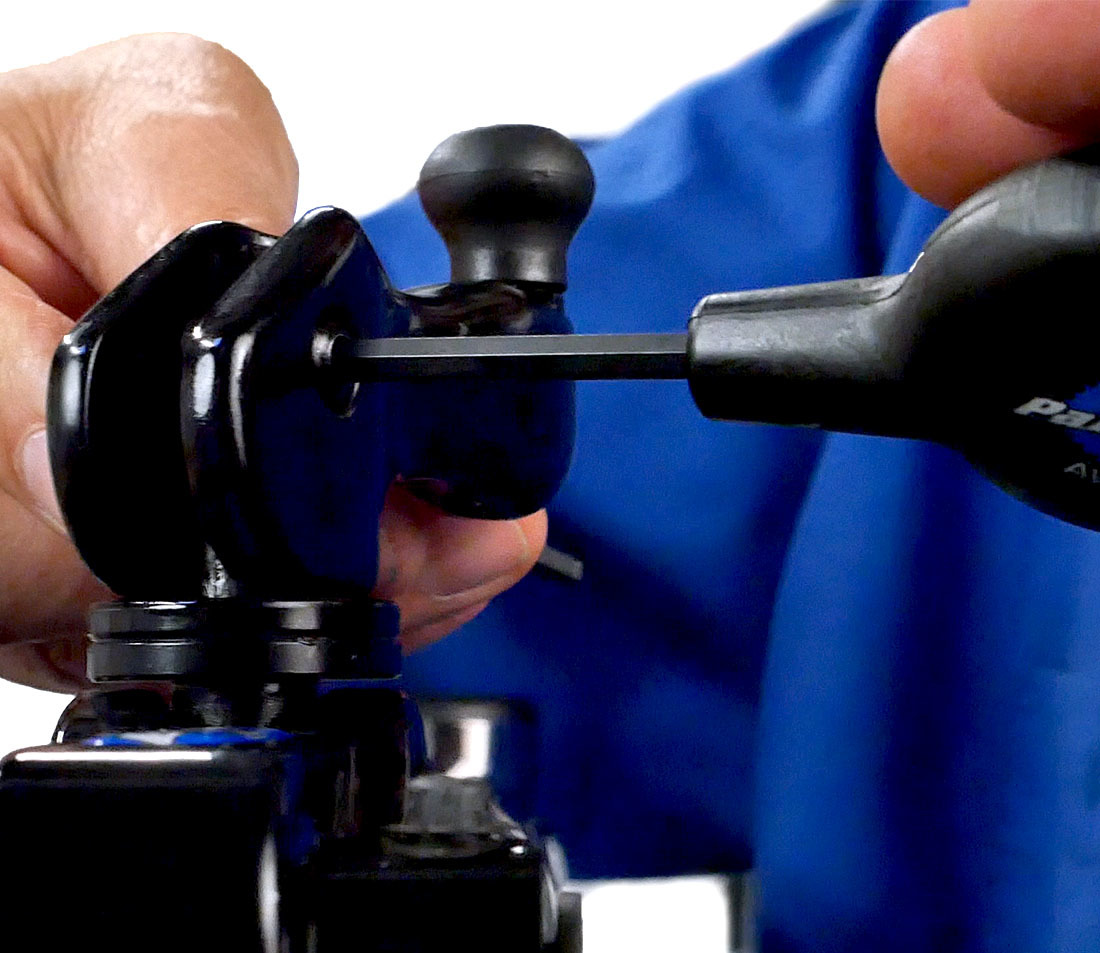
Check that handle bolt (#1964) is secure. If it was loose, some threadlocker is a good idea. Also double-check that the spinner knob bolt (#1968) is snug and secure.
Related articles
Guide to Replacement Clamp Jaw Covers View Article