Guide to Chain Tool Pin Replacement
This article will outline the proper usage of our chain tools, as well as the pin replacement process. Park Tool chain tools are designed to provide years of use for the professional and home mechanic. With proper use, the chain tool pin should also last a long time - however, it can break due to fatigue or improper use. The pin is replaceable and is available from your local retailer or from ParkTool.com.
Proper Tool Usage
The two main causes of pin breakage are an insufficiently tightened pin, and a misaligned tool when breaking the rivet.
Pin Tightness
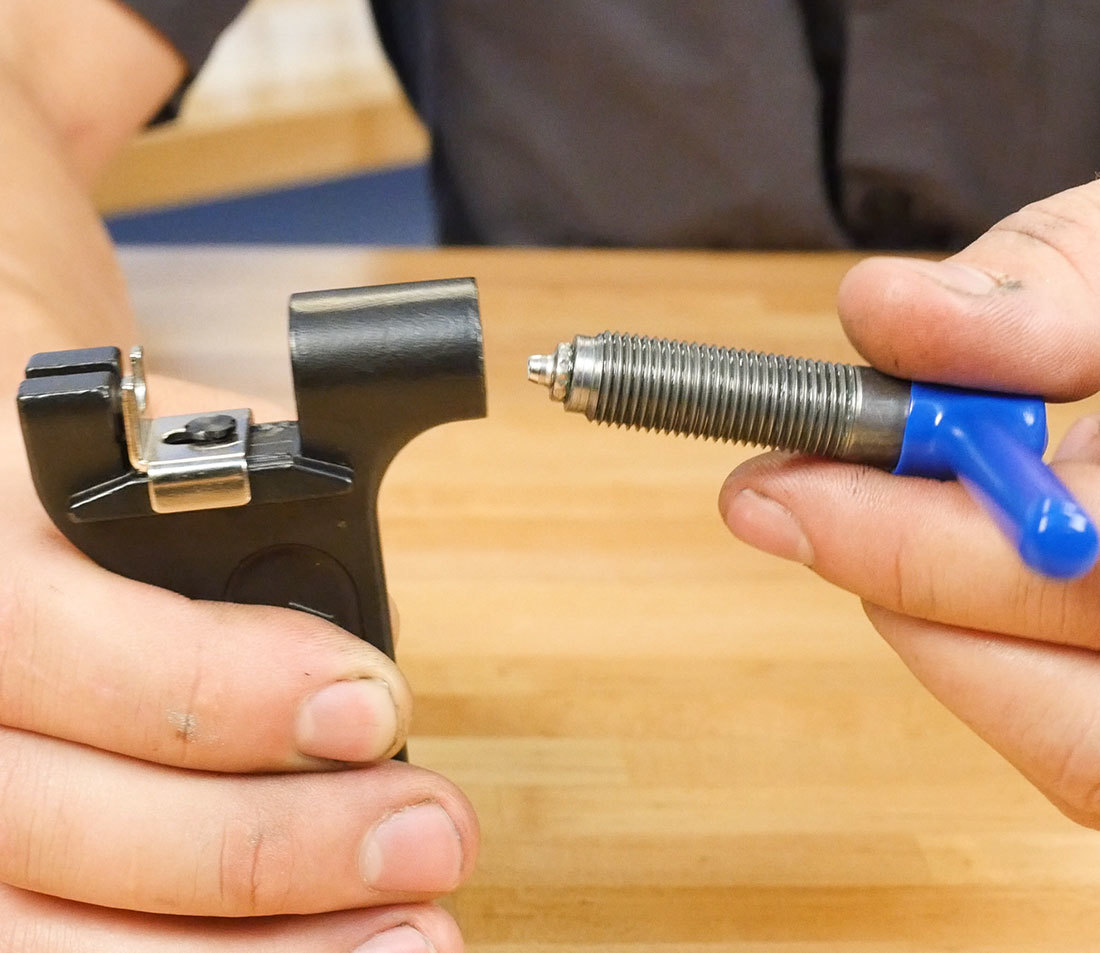
It’s a good idea to periodically check that the pin is securely tightened into the handle of the chain tool. Begin by removing the handle assembly from the tool body.
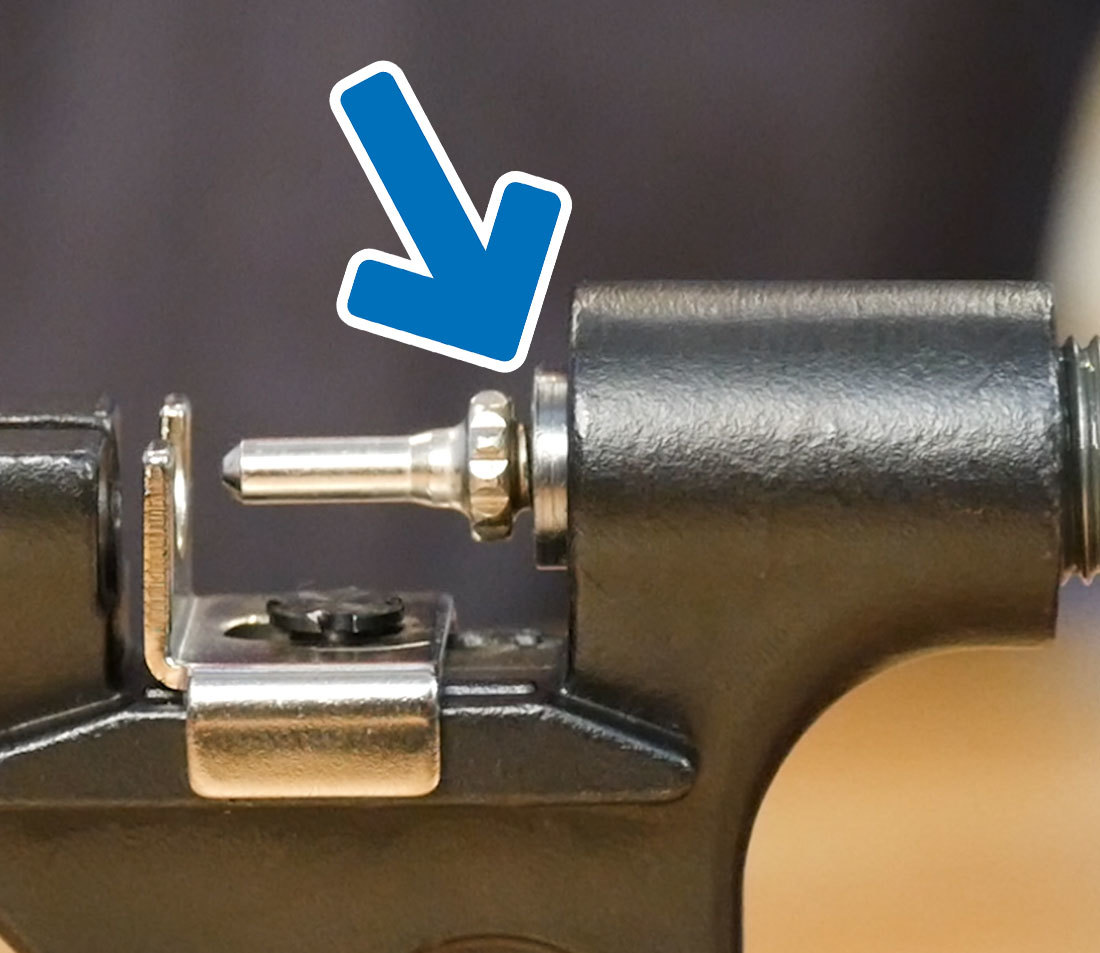
Visible threads indicating loose pin
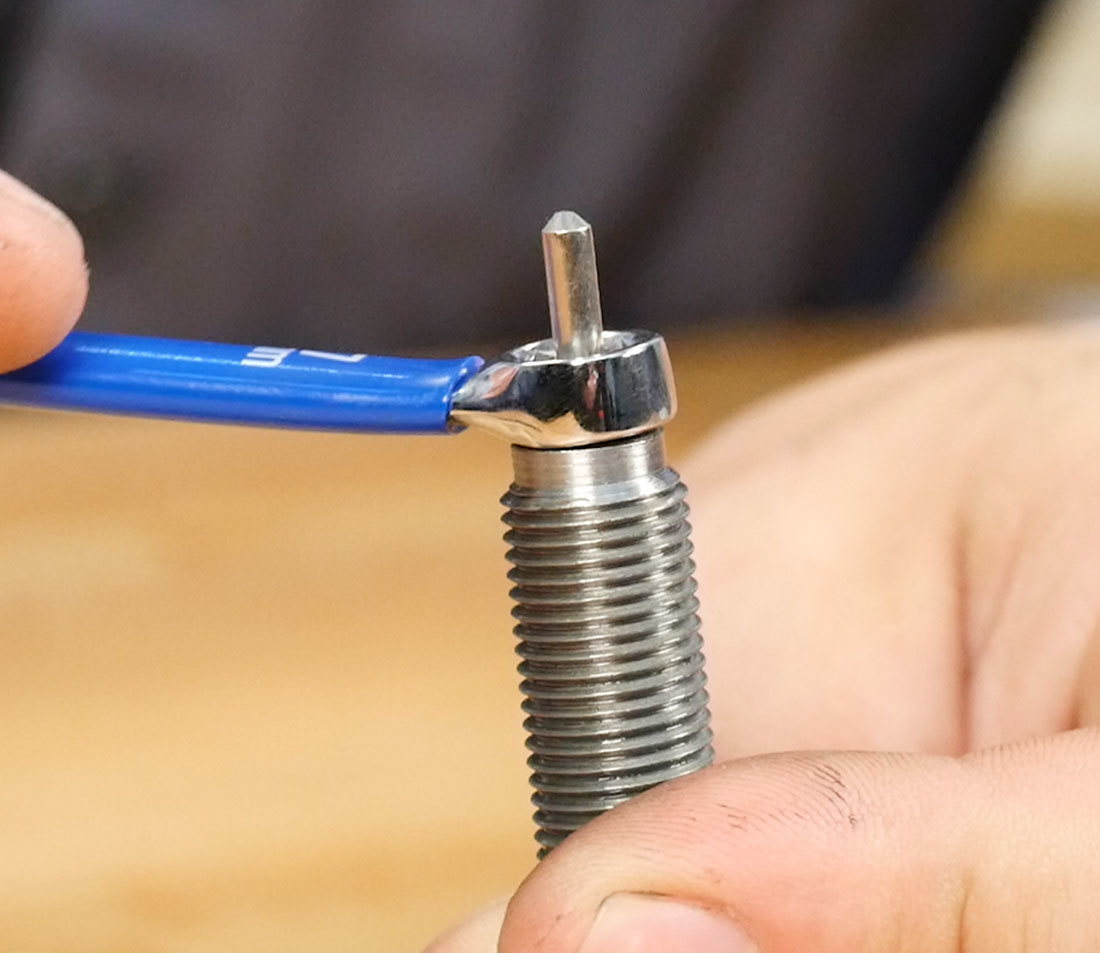
Tighten pin with box-end wrench
Check the tightness of the pin and secure it using a 7mm or 9/32″ wrench if necessary. The pin should be snug - apply roughly 7 to 9 Newton meters of torque. Apply grease to the threads of the handle assembly and reinstall.
This does not apply to the CT-4 series of chain tools, as the pin is not threaded. Periodically check that the nut is snug on the handle assembly.
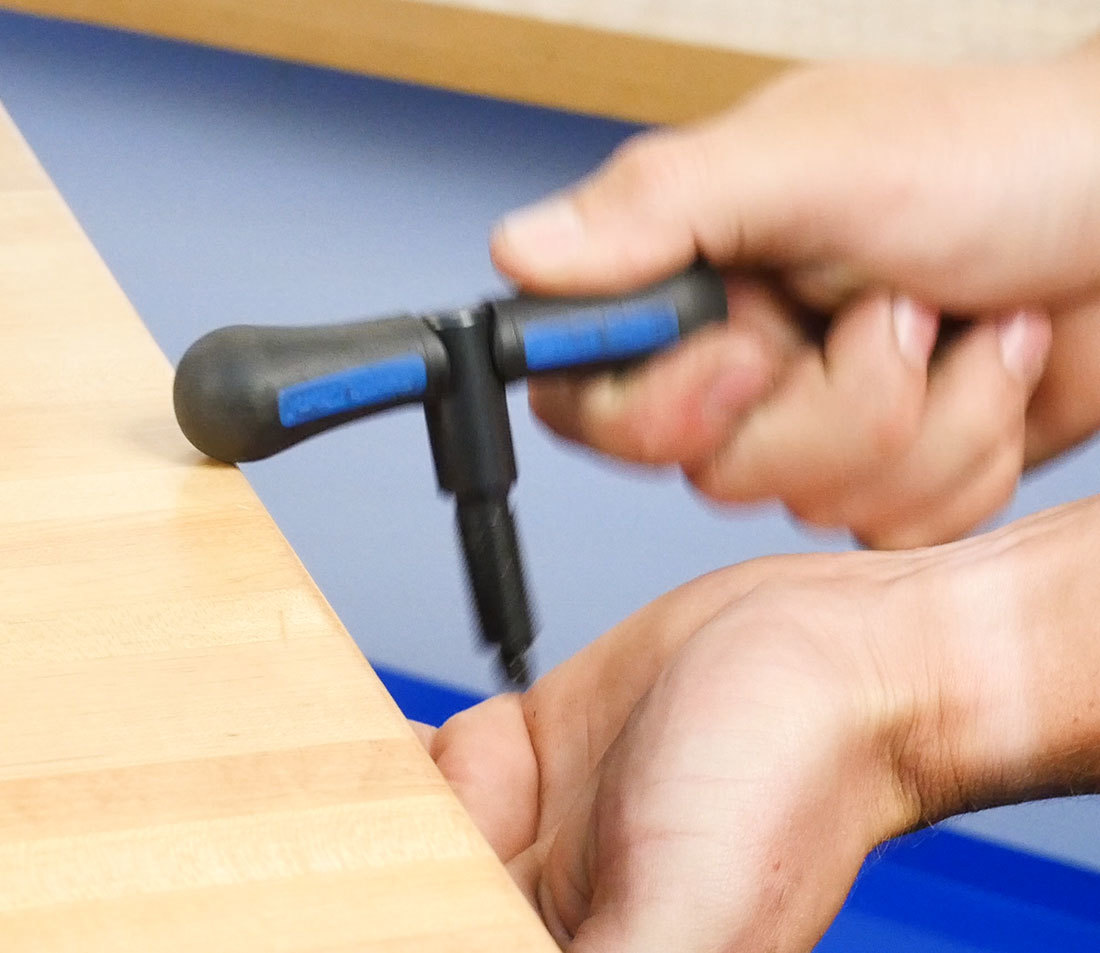
Chain Position
There is a right and wrong way to use Park Tool chain tools. For chain tools with two shelves, such as the CT-3, CT-5 and CT-7, the chain should be placed on the lower shelf when driving out a chain rivet. Do not place the chain next to the shelf or on the lower shelf. The upper shelf is intended for loosening tight links on older style chains and should not be used for rivet removal.
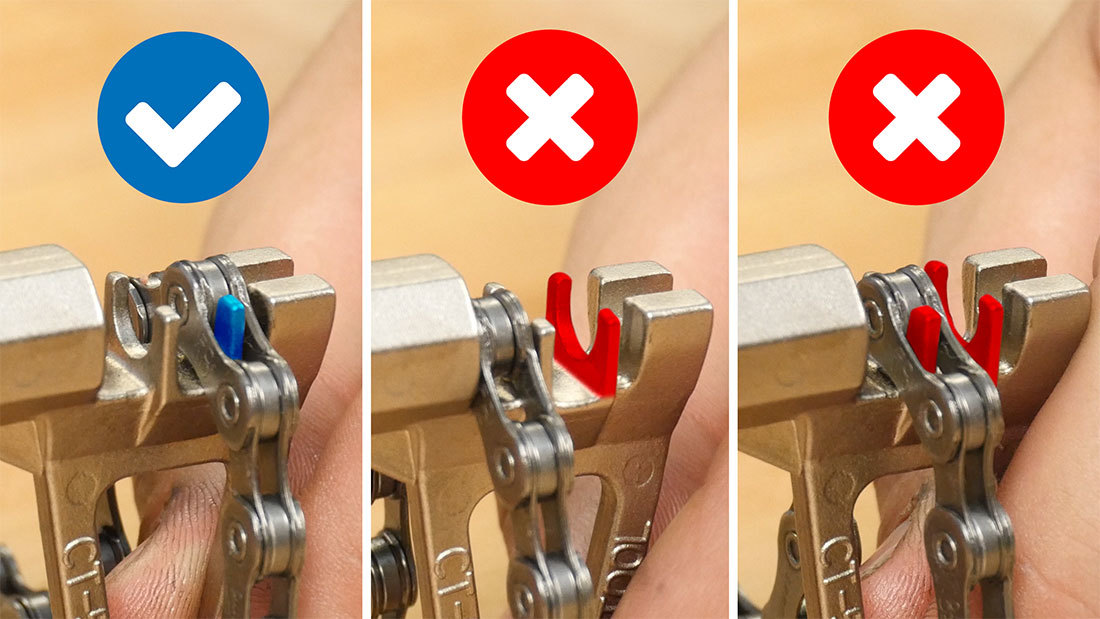
For chain tools with a single shelf (such as the CT-6.3) or a floating shelf (such as the CT-3.2 and CT-3.3), the chain should be installed on this shelf, not below or above it.
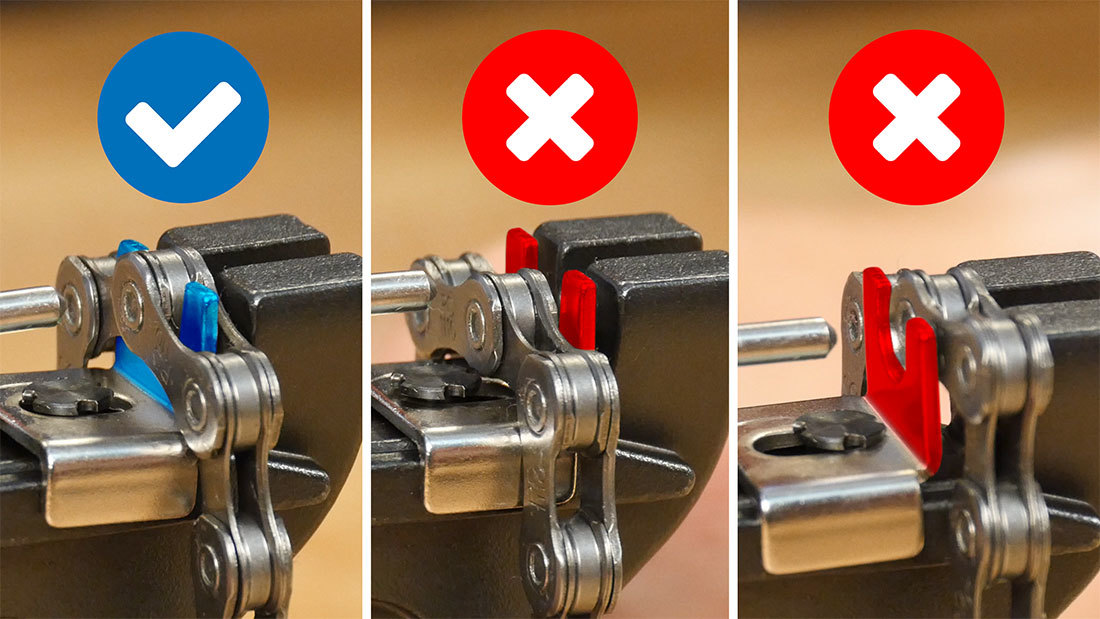
If the chain is improperly positioned, there is a good chance the chain will become misaligned and cause the pin to “walk off” the rivet, damaging the pin, shelf, or the chain itself.
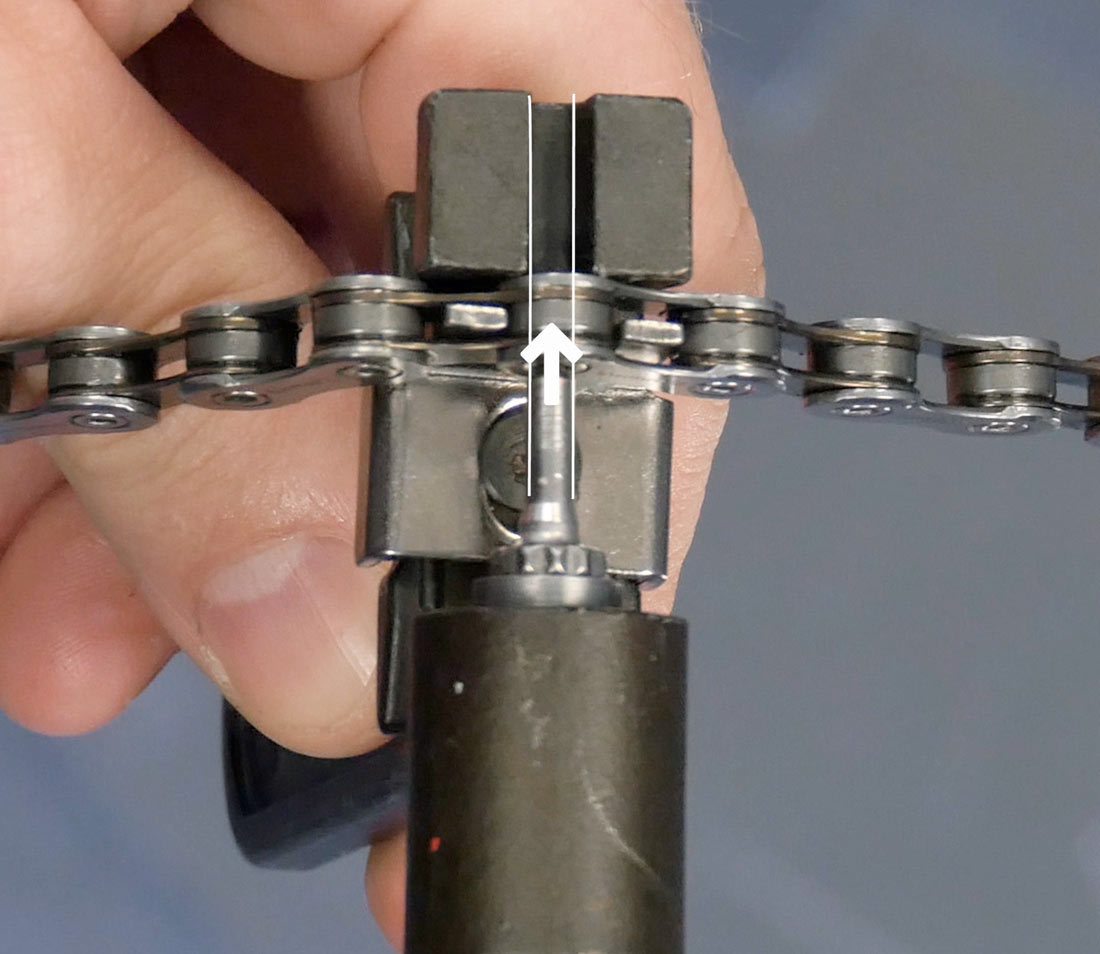
As you drive the chain tool, ensure the pin is driving in a straight line, with the pin in the center of the rivet.
Pin Selection
Begin by obtaining the correct replacement pin for your specific chain tool.
CTP
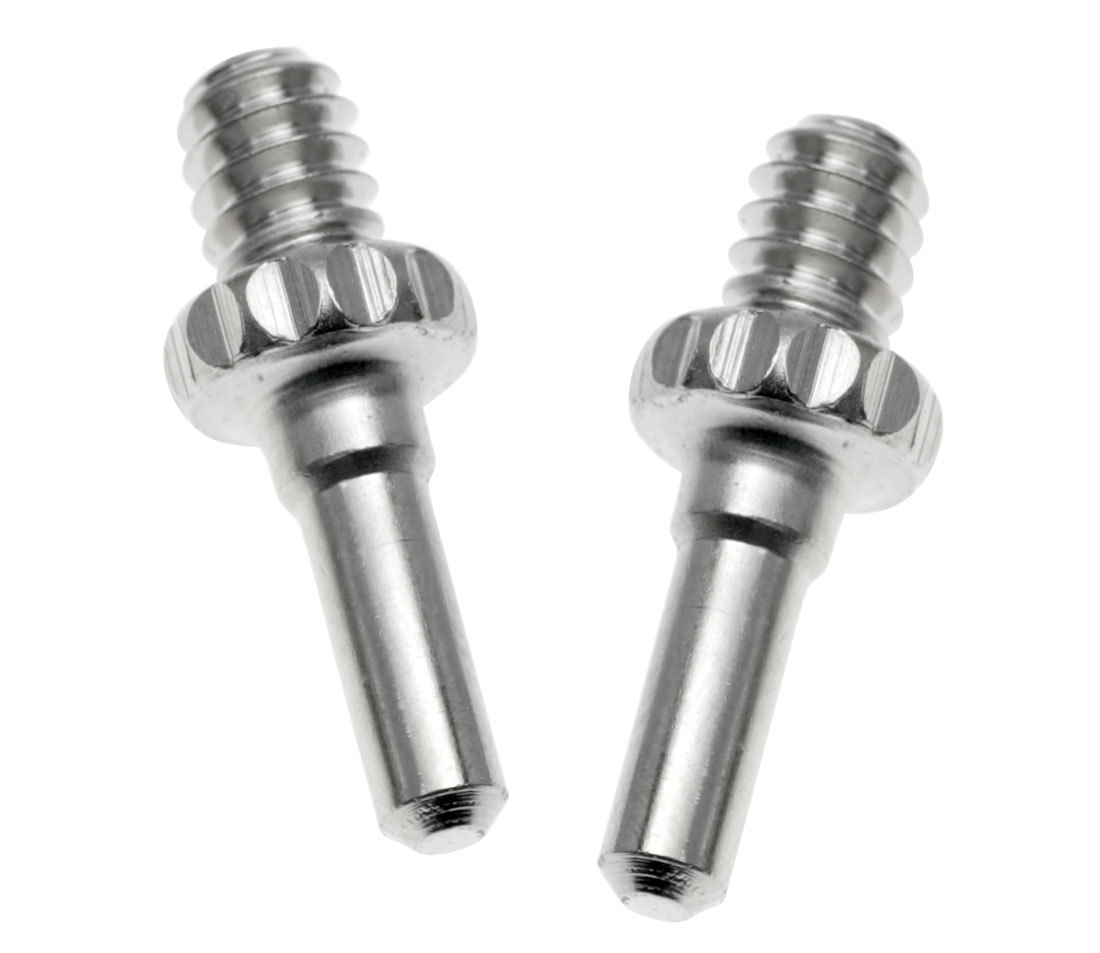
CTP Replacement Pin
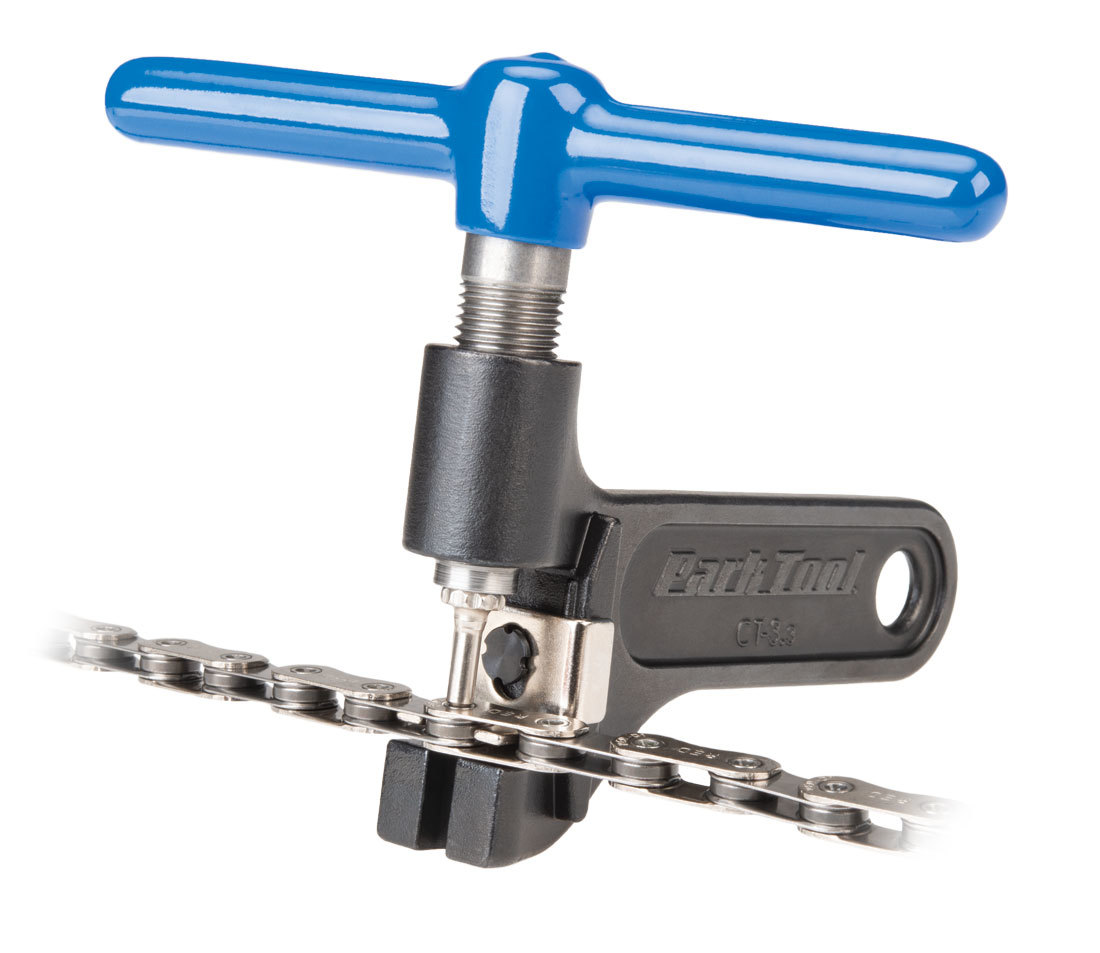
CT-3.3 Chain Tool
Part number CTP is used for most Park Tool chain tools, including the CT-1, CT-2, CT-3, CT-3.2, CT-3.3, CT-5, and CT-7
#985-1
985-1 Replacement Pin
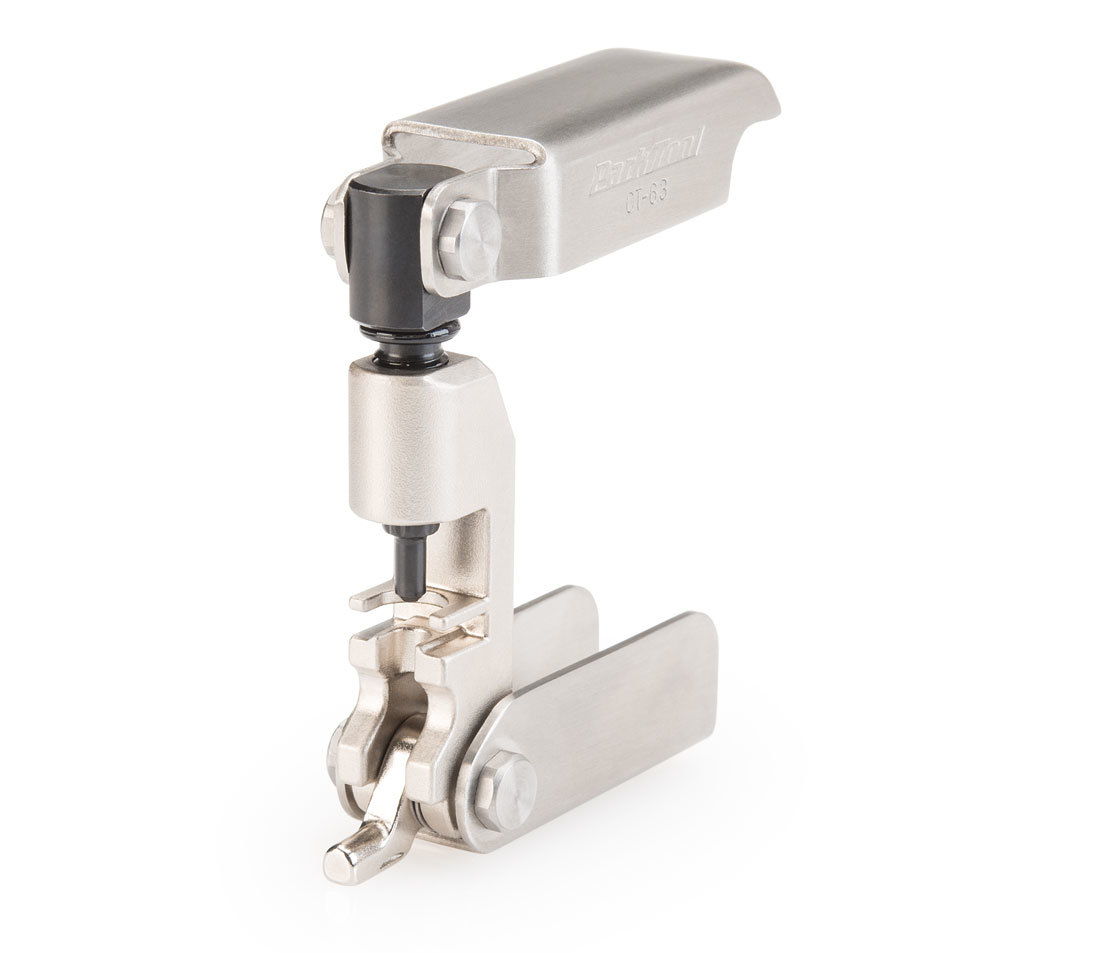
CT-6.3 Folding Chain Tool
Part number 985-1 is used for Park Tool’s folding chain tools, including the CT-6, CT-6.2 and CT-6.3, as well as several of our multi-tools including the MT-40, MTC-40, and MTB-5.
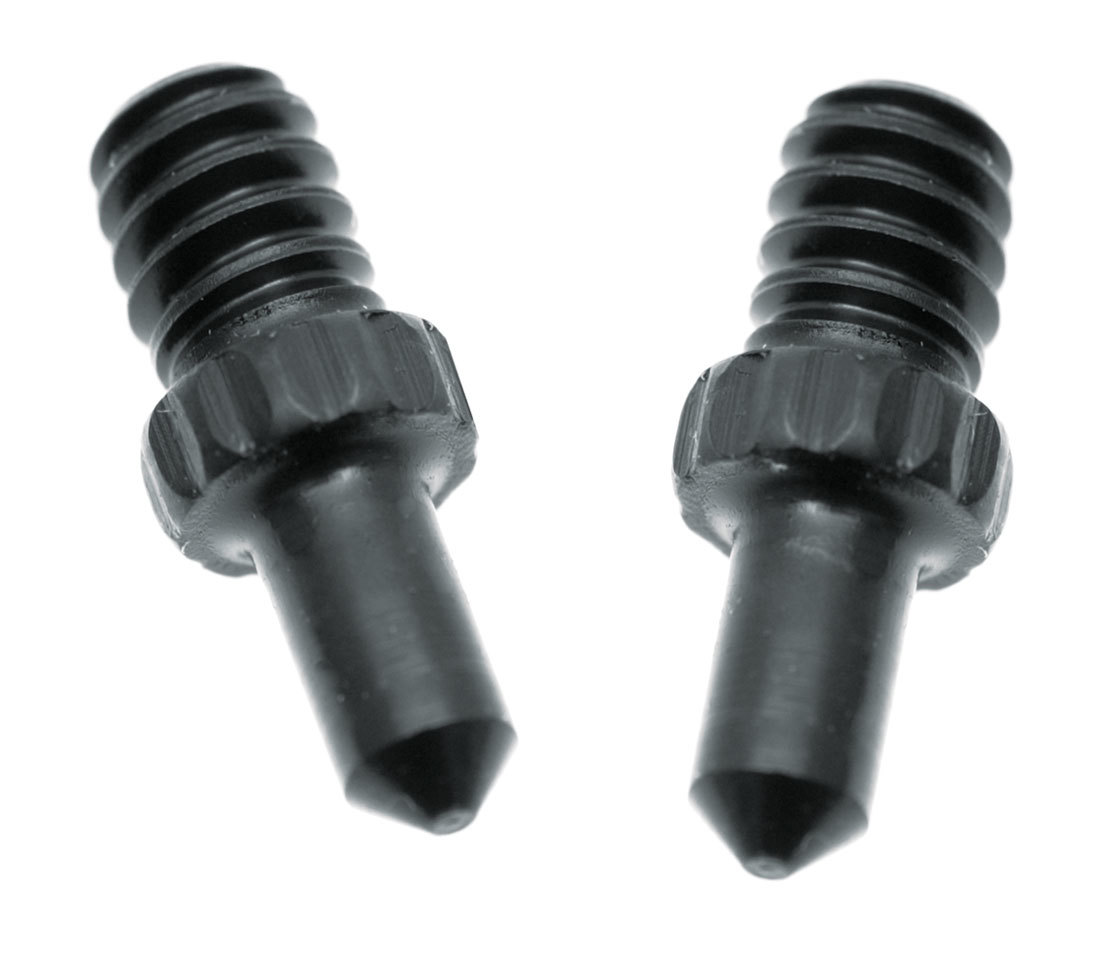
CTP-4K
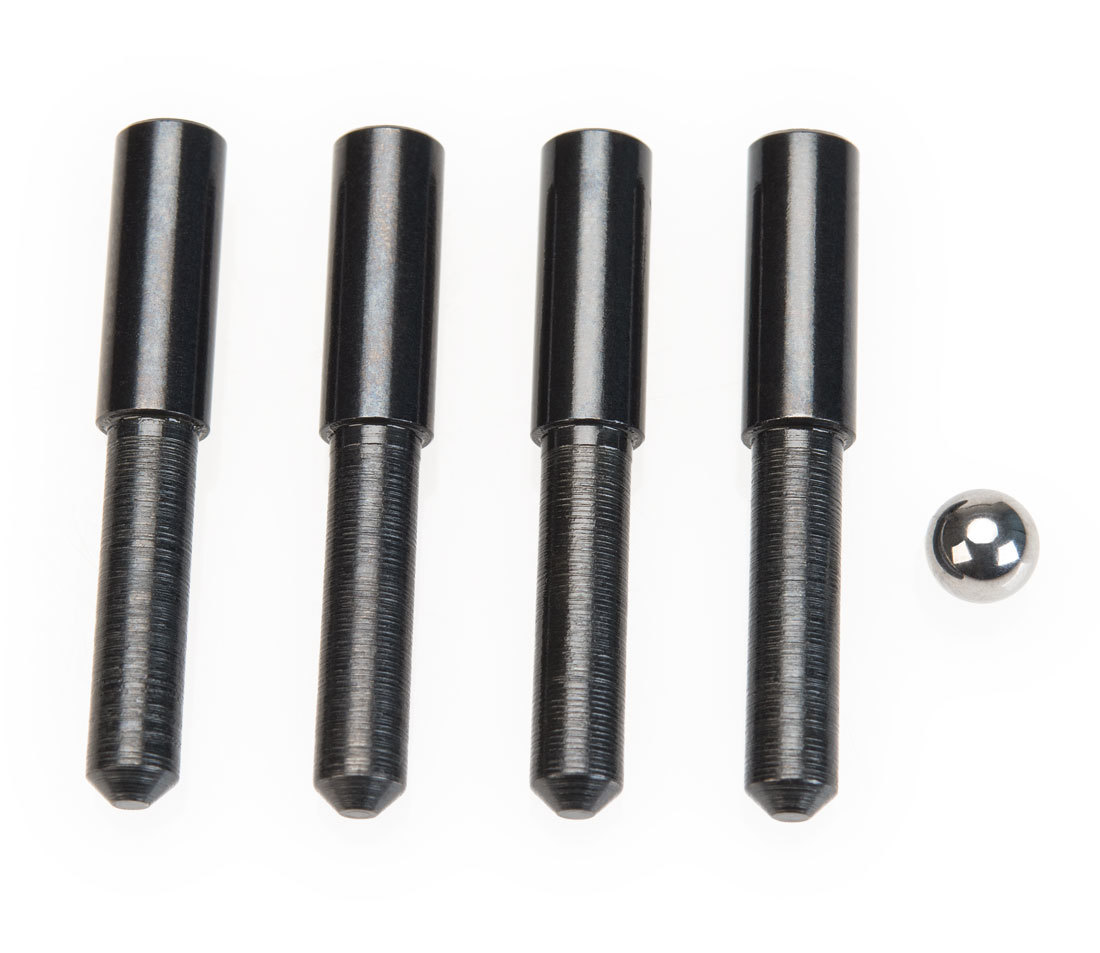
CTP-4K Replacement Pin
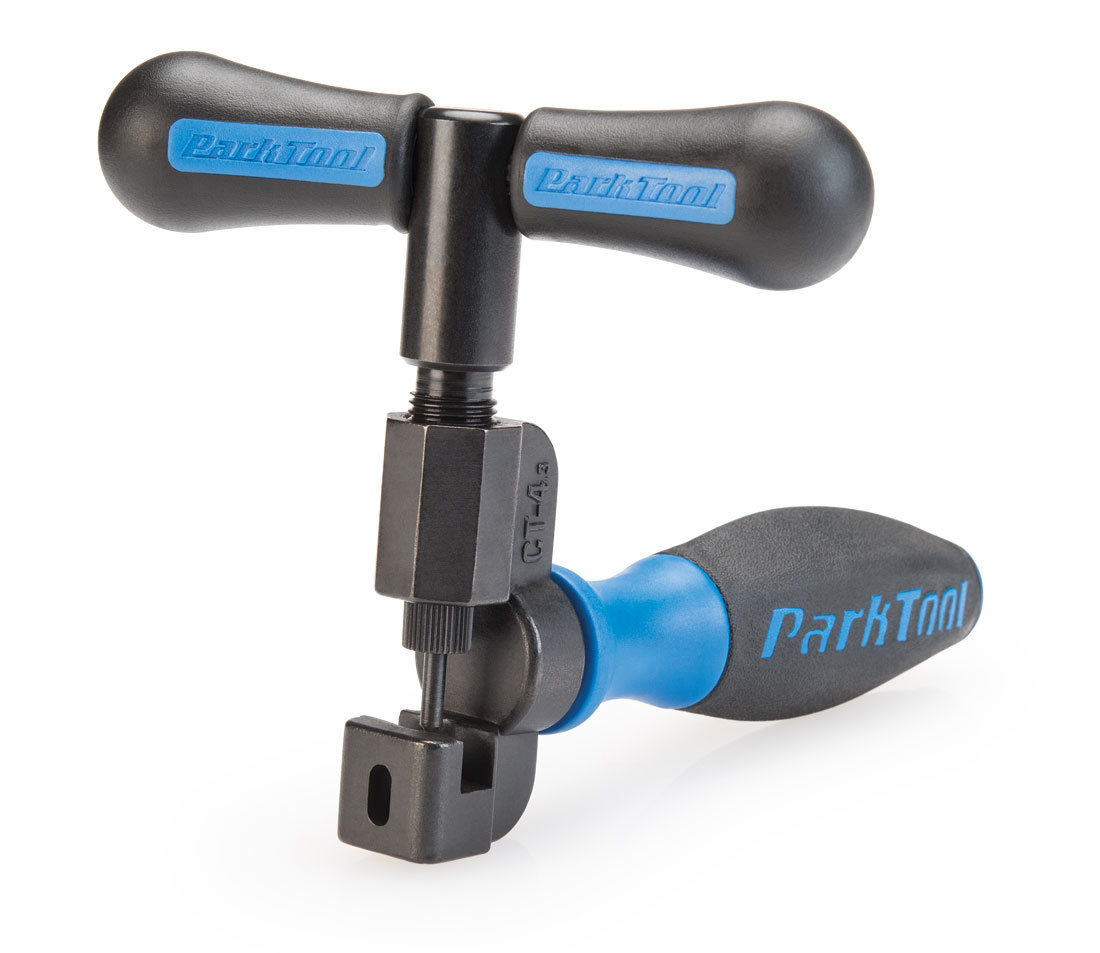
CT-4.3 Master Chain Tool
Part number CTP-4K is used for Park Tool’s master chain tools, including the CT-4, CT-4.2, CT-4.3, and CT-11.
Multi-tools
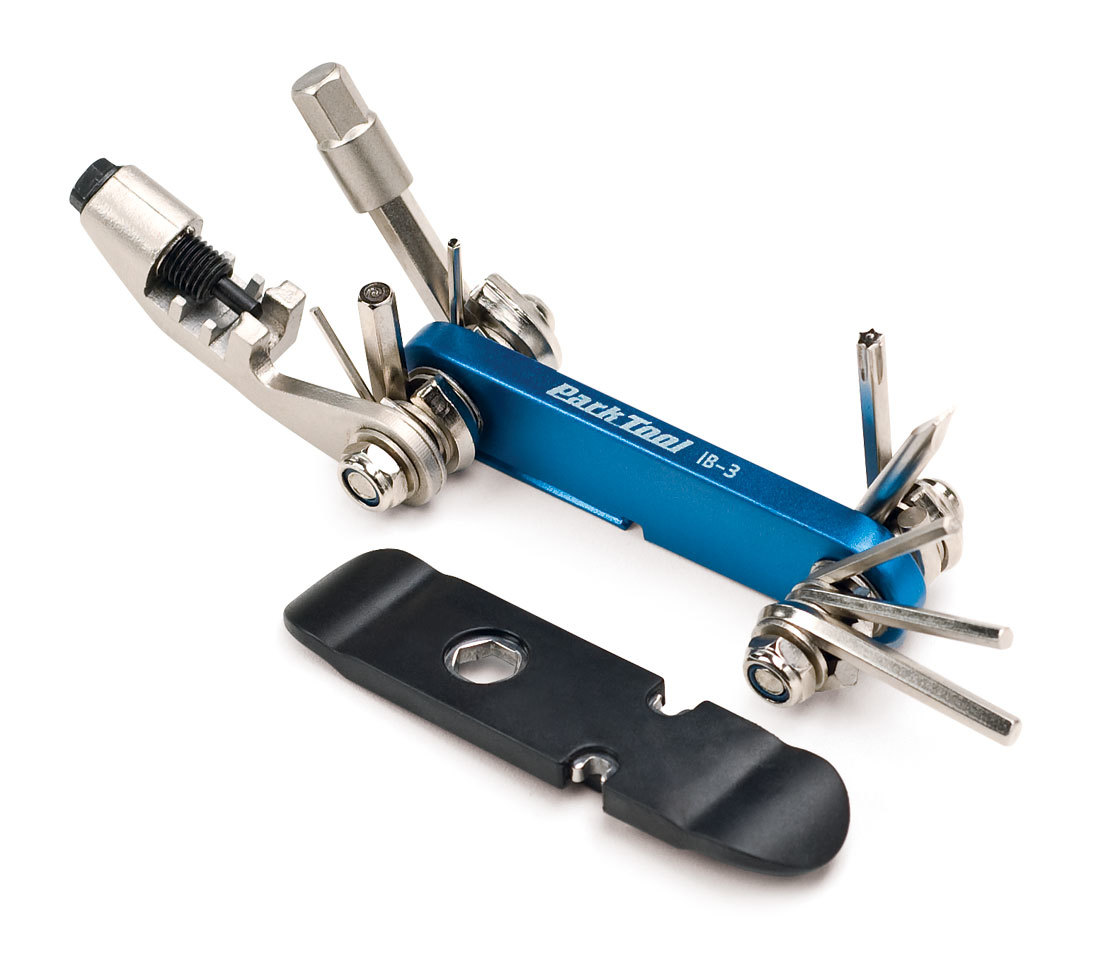
IB-3 Multi-tool
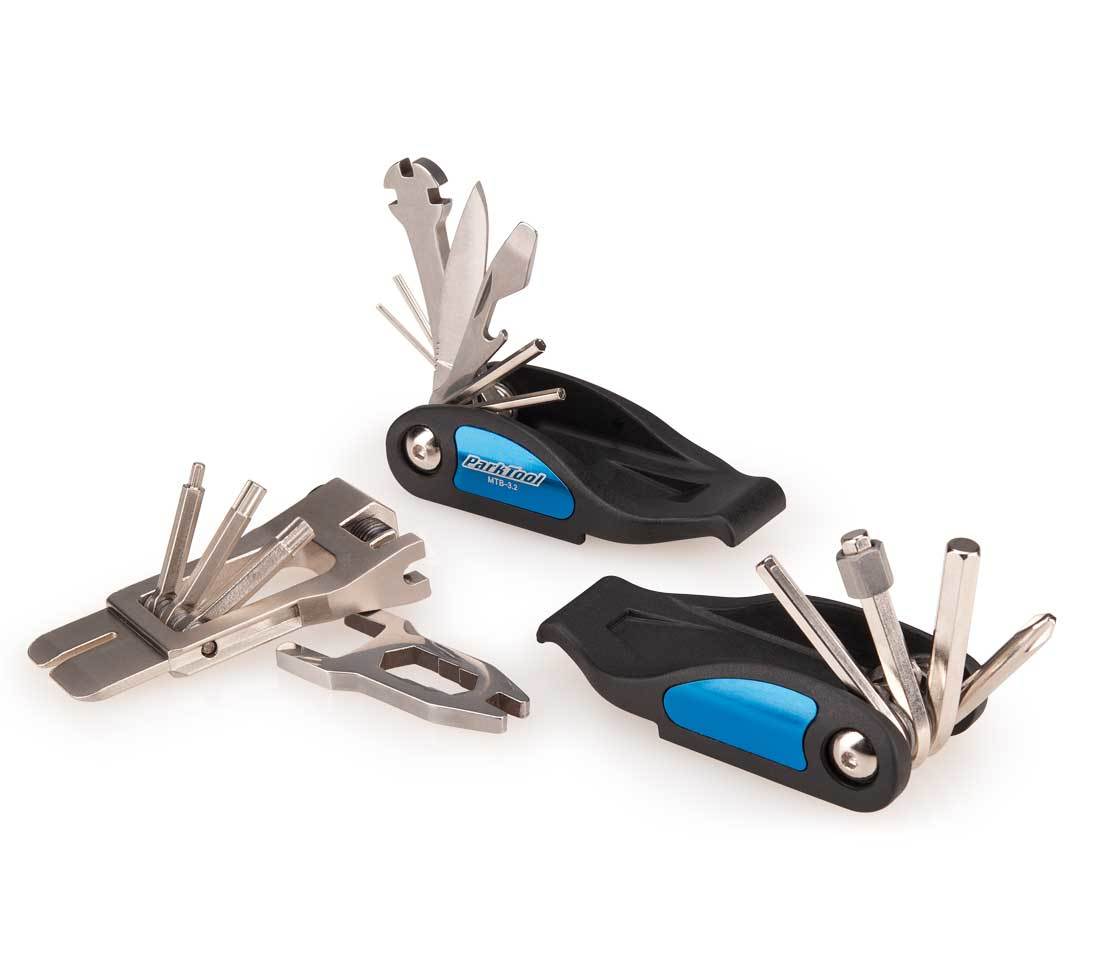
MTB-3.2 Multi-tool
Replacement pins are also available for our folding multi-tools that include a chain tool, such as the MTB-3, MTB-3.2, and IB-3.
Pin Replacement
CTP & 985-1
Fully unthread the handle assembly from the tool body. Unthread the old pin from the handle assembly using a 9/32″ 12-point box end wrench.
Remove handle from tool body
Use 7mm wrench to loosen pin
The replacement pin has anaerobic threadlocker pre-applied to the threads. No further thread preparation is necessary. Thread in and tighten the pin, applying roughly 7 to 9 newton meters of torque. Grease the threads of the handle assembly and reinstall it into tool.
CTP-4K
Fully unthread the handle assembly from the tool body.
Unthread the nut from the handle assembly. Pull the pin from the handle assembly, making sure the bearing inside the handle assembly does not fall out.
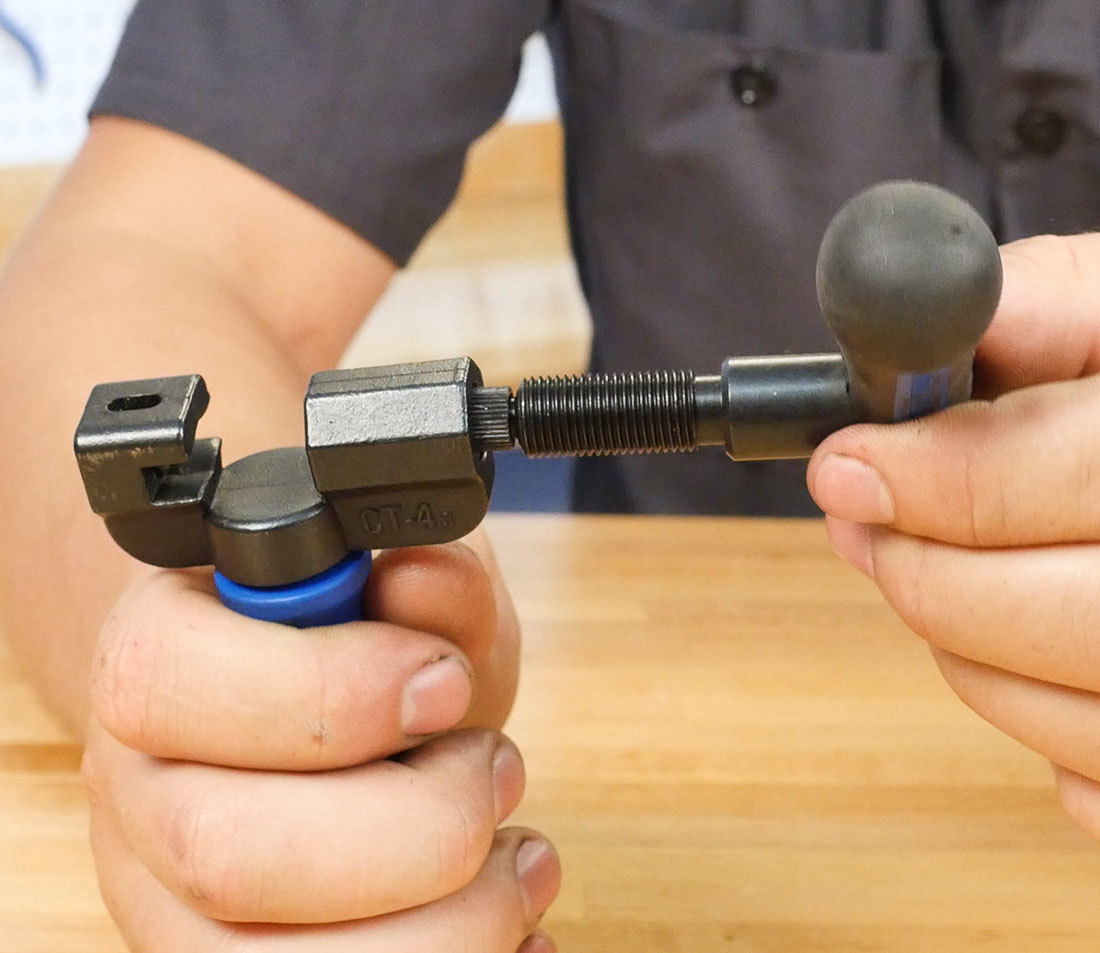
Remove handle from tool body
Loosen nut by hand
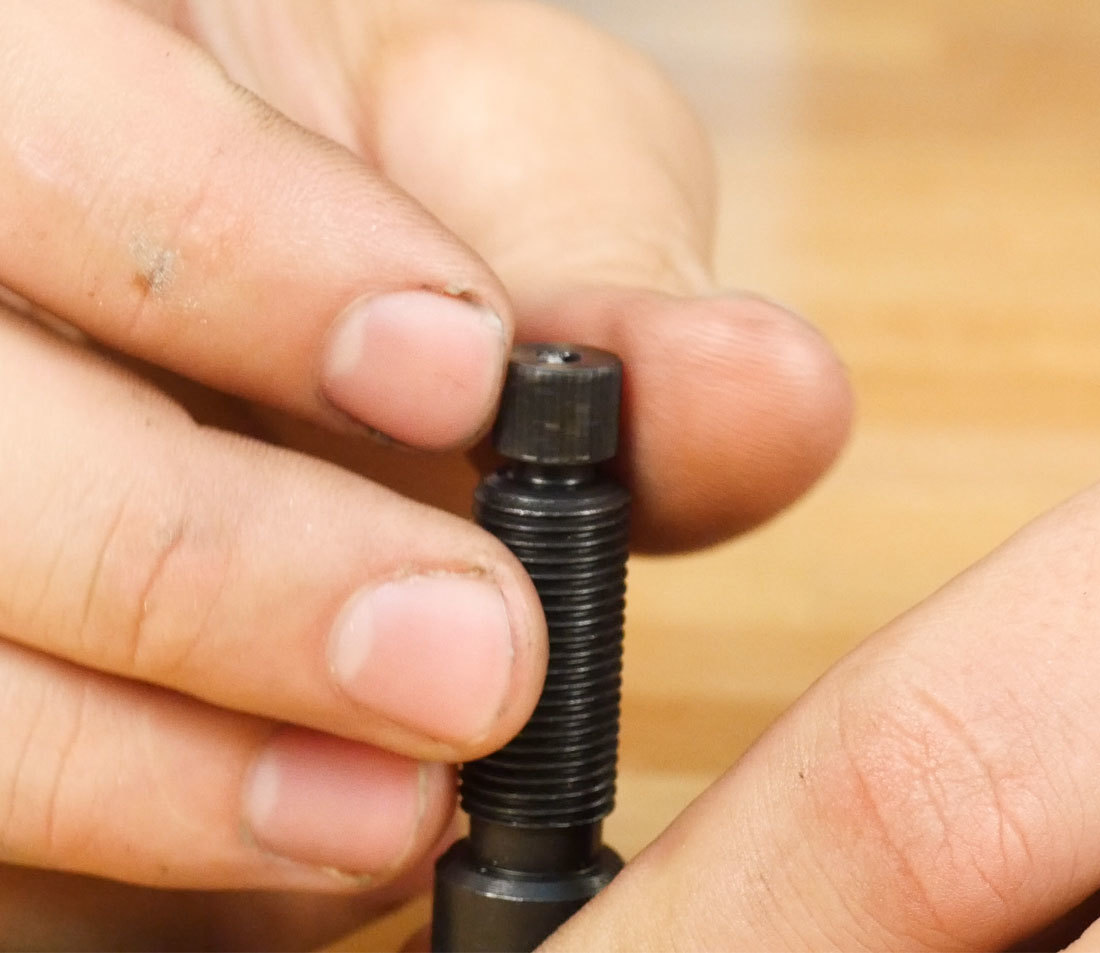
If the pin is broken flush with the handle assembly, it can be tricky to remove the pin. A blade can be used to pull the pin up enough to where it can be grabbed. If it seems completely stuck, strike the handle assembly against the edge of a benchtop, positioning your hand to catch the pin and bearing in case they fall out.
There is a ball bearing installed underneath the pin. One replacement bearing is included with the CTP-4K in the event the original bearing in the chain tool is lost or damaged. Verify that there is not already a ball bearing in the handle before installing a replacement. Using the tool with two ball bearings installed will damage the tool.
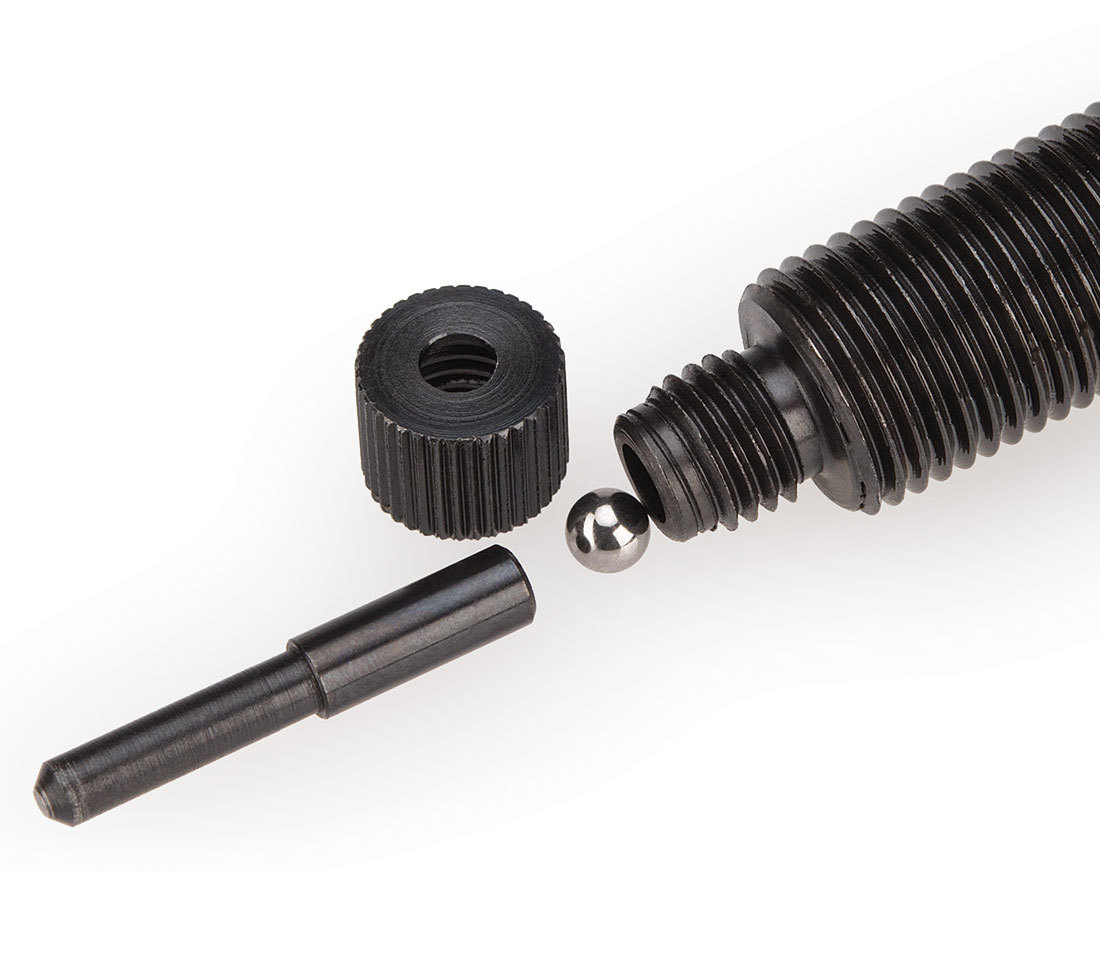
Install the new pin. Thread the nut onto the handle assembly. Grease the threads of the handle assembly and thread it into the body.