Derailleur Hanger Replacement
How to remove and install the rear derailleur hanger on frames that feature replaceable hangers.
Preliminary Info
- Appropriate hex or or Torx®-compatible wrench for hanger mounting bolts
- Threadlocker or other thread preparation
The derailleur hanger is the bracket near the rear wheel dropouts on the bicycle frame where the rear derailleur is mounted. Most modern bicycle frames are designed with replaceable hangers, which can be removed and replaced when appropriate.
However, not all bikes use a replaceable hanger. When the hanger is integrated into the frame, there is no possible replacement.But even for frames with replaceable derailleur hangers, there are some potential fixes to explore before committing to replacement — read on.
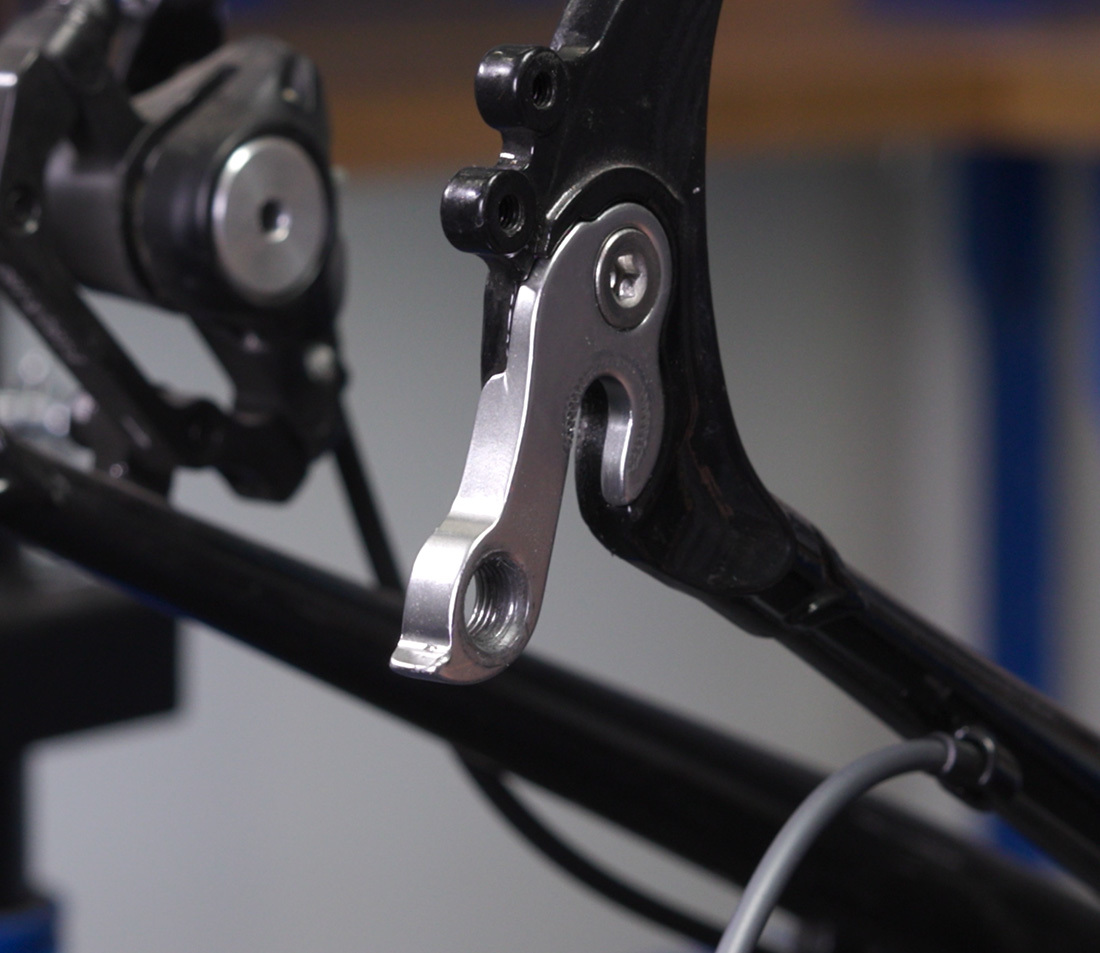
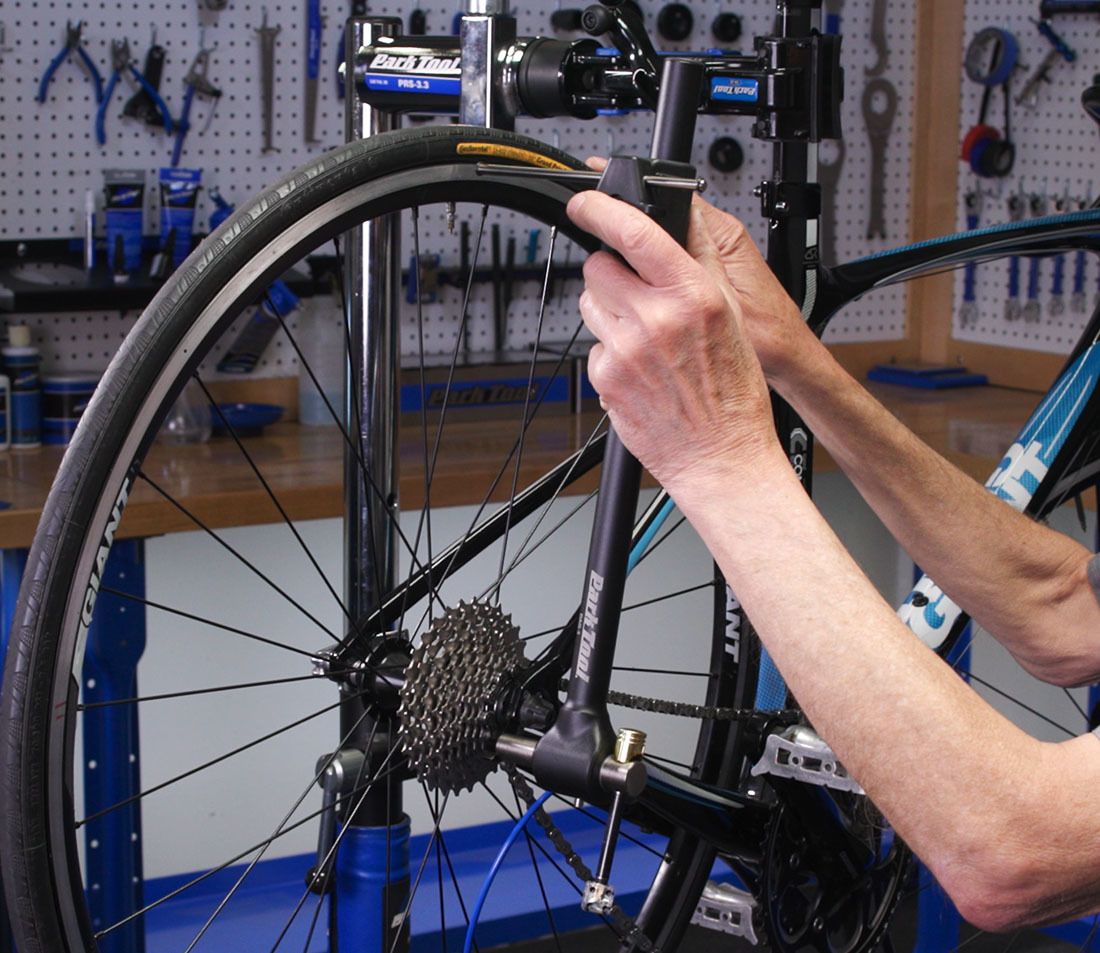
Example of a frame with replaceable derailleur hanger.
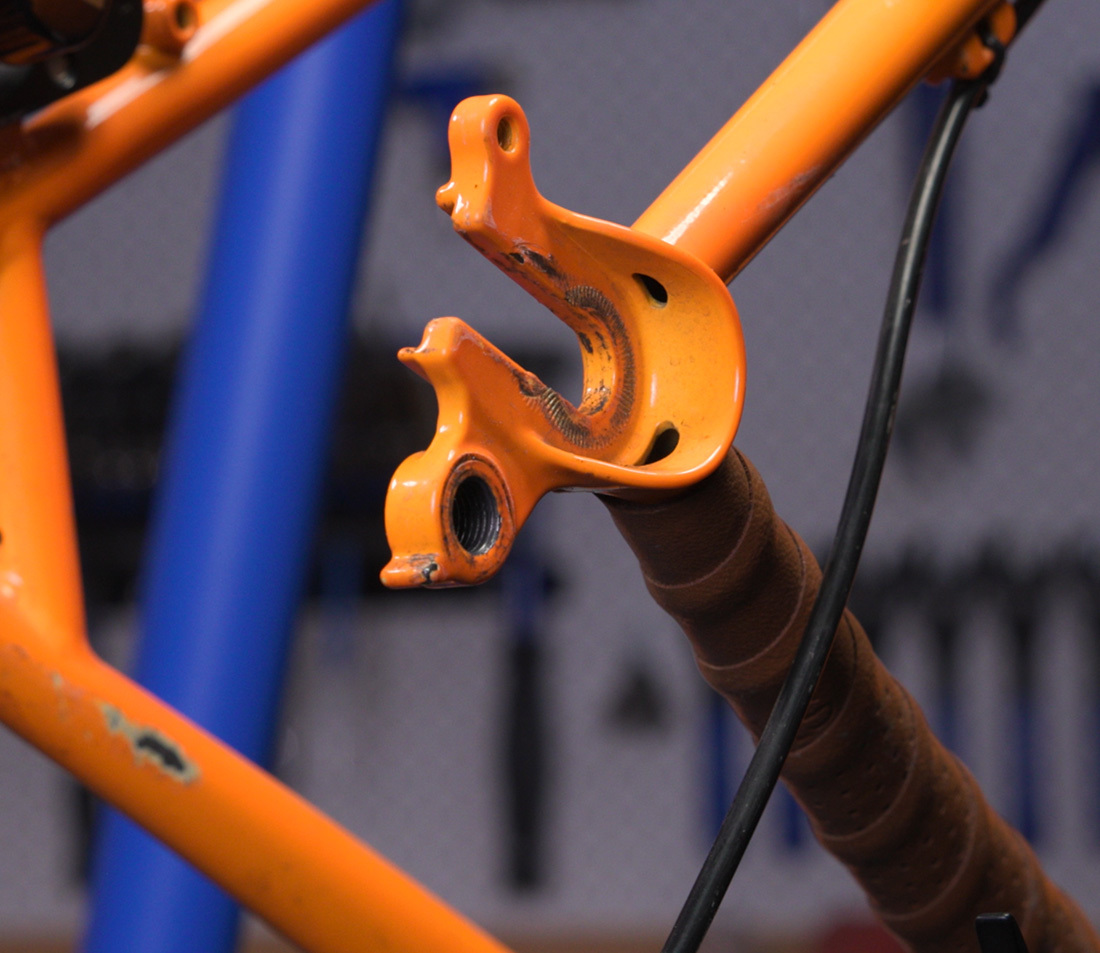
Example of a frame with built-in derailleur hanger.
There are two main reasons to replace a derailleur hanger:
Snapped/Extremely Bent Hanger Body
Riding does not create much stress on the hanger. Rather, hanger damage is typically caused by impact. For example, a crash, a fall, or rough handling around a rack or other obstacle. Repeated bending from impacts can eventually lead to hanger failure.
A hanger that seems misaligned or bent but is still intact can be checked and potentially realigned using a derailleur alignment gauge — see Rear Derailleur Hanger Alignment for more information. Generally, if a hanger survives an adjustment, it will hold up under normal riding conditions.
Damaged/Stripped Threads
Damaged threads can prevent a derailleur from being securely installed. There may be options for repair, however — see Derailleur Hanger Thread Repair for more information.
Hanger Selection
Even if you just got a new bike, it is a good idea to pick up a spare replaceable hanger as a backup. There are many different designs and models of hangers. Unfortunately, there is often very little interchangeability between brands and models. Hangers sometimes look similar but even small differences can make them non-interchangeable.
Finding the correct hanger for your bike can require some research. Begin by noting the bike brand, model and year of manufacture. It can be useful to take a close-up picture of your hanger for easier reference as you begin to look around.
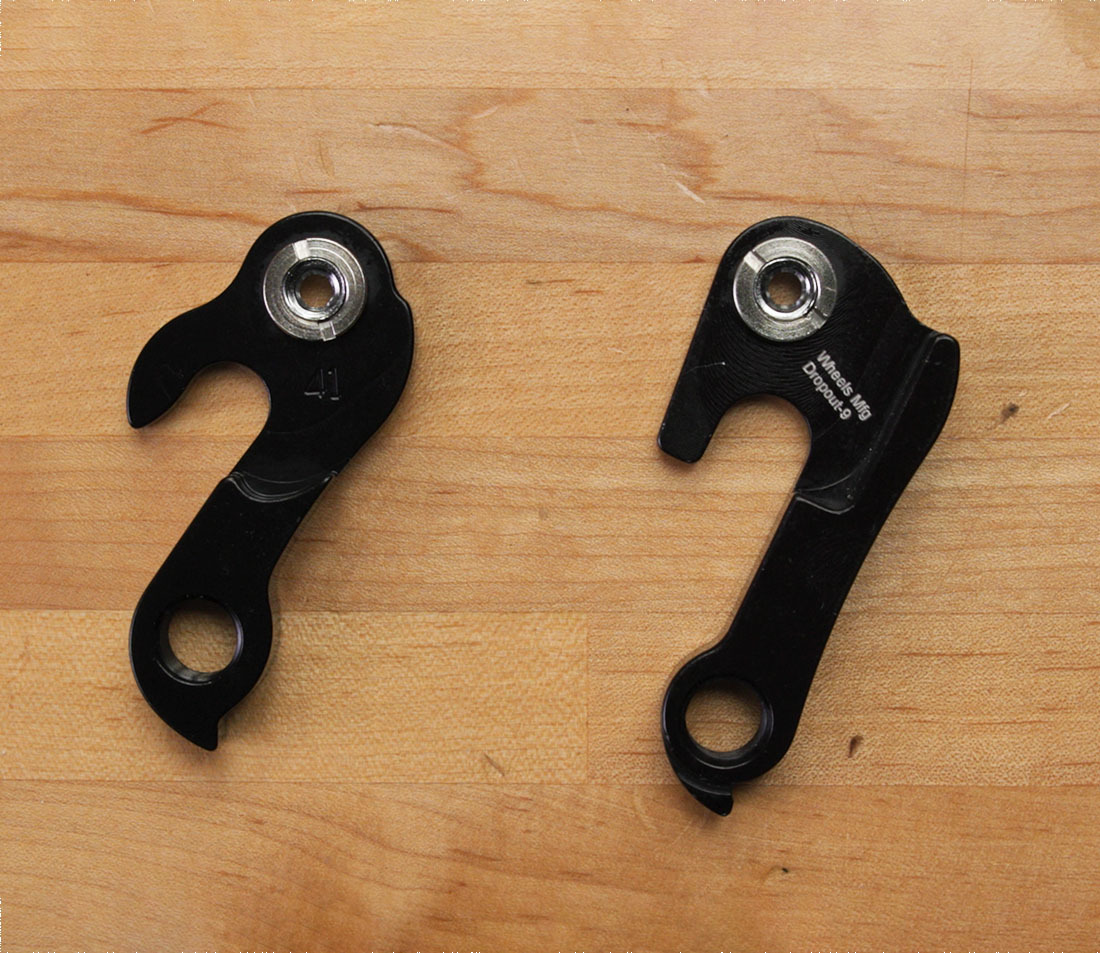
Two similar hanger designs which are nevertheless not cross-compatible
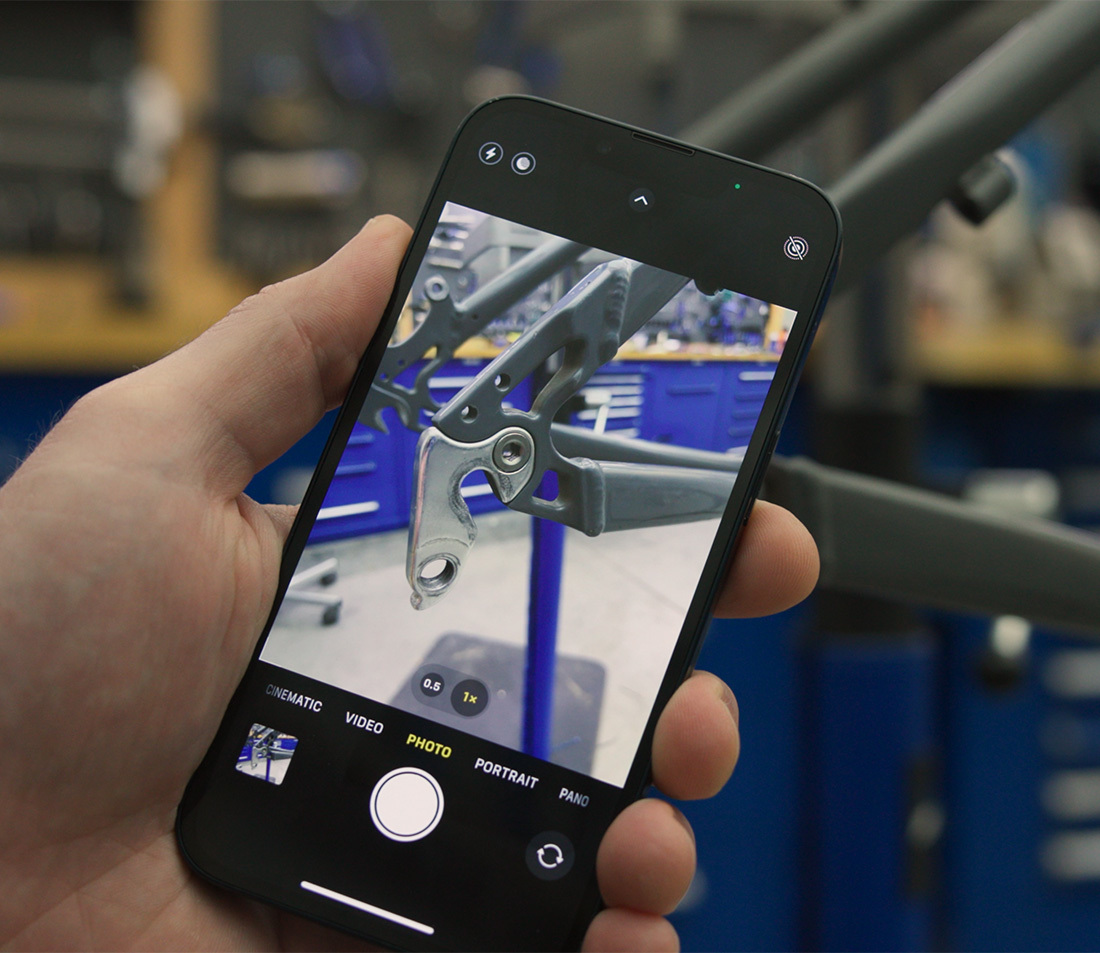
Take a picture of your hanger for easy reference
A good place to begin your search for a replacement hanger is with the bike retailer where you got the bike. If that’s unsuccessful, try the manufacturer of your bicycle.
There are also websites that use hanger identification databases to help you find the right one. Two web-based examples:
Both sites allow you to search by bike make and model. Alternatively, the Wheels Mfg. site allows you to filter by hanger mounting style and then hanger shape. This is where your hanger image will come in handy as a reference.
Replacement Process
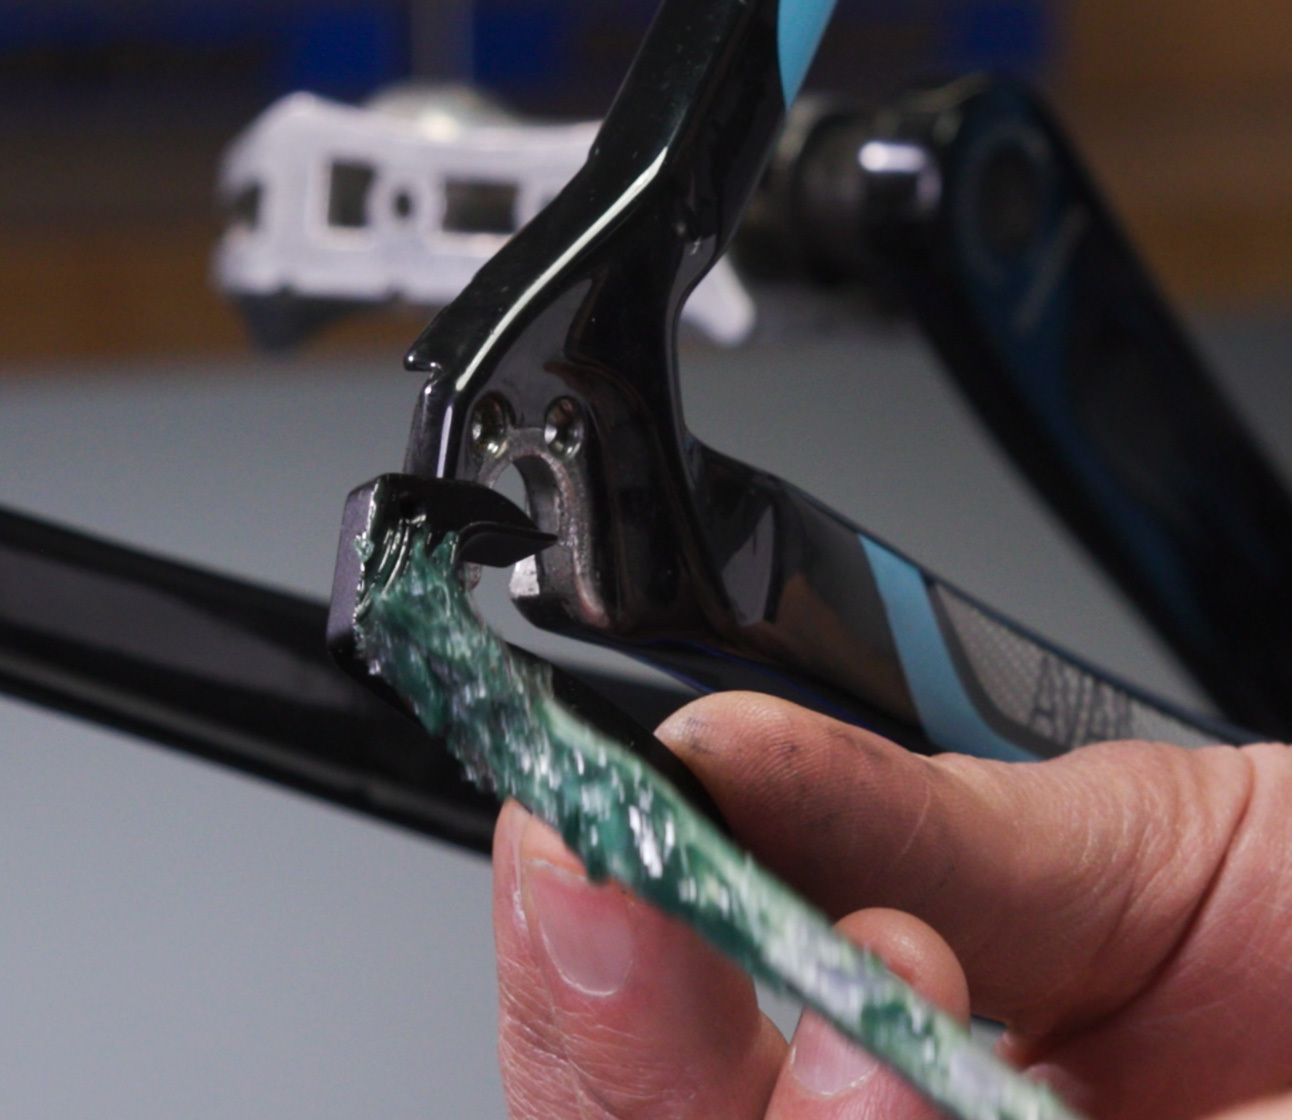
After finding and getting the correct hanger, it is time to install it. If not already done, remove the wheel. Then remove the derailleur. Undo the hanger fasteners, taking note of their orientation as it is removed from the frame. It’s a good idea to save the fasteners if they are in good shape. In some cases, new fasteners are not included with the replacement hanger.
Before installing the new hanger, apply a small amount of grease between the dropout and hanger. This step is optional, but it can help prevent creaking.
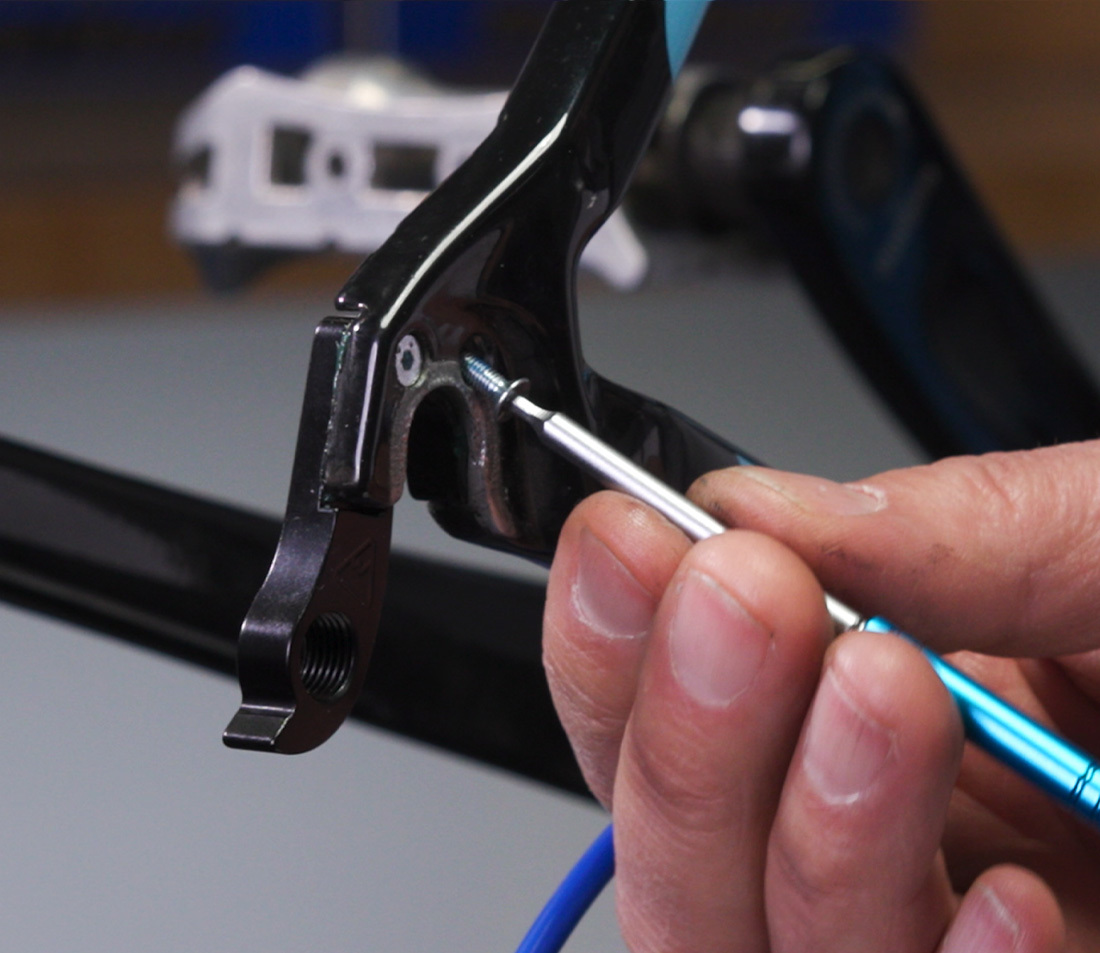
Next, install the fasteners. It is a good idea to use a little threadlocker or some method of thread preparation on the threads of the fasteners.
Check the hanger manufacturer’s website for torque recommendations. Smaller screws require a light torque — as little as one to one-and-a-half Newton meters. Larger fasteners use a larger torque — closer to four or five Newton meters.
Reinstall the wheel. Keep in mind that clamping the wheel tightly in the frame squeezes the hanger to the dropout, which also helps secure it.
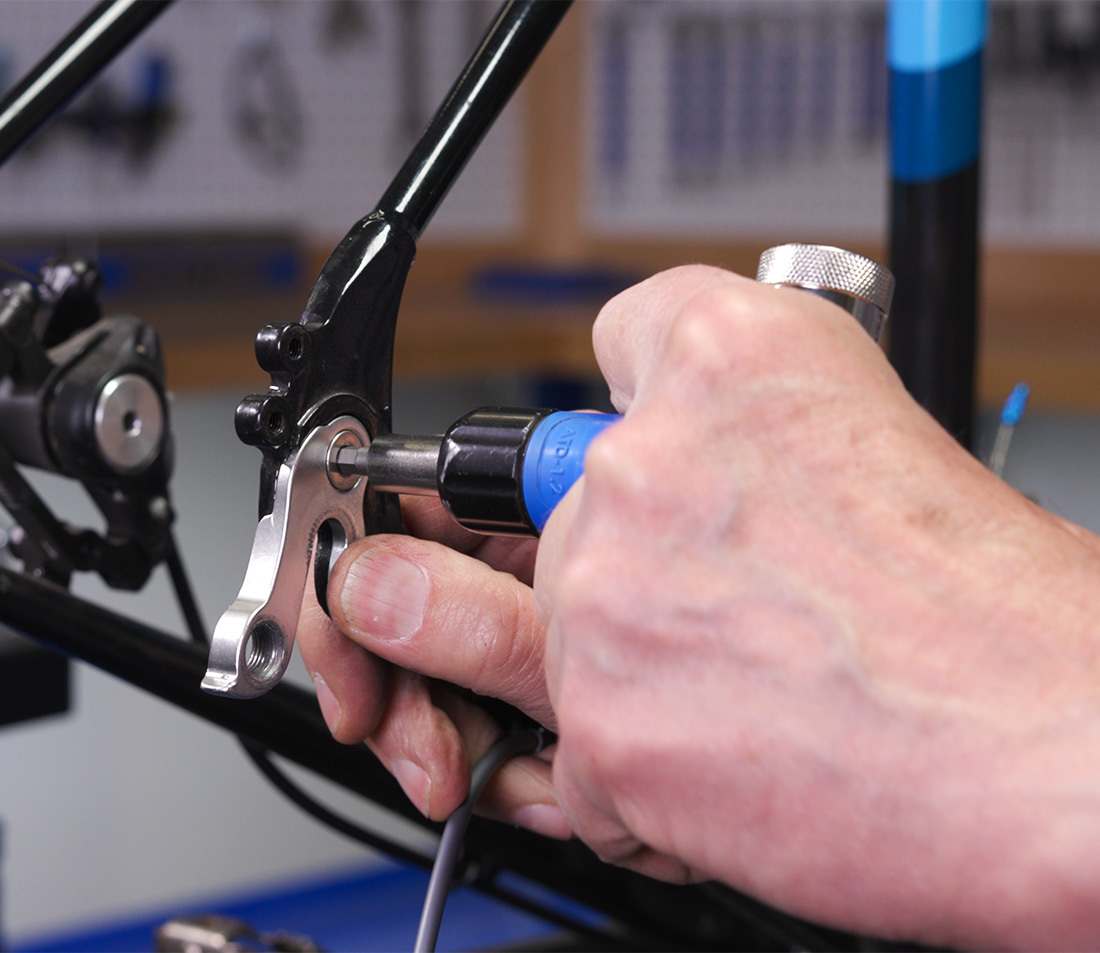
When possible, check the hanger alignment with a derailleur alignment gauge. While new hangers tend to be made straight with good tolerances, the fittings in the frame are often less precise, and can cause a new hanger to be misaligned to the cassette sprockets. Checking and correcting the hanger to the specific frame effectively customizes the hanger to the bike.
Install the derailleur and double-check the shifting adjustments.
Related articles
Derailleur Hanger Thread Repair View Article
Rear Derailleur Hanger Alignment View Article