Wheel Removal and Installation
This article will discuss the removal and installation of front and rear wheels on a bicycle.
Wheel Removal
- Repair stand (optional, makes the work a lot easier)
- Appropriate wrench for non-quick-release type wheels that use outer axle nuts - typically 15mm
If possible, begin by mounting bike in stand. If no stand is available, bike should be laid on its left (non-derailleur) hand side when the rear wheel is removed. Do not stand the bike upright without the rear wheel in place, as this may damage the rear derailleur.
- Rear wheels: shift derailleur to the outermost gear and innermost front chain ring. This will give the most chain slack and make it easier to remove the wheel.
- Disengage rim brake release mechanism, if any. Typical MTB and road brake quick-release mechanisms are shown below.
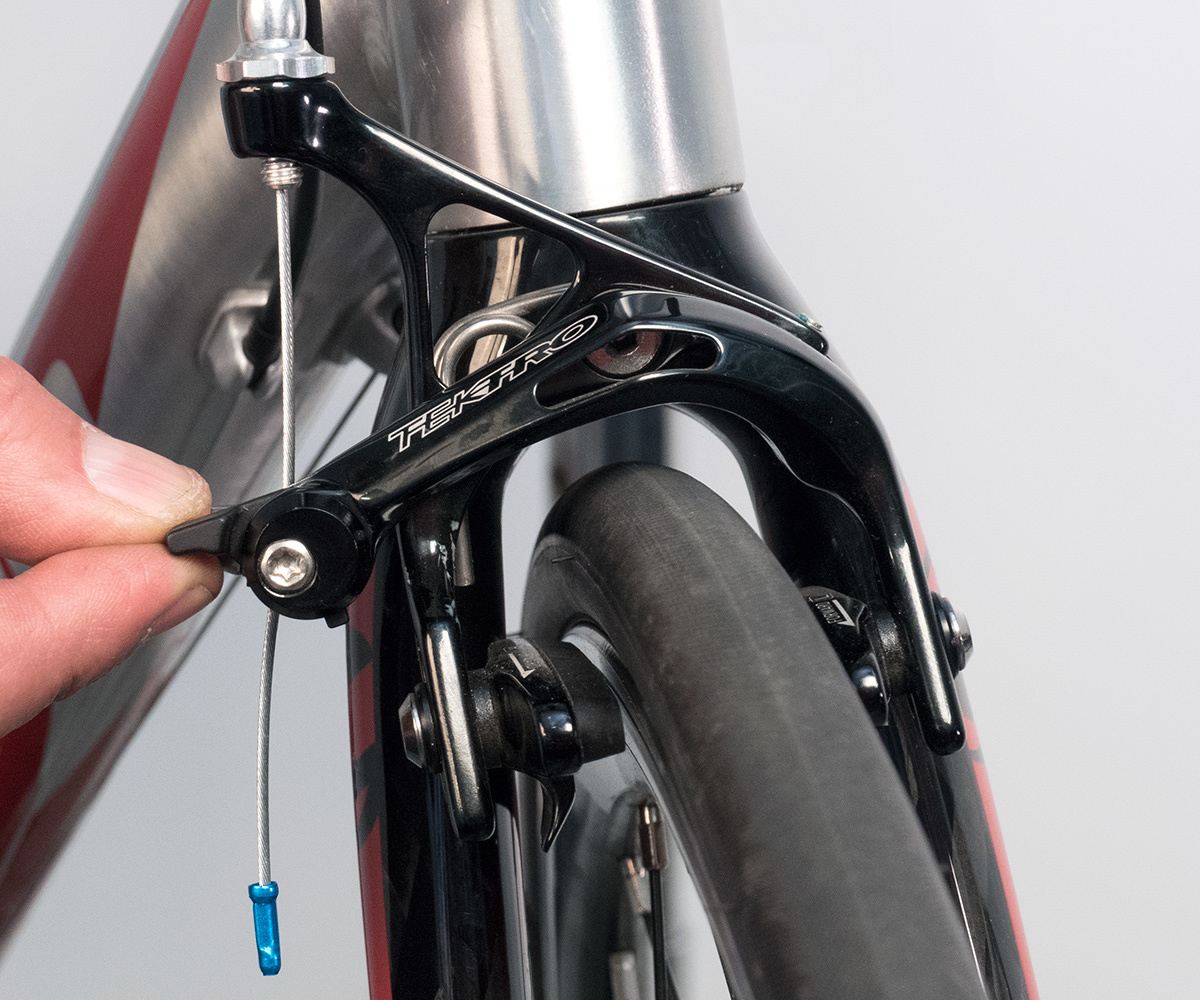
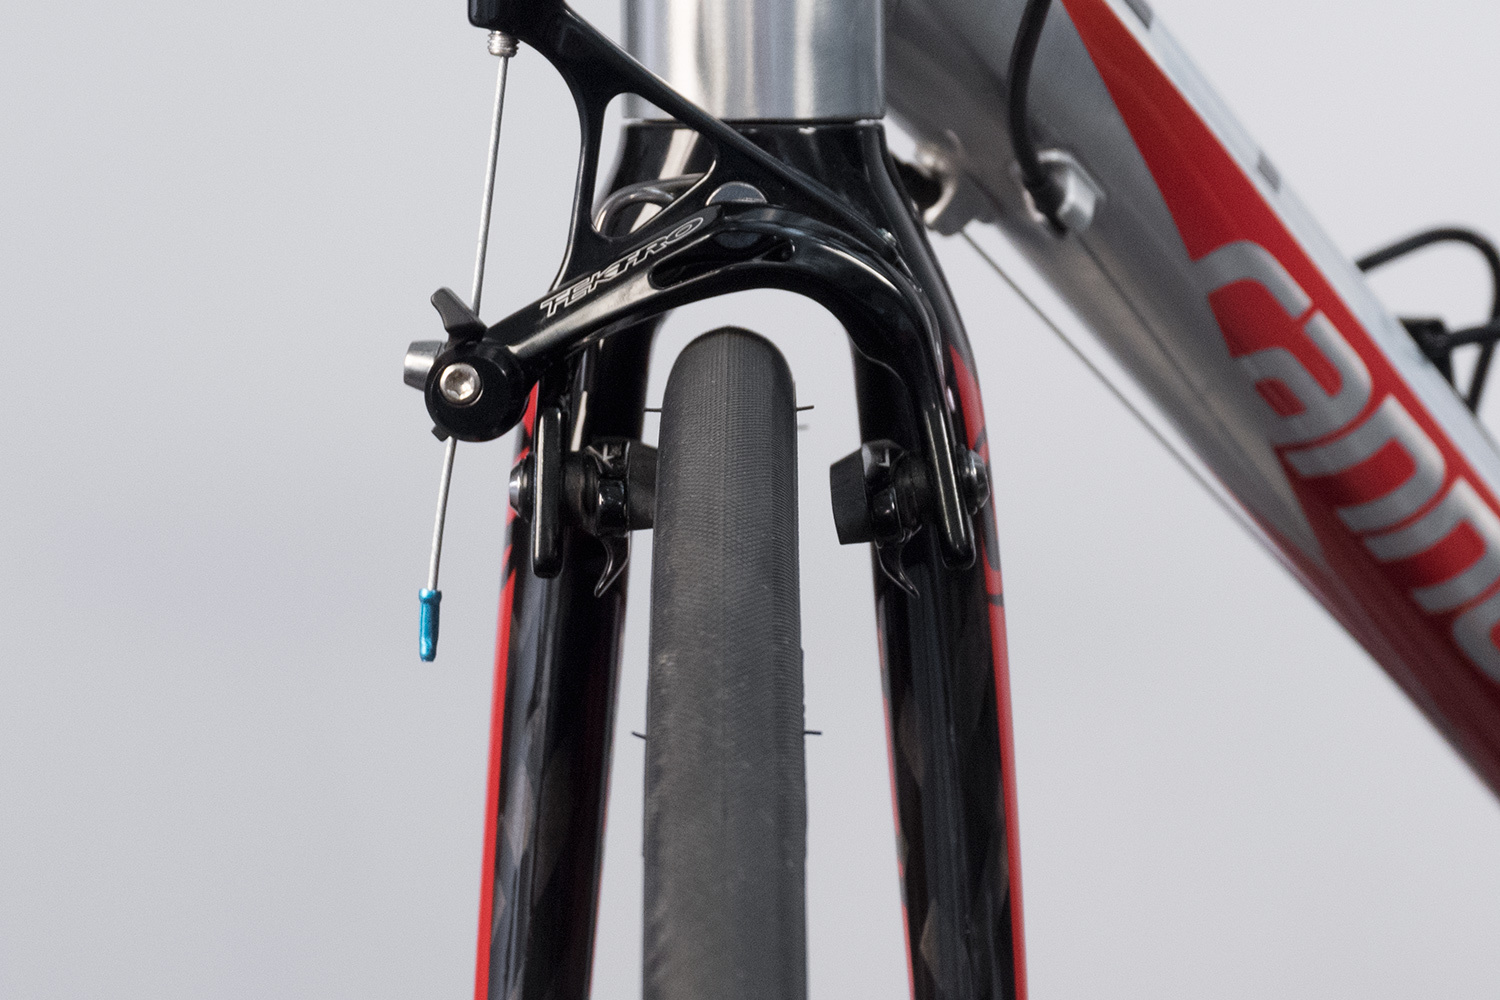
Side-pull or dual-pivot rim caliper may have quick-release at caliper arm
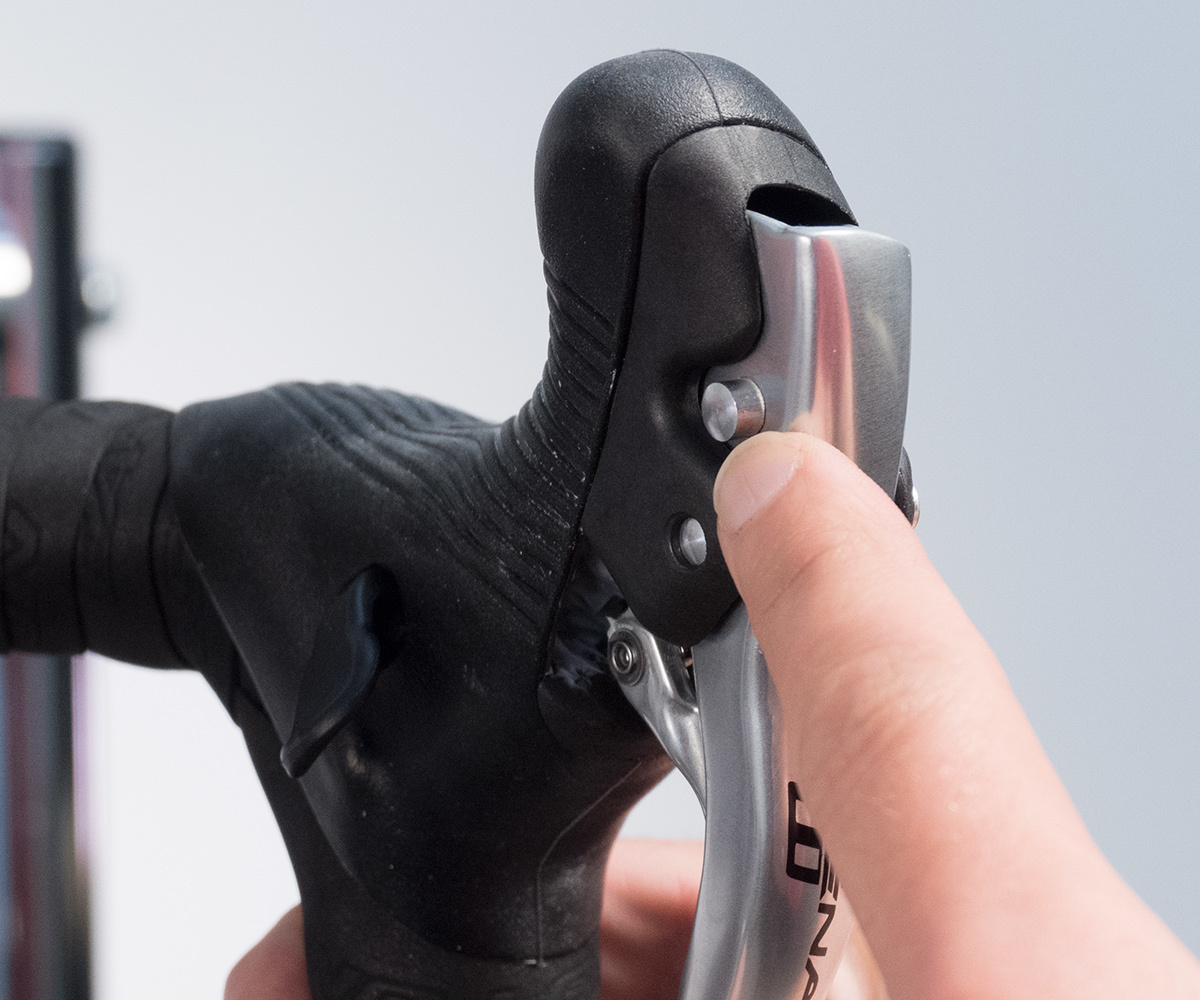
Quick-release located at brake lever
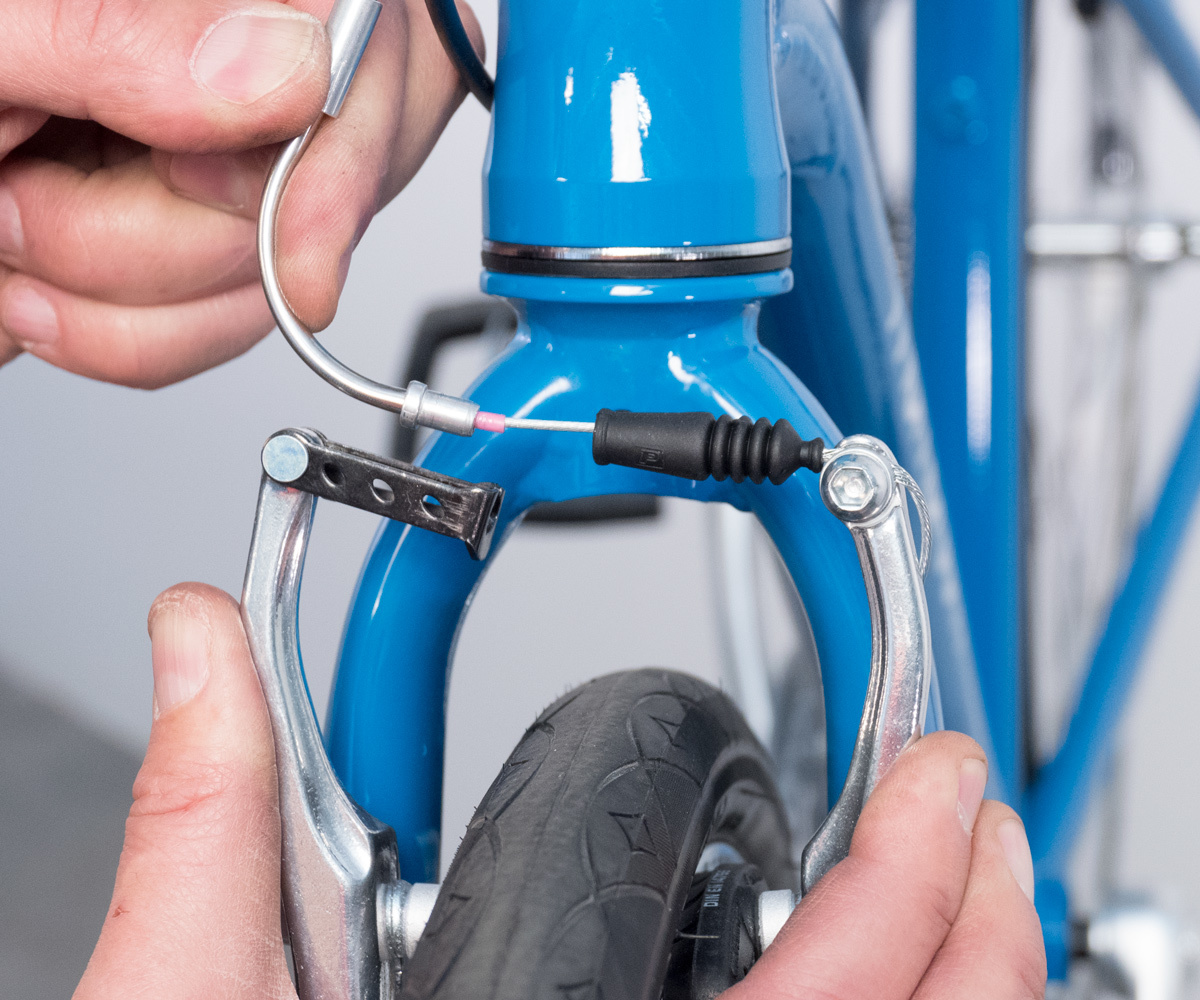
Squeeze linear-pull calipers together and disconnect cable "noodle" from linkage
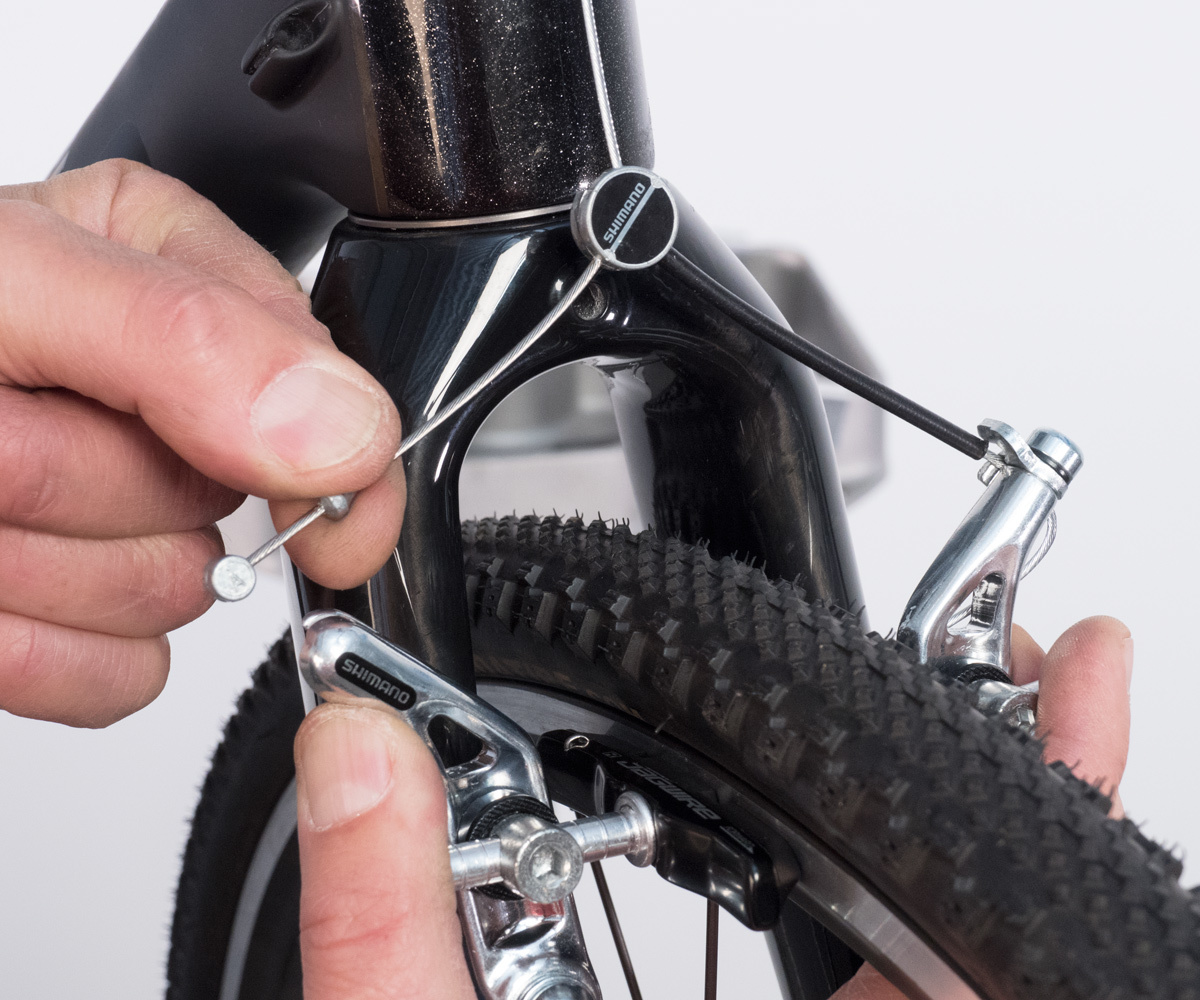
Squeeze cantilever calipers together and disconnect straddle wire cable
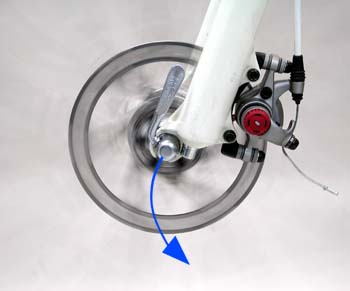
NOTE: With disc brakes, no pad disengagement is necessary. Additionally, with hydraulic disc brakes, do not squeeze the brake lever when the disc is out of the bike. Otherwise, the pads will close and you will have a very difficult time getting the wheel back on the bike. Use a purpose-built pad spreader such as the Park Tool PP-1.2 if this happens.
- Disengage the Wheel from the frame:
- Quick Release: pull outward on end of quick-release skewer lever. If necessary, loosen quick-release adjusting nut to clear any tabs at end of fork.
- Thru Axle: some function similarly to quick-release axle - pull lever outward to disengage and turn to loosen. Some thru axles are equipped with a special fitting that must be engaged to loosen the axle. Still others are simple levers that turn to loosen or tighten - no engagement or disengagement is necessary.
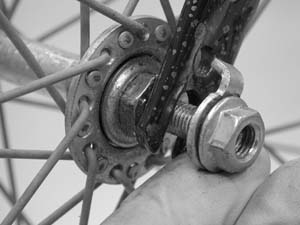
- Solid Axle: For wheels with axle nuts, loosen both nuts outside of dropouts.

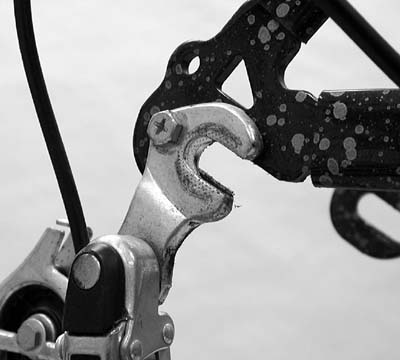
- On a front wheel, simply guide the wheel down and out of the fork. For rear wheels, pull back on the rear derailleur to allow the cogs to clear the chain. Lower the wheel, guiding the wheel down through the brake pads and forward to clear the chain and derailleur.
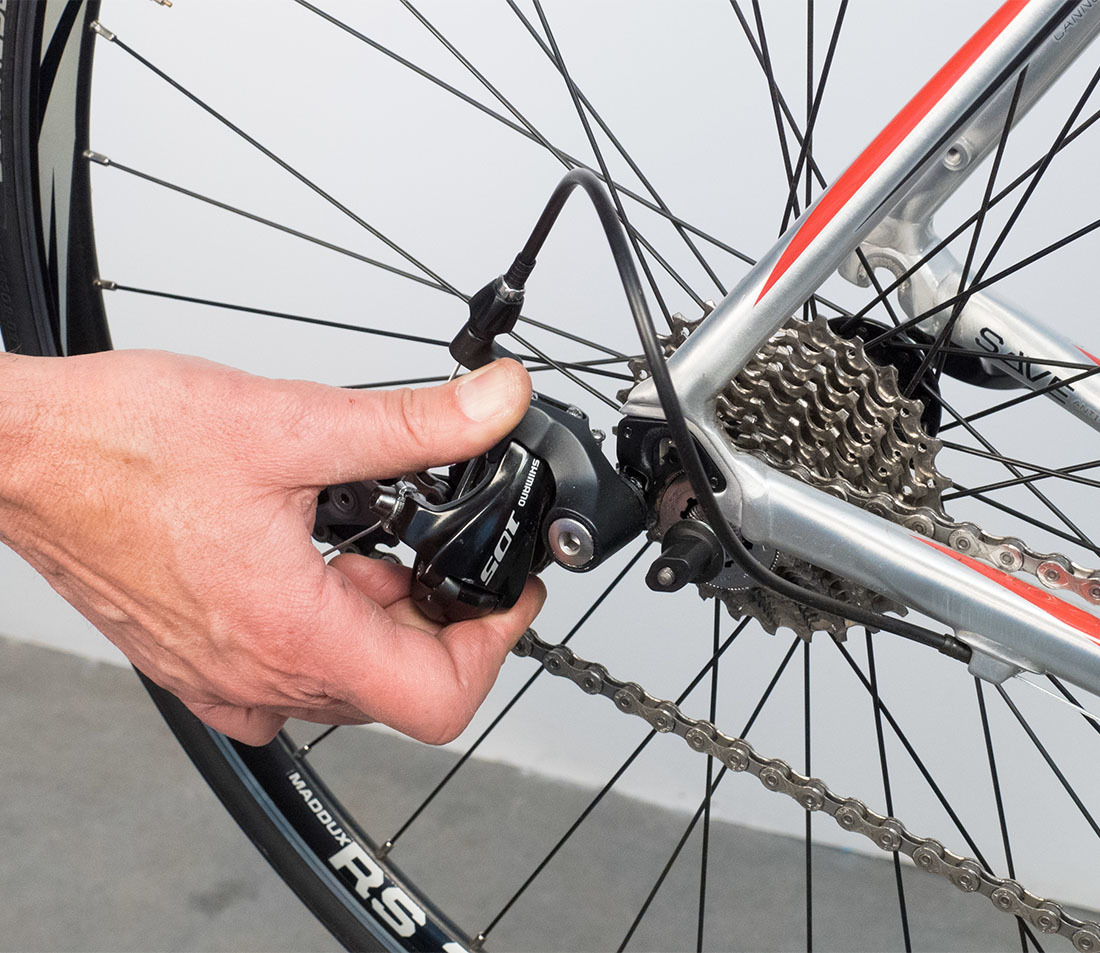
Some derailleurs have a clutch mechanism that make it difficult to pivot the derailleur. These come with features to help remove the wheel easily.
- For SRAM clutch derailleurs, move the lower pulley forward to relax the chain, and use the button to lock it in place.
- For Shimano clutch derailleurs, look for the on/off lever, and move the it to the off position.
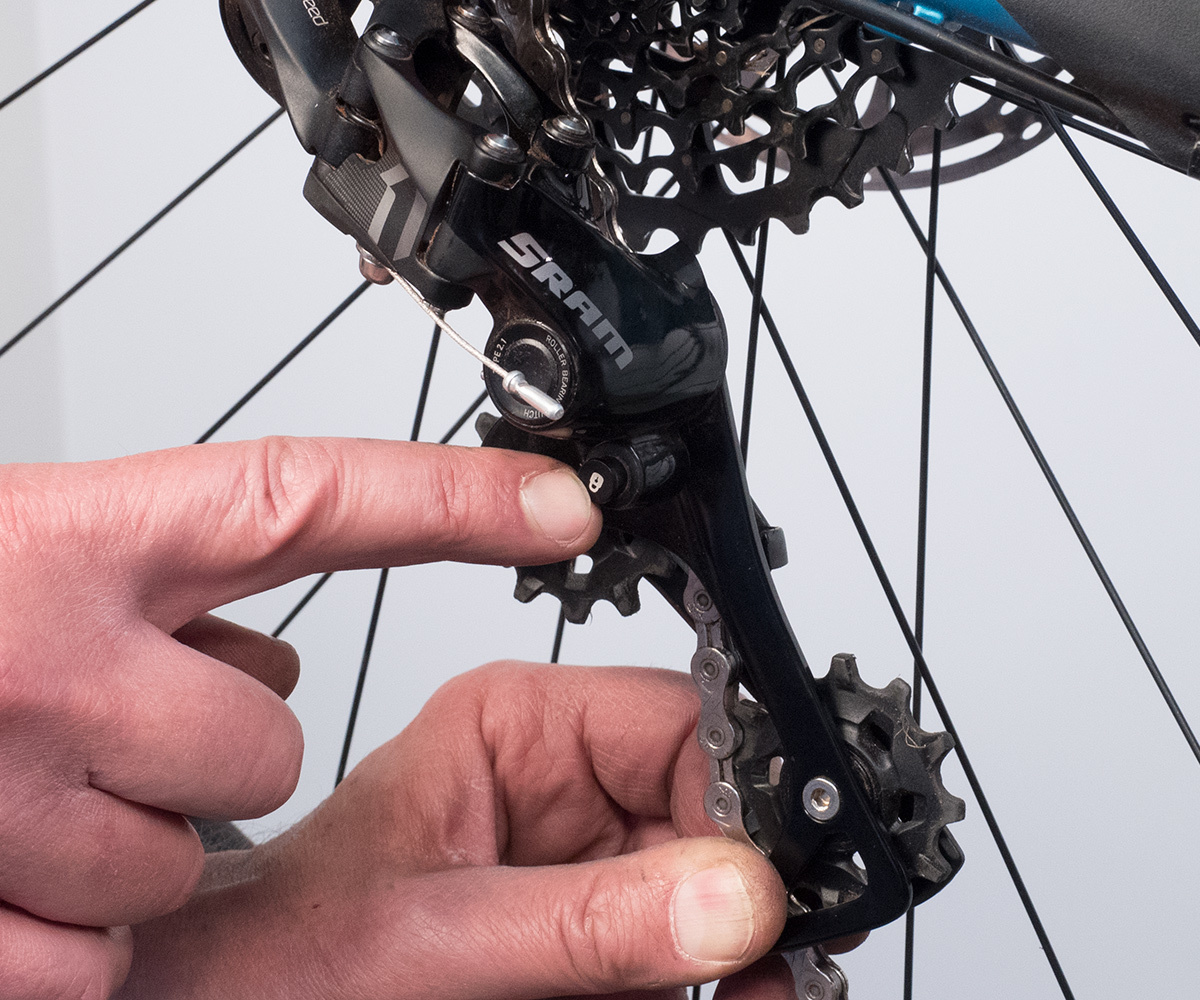
SRAM clutch derailleur with lock button
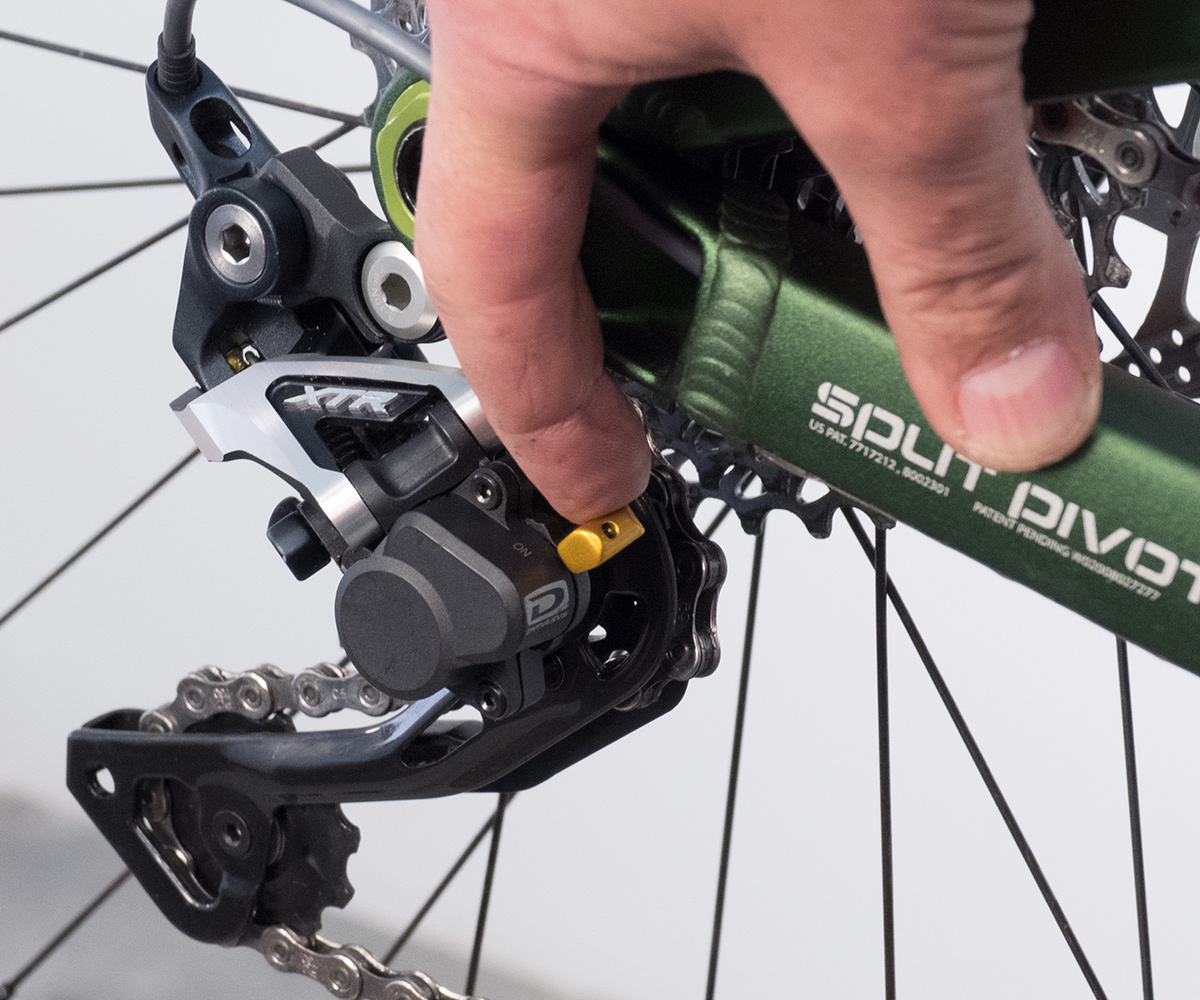
Shimano clutch derailleur with on/off switch
Wheel Installation
The wheels must be properly mounted to the bicycle frame. Misalignment can result in problems with shifting and bike handling. If the wheel is not securely mounted in the dropouts, it may come out when the bike is ridden, possibly causing injury to the rider.
Solid axle hubs use axle nuts outside the dropouts. The axle nut will have a washer built into the nut, or a separate washer. If the washer has teeth or knurling, these face the dropout to help secure the wheel. Lubricate the axle threads while the wheel is off the bike.
It is often easiest to install the front wheel when the bike is standing on the ground. The quick-release skewer must be fully engaged on the dropout surfaces. By placing the bike on the ground, the axle will be fully up in the dropouts.
- Check that the quick-release skewer lever is in open position and that brake quick-release mechanism is open.
- Install the wheel into the dropouts. Make sure the hub is fully seated in the frame or fork.
- On a rear wheel, first pivot the derailleur back and place the smallest cog between the upper and lower sections of chain. Guide the wheel between the brake pads and engage smallest cog on chain.
- Tighten the wheel:
- Quick-release: tighten the axle so that the lever meets resistance at 90° from the frame or fork.
- Thru axle: slide the axle in place and turn clockwise until tight.
- Solid axle: tighten both axle nuts to manufacturer’s recommended torque.
- Use of a torque wrench is recommended. However, if none is available, one can use perceived effort. For 25Nm of force, apply about 40 lbs. of pressure to the end of a 5″ wrench.
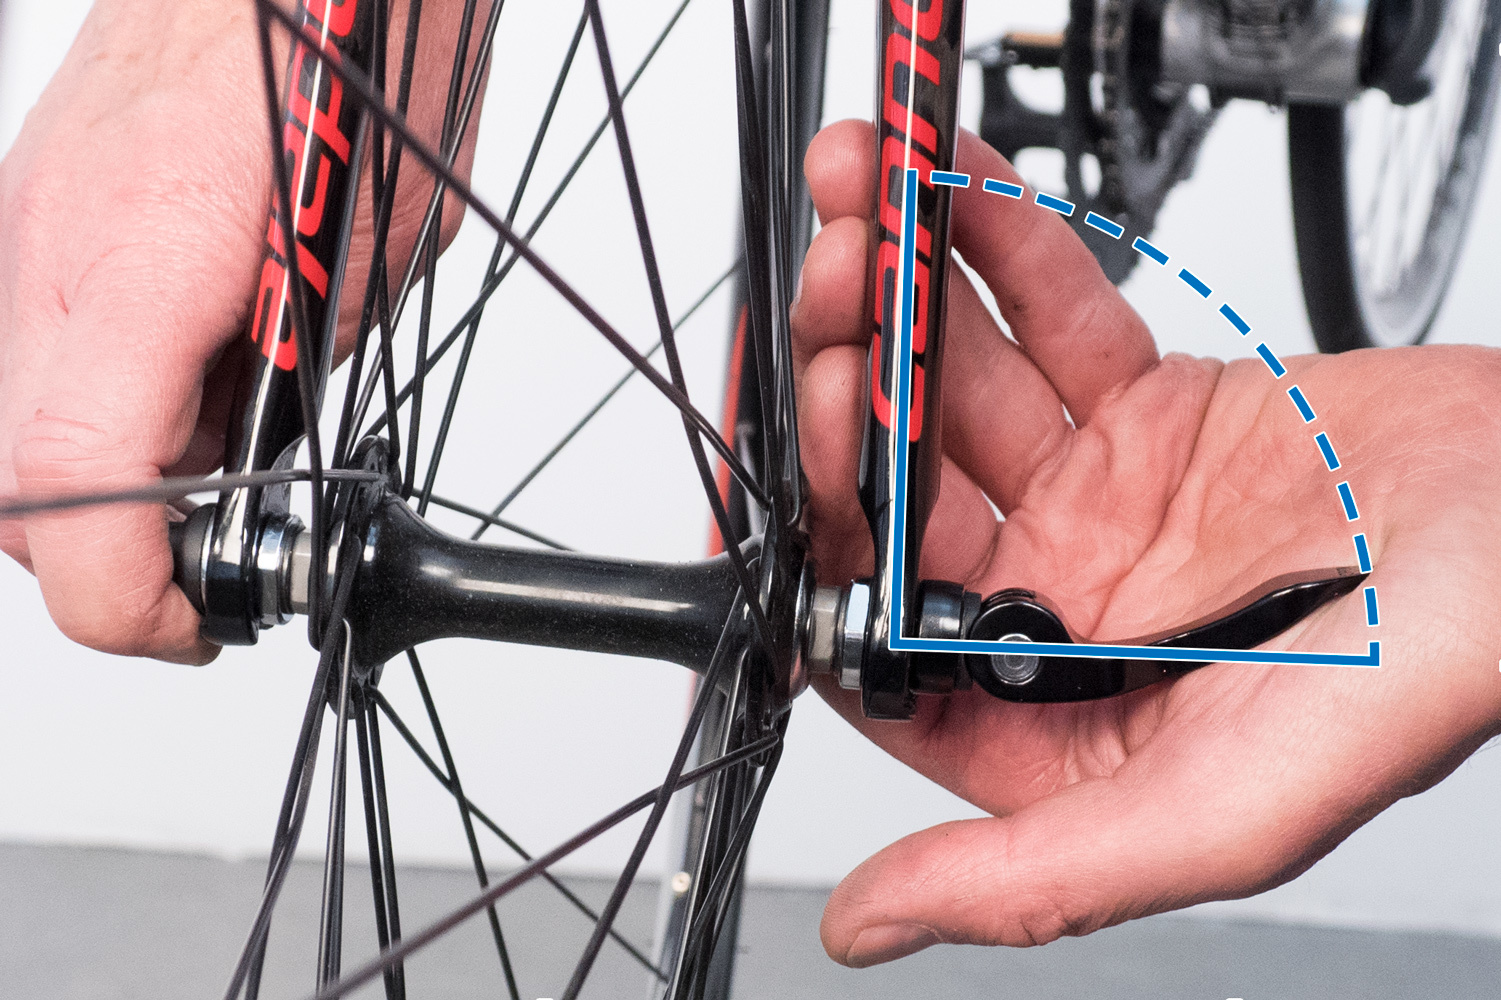
- Determine final closing position of lever. Rotate front lever and adjusting nut so the lever will end up just in front of fork. Position the rear lever so it falls between the chain stay and seat stays. Reposition the lever as necessary if it will not fully close.

Place front lever just in front of fork blade when possible
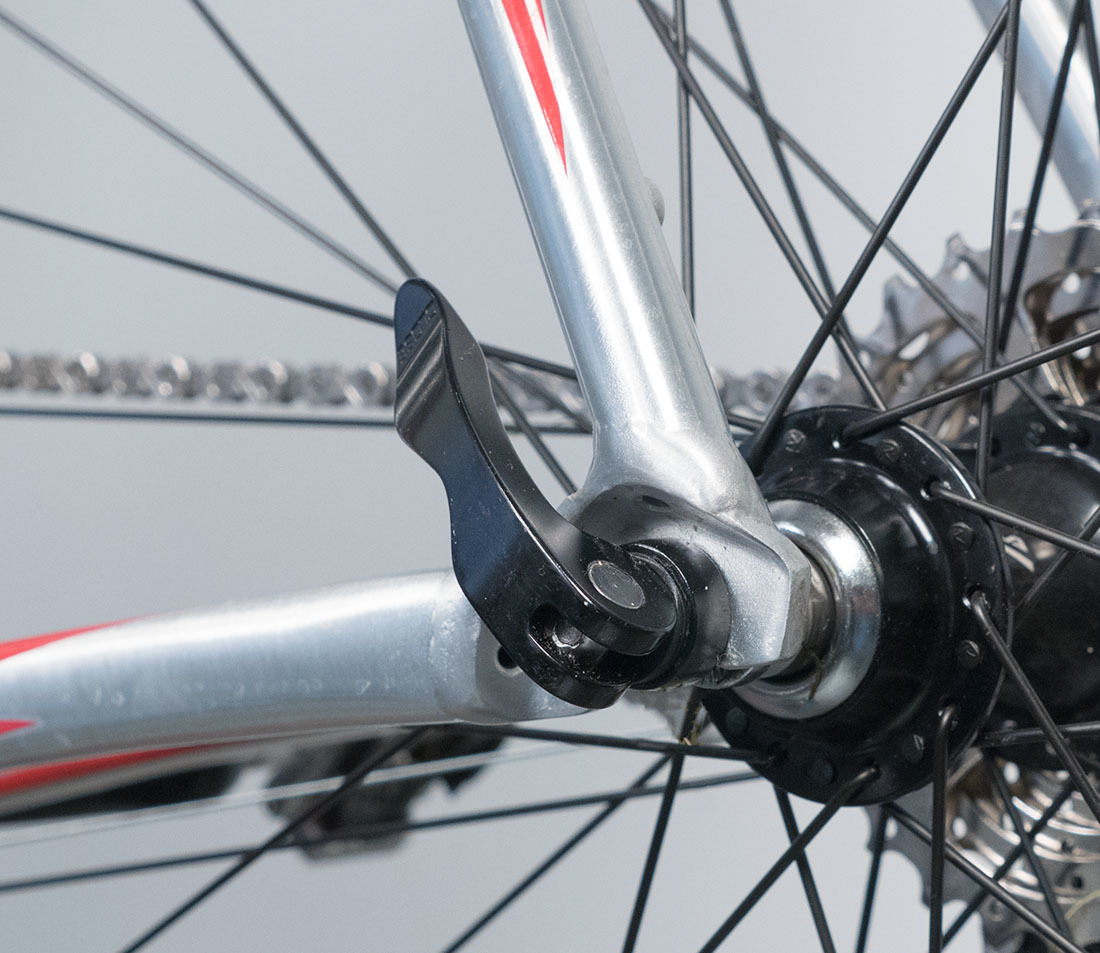
Align rear lever between chain and seat stays
- Re-engage brake release mechanism, if applicable.
- Verify that wheel is centered in frame or fork. Open skewer or loosen axle nuts and adjust as necessary to center wheel in frame, and re-tighten.
- Verify that rim brake pads are centered to the wheel and adjust as necessary.
Additional information
Quick Release
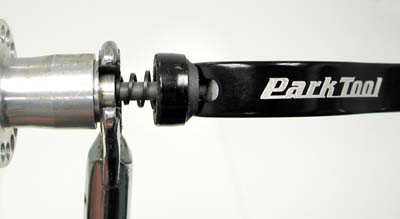
Quick-release wheels use a hollow hub axle fitted with a shaft, a lever that operates a cam mechanism, and an adjusting nut. The cam puts tension on the shaft and pulls both the cam and the adjusting nut tight against the dropouts. This tension is what holds the wheel securely to the frame. The adjusting nut determines the amount of tension on the quick-release lever and cam. Lubricate the cam mechanism if it appears sticky or dry.
The quick-release is fitted with two conical shaped springs. The small end of the spring faces the axle, and the large end faces outward. These springs make the wheel easier to install. If one or both springs become twisted or damaged they may be removed. The springs serve no purpose once the wheel is tight on the bike.
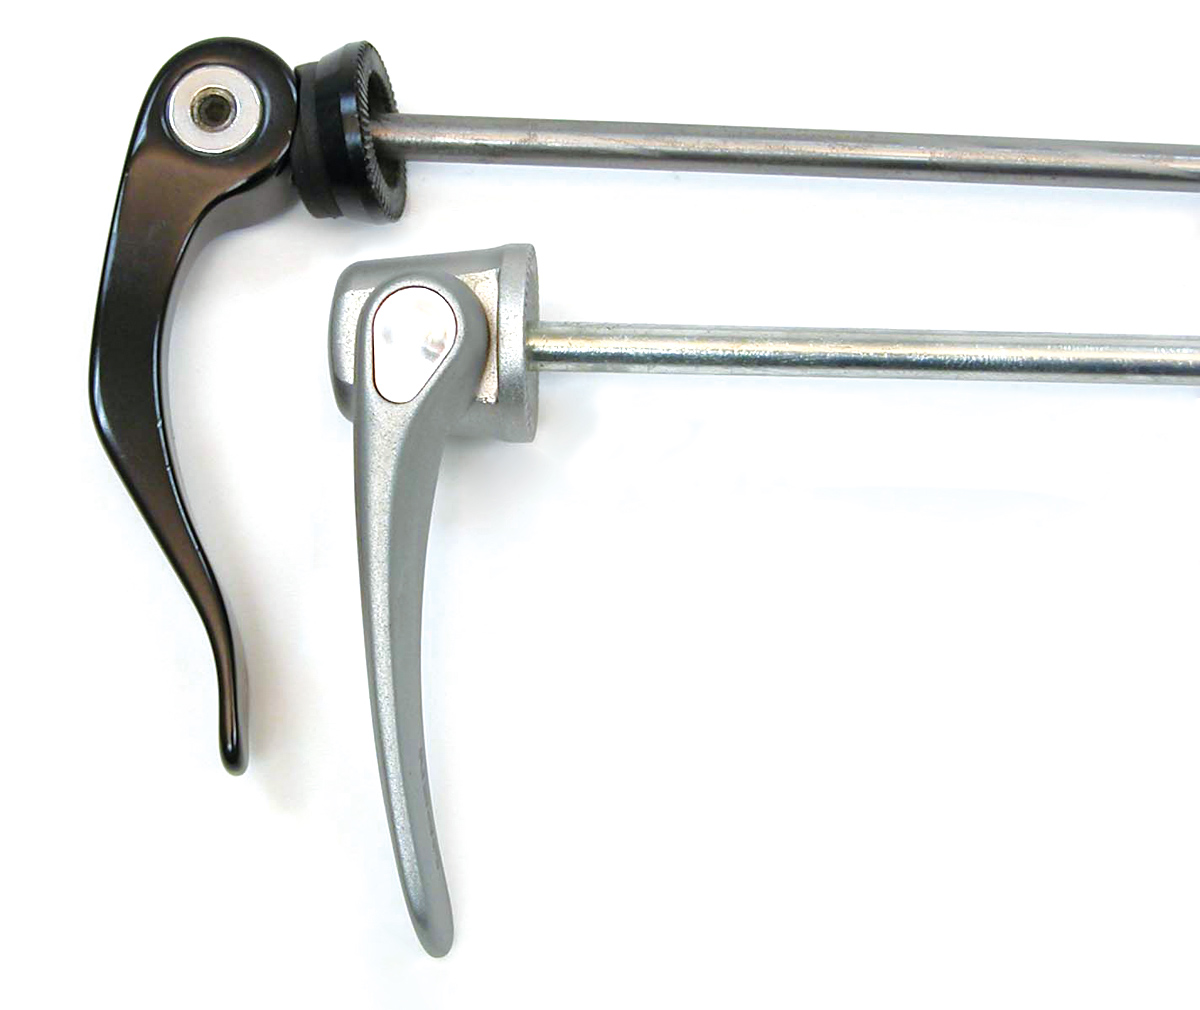
So called “open cam” skewers may require more tension from the skewer. These skewer levers have the cam mechanism exposed, and should be lubricated often. Always check with skewer manufacturer for specific procedures.
Disc Brakes
Bicycles using disc brakes at the hub need special attention to skewer use. Rim brake systems (Dual Pivot, Linear Pull, Cantilever, Sidepull, etc.) tend not to apply significant pressure on the axle. Disc brake systems are mounted on the fork and apply a load on the rotor, which is attached to the hub. There is an outward load on the hub axle that tends to push the axle out of the dropout.
It is especially critical the skewer be properly and fully secure on disc brake systems.
Solid Axle Systems
Rear dropouts on solid axle systems may also have a derailleur hanger that bolts to the dropout. There should be a bolt and nut that holds the hanger to the frame. The wheel installs over the hanger bracket. The axle should extend to the back of this bracket. However, the left side axle will appear not to sit at the back of the dropout. This is because the right side is displaced forward by the hanger bracket. Center the wheel and fully secure nuts.
Related articles
Tire and Tube Removal and Installation View Article
Inner Tube Repair View Article
Hub Overhaul and Adjustment: Cup and Cone Style View Article
Wheel Truing (Lateral & Radial) View Article