Tubeless Tire Conversion & Installation: Fat Bikes
A clear and easy to follow guide on fat tire bike tubeless conversion and installation.
Getting Started
- Scissors
- Seal pick or small cross-tip screwdriver
- Tubeless valves
- Tubeless rim tape
- Rags for cleaning
- Compressor and inflator head
- Sealant
- Valve Core Remover and Syringe such as TSI-1 (optional)
Tubeless tires have become quite popular, especially in cyclocross and mountain biking, and even fat tire biking. They give good traction because they can be run at lower air pressures without the risk of pinching and flatting an inner tube. Additionally, the sealant poured inside can fill small punctures in the tire, giving a more maintenance free ride.
Converting from an inner tube system to a tubeless system on a fat tire bike can be done, but there are limitations.
Ideally, the tire and rim should be designated as “tubeless ready” or “Tubeless Conversion System” in order get an acceptable bead seal to the rim. This designation may appear on the product itself. This may also appear in the information provided by the manufacturer. However, there are no industry wide “tubeless ready” fit standards, and if your equipment has no tubeless designation you can try converting, but results can vary.
Rim Taping
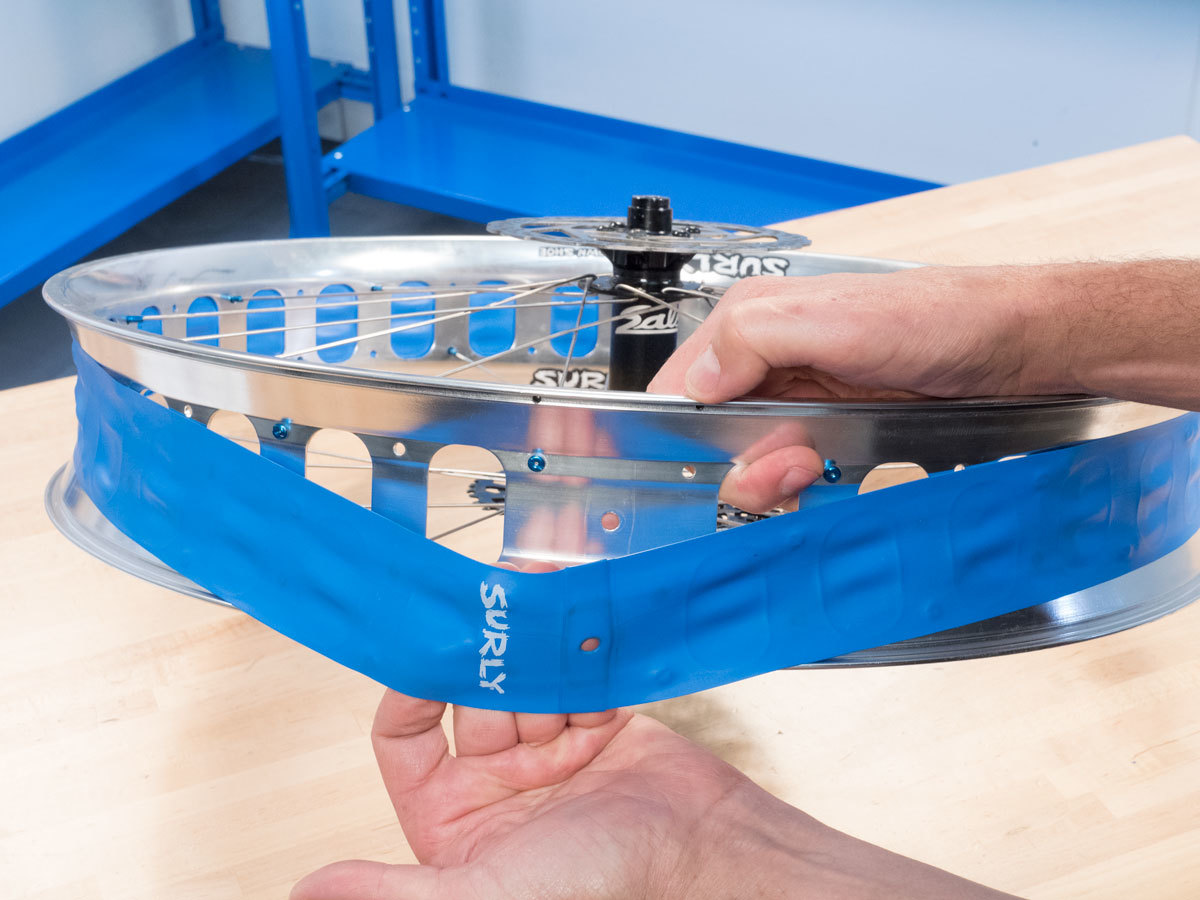
Prepare the rim by removing any inner tube style rim strip. Clean the inside of the rim channel using a solvent that will not leave an oily film, such as alcohol or acetone. If the rim has large holes, as shown below, reinstall the rim strip. If there are no holes, do not reinstall the strip.
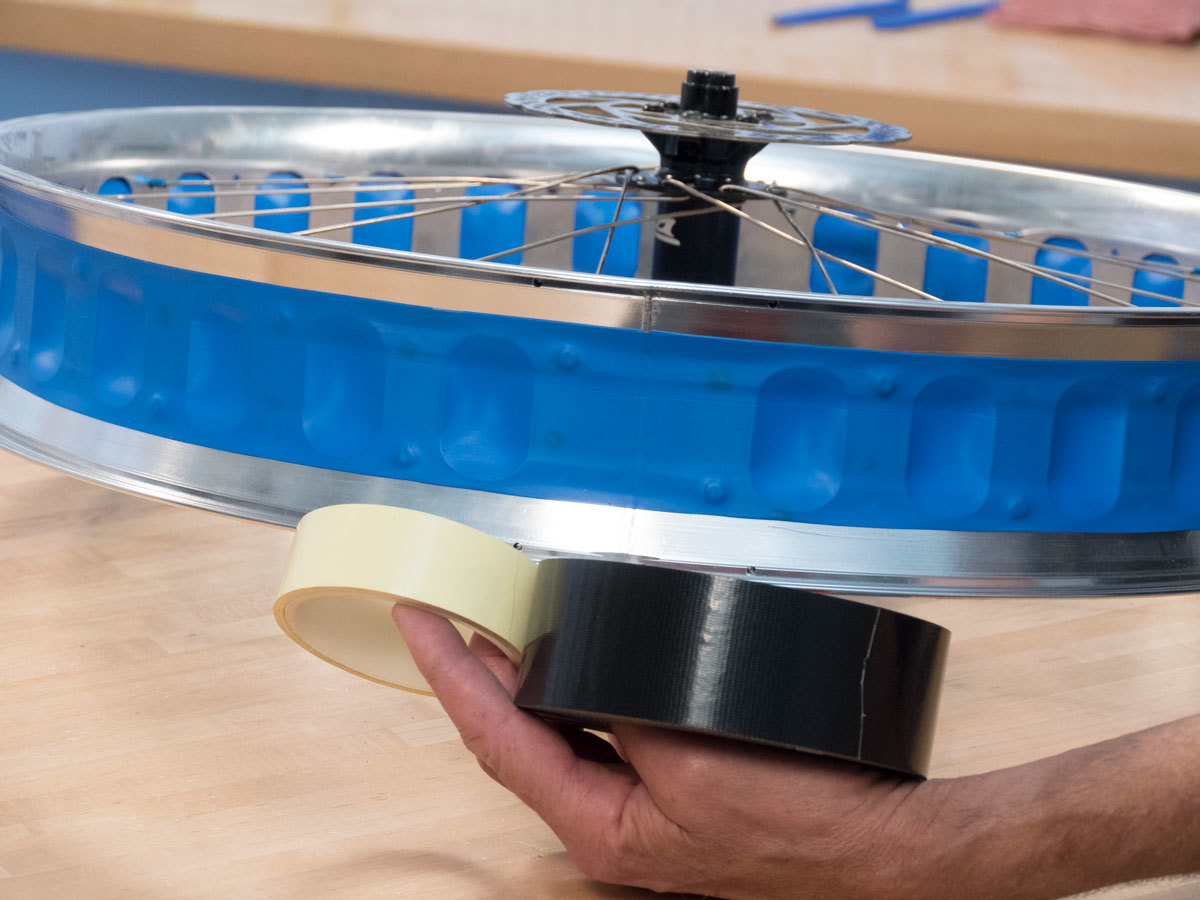
Choose a sealing tape of an appropriate width for the rim. For this demonstration, the tape will overlap in the middle of rim.
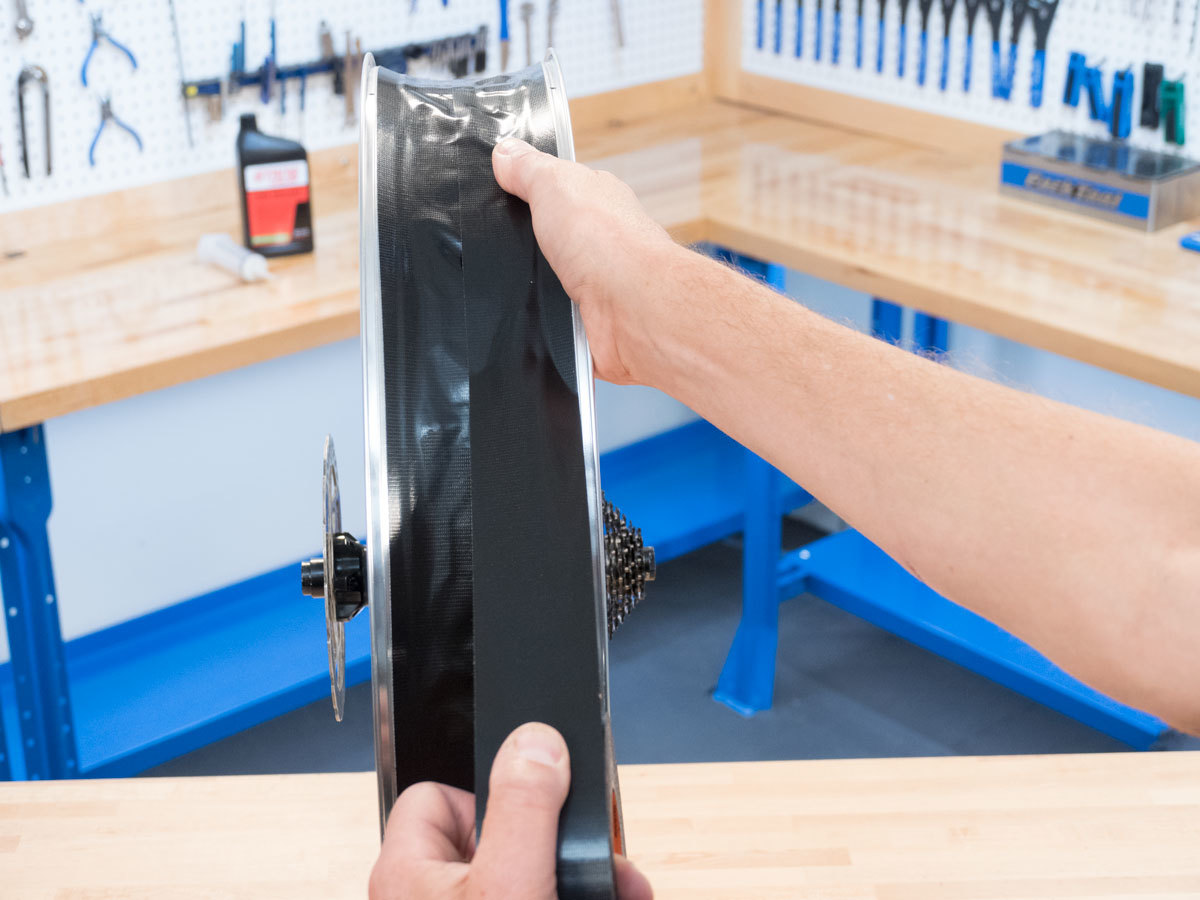
Begin engaging the tape at least one spoke hole away from the valve. Align the tape to one side, close to the rim sidewall. Pull on the tape as you press it firmly to the rim surface. Work slowly to keep the tape in place and to keep it smooth.

Pass over the valve hole again so the tape is overlapped. Cut the tape.
Repeat the taping on the other side, and again see that the tape overlaps in the middle. Press again on the tape, especially in the middle where the two pieces overlap.
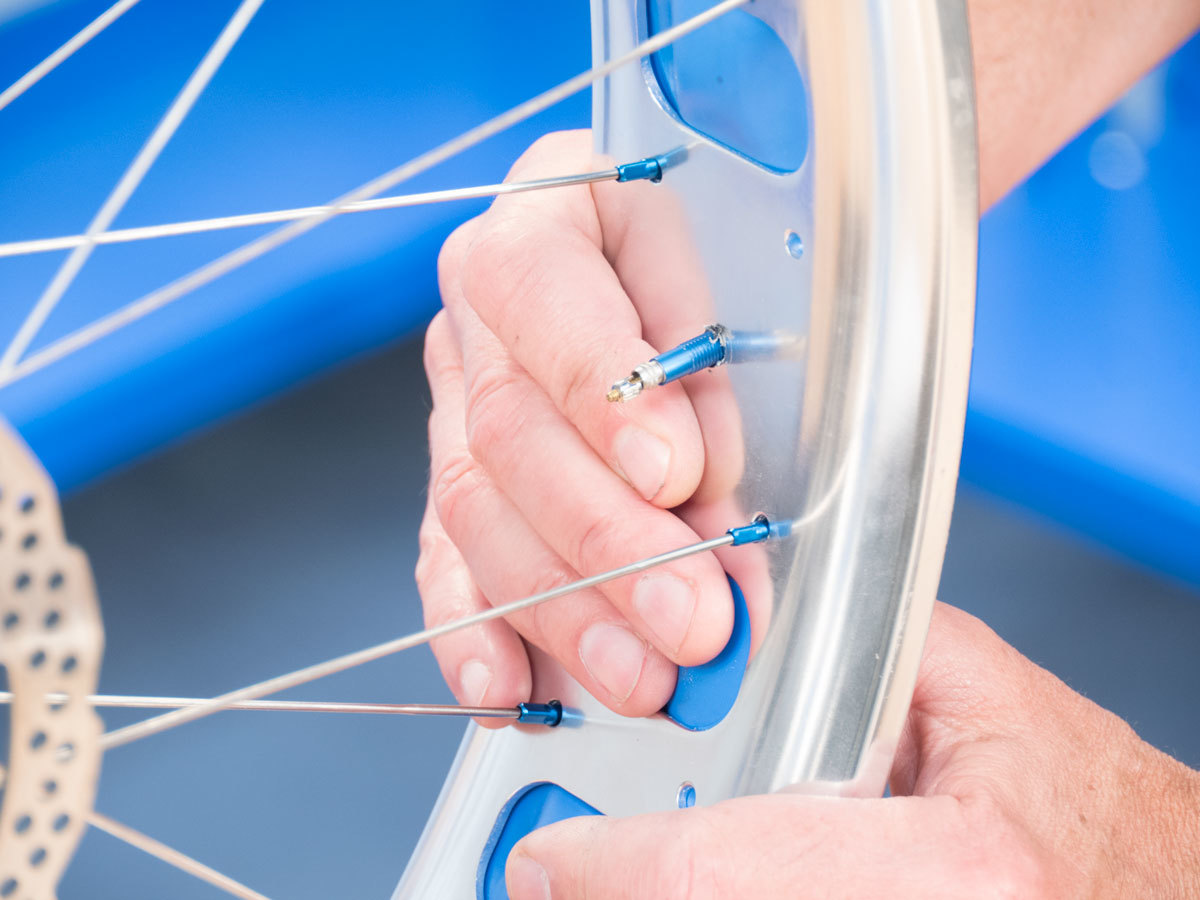
Locate the valve hole. Use a seal pick or a small Phillips screwdriver to punch a round hole through the tape.
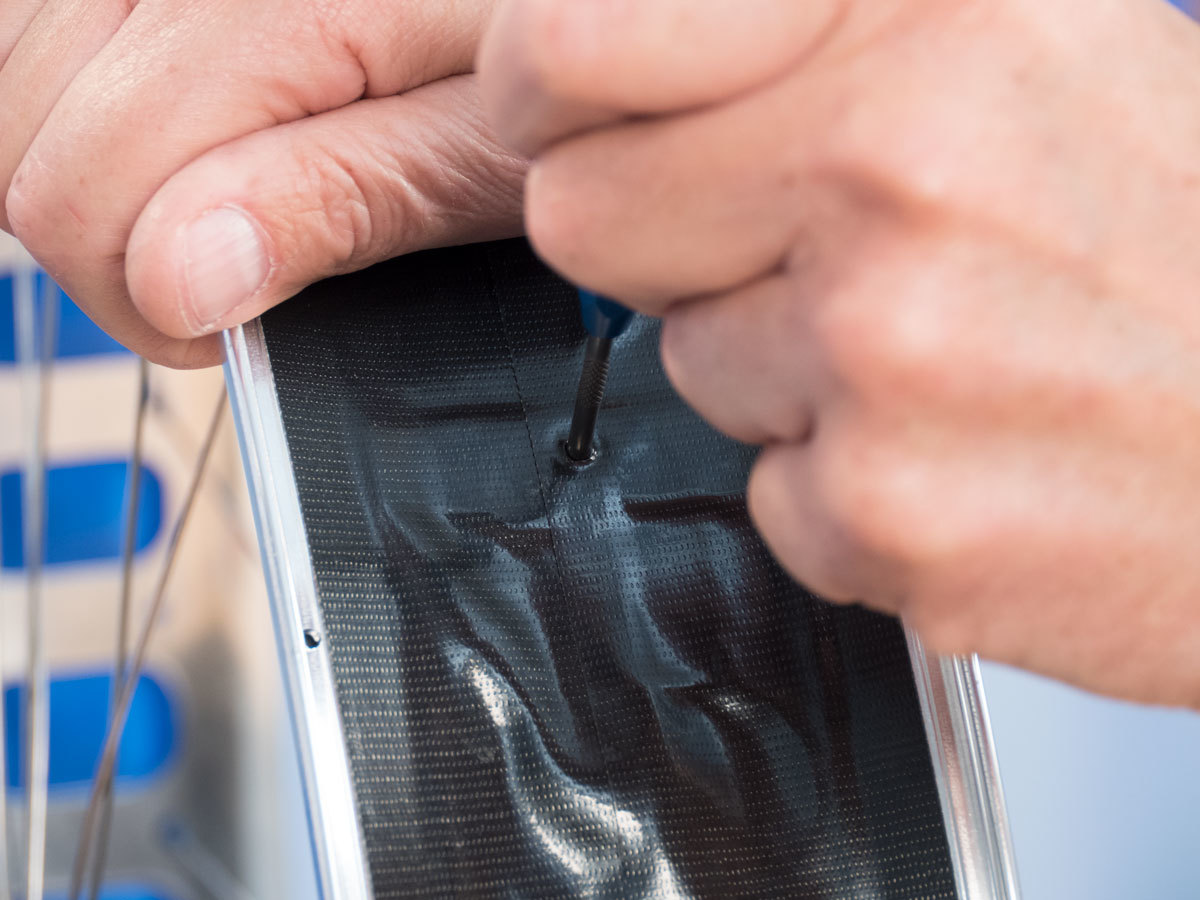
Insert the valve through the tape and through the valve hole. Be sure the fitting is properly aligned inside the rim. Install the O-ring, if any, and install the valve nut. Make sure the nut is secure.
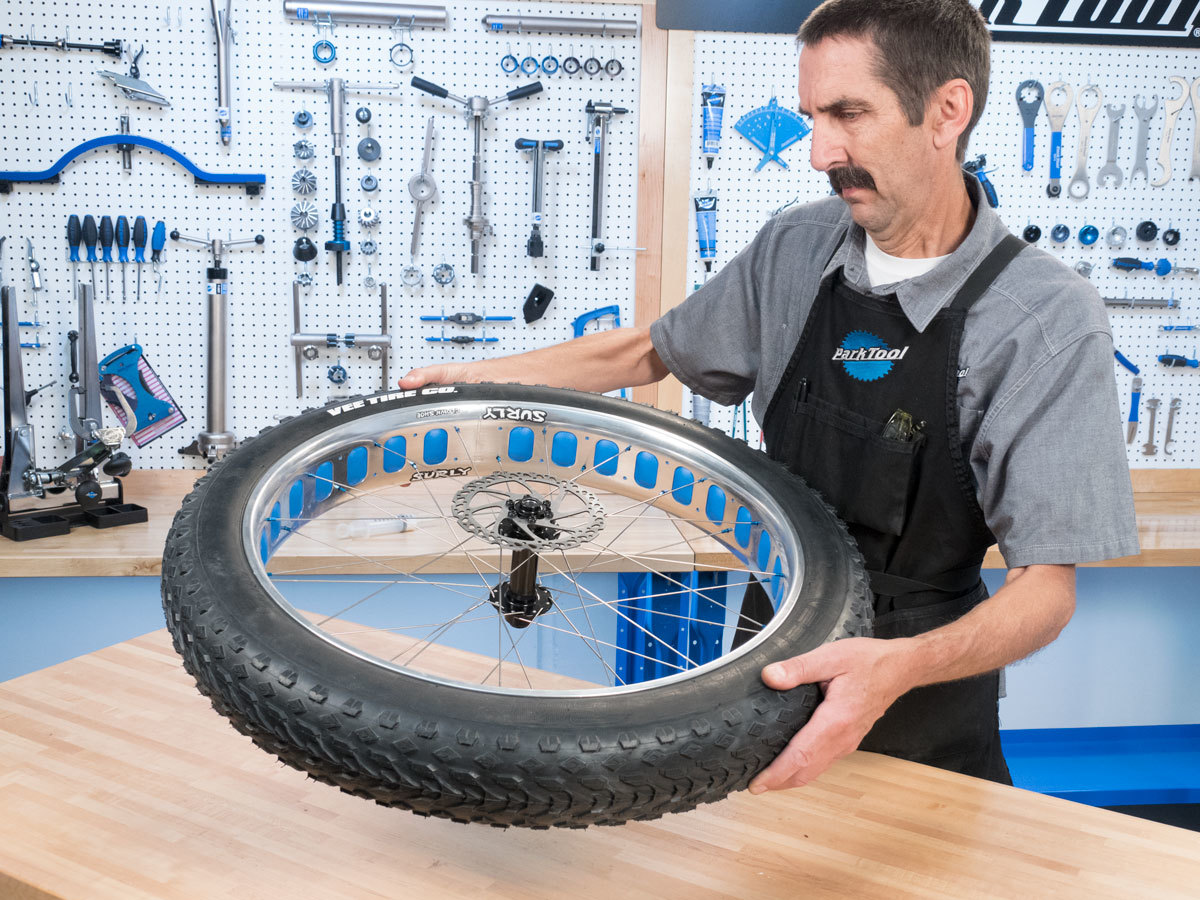
Tire Installation
Regardless of what tubeless tire you have, the process for installation is the same.
Check for any arrows printed on the sidewalls that indicate direction of wheel rotation. Align the tire with the rim accordingly. It can also be useful to align the recommended tire pressure label with the valve.
Install one bead on the rim. Install the second bead beginning at the valve. Leave a portion of the bead uninstalled.
At this point in the process, there’s alternate method, but it requires a removable valve core (which will have small wrench flats at the tip), and a syringe. If you have have these, skip ahead.
Check the label for the recommended amount of tire sealant, and pour in the fluid.
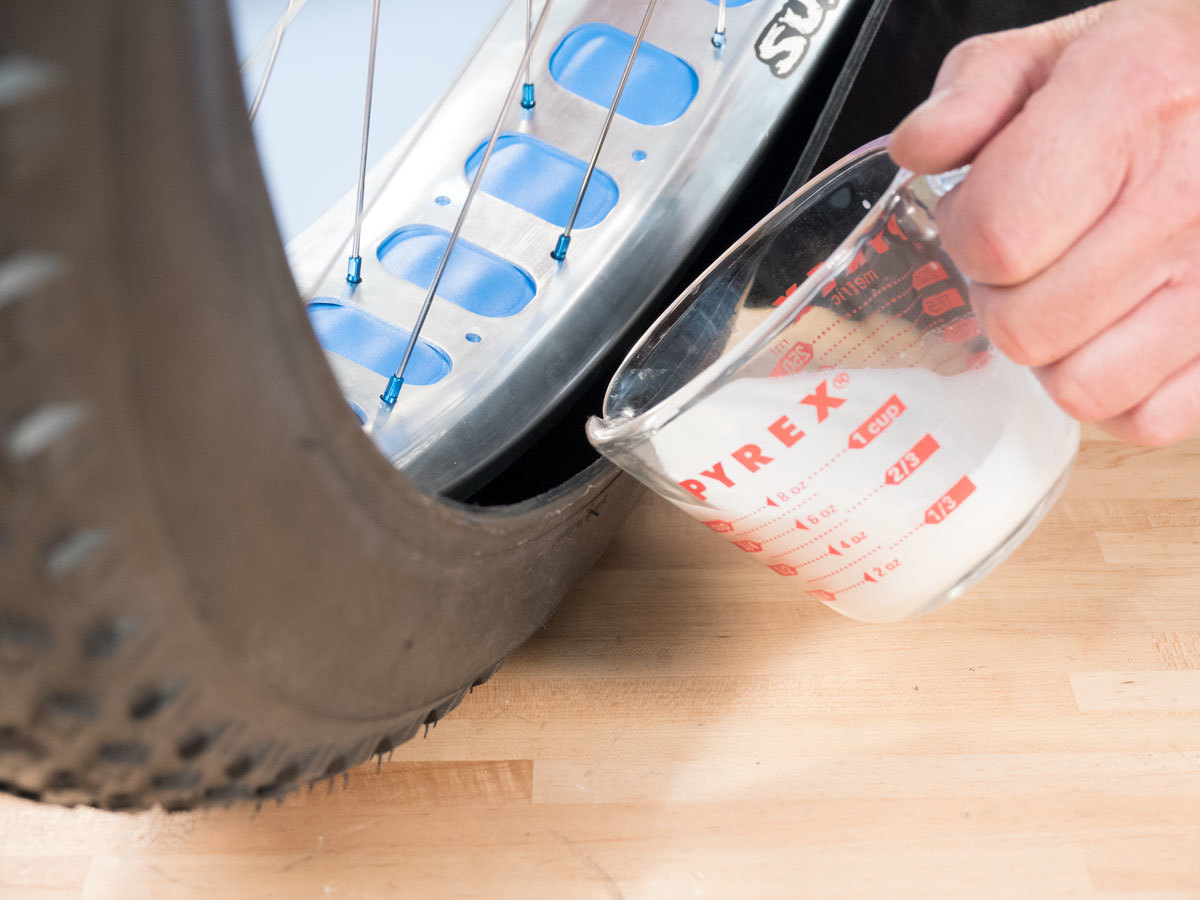
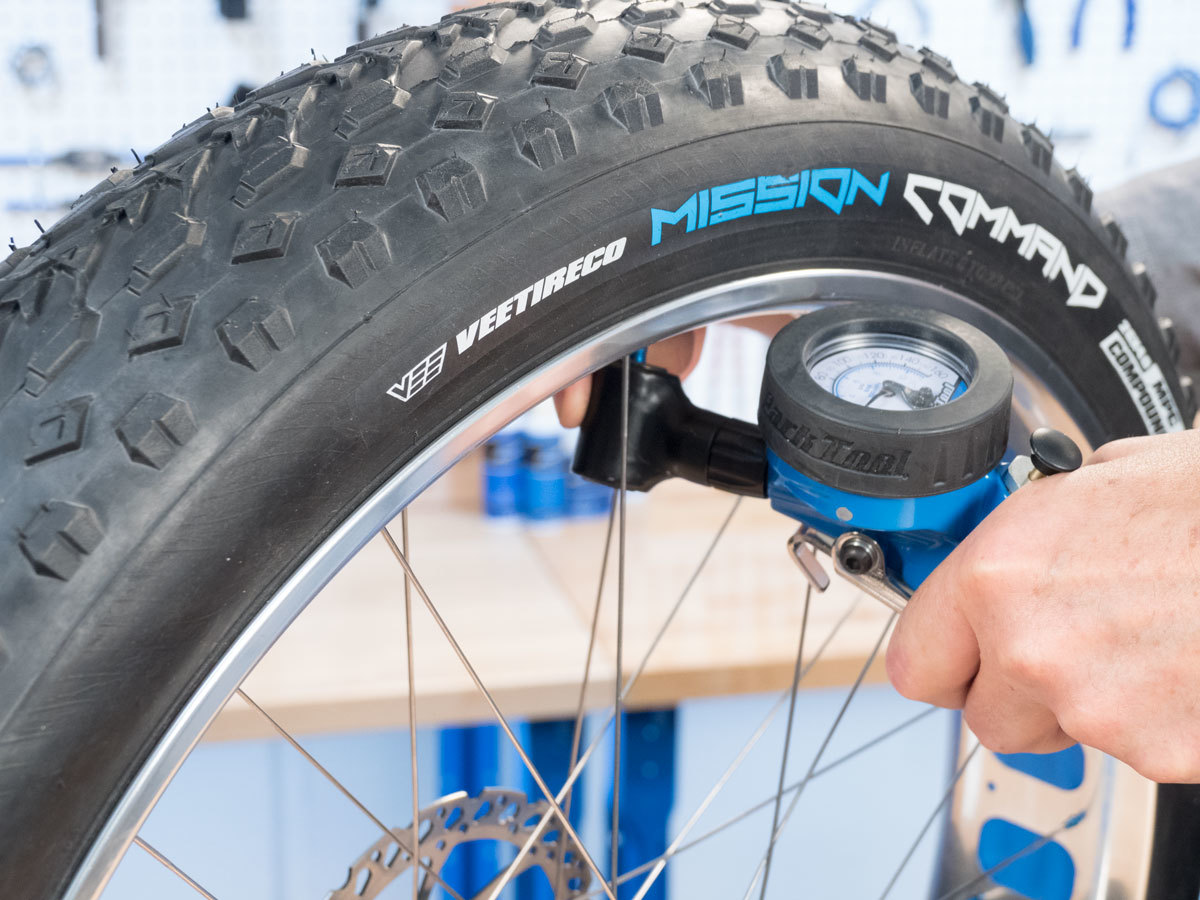
Slowly rotate the wheel to keep the fluid at the bottom while your unmounted bead comes to the top. Finish installing the bead. Inflate the tire to the rider’s desired pressure and check that the tire bead is correctly seated.
If the bead does not seat to the rim, it may be difficult or impossible to inflate the tire. If this is the case, it can sometimes help to use a tire lever to slide the tire bead to the edge of the rim. Attempt to inflate again, and check the bead for proper seating. Overinflating can also help seat tough beads, but only do this if necessary. Overinflation stresses the rim strip, which weakens the bond of the adhesive tape inside the wheel.
If a bead seat is too low, there will be one area of the bead that dips further into the rim than others. If you find a low spot, deflate the tire, break the bead at the low point, and lubricate with soapy water. Reinflate.
Once the beads are seated and the tire inflated, spin the wheel to move sealant around inside the tire. Hold the wheel horizontally and oscillate the wheel to help spread the fluid to the bead. Flip the wheel and repeat.
Now wait. The sealant needs to fully set and block any leaks. As an option, go ride the bike, but the important thing is to keep the fluid moving around. Every few hours check air pressure, reinflate if necessary, and spin the wheel to move the sealant around.
It is common for air to leak in variety of places, and soapy water gives us a better visual. A leak at the valve stem can sometimes be mitigated by tightening the nut. In most cases, the sealant will do its job and stop the leaks. This can happen immediately, but sometimes it takes hours and even days. Also, be aware that if your tire pressure gets near zero, the bead seal may be compromised, which might require repeating the sealing process.
When the air is holding consistently, set the tire to the rider’s desired pressure. The wheel is ready to use.
Tire Installation (Alternate Method)
There is an alternate installation process for those with a removable valve core and a syringe.
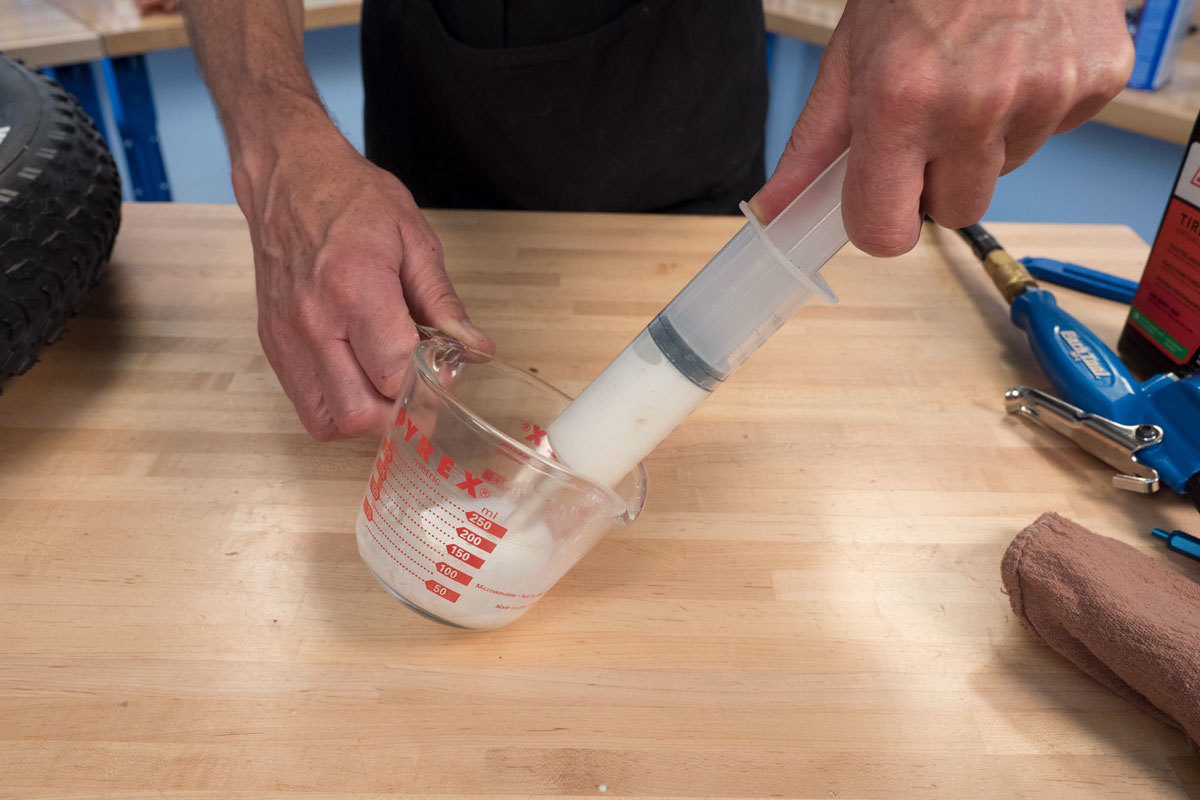
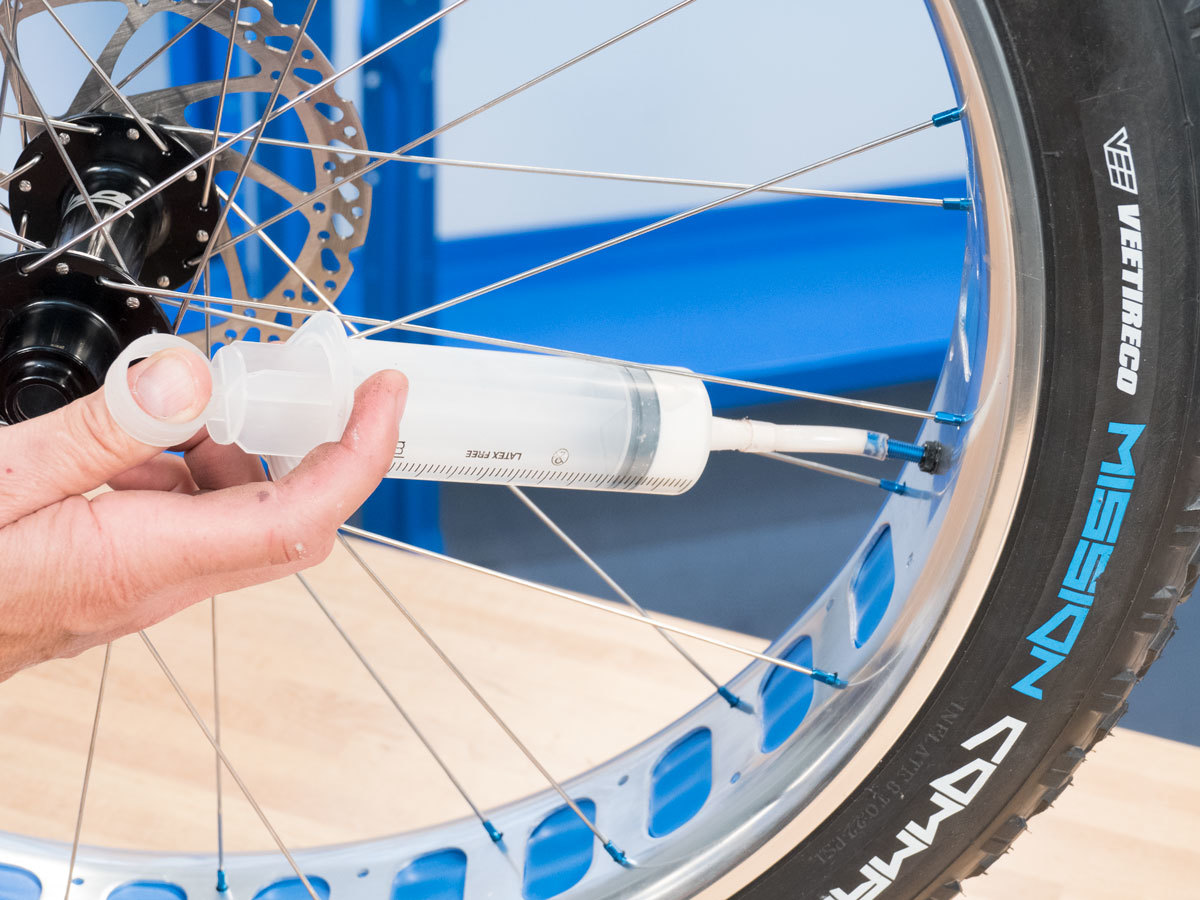
First, check the label for the recommended amount of tire sealant, and fill the syringe.
Instead of leaving a gap on the second bead, mount both tire beads before adding any sealant.
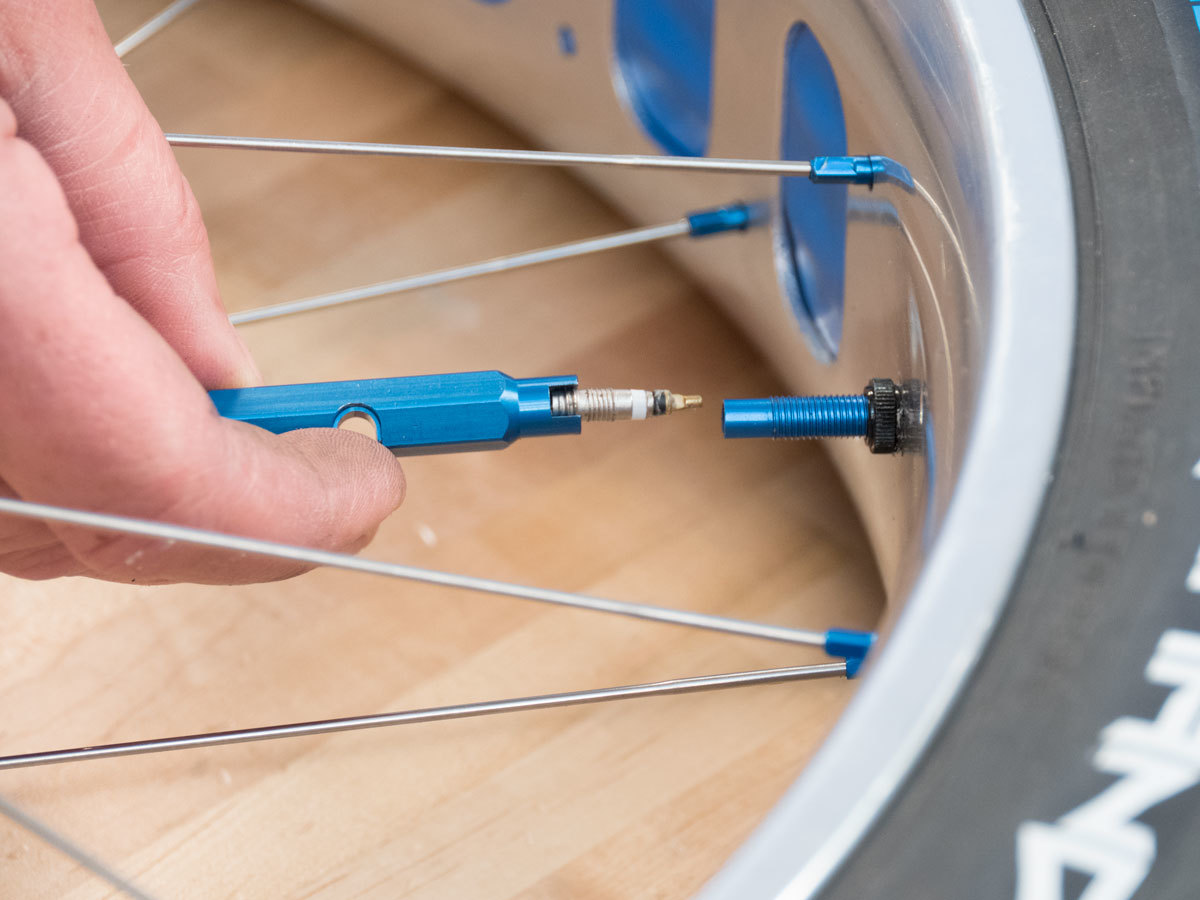
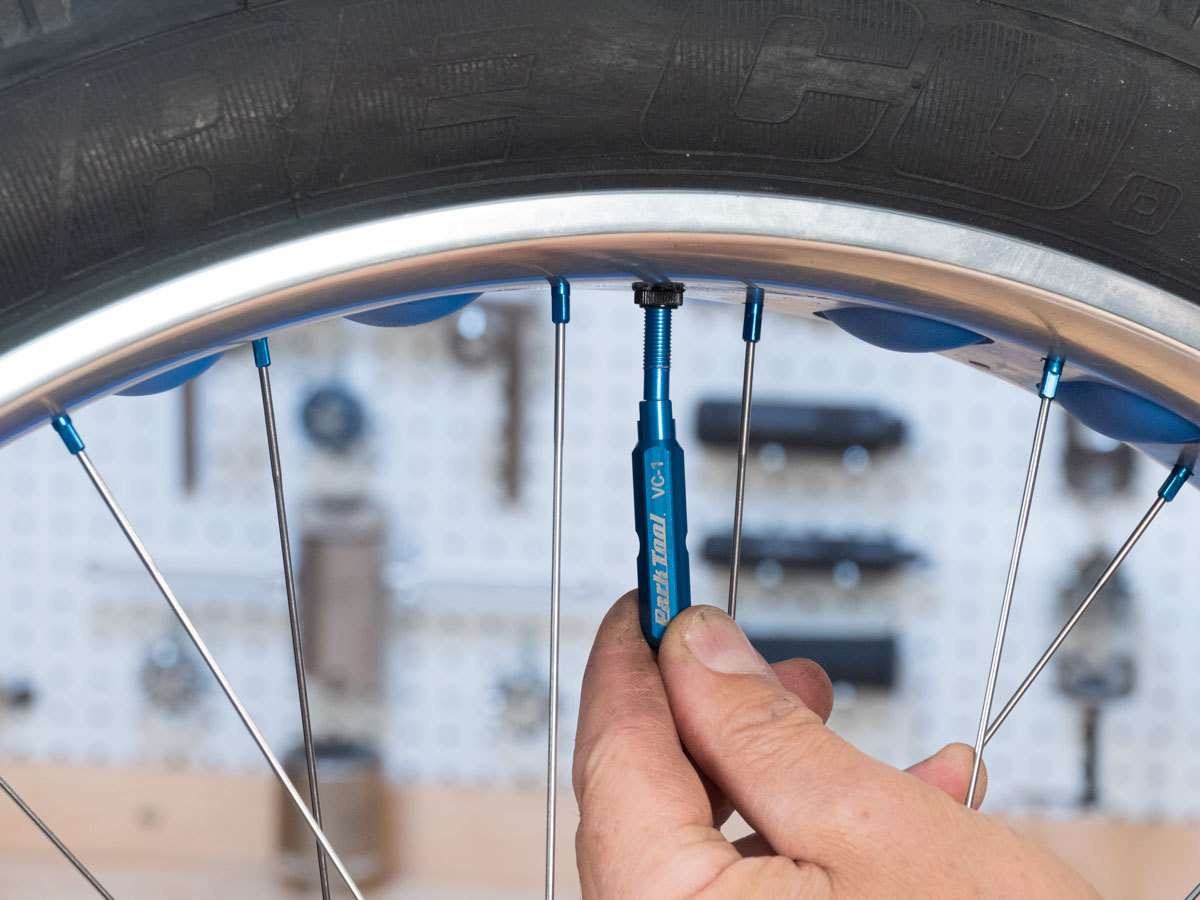
Check that the valve is secure in the rim, and then remove the core using a valve core remover such as the Park Tool VC-1.
Inflate the tire, allowing the bead to seat. We don’t need a perfect bead seat yet, we just want to press the bead to the sidewall.
It may be difficult or impossible to fill the tire, and in this case it can be helpful to use a tire lever and slide the tire bead to the edge of the rim. Attempt to inflate again.
Once you hear the beads seat, pull off the air head. For the most part, the bead will still stay seated to the rim. Inject the fluid.
Install the valve core and secure.
Inflate tire and check tire bead for proper seating, and finish the rest of the process as shown in the previous method.
Final Tips
Here are some final tips on use of tubeless fat tires:
- Maintain your pressure to at least minimum levels.
- In the tubeless tire system, some bleeding of pressure is considered normal and acceptable. This is why checking you pressure often is important.
- Even though the big advantage of tubeless systems is riding at lower air pressures, there are instances where the system can fail. The worst load on a tire is lateral impact. A lateral impact may cause what’s called a burp. The tire bead opens for just an instant, allowing some air to escape. Every burp lowers your tire pressure slightly, over time becoming more and more susceptible to getting a complete flat tire. To avoid this, check and maintain your pressure. Keep track of what pressure has been working for you.
Related articles
Tubeless Tire Conversion View Article
Tubeless Tire Compatibility View Article
Tubeless Tire Removal and Installation View Article