Stem Removal & Installation: Quill Stems
This article covers the full process of how to replace quill stems, including choosing compatible components, unseating stubborn quills, and final centering and torquing procedures.
Getting Started
- Appropriately sized hex or Torx®-compatible wrenches
- Hammer
- Punch
- Torque wrench or torque driver with appropriate bits
- Grease or threadlocker for stem bolts
- Toe straps/zip ties
- Rags
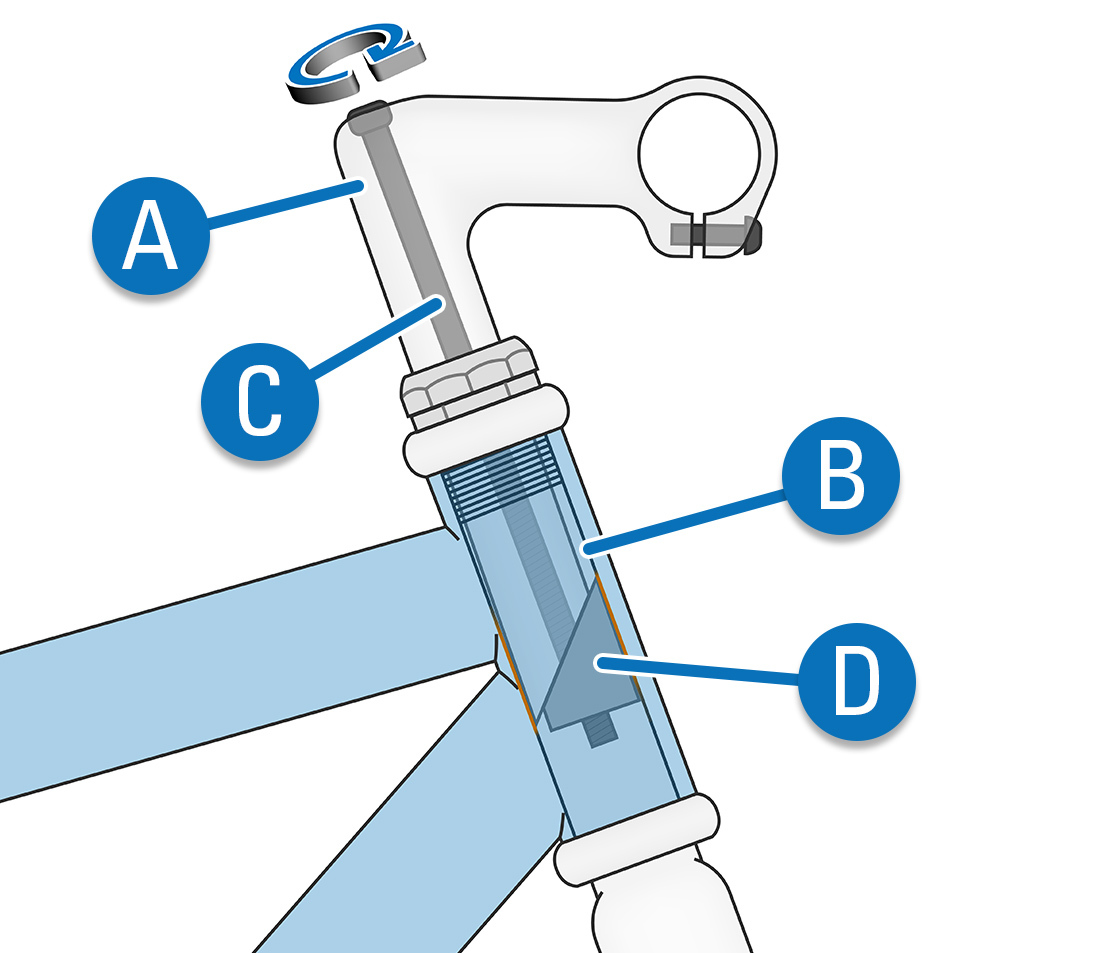
Quill stems are found on many older bikes as well as some inexpensive bikes. Quill stems are used in conjunction with threaded steer tubes. The stem (A) is inserted into the steerer tube (B) of the fork, and the stem binder bolt (C) draws up a wedge (D) or cone in order to secure the stem tightly inside the steerer tube.
The other style of stem is a threadless stem, which clamps to the outside of the steerer tube. More information can be found here: Stem Removal & Installation: Threadless
Quill stems come in different steerer tube and handlebar sizes. It is wise to measure your components to ensure that you are installing or ordering the correct stem.
The most common handlebar diameters are 22.2, 25.4, 26.0, 31.8 and 35.0mm. There are some outliers on some older bikes. Be especially careful when choosing bars for French bikes.
The most common quill diameters are 22.2, 25.4 and 28.6mm. Incompatible components can be a safety hazard, so always double-check with the manufacturer for specifications and compatibility information.
Stems also come in different stem lengths — measured from the center of the steerer tube to the bar center, stem angles — typically between 0 and 20 degrees, and quill length — measured from the bar center to the bottom of the stem. When making drastic changes to the angle or length of the stem, changes to housing length may be required.
On the other end of the stem you will find the bar clamp. Many quill stems have a compression slot system to hold the bars. With this system you will need to remove the controls from at least one side of the bar so that you can slide that side of the bar through the stem. Some other quill stems have a removable “faceplate” that will allow you to remove your bars without removing the controls from the bars.
Compression slotted stem
Stem with removeable faceplate
Stem Removal
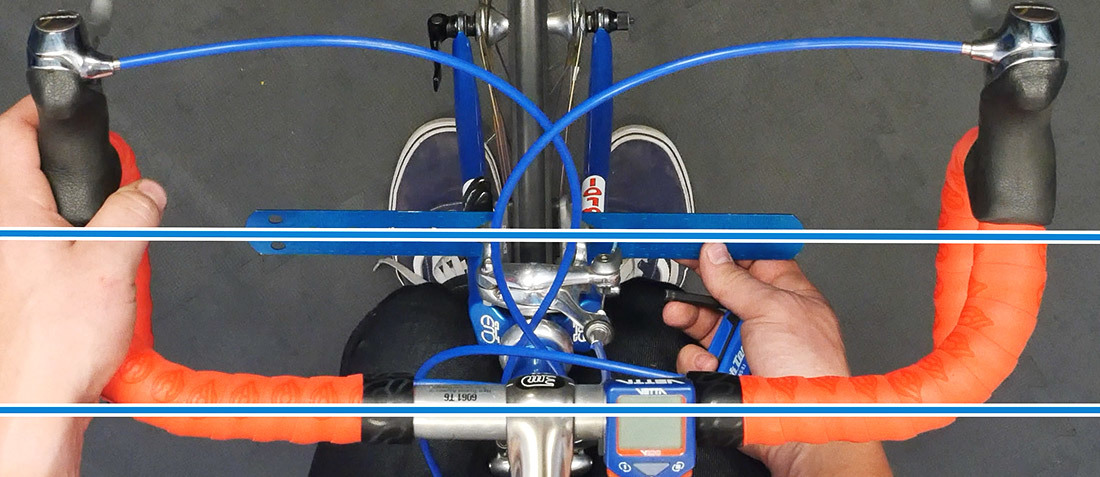
Before removing the bars, take some pictures for later reference when setting bar roll and lever position. It can also be helpful to measure the bar angle.
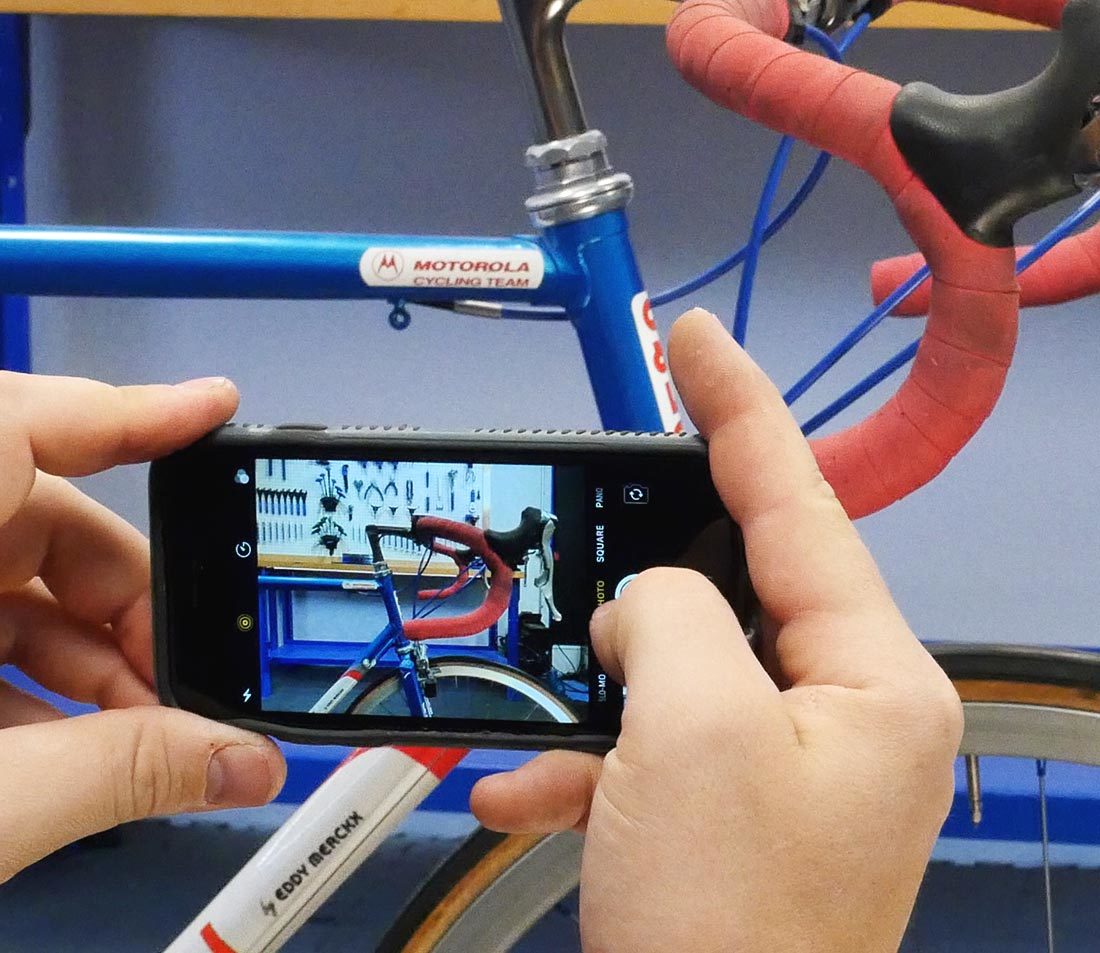
Take pictures from multiple angles for later reference
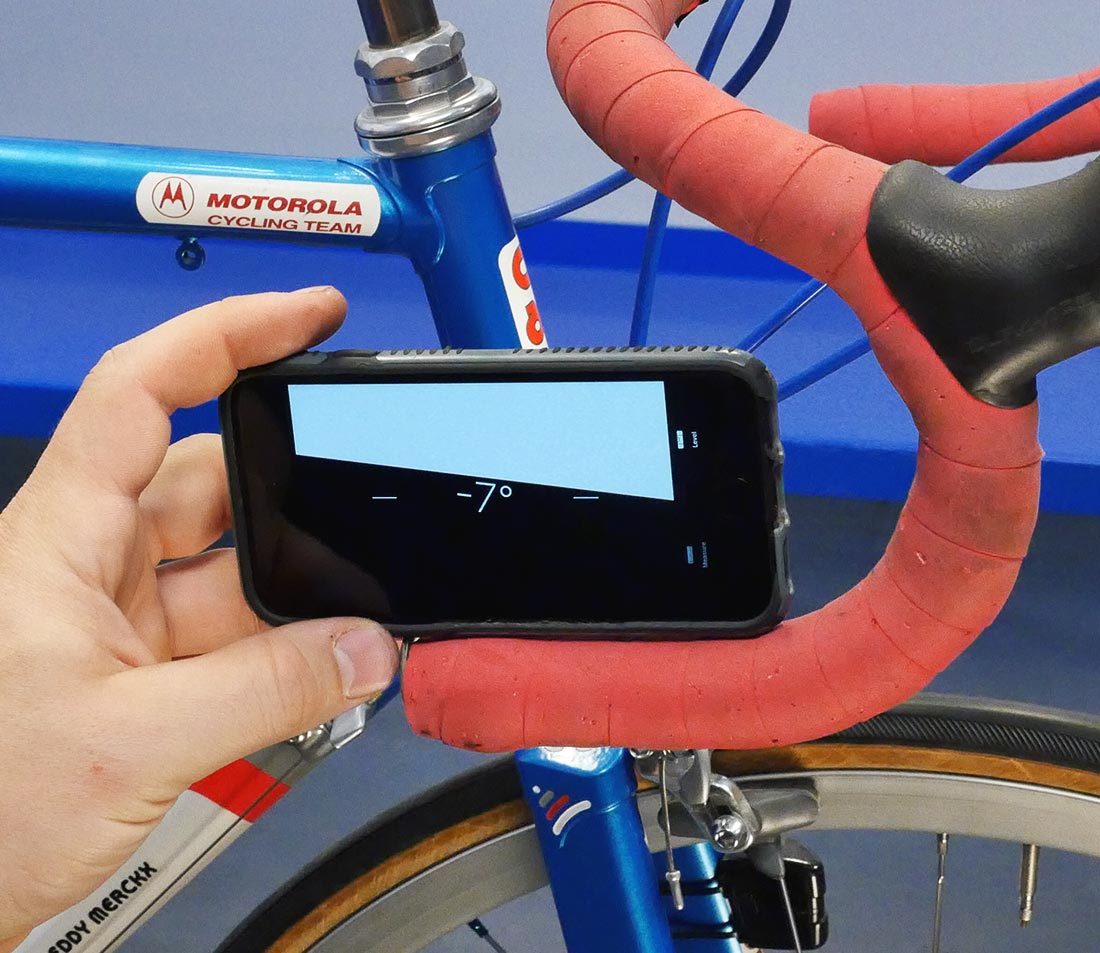
Use an angle gauge or phone app to measure angle
The method of removal will depend on how the bar is attached to the stem:
Removable Faceplate Stem
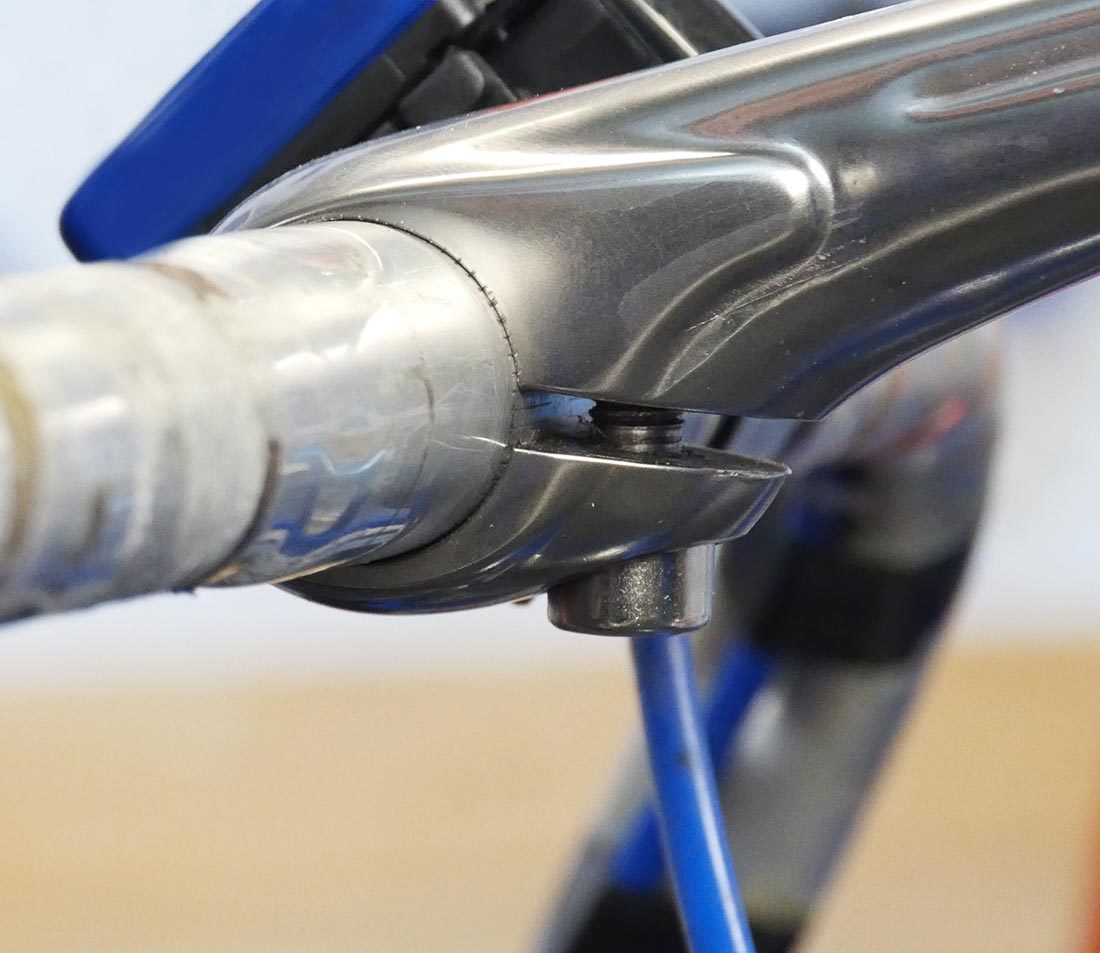
If the stem has a removable faceplate, simply remove the faceplate bolts and the handlebar.
At this point, the bars will be hanging free. It is good practice to use a toe strap or something similiar to suspend the bars and keep the cable and housing from kinking.
Remove all faceplate bolts
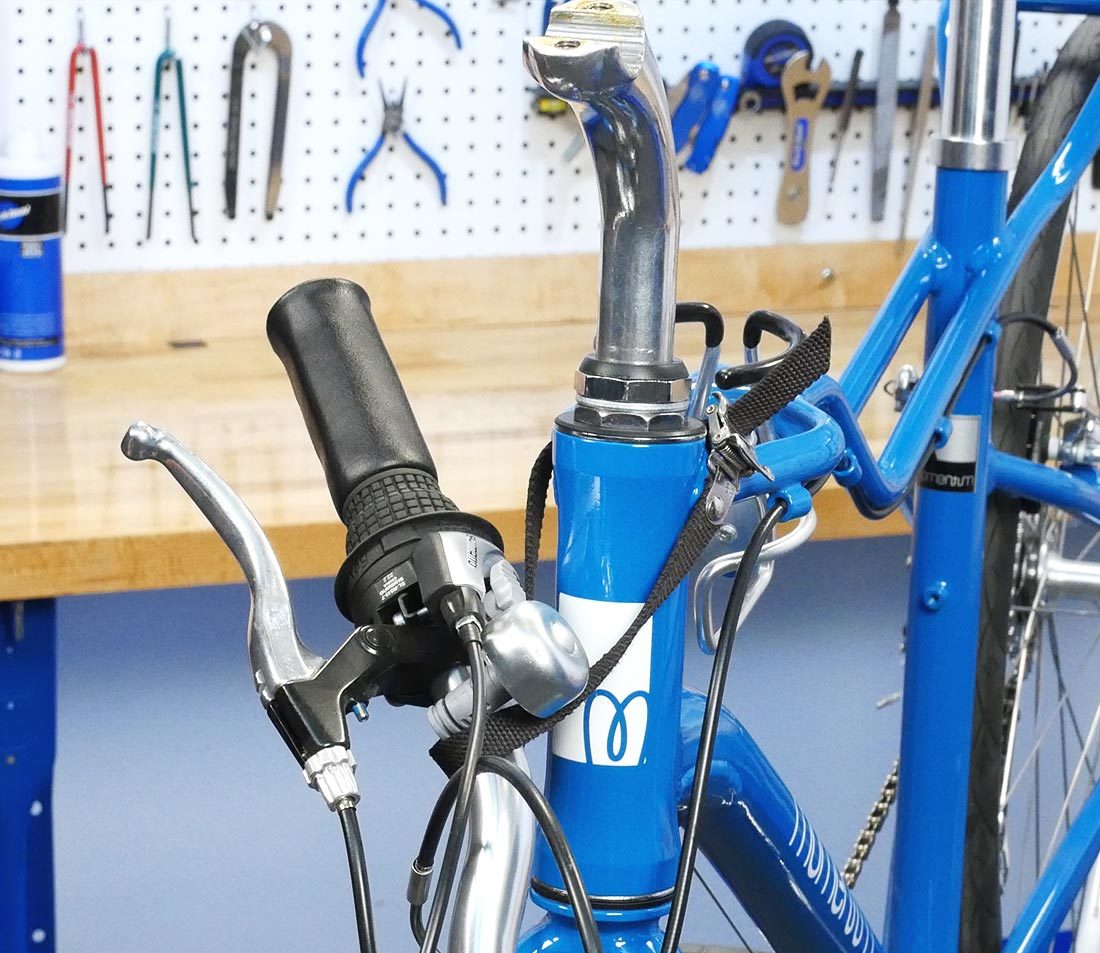
Toe strap suspending the bars
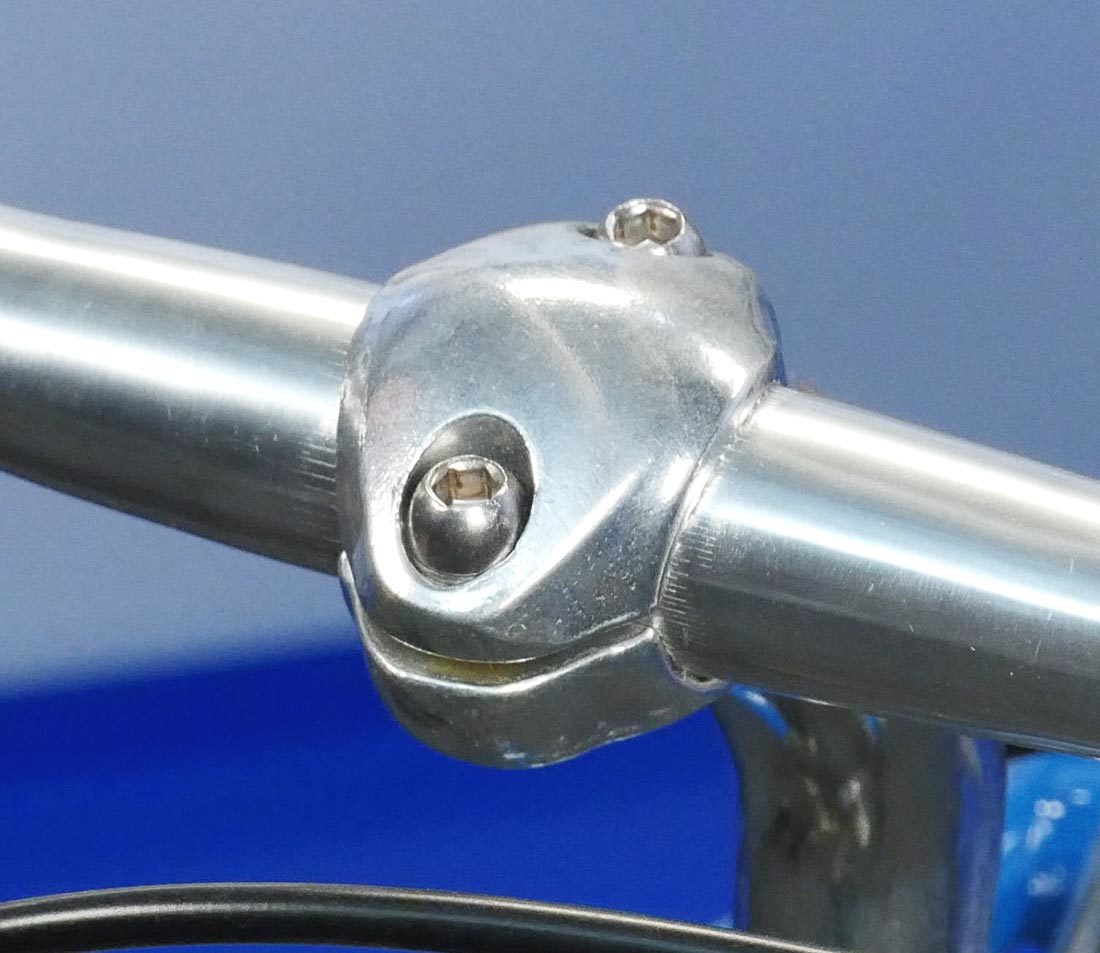
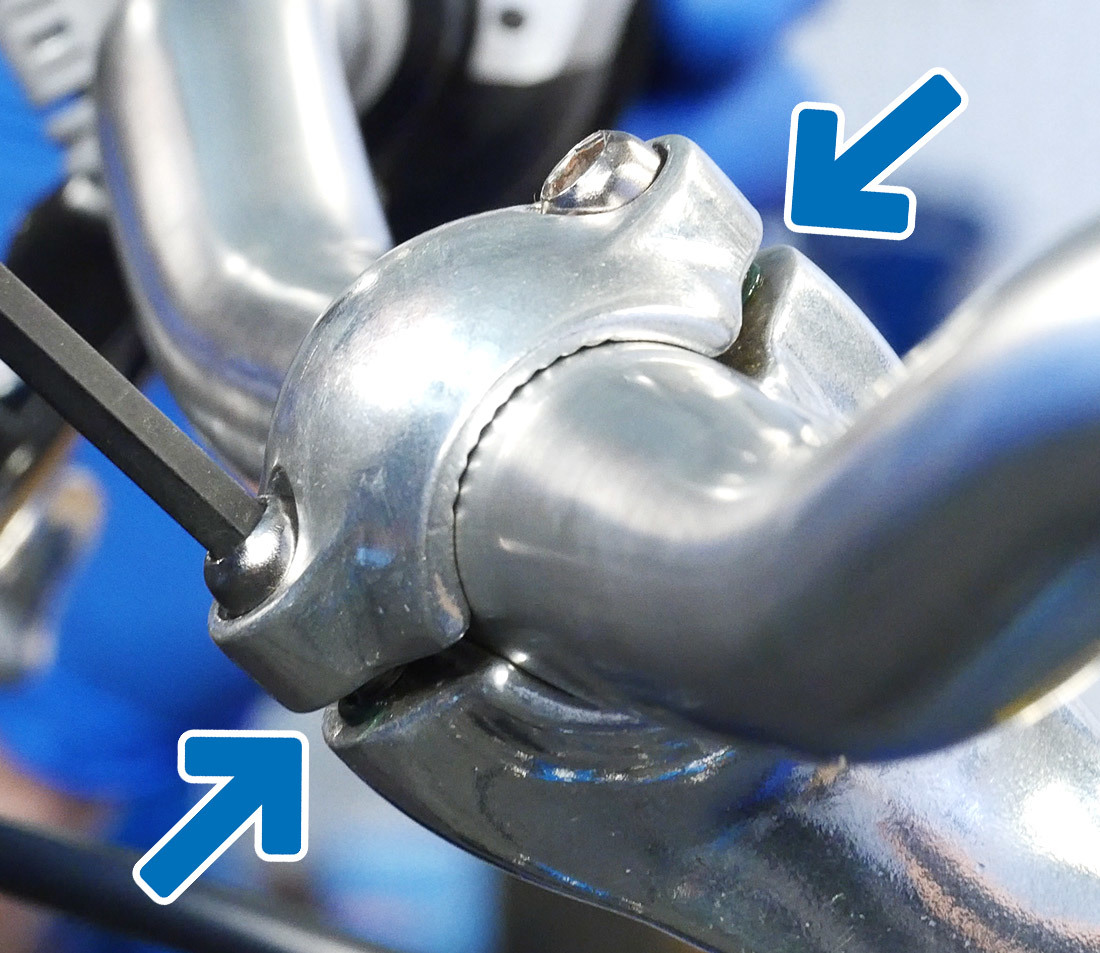
Compression-Slotted Stem
Many quill stems have a compression slot system to hold the bars. With this system you will need to remove the bar tape and controls from at least one side of the bar so that you can slide the the bar through the stem. If you’re not planning on reusing your bar tape, it makes sense to remove the tape from both sides at this point. For more help with this step, see Handlebar Removal & Installation: Drop Bars or Flat Bars.
Loosen the compression slot bolt at least two full turns. Make sure the bars are loose in the stem.
If the bars are binding or difficult to move in the stem, there are a few methods to open up the compression slot.
- Remove the compression slot bolt. Insert a tire lever, pry bar, or similar tool into the compression slot and use it as a lever, expanding the compression slot. Be very careful to not apply too much force — you can damage or destroy the stem if this is done too forcefully.
- Thread the bolt in backwards, and insert a penny or similar coin in the compression slot. The bolt will seat itself against the coin and push open the compression slot. This may not be possible with all stem designs.
1. Pry open the compression slot using a lever
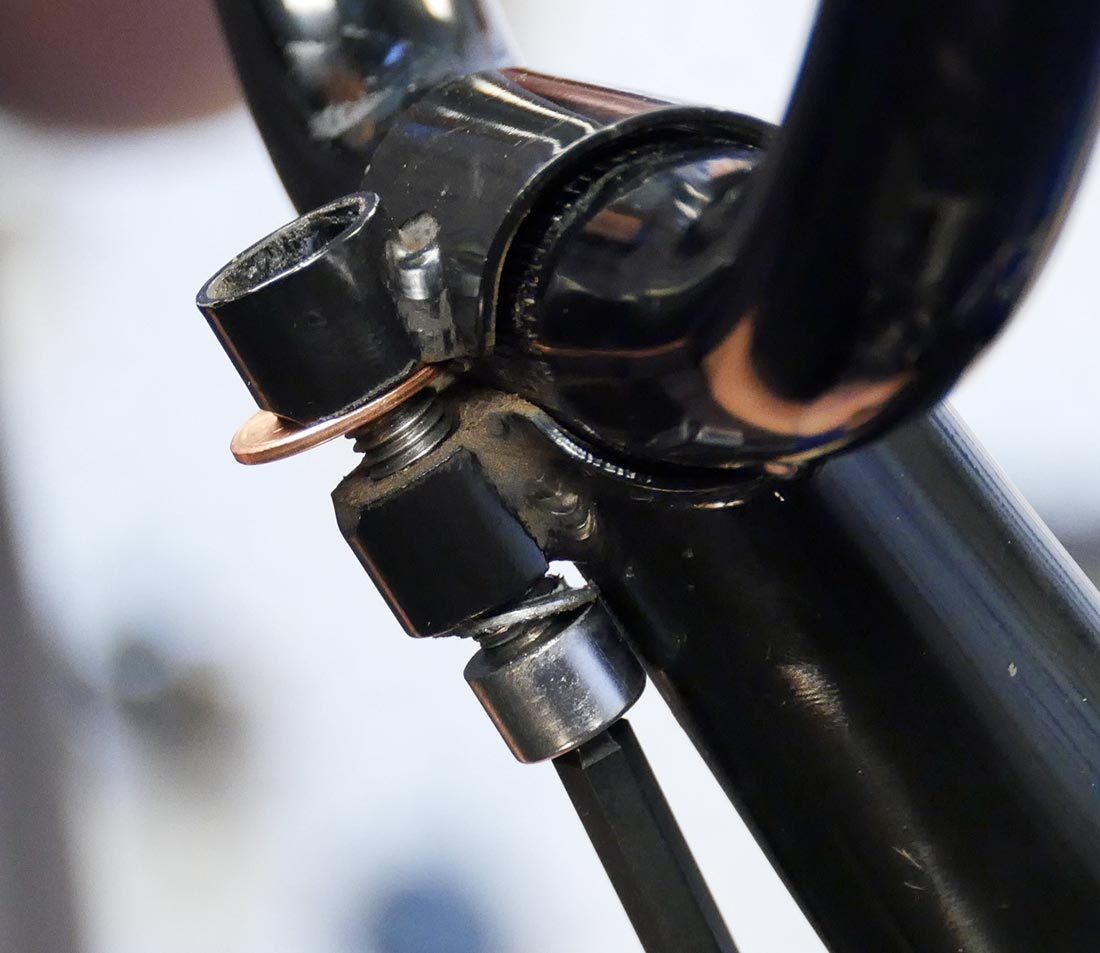
2. Pry open the compression slot using a coin and bolt
All Stems
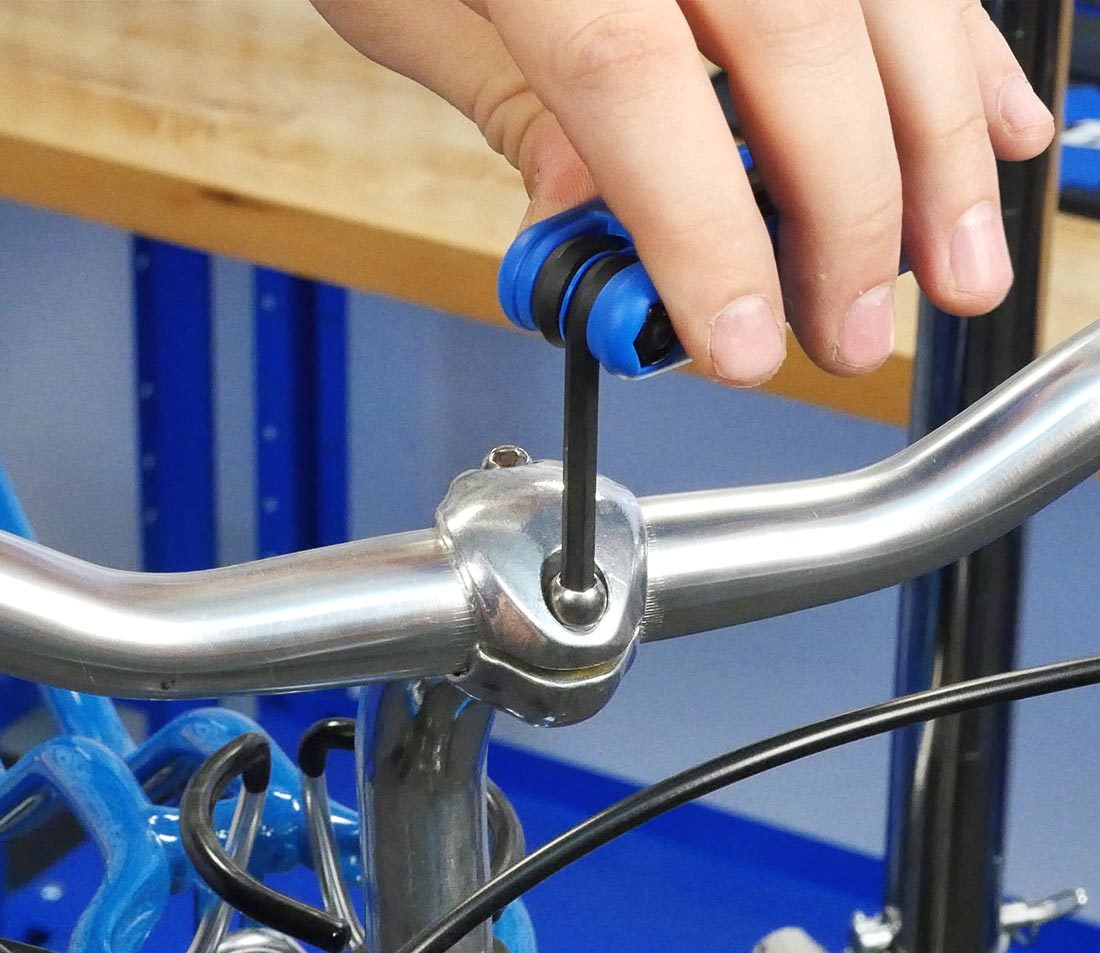
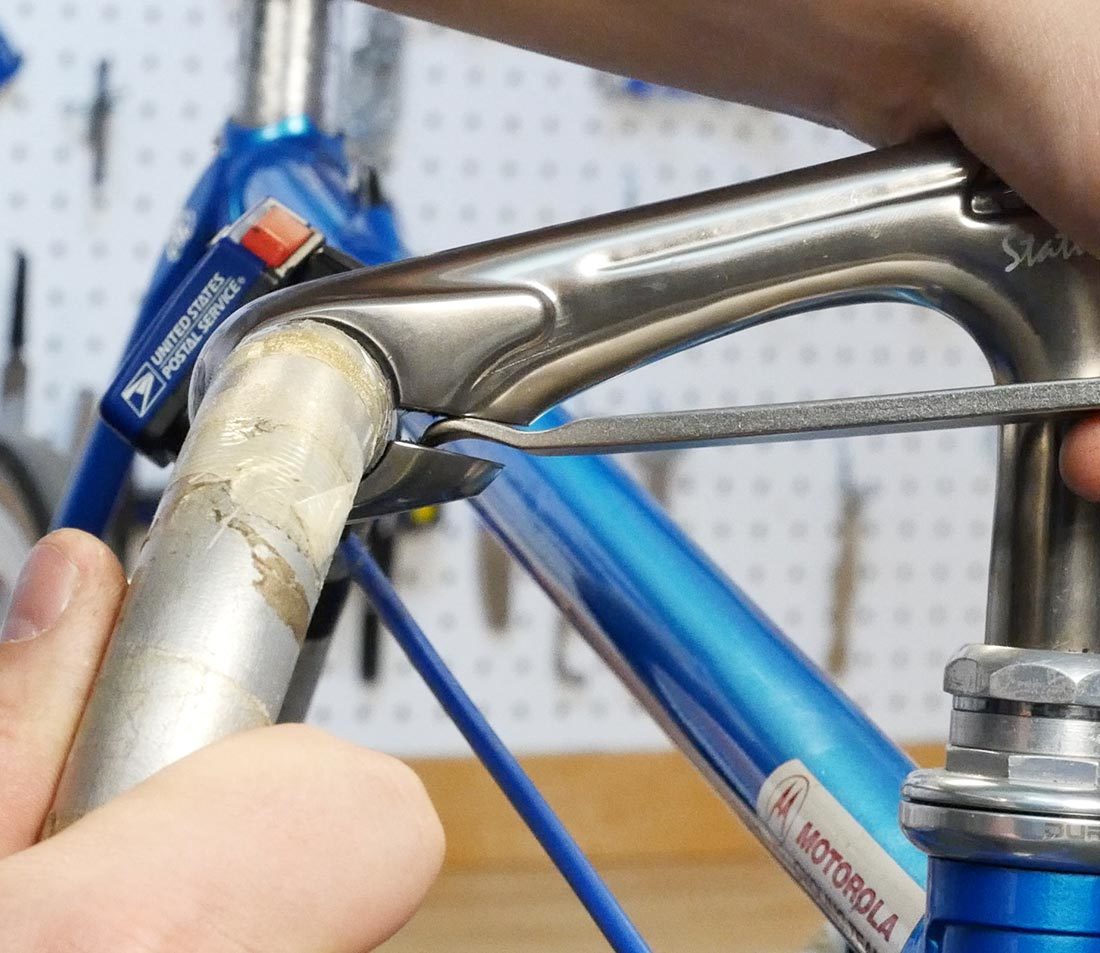
Once the bars are loose, loosen the stem binder bolt two revolutions and remove the stem.
If the bolt is loose but the stem will not come out, strike the bolt using a mallet and punch. This will break the wedge free from the head tube.
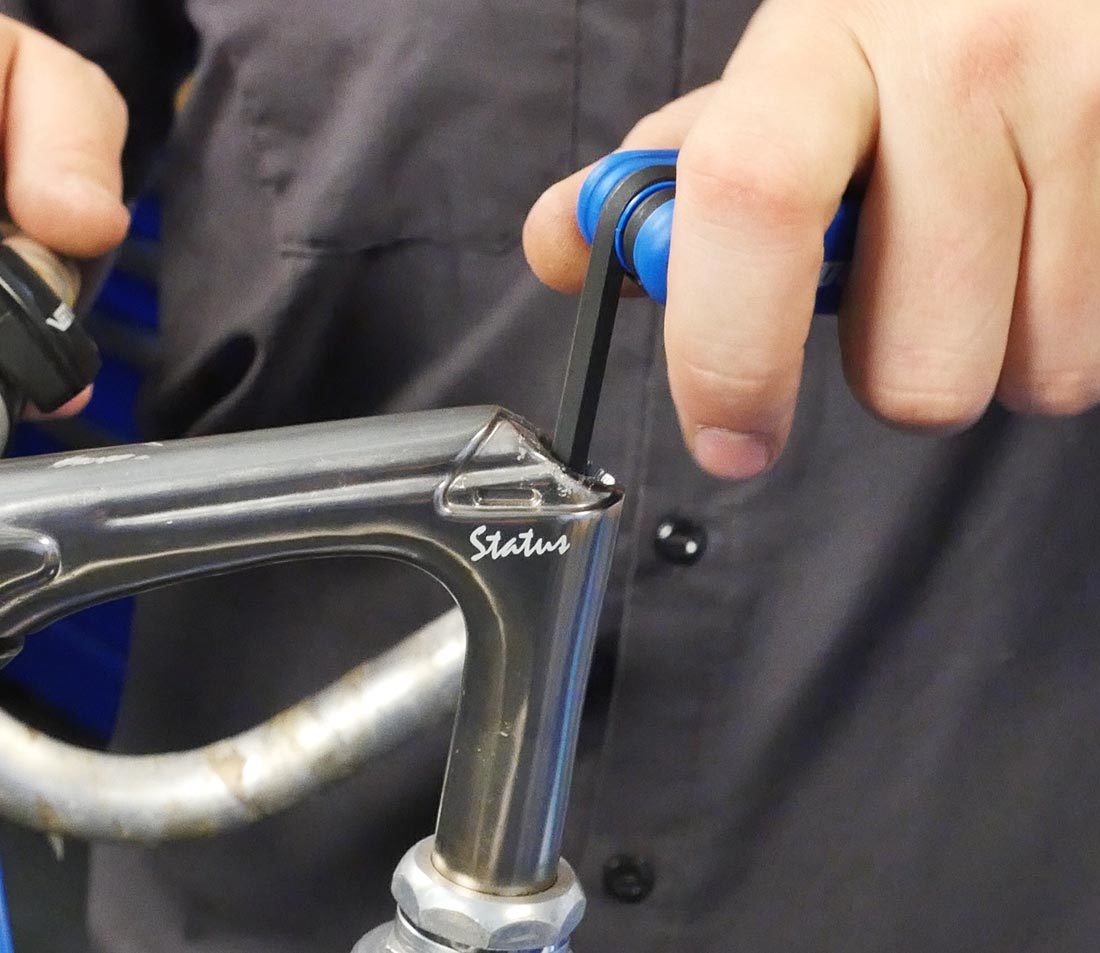
Loosen stem binder bolt to remove stem
If quill is jammed, lightly strike stem binder bolt with punch and hammer
Slide the bar out of the stem. You may need to roll the bar to clear the stem.
Stem Installation
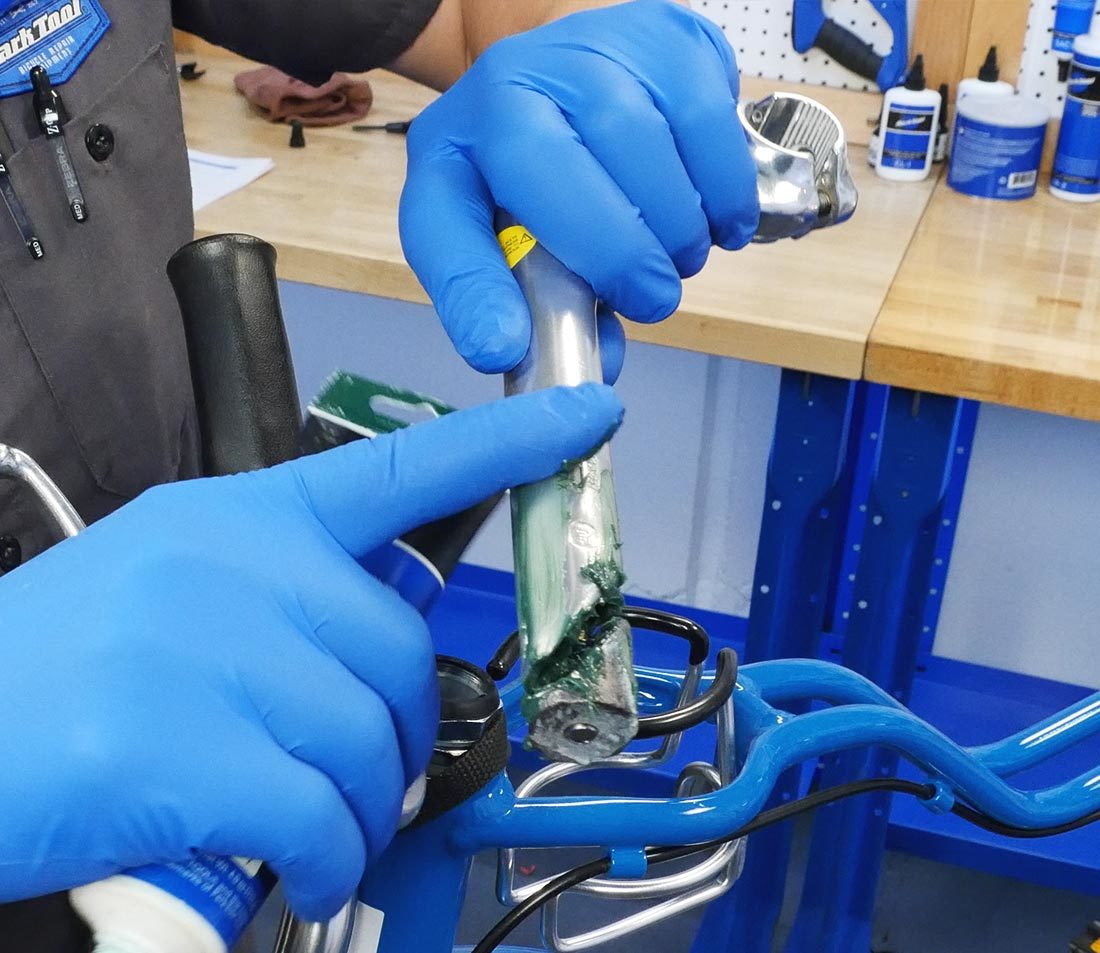
dApply grease to the stem binder bolt, the wedge, along the quill and inside the steerer tube before installing the stem.
For compression slotted stems, begin by threading the stem onto the bar. It will be easier to do this now than when the stem is installed into the steerer tube.
Apply grease to threads and contact points
Preinstall compression slotted stem onto bar
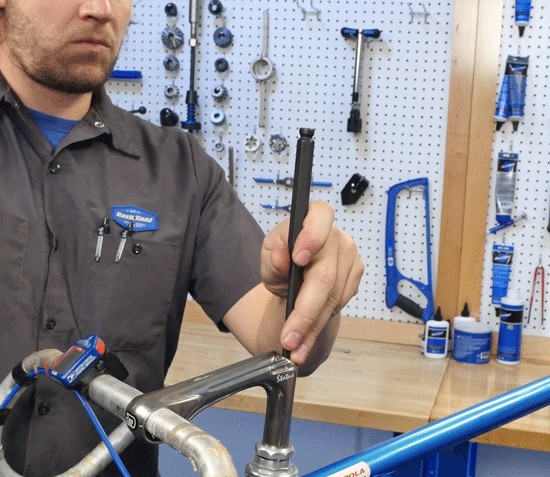
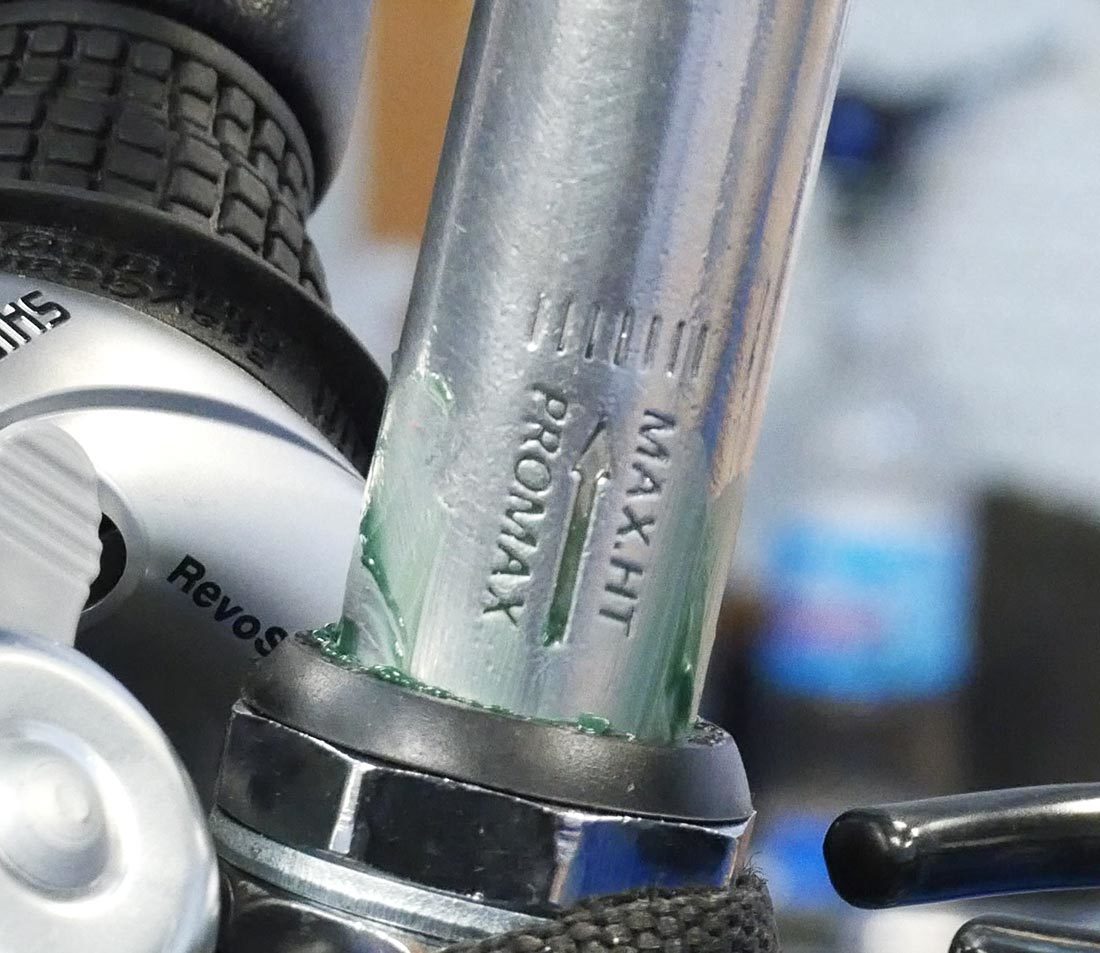
Install the stem into the steerer tube. Set the stem to the desired height, but do not exceed max height or minimum insertion. This is usually marked somewhere on the quill. Make sure this marking is inside the steer tube.
Snug the stem binder bolt for now. Secure the handlebar in the stem:
Compression-Slotted Stem
Center the bar in the stem, which you should already have inserted. If necessary, open up the compression slot as you did during the removal process.
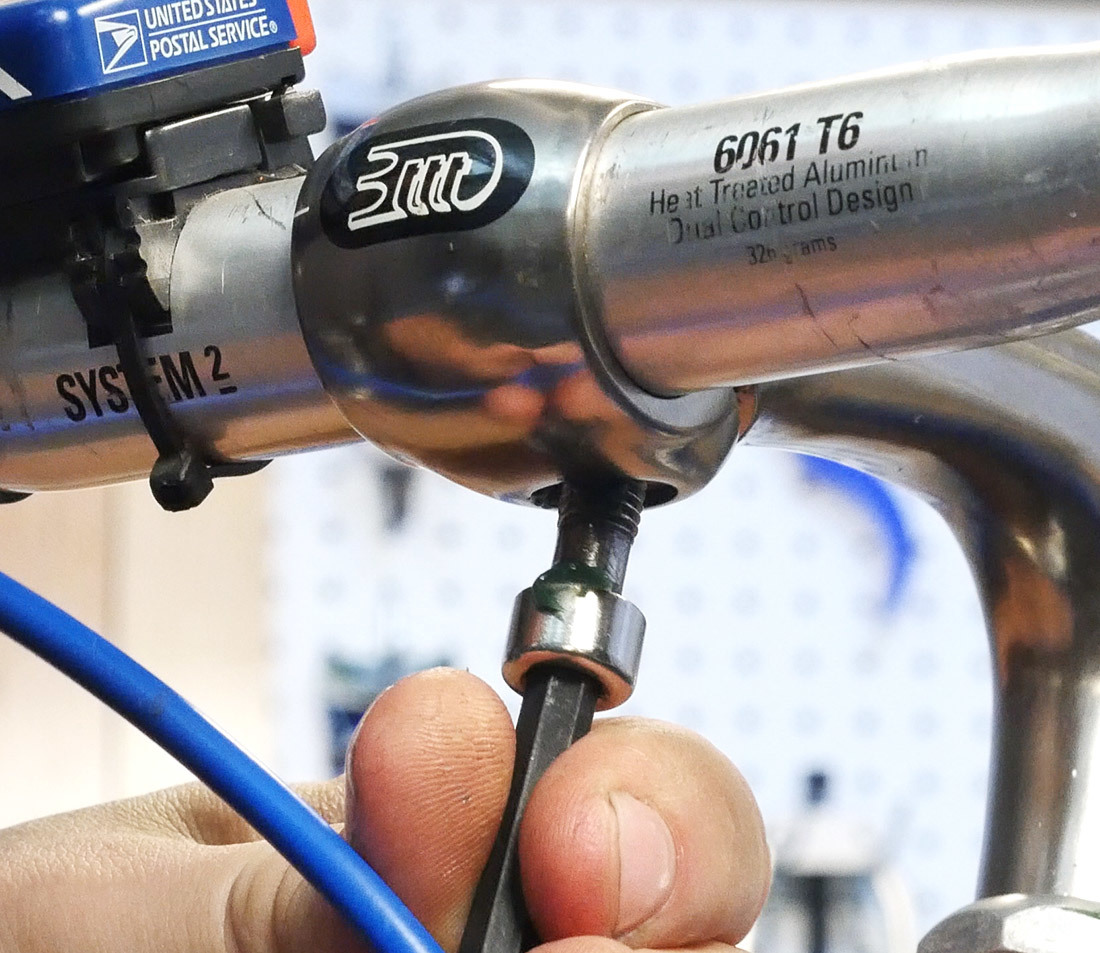
Apply grease to the compression slot bolt and install it, but do not tighten it fully.
Removable Faceplate Stem
Apply grease or threadlocker to the faceplate bolts. Place the faceplate over the front of the bars and thread in the bolts, but do not tighten them fully. These bolts should be tightened evenly and the gap between the stem and the faceplate should typically be even on the top and bottom.
All Stems
Reattach all controls that were removed during the removal process. Use earlier measurements, pictures, or the other side of the bars as a reference point. Torque all fasteners to manufacturer’s specifications.
Reinstall the grips or bar tape.
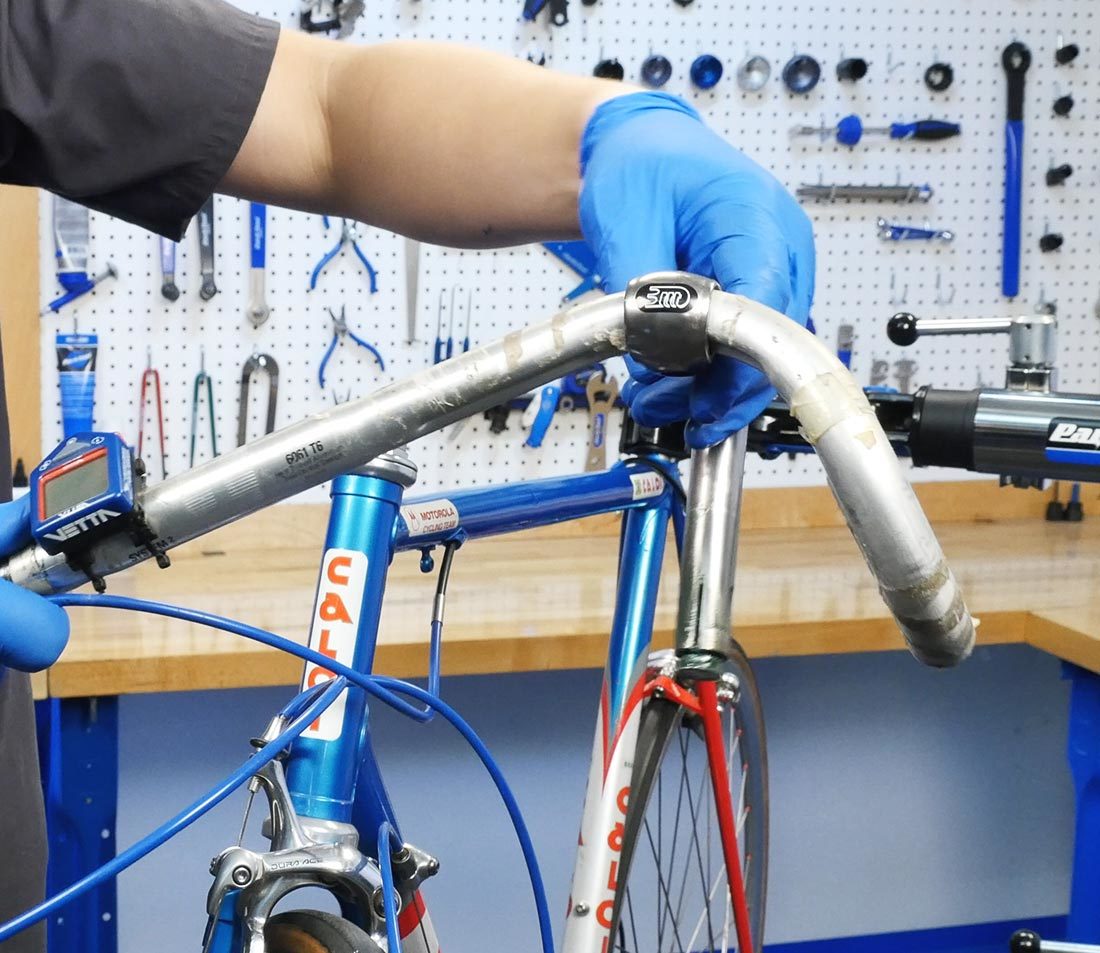
Stand over the bike. Make sure the bar is centered in the stem.
Next, slightly loosen the stem binder bolt and straighten the handlebars. It can be helpful to use a ruler against the fork legs as a reference point.
Set the bars to the desired amount of roll. Refer to earlier pictures or measurements if desired.
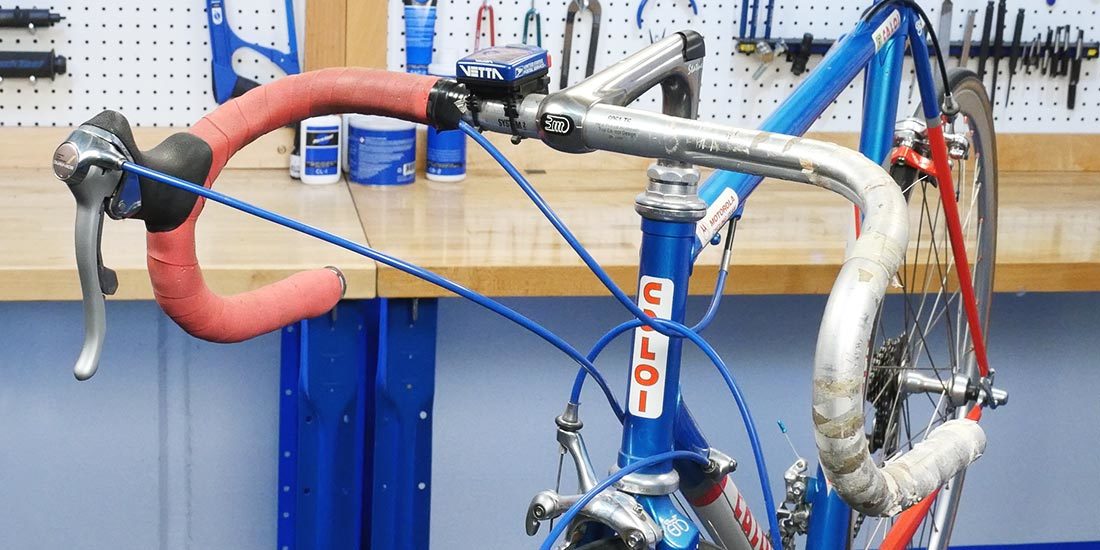
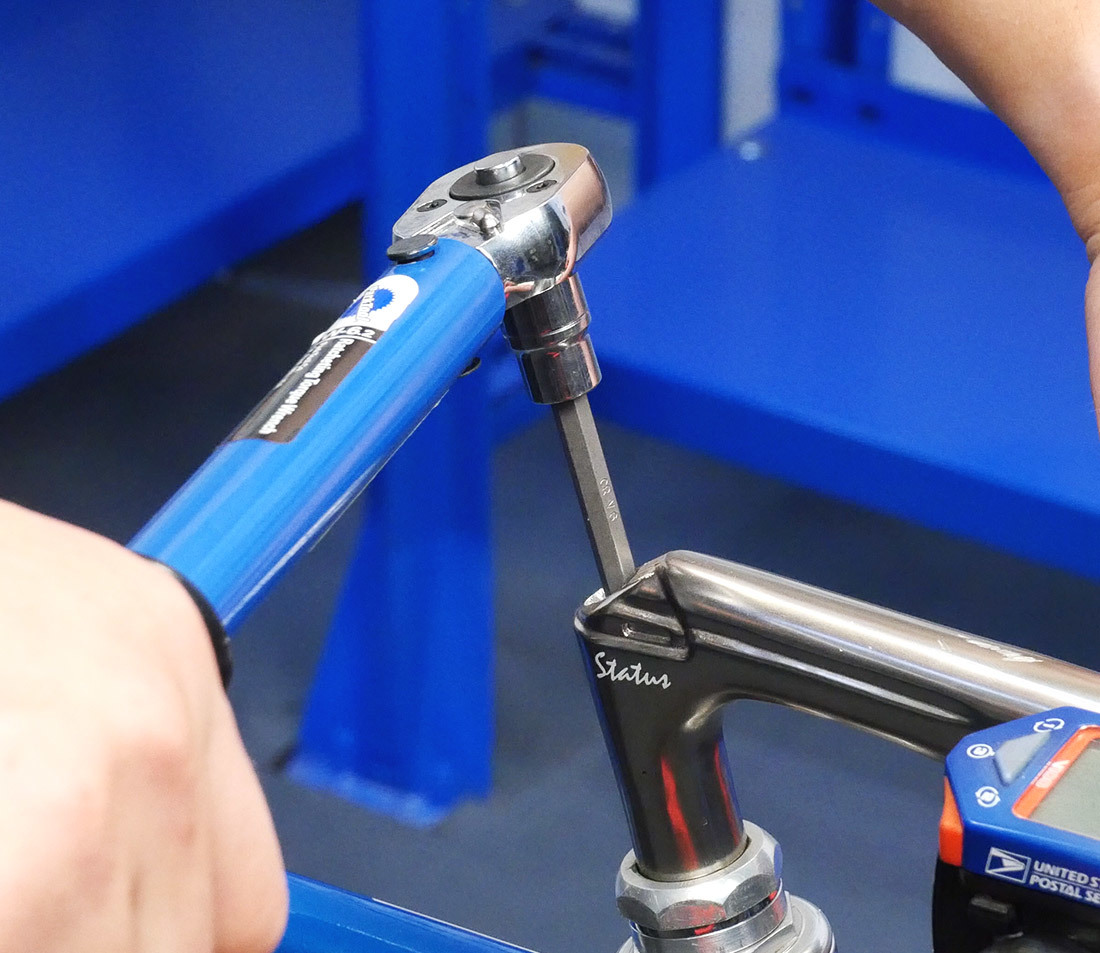
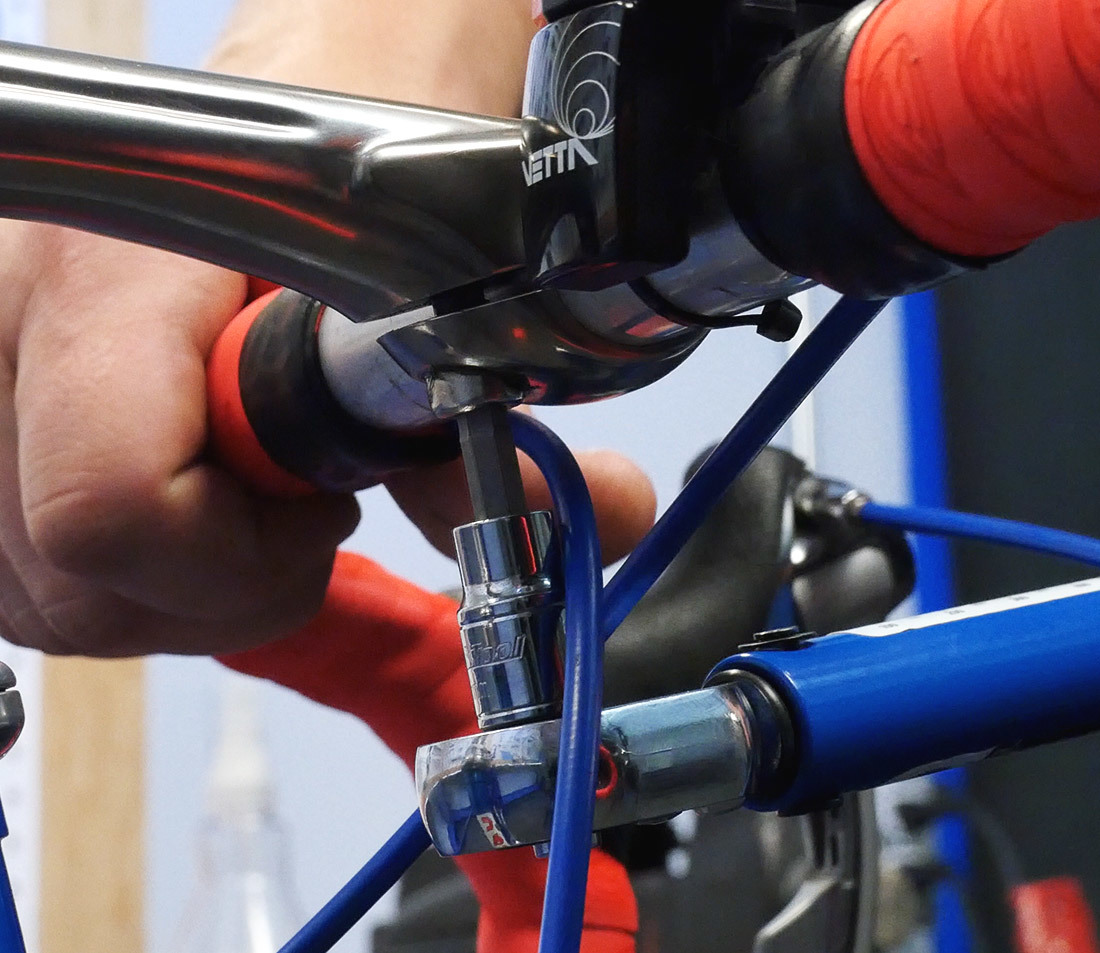
Torque the stem binder bolt and handlebar binder bolt to manufacturer’s specifications.
Related articles
Stem Removal & Installation: Threadless View Article
Handlebar Removal & Installation: Drop Bars View Article
Handlebar Removal & Installation: Flat Bars View Article