PFP-4 and PFP-2 Service
This article will discuss the service of the PFP-4 and PFP-2 Professional Floor Pump (both discontinued).
Pump Head Gasket Replacement
- Pump Head Replacement:
- Hammer (HMR-4)
- Small punch
- 4mm hex or similarly sized punch
- Plunger Gasket Replacement:
- Silicone-based lubricant
Both generations of pump heads (part #1096R and #1096) uses two inner gaskets (part #1074) that may be replaced. The service procedure is identical between the two head types.
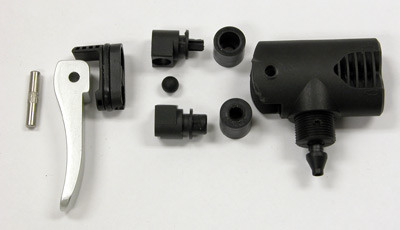
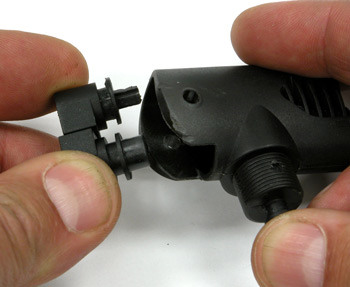
It is first necessary to disassemble the pump alloy head assembly . Each gasket is exactly the same, and can be used twice. By moving switching the two gaskets, and flipping them over, each gasket is again fresh.
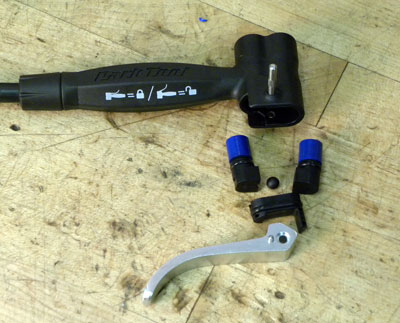
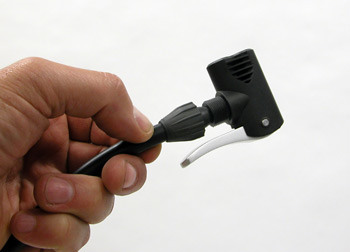
- Place pump head lever in the “unlocked” position. The shorter 2″ pump heads will have the lever parallel to hose. The newer 5″ heads will have lever upward, away from pump hose.
- Use a small punch to push the lever pin from the head. Remove lever.
- Use a 4mm hex wrench or similar sized punch to push from the Presta hole of the head housing until seat retainer is removed.

- Continue to push from the Schrader hole and presta hole alternatively to remove the Schrader and presta ball-seats from head housing. Remove gaskets.
- Install new gaskets, or simply move gaskets to alternate hole. Small end of gasket must match small hole of pump head.
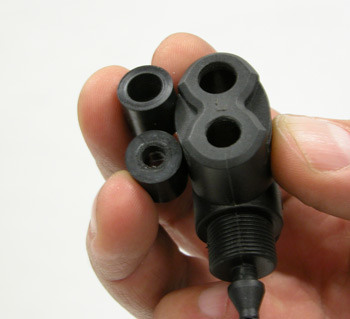
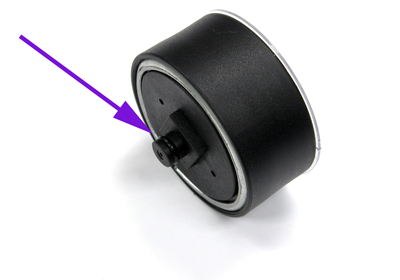
- Install head ball between ball-seats. Ball-seat with cross-shaped stud is Schrader side, and the seat with the hole is the presta side. Install ball seats on top of gasket accordingly. Push ball seats from backside to fully seat them against gaskets.
- Install and press seat retainer until fully seated.
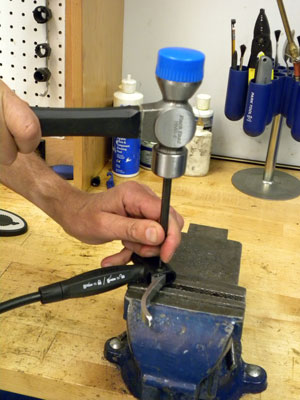
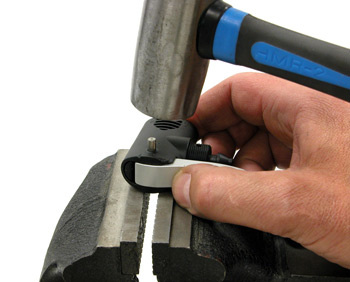
- Install so the lever and install pin. Tap pin fully in place over vise.
- Pump head assembly is ready for use.
Plunger Gasket Replacement
The procedure for PFP-2 and PFP-4 pumps can be seen at 1:42 in this video.
With time and use, the plunger gasket (part #1075) will require lubrication. Lift up on handle and drip lubrication down the shaft. Work shaft to spread lubrication inside and onto plunger.
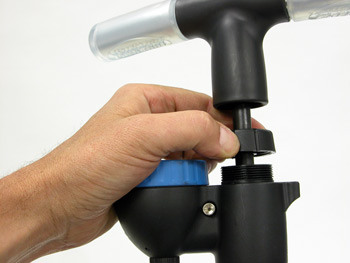
- Pull upward on handle to expose top cap. Unthread top cap counter clockwise. Use a pair of pliers if necessary. Pull up on handle and remove assembly form pump body.
- Lift old plunger seal from end shaft. Install new seal by reverse process.
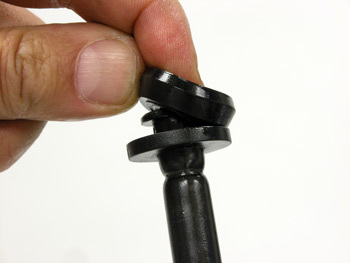
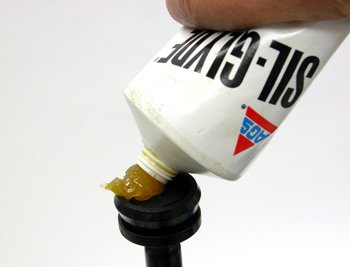
- Apply silicone grease to gasket seal.
- Install handle and gasket in to body and re-thread top cap. Tighten cap snug only, no pliers are necessary. Pump is ready to use.
Hose and Head Replacement
There are two different pump heads depending upon the generation of the PFP-4. The newer heads are approximately 5″ long. The first generation heads are approximately 2″ long.
The hose and head use compression fittings. Loosen the compression fitting and pull it down the hose. Pull hose away from pump body or from pump head. Reverse procedure to reinstall. Tighten compression fittings snug by hand. No wrench is required.
Gauge Replacement
- Unthread and remove blue ring counter-clockwise.

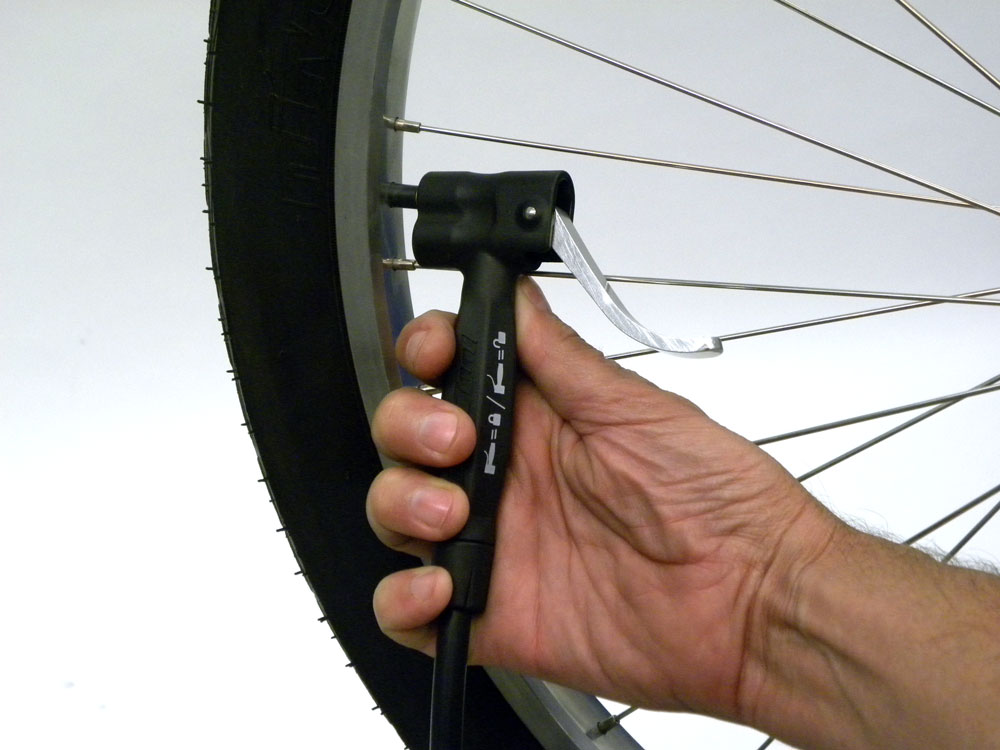
- Plug hose end with thumb, and work handle up and down to build pressure. Pressure will build and pop gauge upward. Use care not to drop gauge.

- Remove gauge. Inspect new gauge for O-ring. Gauge must have O-ring, remove O-ring from old gauge if necessary.
- Align square of gauge with square hole of gauge holder in pump. Press gauge in place. Install and tighten blue locking ring only snug.
Related articles
PFP-6 and PFP-3 Service View Article
PFP-5 Floor Pump Service View Article
PFP-2 Pump Recall View Article