August 15, 2015
/
Tool and Repair Stand Service
PCS-10 Assembly
This article will discuss the assembly and use of the PCS-10 Home Mechanic Repair Stand.
1

Assembly
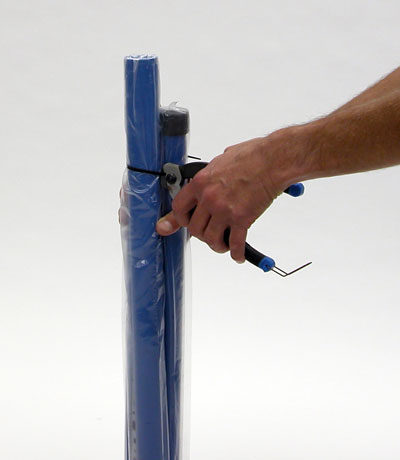
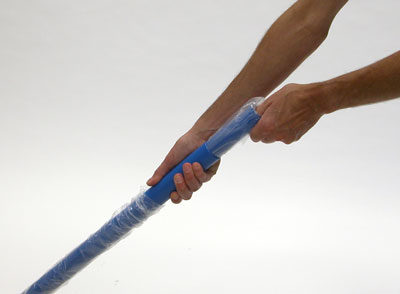
- Open box and remove parts from box. Cut zip ties and separate tubes.
- NOTE: The two vertical tubes are packaged one inside the other. Remove the extension tube from inside the lower upright tube.
- Install top tube onto extension tube and secure top tube pinch bolts. If top tube easily twists on extension tube, retighten bolts.
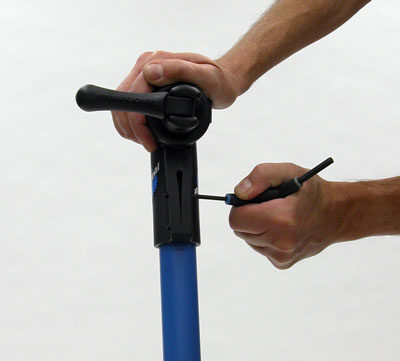
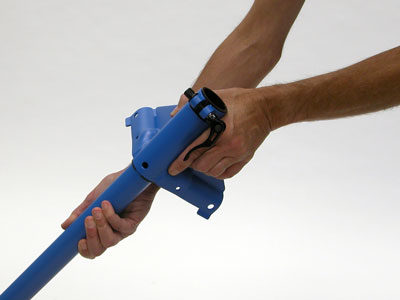
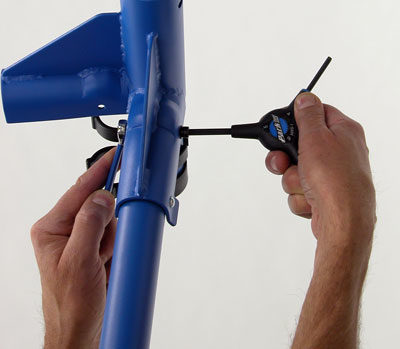
- Install clamp inside top tube and turn handle clockwise to pull clamp into top tube. Put the extension tube with clamp to the side.
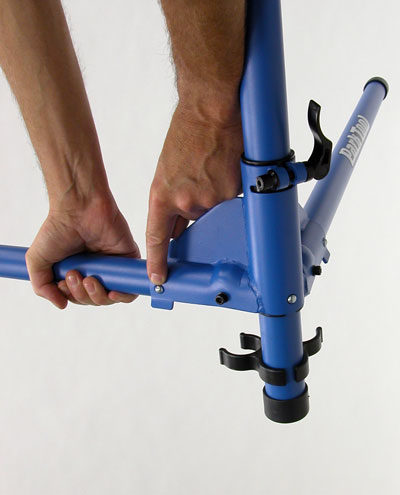
- Install upright tube through plastic sleeve inside yoke. Install tube end without spring button through bottom of yoke. It may take some force to insert tube through yoke. If necessary, install tube end cap and tap assembly on floor to help press tube through yoke.
- Push yoke down tube and and engage spring button into hole in yoke sleeve.
- Install leg clip and upright tube end cap.
- Install legs at yoke. Spring button on leg must face outward. Insert leg bolts, washer and nut.
- Secure leg bolt and nut. Do not over tighten bolt and deform yoke to bind leg. Leg should pivot at bolt.
- Engage each leg by pulling it into yoke. Spring button in leg will engage into hole at yoke. To release leg, depress spring button.
- Adjust and close yoke quick-release.
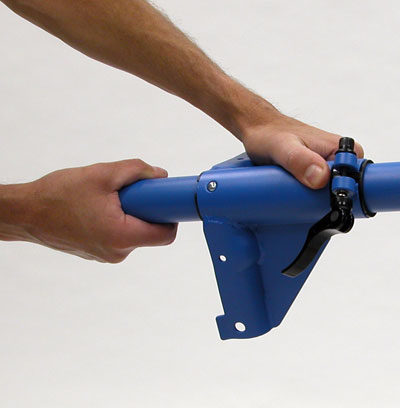
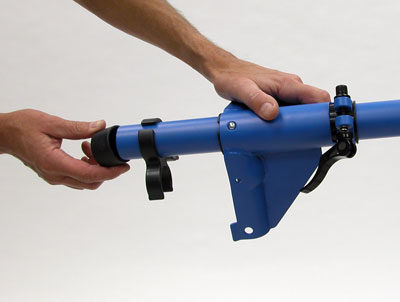
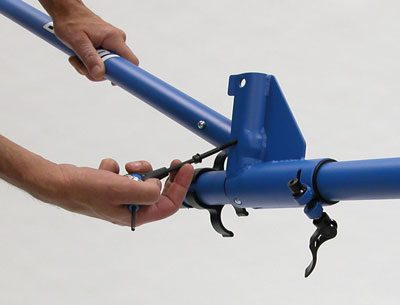
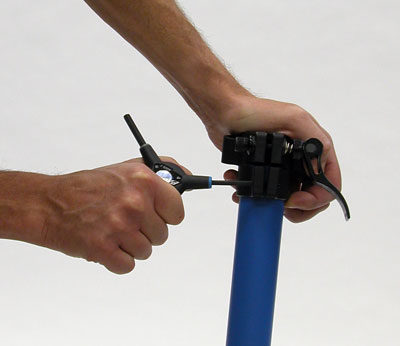
- Install extension collar assembly on lower upright tube. Secure screw. Leave quick-release skewer open.
- Insert extension tube into lower upright tube. Adjust extension collar quick-release.
- Twist clamp side to side to test joints. If clamp turns easily, locate source of twist and retighten appropriate fitting.
2

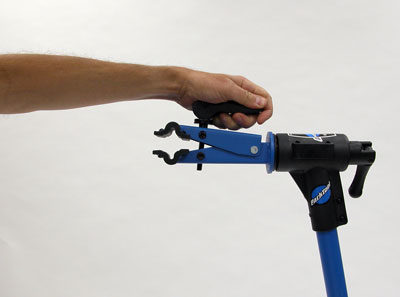

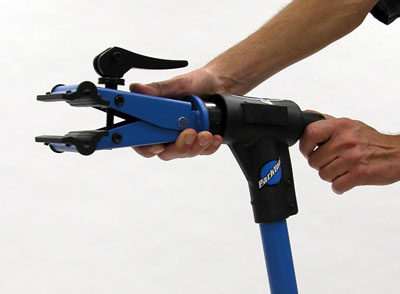
Clamp Use
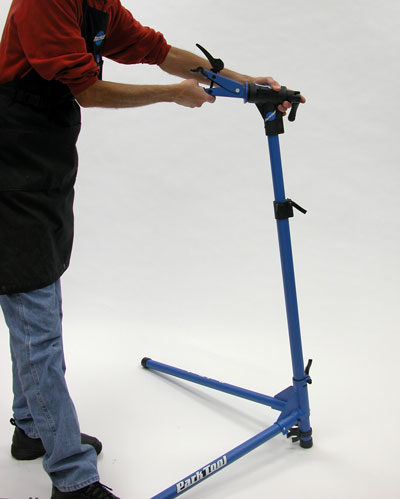
To use clamp, open jaws by using cam lever.
Close jaws, push back the opposite way.
After closing jaws, rotate handle counter-clockwise to adjust pressure as desired.