Hydraulic Disc Brake Alignment
A rubbing disc brake is a common problem, and even the slightest rub which might not really be slowing you down can still be annoying. This is hydraulic disc brake alignment, and regardless of the brand or model this article will help you get rid of that pesky rub.
Preliminary Info
- Hex or Torx® compatible wrenches, as needed
- Torque wrench or torque driver with appropriate bits: Torque Tools and Bits
- Repair stand to hold the bike while spinning the wheel
- A light source to backlight the caliper
Hydraulic brake alignment is a relatively simple procedure, but there are several other things that can cause the pads to rub. Start with diagnosing the problem, then walk step by step through the alignment process if needed.
If you have mechanical brakes, which are actuated by a cable, see our article on Mechanical Disc Brake Alignment.
Diagnosis
Pad/rotor rub is the main symptom of a misaligned caliper. However pad/rotor rub can also caused by an improperly seated wheel.
- Make sure your wheel is seated properly. This step is relevant for both thru axle and open dropout bikes. With your bike on the floor, loosen the quick-release lever (or axle nut if no QR is present). Apply downward pressure on the bike to ensure the frame and axle are in contact. Re-tighten the quick-release lever.
- Check for pad/rotor rub. Elevate the bike, spin the wheel, and sight the gaps between the rotor and pads. Backlight the caliper to make it easier to see.
Additional Tip:
This is a good time to check your pads for wear. To replace worn pads, see our article on Disc Brake Pad Removal & Installation.

These additional factors can also cause the pads and rotor to rub. See the video below for a quick walk-through of each factor.
- Bent Rotor: It’s normal to have some lateral movement in your rotor as it spins, but a significantly bent rotor will make alignment difficult or impossible. Rotor replacement is a good option, but some rotor truing may be possible. Learn more about rotor truing in Disc Brake Rotor Truing.
- Rotor Play: Rotors are secured using either mounting bolts or a lockring. See our article on Disc Brake Rotor Removal & Installation to learn how to properly secure them.
- Bearing Play: Play at the hub is also easy to check for. Just rock the wheel back and forth as shown in the video below. If there’s play, fix it.
- Sticky Pistons: Dust and dirt can collect on one or both of the pistons and causes them to stick. In many cases you can still achieve proper alignment with sticky pistons, but for more information see our video on How to Clean Brake Pistons.
Other causes of pad/rotor rub
Alignment Procedure
If you’ve ensured your wheels are properly seated and ruled out other sources of pad/rotor rub, then you can begin alignment. The process is the same for front and rear brakes.
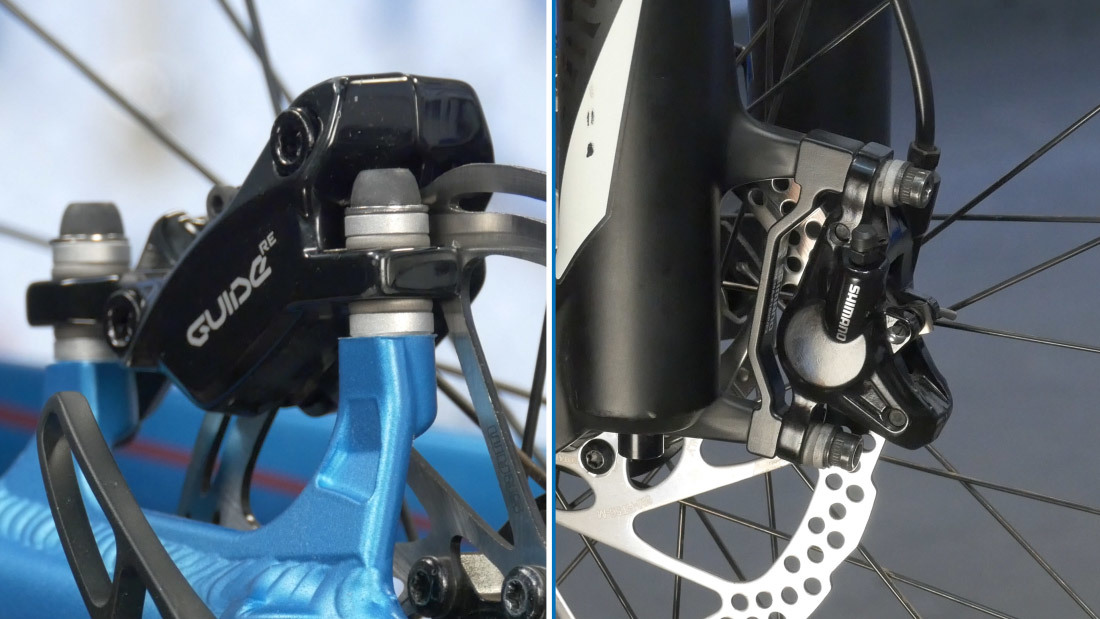
- Loosen both mounting bolts until the caliper body is able to freely move side to side. Note that on some bikes the mounting bolts are under the chain stay or on a bracket.

- Squeeze the brake lever. This centers the caliper body over the rotor.
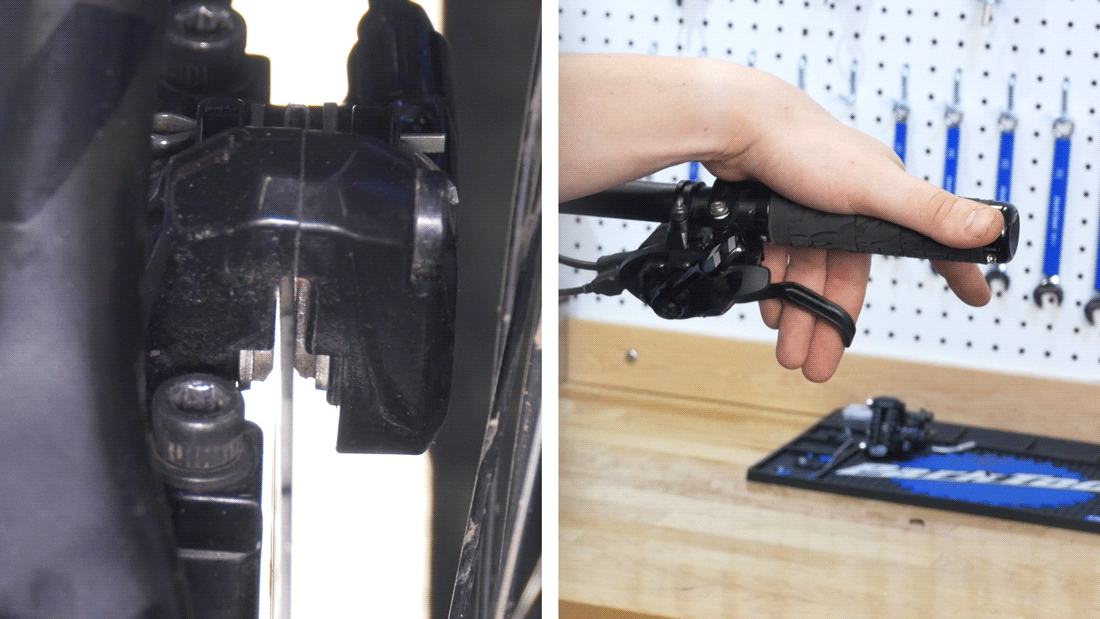
- While holding the lever, snug up the mounting bolts.
- Release the brake lever.
- Spin the wheel to test for pad rub.
- If there is no rubbing, the pads are aligned. Secure the mounting bolts to full torque, about 6–8 Nm, and the process is complete.
If there is still rubbing, continue to step 7 for some fine tuning.
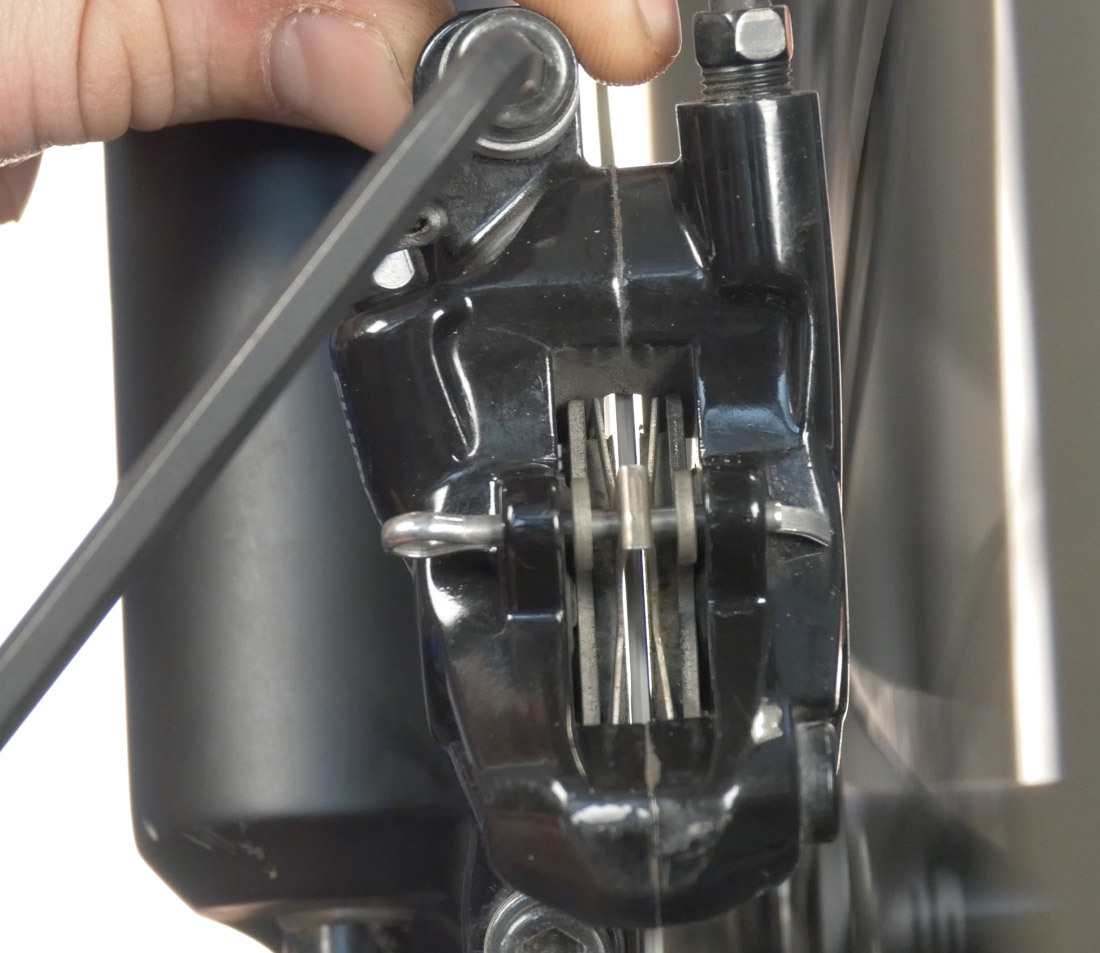
- Spin the wheel again. While the wheel is spinning, loosen one bolt and adjust by pushing the caliper in the direction of the rub until there is a gap on either side of the rotor. Take extra caution with your fingers and tools while working near a spinning wheel. If you cannot find an adequate alignment, try the same procedure on the other bolt. Once the pads are not rubbing, fully secure each mounting bolt, typically 6–8 Nm and the process is complete.
Additional Knowledge
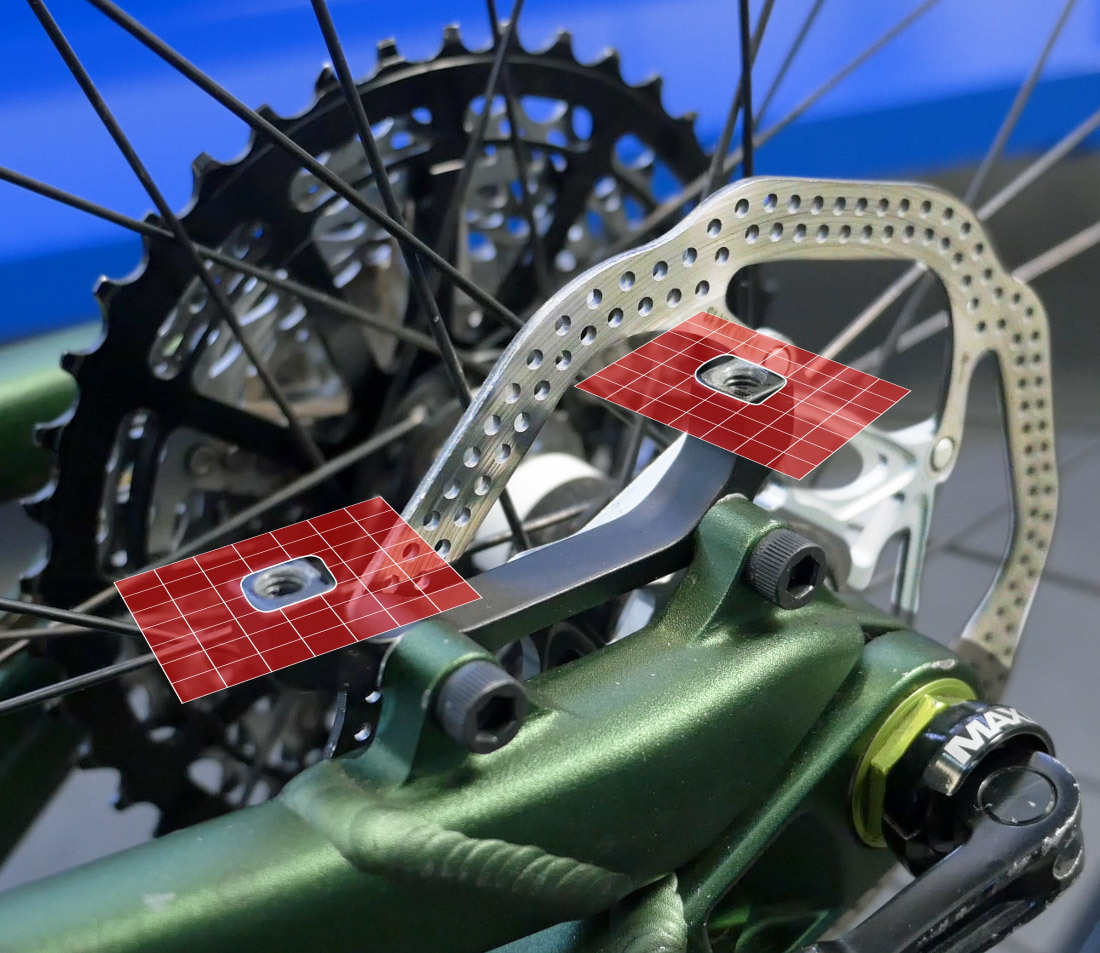
Some brakes have conical washers to assist in perpendicular alignment. Do not add washers if none were designed to be there in the first place, as the pads will no longer align with the rotor.
Conical washers can also be found between the bolt head and the caliper. These washers allow for proper bolt head alignment.
If after trying all the procedures nothing seems to work for an adequate alignment, there may be issues with the caliper mounting system. It is assumed the frame mounts are correctly machined and square with the rotor, but if the mounts are not square it’s possible to face or machine the mounts with the Park Tool DT-5.2 to improve alignment, as seen in this video: How to Use the DT-5.2.
Related articles
Mechanical Disc Brake Alignment View Article