Cutting Bike Handlebars
This article will walk through the process of how to cut/resize flat bars for bicycles.
Getting Started
- Ruler or other method of measuring cutting depth
- Marker or way to mark cut point
- Hacksaw with appropriate blade
- Saw guide such as SG-6 (metal), SG-8 (carbon) or SG-7.2 (universal)
- Foaming cleaner or soapy water (when cutting carbon)
- File or deburring tool (metal) or sandpaper/emery board (carbon)
- Rags
- Protective glasses
When choosing a new handlebar width, be conservative. It is always possible to remove more later. Also be sure to reduce width evenly — when shortening bars by 40mm total, cut 20mm from each side.
There are several methods that can be used to determine bar width — here are a few of our favorites:
- Sit on the bike. Close your eyes (make sure the bike is stable), reach out and grab the handlebars at a position that feels right. Take a measurement of the excess length of the grip starting at the outer edge of your hand. Subtract at least 10 mm from this number to allow yourself some extra margin — again, be conservative. This number is the amount you will remove from each end of the handlebar.
- This technique will require a helping hand. Prepare to do a push-up, with your hands on the ground shoulder-width apart. Have someone measure the positioning of your hands, from the outside of one hand to the other. Again, add 20 mm for a comfortable margin, and you have the ideal total width of your handlebars.
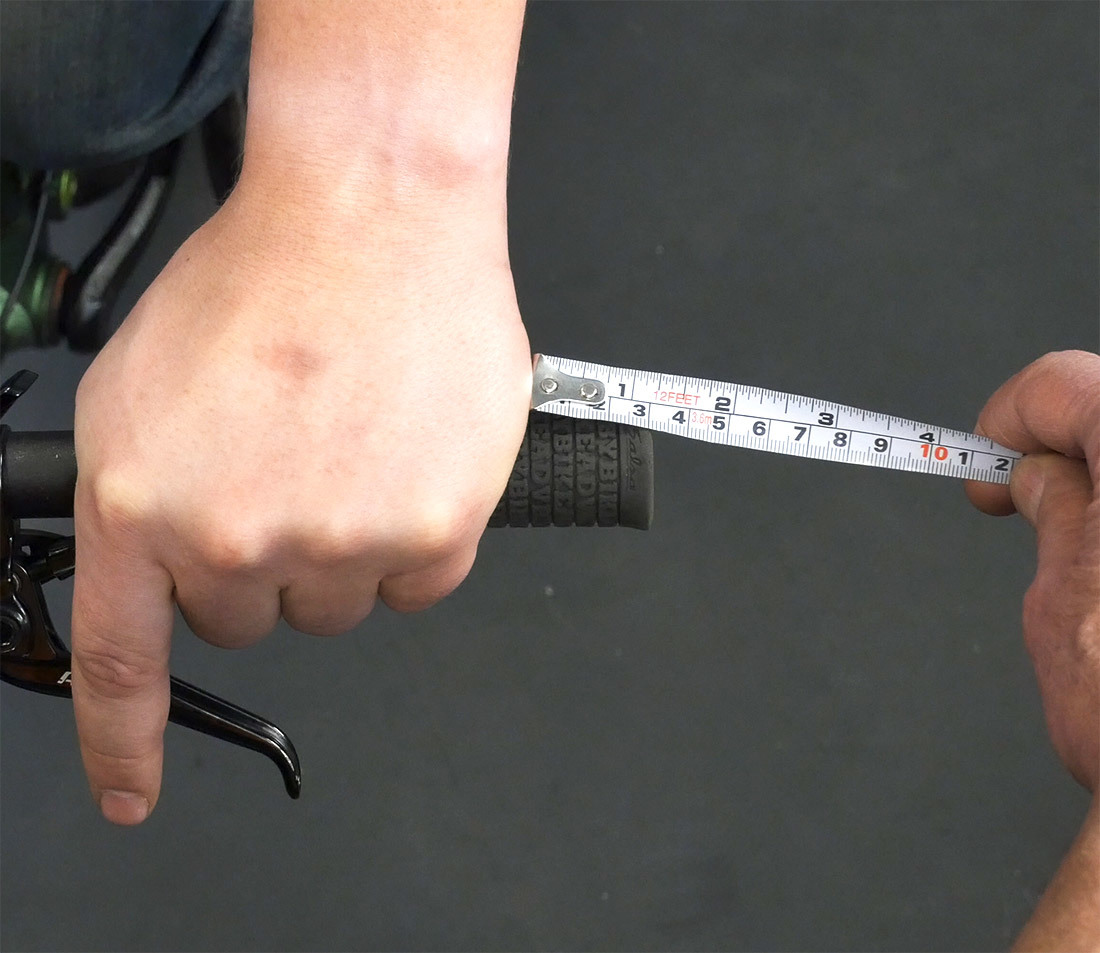
Method 1: Just feel it out. Place your hands on the bars, measure the excess and remove most of it.
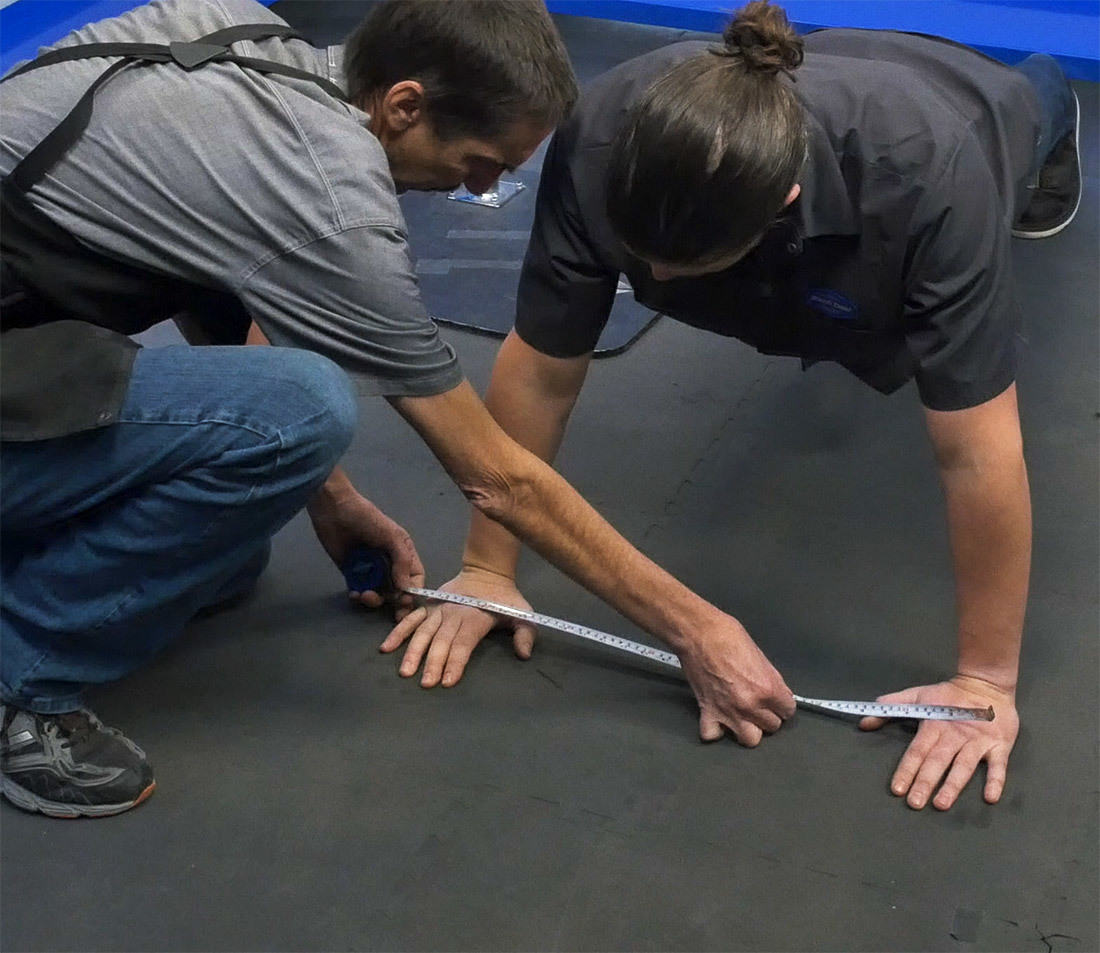
Method 2: The push-up method. Measure the width of a comfortable push-up to help determine ideal width.
Bar material is an important consideration when selecting tools and sawblades. For aluminum, steel and titanium bars, a metal cutting blade with teeth is ideal. For carbon fiber bars, a carbon compatible blade is most effective. If you don’t have a carbon compatible blade substitute a higher-toothed (32 tpi or higher) steel blade. Regardless of blade type, double check that the blade is adequately tight in the saw.
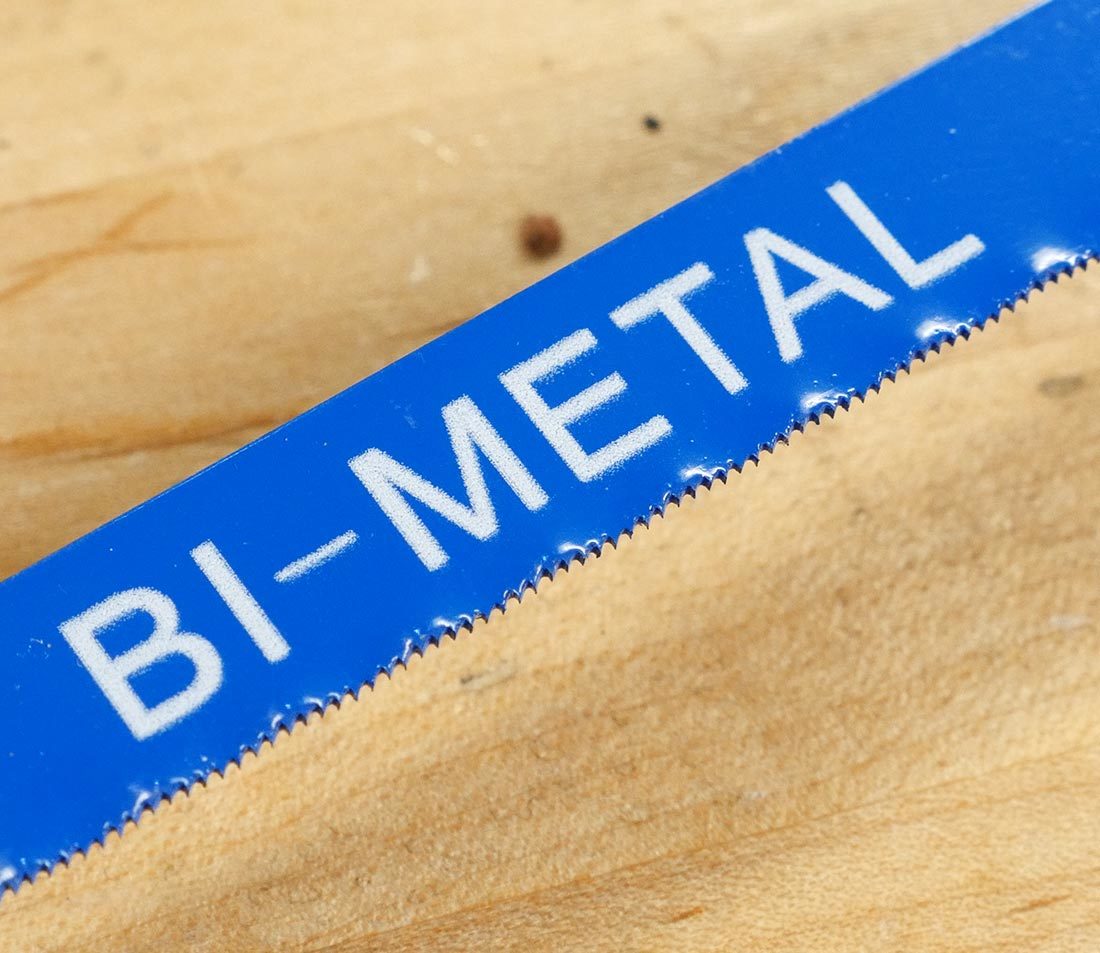
A traditional metal blade is sufficient for most metal bars
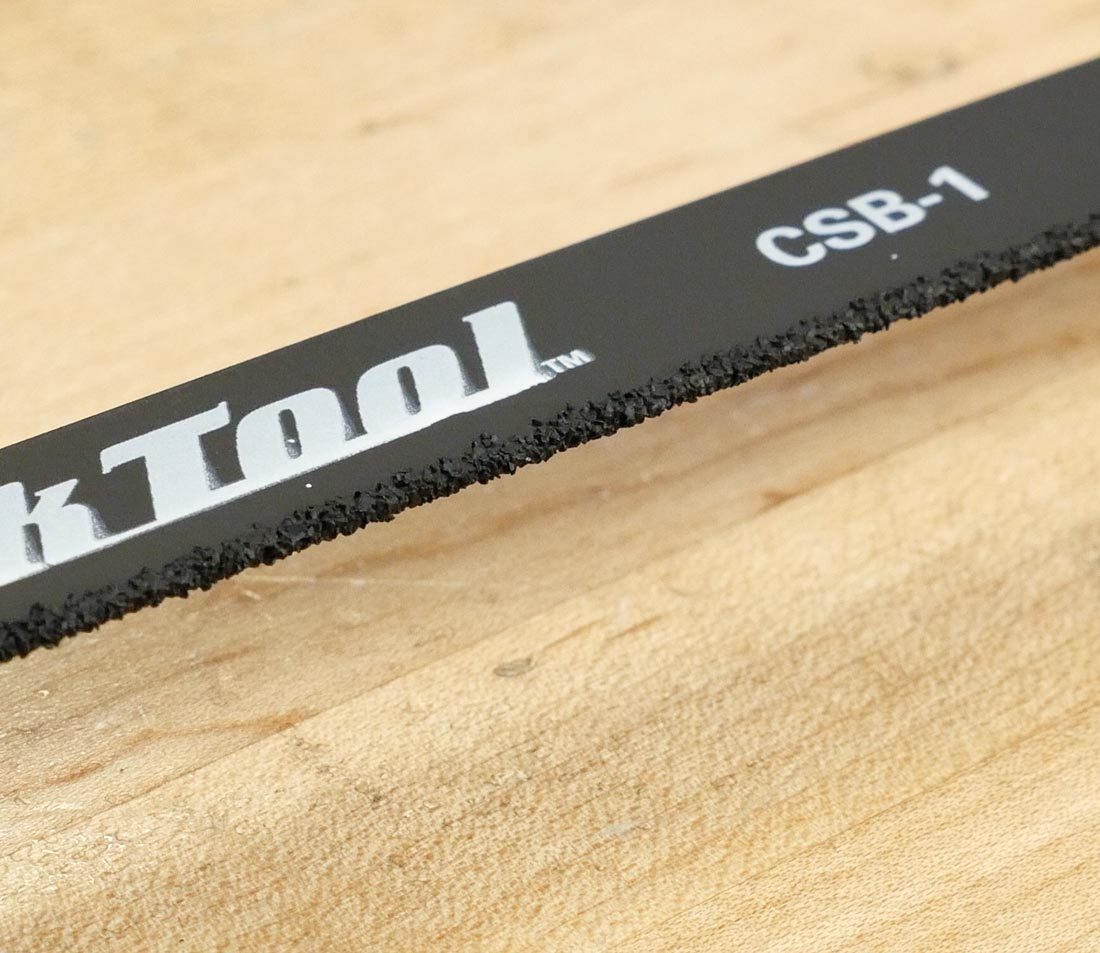
A carbon-specific blade results in a cleaner cut on carbon bars
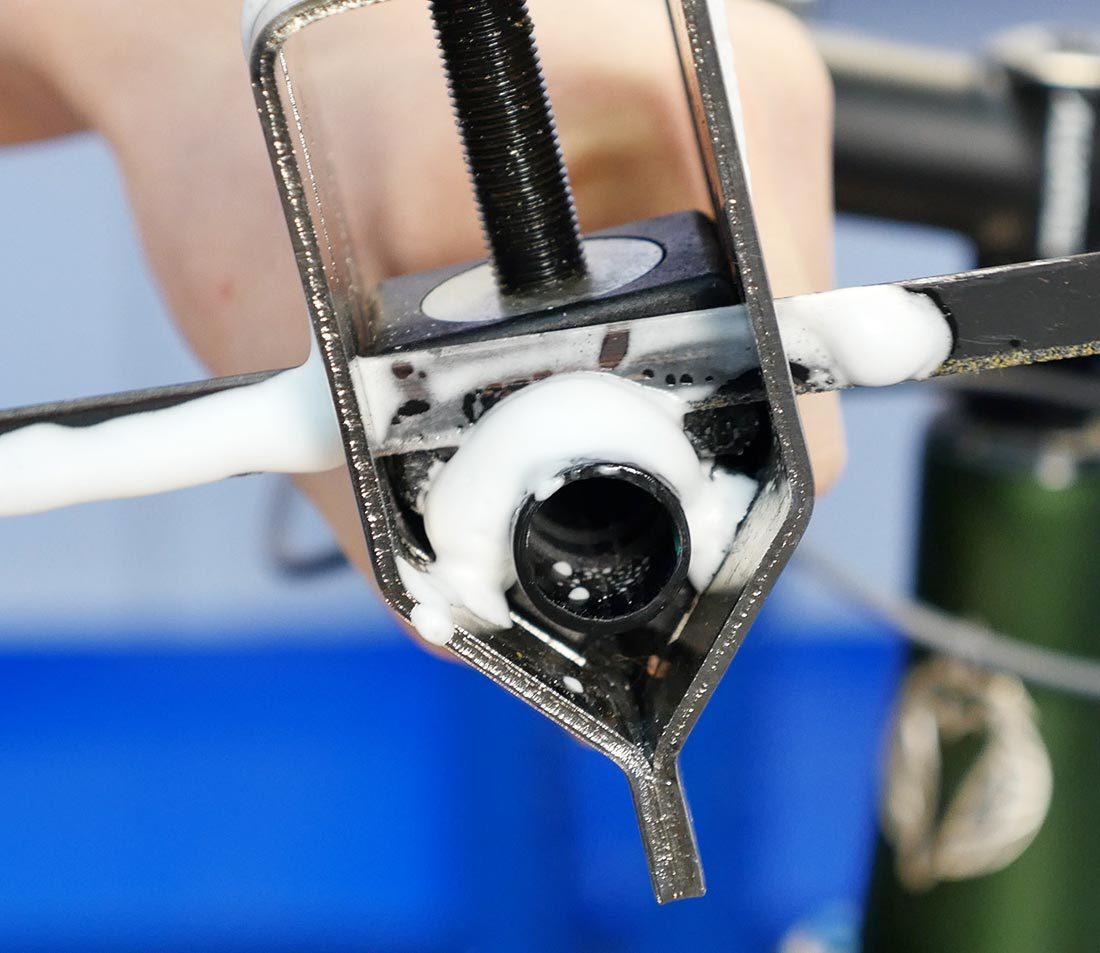
NOTE: Carbon dust is harmful to your lungs. To avoid health problems, apply a foaming cleaner to the cut point before cutting. Reapply to the cut point regularly throughout the procedure to prevent dust from going airborne. You can use soapy water, but foam such as window cleaner or shaving cream is most effective.
Cutting procedure
It is ideal to do the process on one side at a time. This way the placement of the controls can be easily referenced after each cut.
First, remove the grip from the handlebar and move the controls inboard. Measure and mark the cut point. Typically, it is sufficient to be accurate down to a few millimeters — this is not a precision procedure.
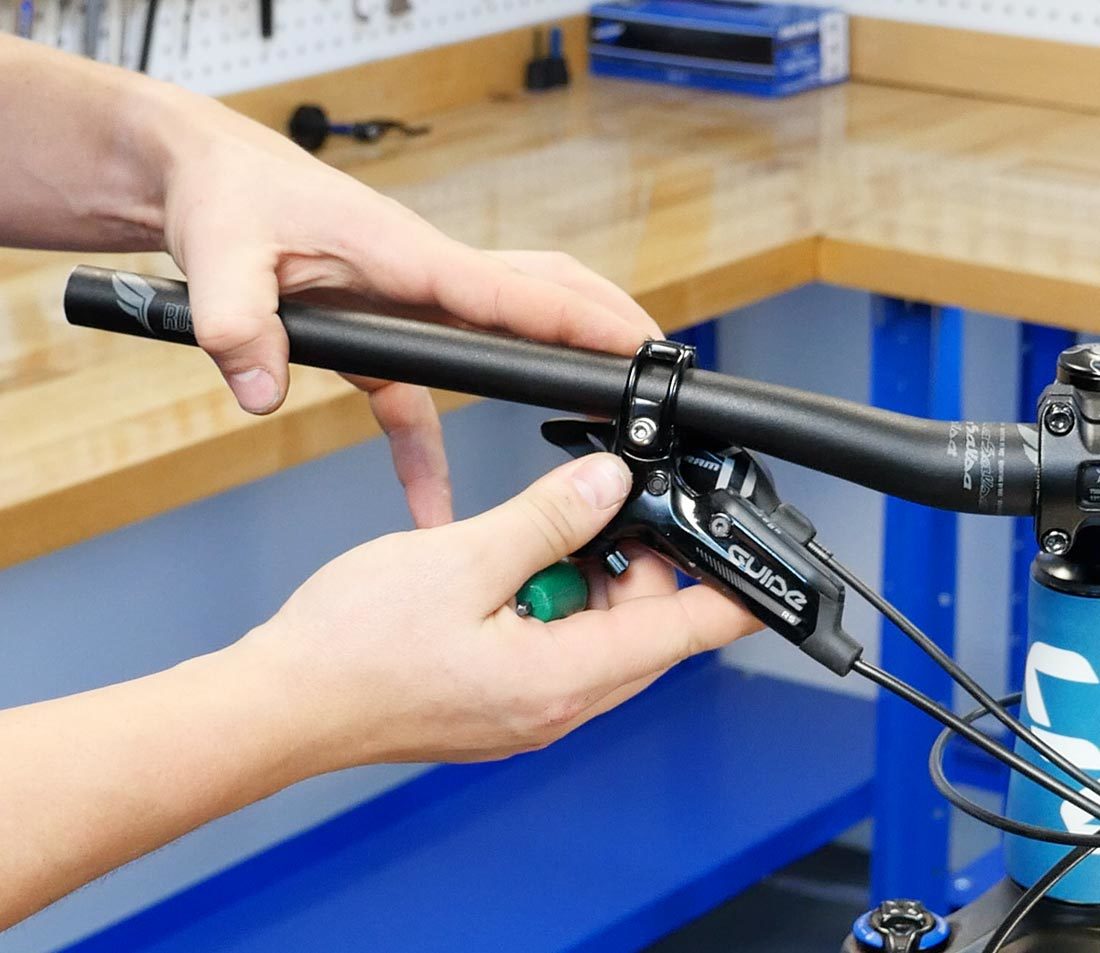
Move controls inward to allow space to work
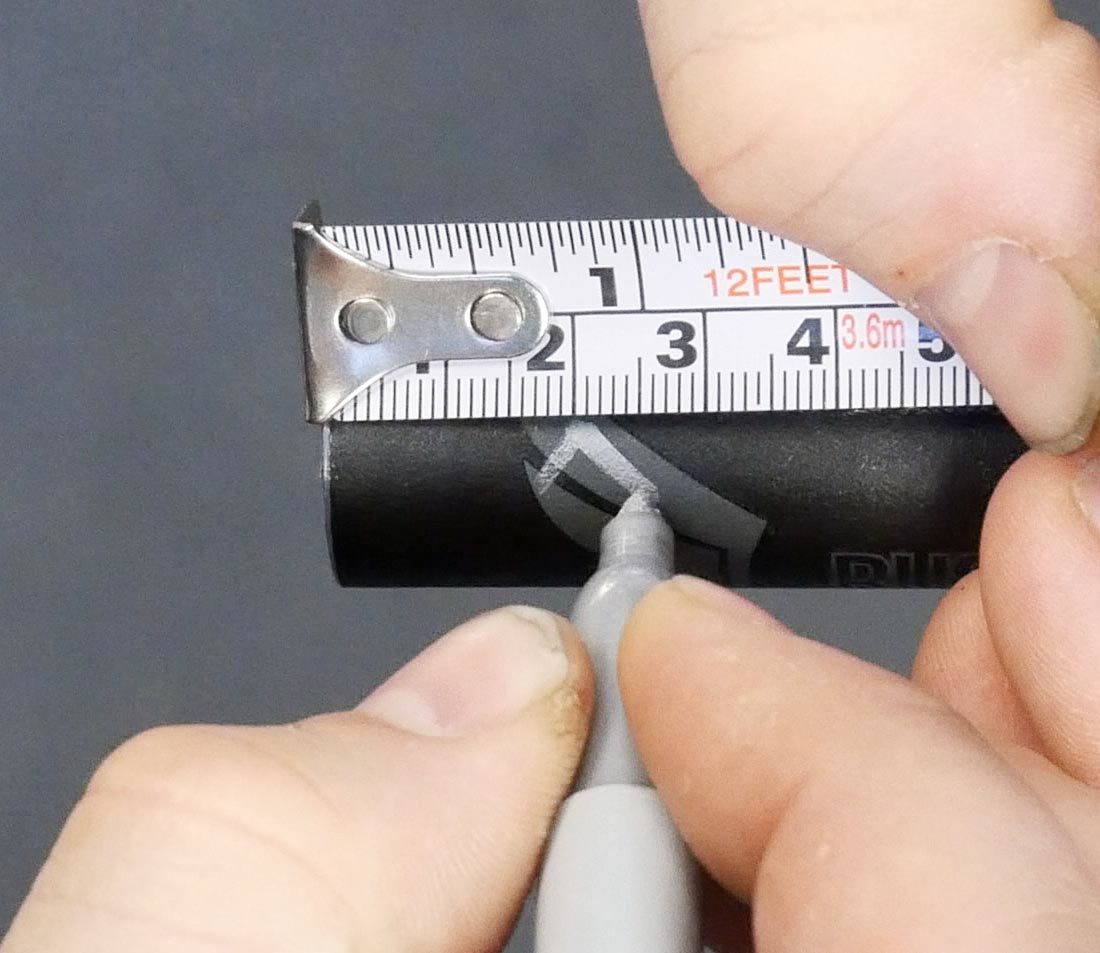
Mark the cut point with a marker
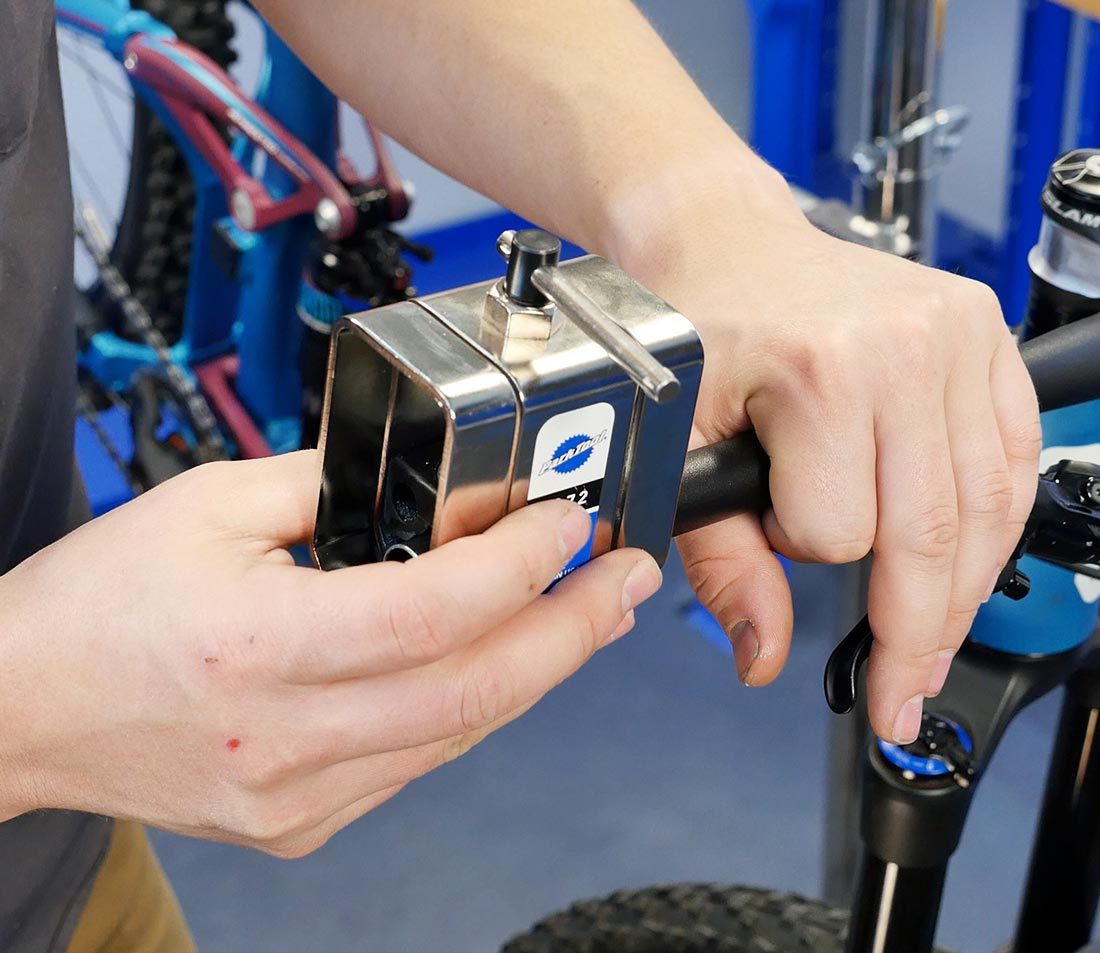
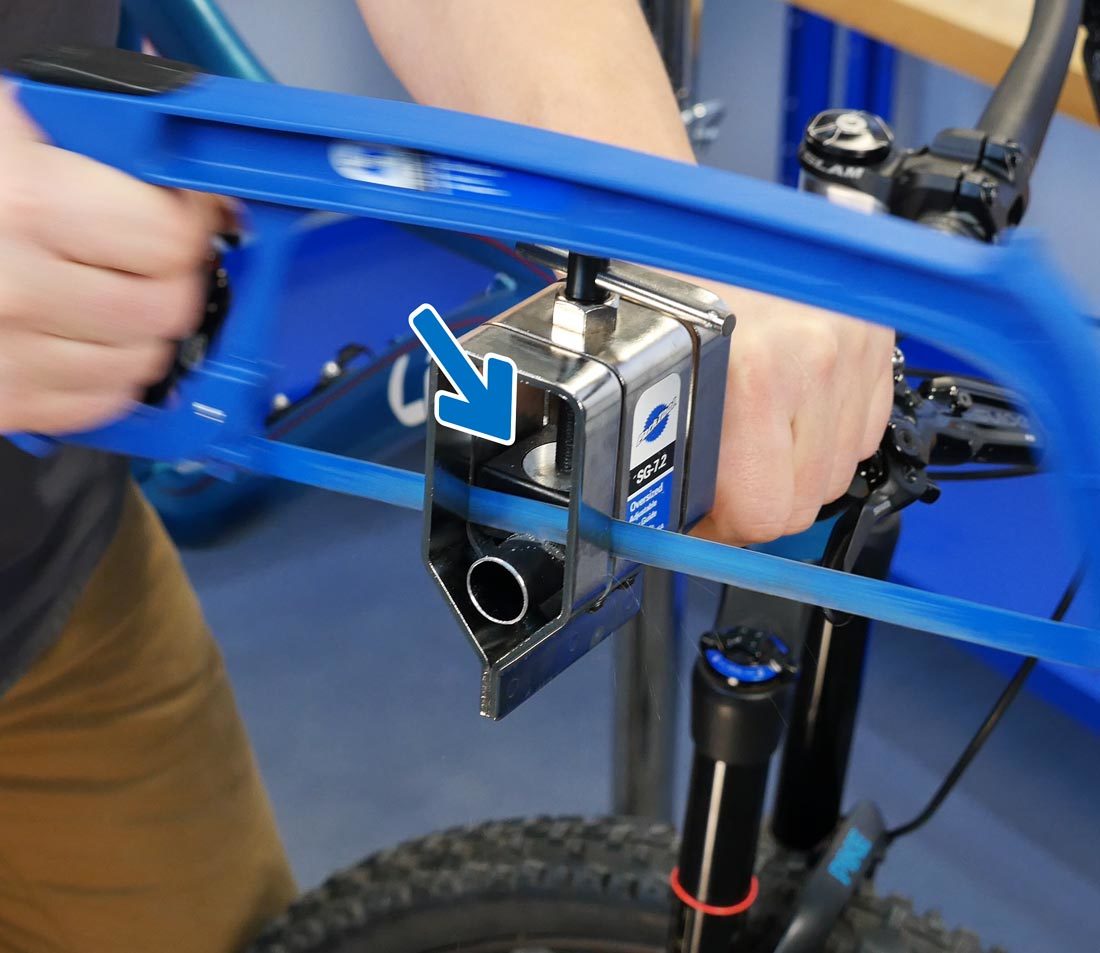
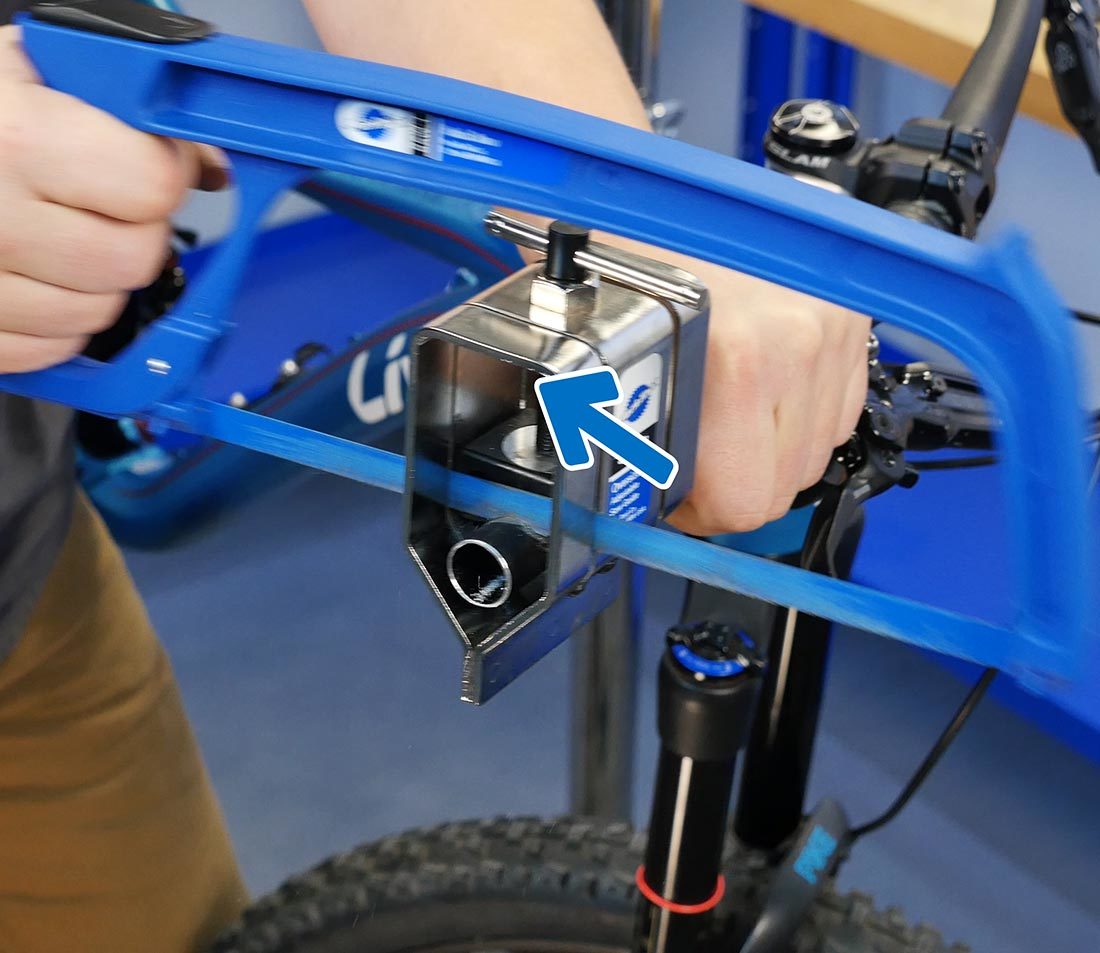
Install the saw guide and position it so that the blade sits on the reference mark, and tighten it down.
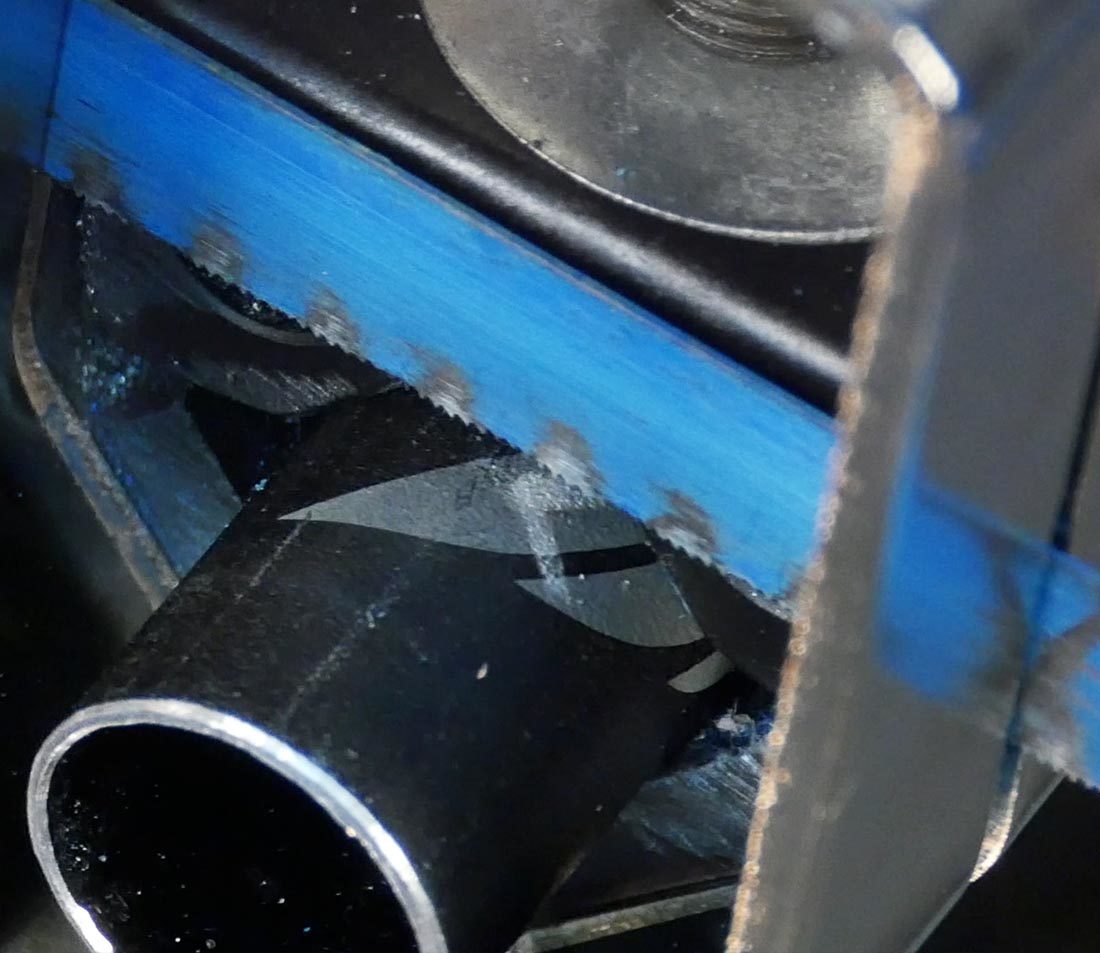
Begin cutting. Metal hacksaw blades are designed to cut on the push, so add some pressure going forward, and relieve pressure going back. A blade for carbon fiber is non-directional.
Push down on forward stroke
Ease up on backstroke
Once the blade is almost completely through the bar, ease up on pressure for the final strokes — this will result in less of a burr.
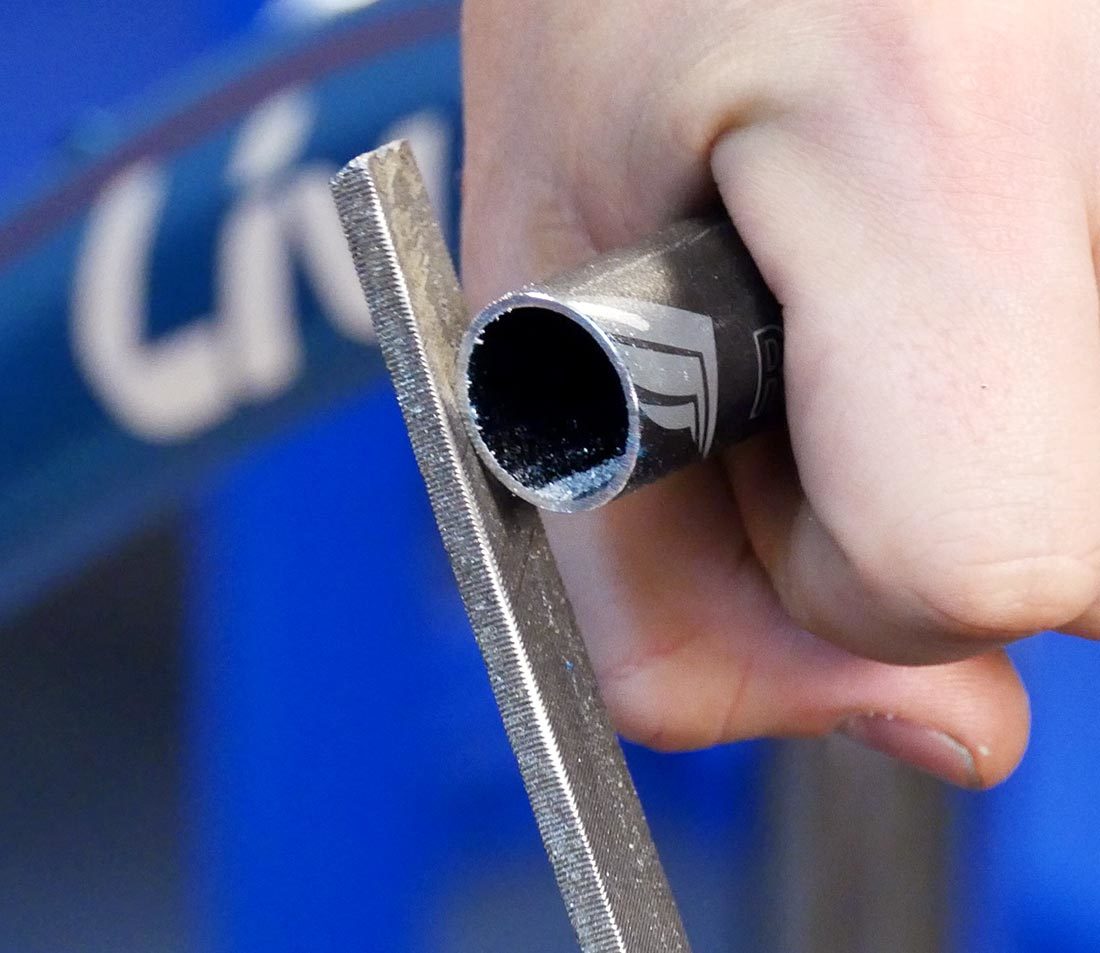
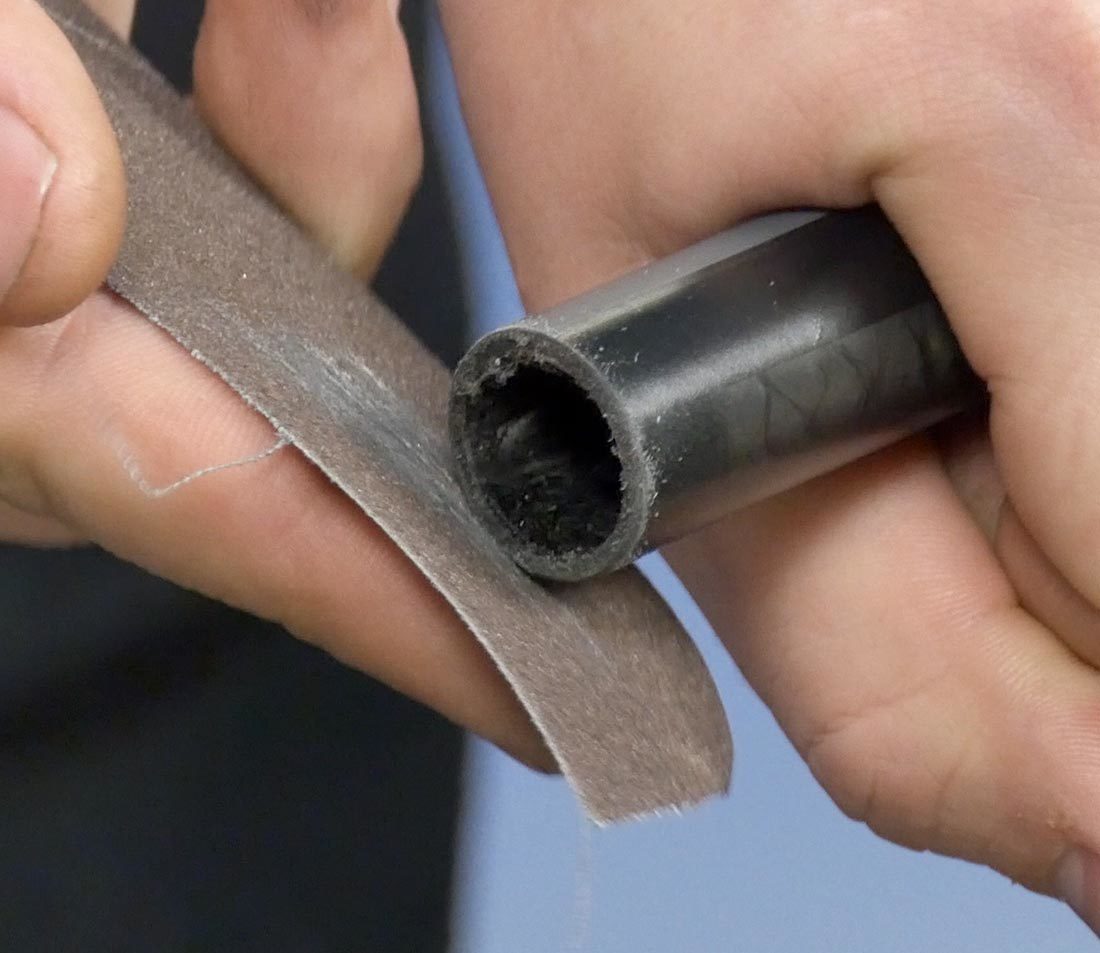
Remove the saw guide. For metal bars, use a file or deburring tool to clean up the end. For carbon bars, emery cloth or sandpaper are your safest options.
Reinstall the grip. Reposition the controls to duplicate the position of the opposite side, and torque the control fasteners to the appropriate torque specification — typically about 4–6 Nm. Repeat the entire process on the other side.
Related articles
Handlebar Removal & Installation: Flat Bars View Article
Handlebar Grip Installation (Flat Bars) View Article