Cassette Removal and Installation
This article will review the removal and installation of cassette cogs on derailleur-type bicycles.
Getting Started
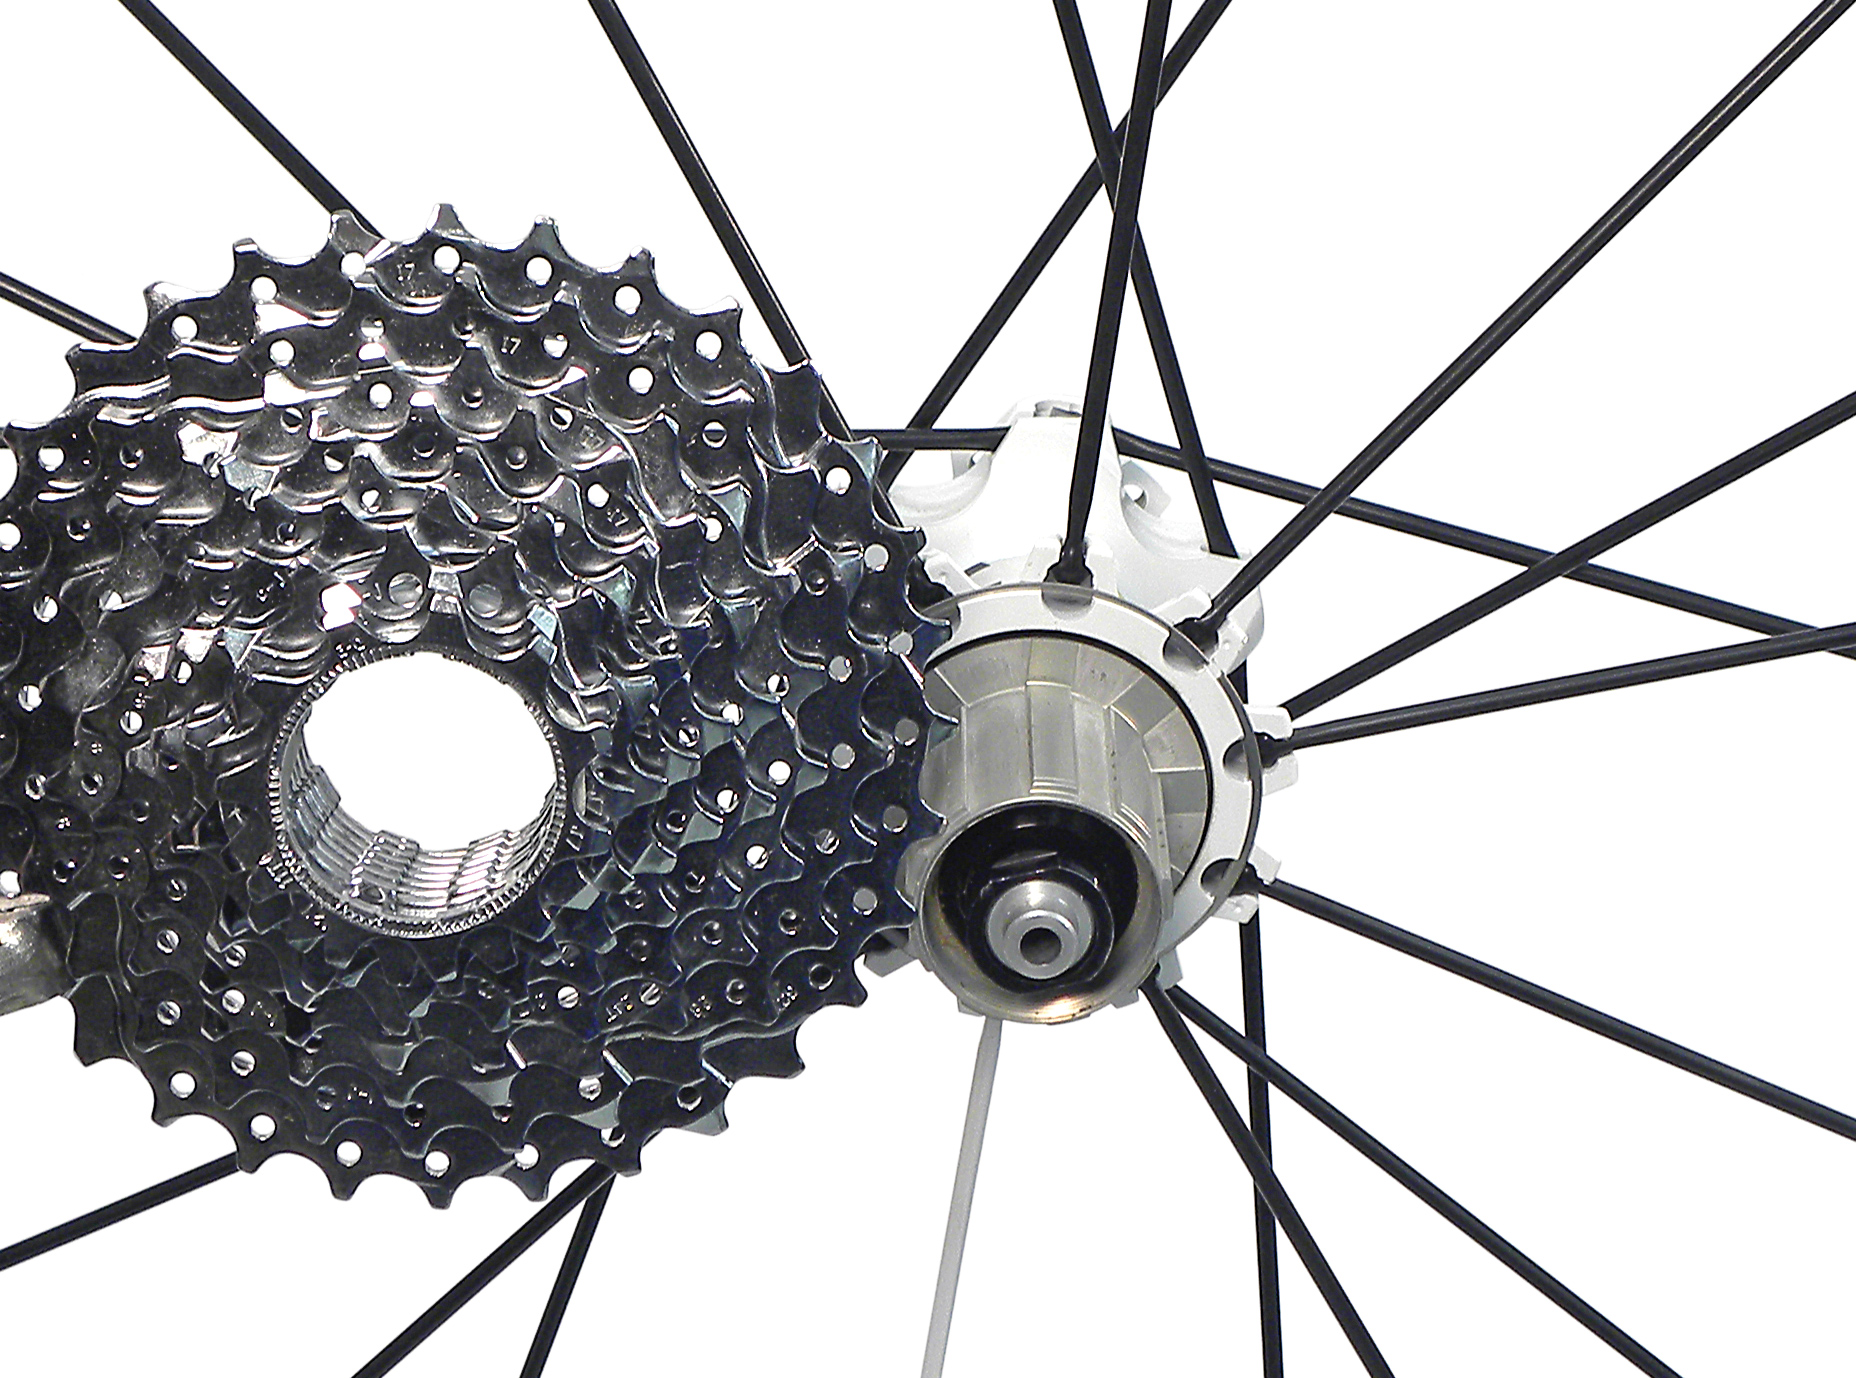
The rear cogs (or “sprockets” or “gears”) are attached to the hub in one of two ways. Newer bikes tend to use a cassette-style hub. The cassette hub uses a freehub sytem, which is a type of clutch mounted to the body of the hub. This cylindrical mechanism ratchets counterclockwise to allow for coasting, and locks clockwise to propel the bike forward the bike when pedaled. The freehub body has a series of splines on the outer shell. Cassette cogs have corresponding spline shapes which allow them to slide over these splines. The complete group of cogs is known as a cassette stack, and may consist of individual cogs and spacers, multiple cogs joined together in one unit, or a combination of the two. A lockring threads into the freehub and holds the cassette stack in place. When the lockring and cogs are removed, the ratcheting freehub remains on the hub body. Most modern bicycles use the freehub system. See a typical cassette hub below.
Older bikes, lower-end bikes, and many e-bikes may have a large external thread machined into the hub. The freewheel, a unit consisting of the cogs and ratcheting mechanism, threads directly onto the hub. Freewheel systems are discussed at Freewheel Removal and Installation.
This article will review the removal and installation of cassette systems.
Cassette Lockring Tool Compatibility
You will need to determine the style or brand of cassette you have. The table below shows every style that has a compatible installation & removal tool made by Park Tool.
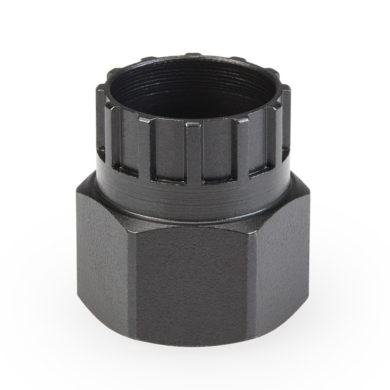
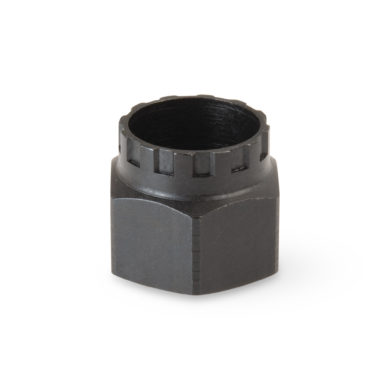
| FR-5.2, FR-5.2G, FR-5.2GT, FR-5.2H | |
|---|---|
| Shimano®, SRAM®, Chris King®, Sun Race®, Hugi®, etc. cassette lockrings | 12 splines, approx. 23.4 mm diameter |
 |
 |
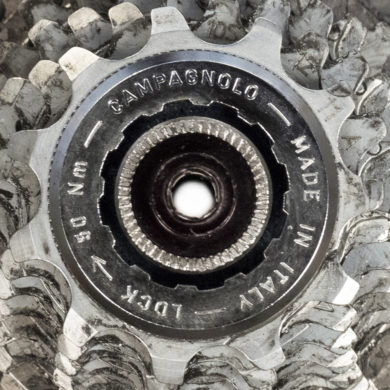
| BBT-5/FR-11 | |
| Campagnolo® cassettes | 12 splines, approx. 22.8 mm diameter |
 |
 |
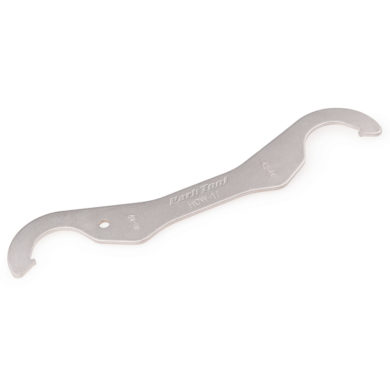
| HCW-17 | |
| Single-speed external notch lockring | 2 to 8 external notches |
 |
 |
As a rule of thumb, if the bike has a Campagnolo® brand shifting system, it is likely it will have a Campagnolo®-compatible lockring. Use the BBT-5/FR-11 for these bikes.
Cassette Lockring Removal
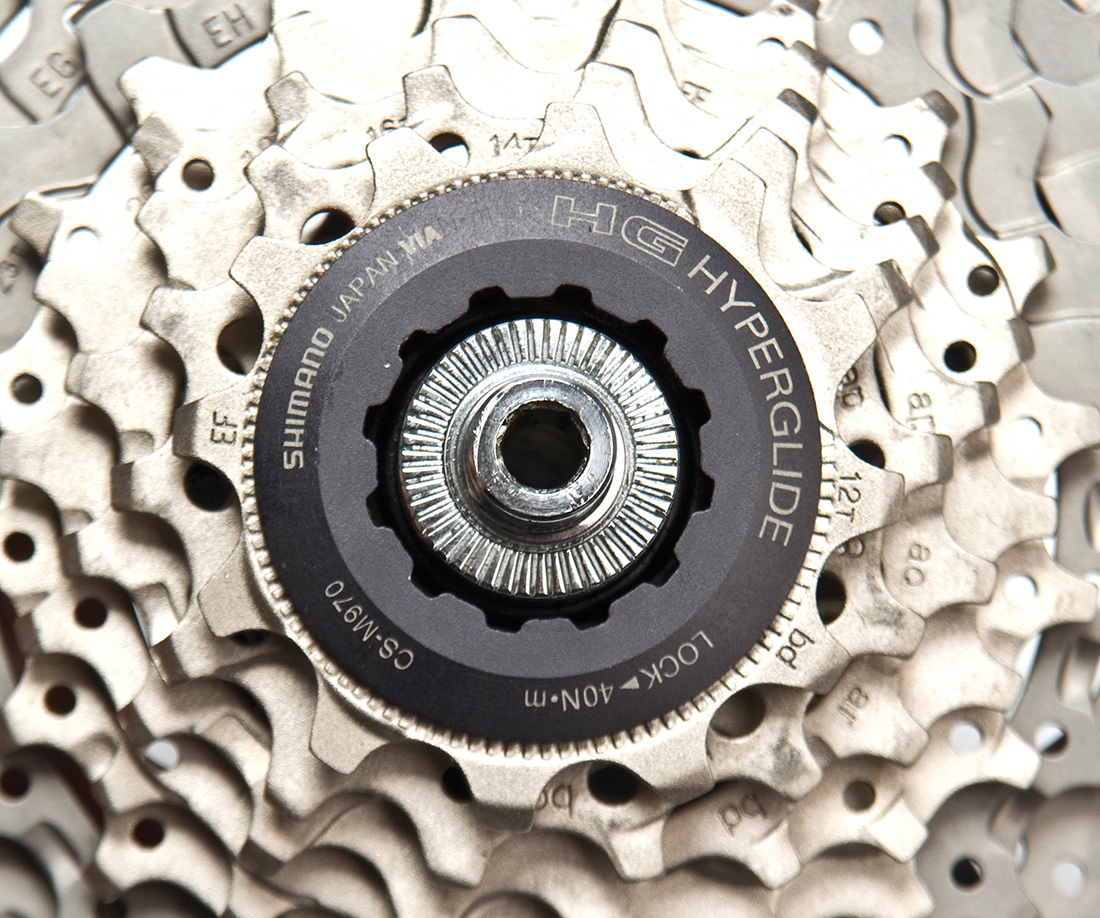
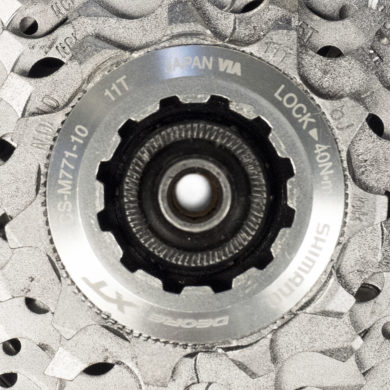
If your cassette stack look like this, you probably have a lockring-type cassette.
- Mount the bike in a repair stand and remove the rear wheel.
- Remove the quick-release skewer if present.
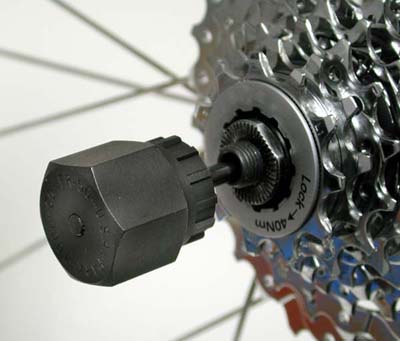
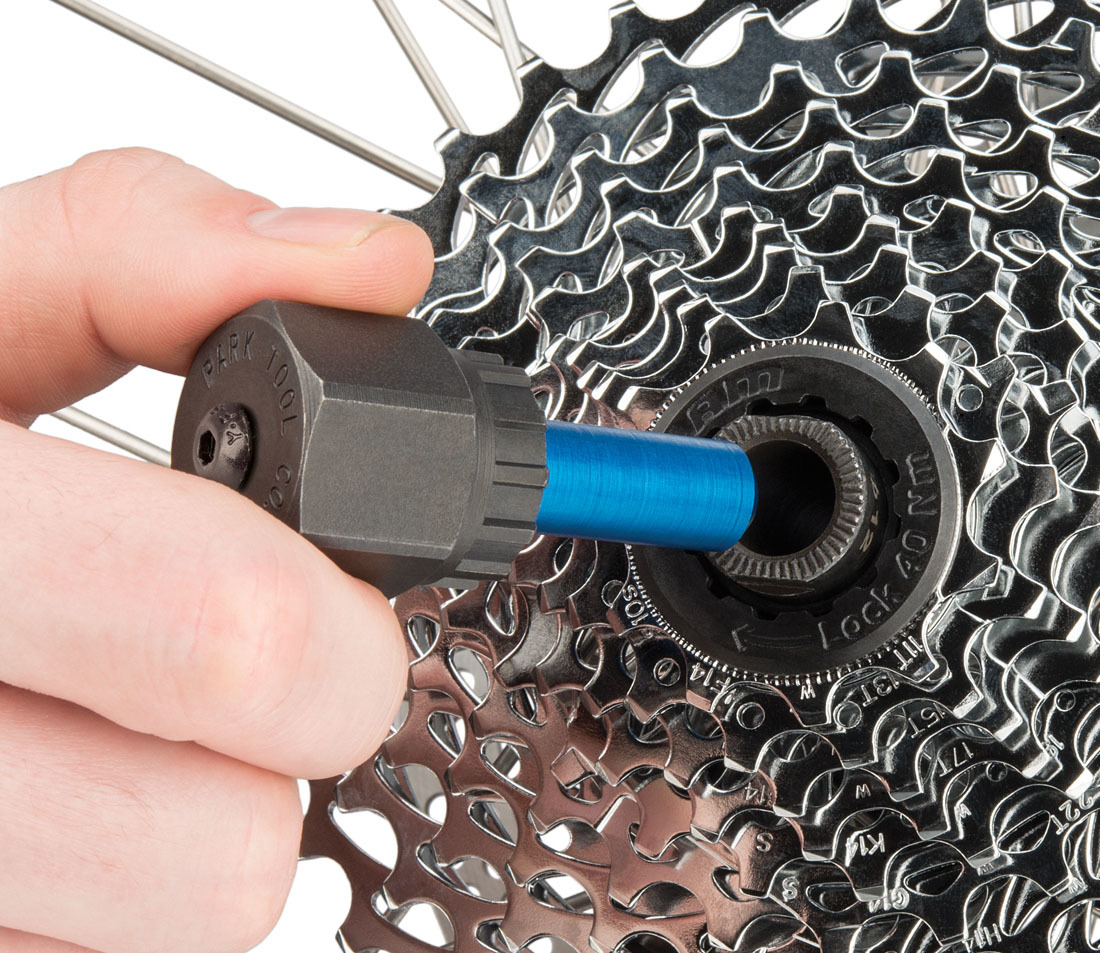
- Engage the appropriate lockring removal tool into the splines/notches.
- If using FR-5.2 or BBT-5/FR-11, reinstall the quick-release skewer. Install and snug skewer nut against removal tool. The skewer acts as a retaining device for the removal tool.
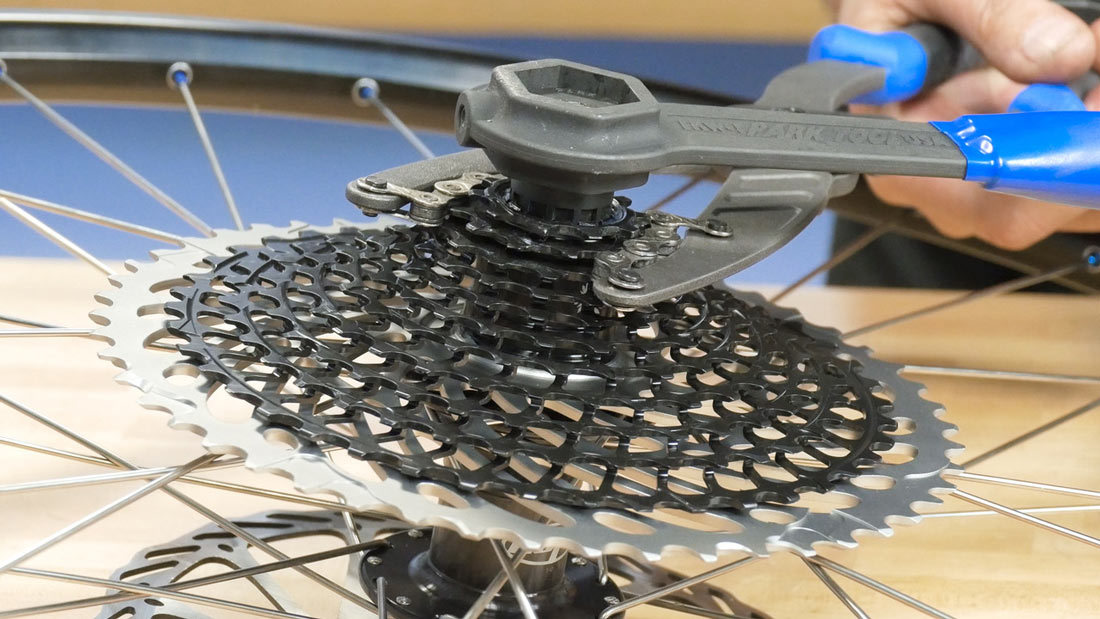
- Install chain whip as shown below, and install an appropriate wrench (large adjustable wrench or 1″ socket with handle) onto the wrench flats of the lockring tool. From the mechanic’s perspective, position the chain whip at 9 o’clock and the wrench driving the removal tool at 3 o’clock.
- Push straight down to turn the remover counterclockwise. It will require force to remove the lockring. Expect to hear a loud ratcheting sound as the locking teeth of the lockring separate.
- Position the wheel so the cassette stack is flat to the ground. Unthread and remove the lockring. As you remove the cogs, take note of the presence and position of any spacers.

Cassette Lockring Installation
Freehub bodies and cassette stacks are designed so that there is only one possible orientation in which the cogs can be installed onto the freehub.
- Inspect the splines of the freehub body. Look for a wide space between splines. Inspect the internal splines of the cogs. Look for a wide spline to mate with the wide space in the freehub body. Align the splines and engage the cogs. Repeat until all cogs are installed onto the freehub, making sure to install spacers in same orientation as when removed.
- Grease the threads of the lockring and thread the lockring into the freehub.
- Install the cassette lockring tool. Install the quick-release skewer, if present, and snug the skewer nut against the remover as you did during removal.
- Use an appropriate wrench to turn the remover clockwise until lockring is tight — at least 40 Nm or whatever is recommended by the manufacturer. The chain whip is not required during installation.
- If a new cassette or wheel was installed, check that the rear derailleur adjustment is still good. See Rear Derailleur Adjustment.
Using FR-5.2G or FR-5.2GT with Guide Pin
The FR-5.2G and FR-5.2GT include a guide pin for greater stability during the removal and installation process. Remove the skewer or thru axle and install the FR-5.2G or FR-5.2GT. Make sure the teeth are fully engaged in the lockring. Hold cogs as described above and turn the tool counterclockwise.
FR-5.2G is compatible with traditional hubs with skewers
FR-5.2GT is compatible with thru axle hubs
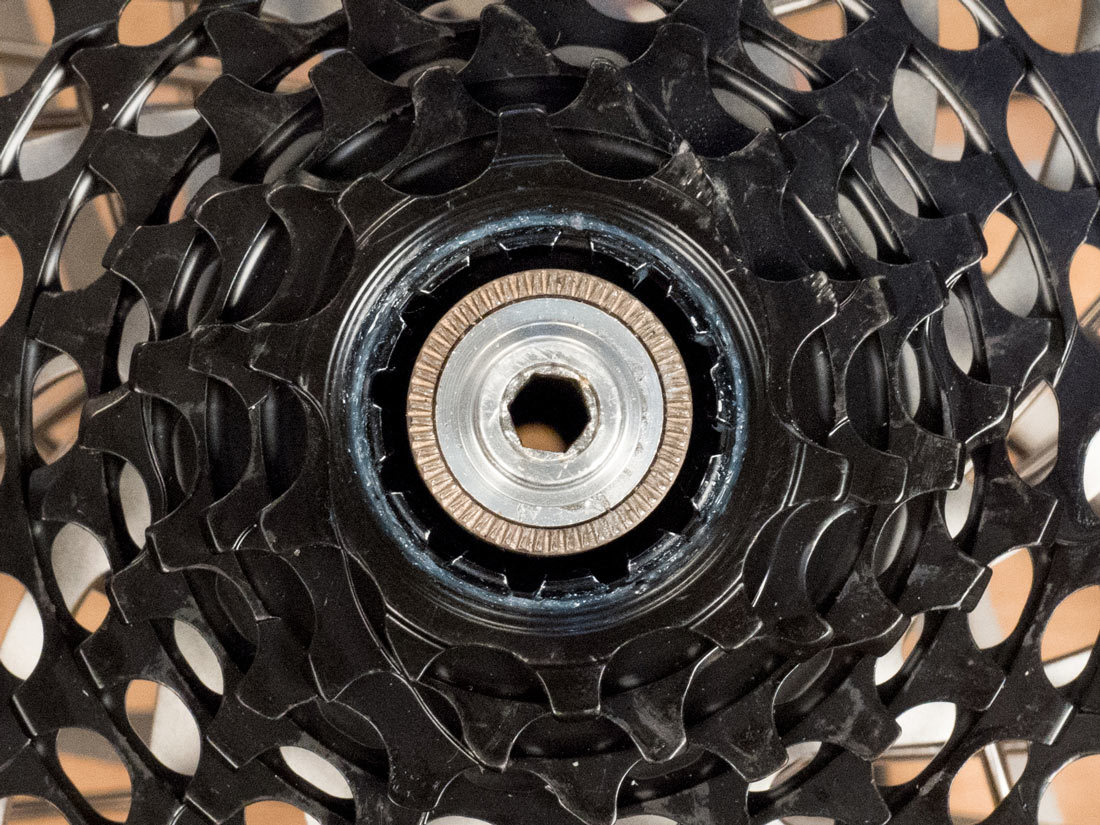
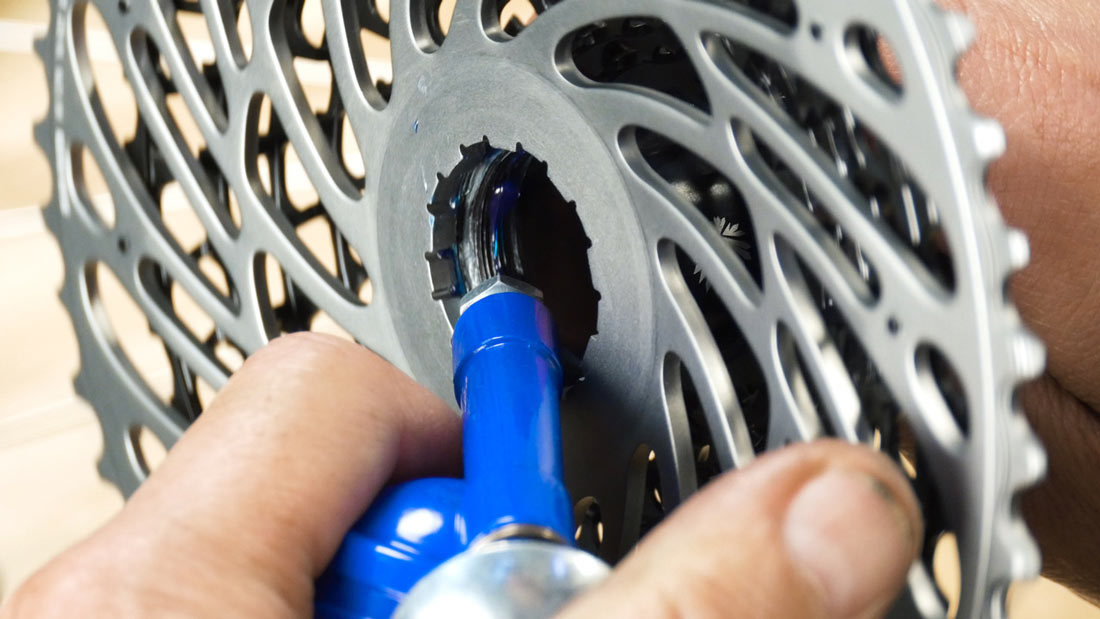
SRAM XD Freehub Cassettes
Although they do not appear to have a lockring, SRAM XD freehubs and sprockets are considered a cassette system. The lockring mechanism is hidden down inside the cassette stack. Inspect the inner perimeter of the smallest sprocket for 12 splines. Use the FR-5.2, FR-5.2GT, FR-5.2H, or FR-5.2G on this fitting.
The removal and installation process is the same — engage a lockring tool and chain whip, and turn the cassette stack counterclockwise. The entire cassette stack will come off as one unit.
To install the cassette, lubricate the threads inside the cassette stack. Place the cassette onto the freehub body, and use a lockring tool to complete the installation. Secure to approxiately 40 Nm.
Non-Lockring Freehub Cog Removal
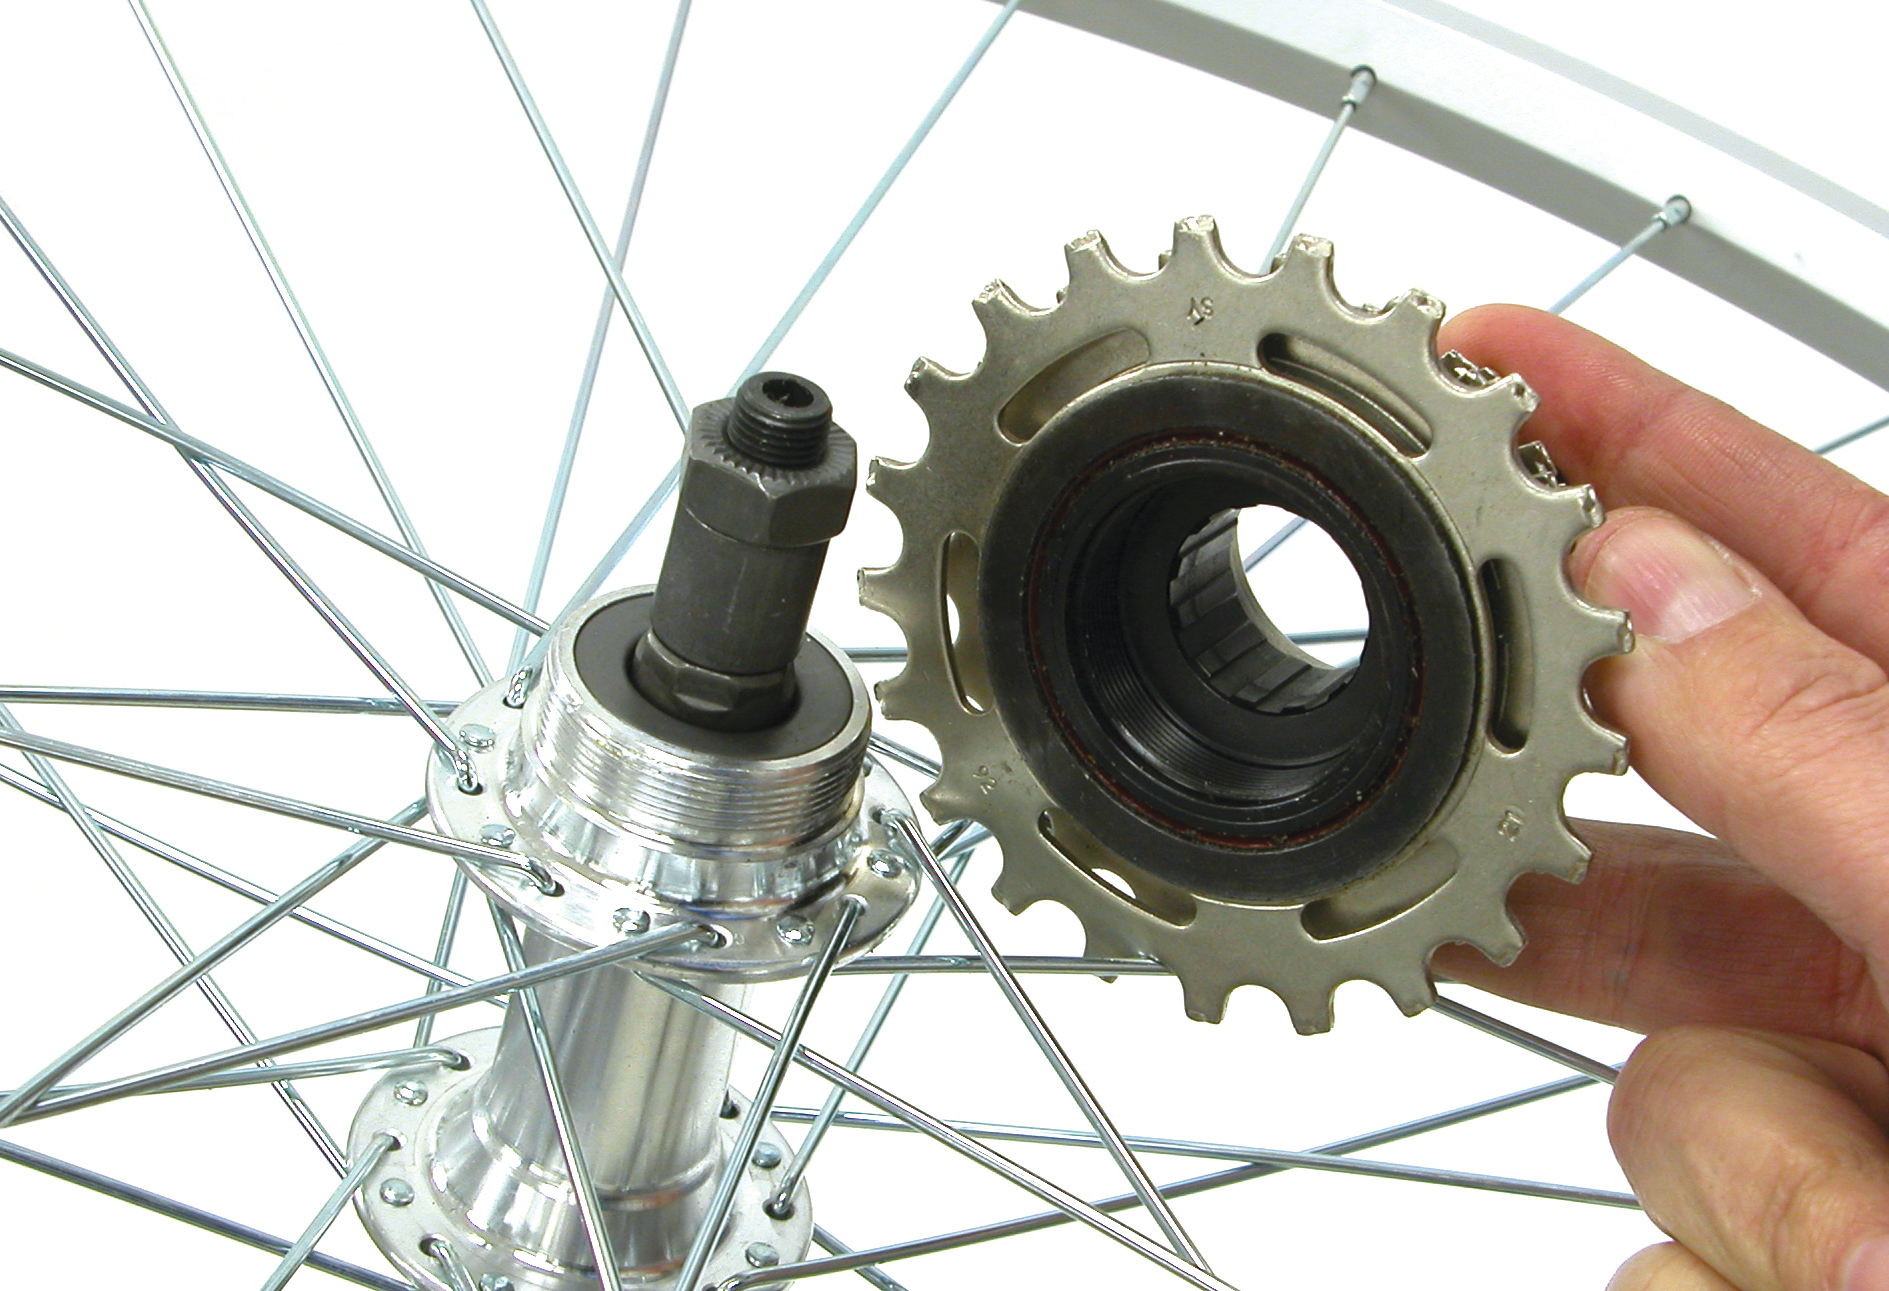
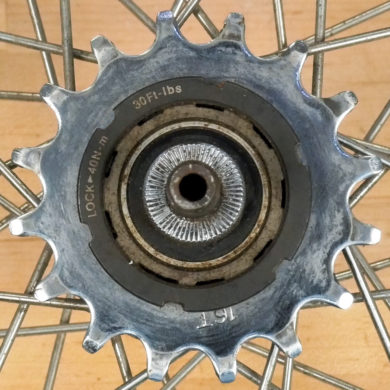
Older freehubs may lack notches or splines adjacent to the axle. These older freehub cogs did not use a freewheel or cassette lockring removal tool. There will be a dust cap for the hub on the right side, but no recessed notches or lockring splines at all. The first cog acts as a lockring for the other cogs.
- Using two chain whip tools, place first chain whip on second or third cog, holding it clockwise.
- Place second chain whip on first cog to rotate it counterclockwise.

- Arrange chain whips so they form a “V”. This gives you better mechanical advantage. See image above.
- Rotate first cog counterclockwise while holding the other chain whip. This loosens first cog. Remove cog and pull off other cogs.
Non-Lockring Freehub Cog Installation
- Grease threads of smallest cog.
- Install cogs and spacers on freehub.
- Thread on smallest cog and secure clockwise with sprocket chain whip tool.
Related articles
Freewheel Removal and Installation View Article
Freewheel — Destructive Removal View Article
Freehub Service View Article