Brake Lever Mounting & Positioning: Drop Bars
This article will review brake lever mounting and positioning on drop handlebars.
Locate Mounting Bolt
- Hex wrenches
- Torque wrench
- Straight edge, such as SBC-1
- String
Drop bar brake levers are held onto the handlebars with a mounting strap. The mounting strap is pulled up with a bolt, and the bolt head will be often under the gum rubber hoods. The first process is to find the location of the strap bolt head.
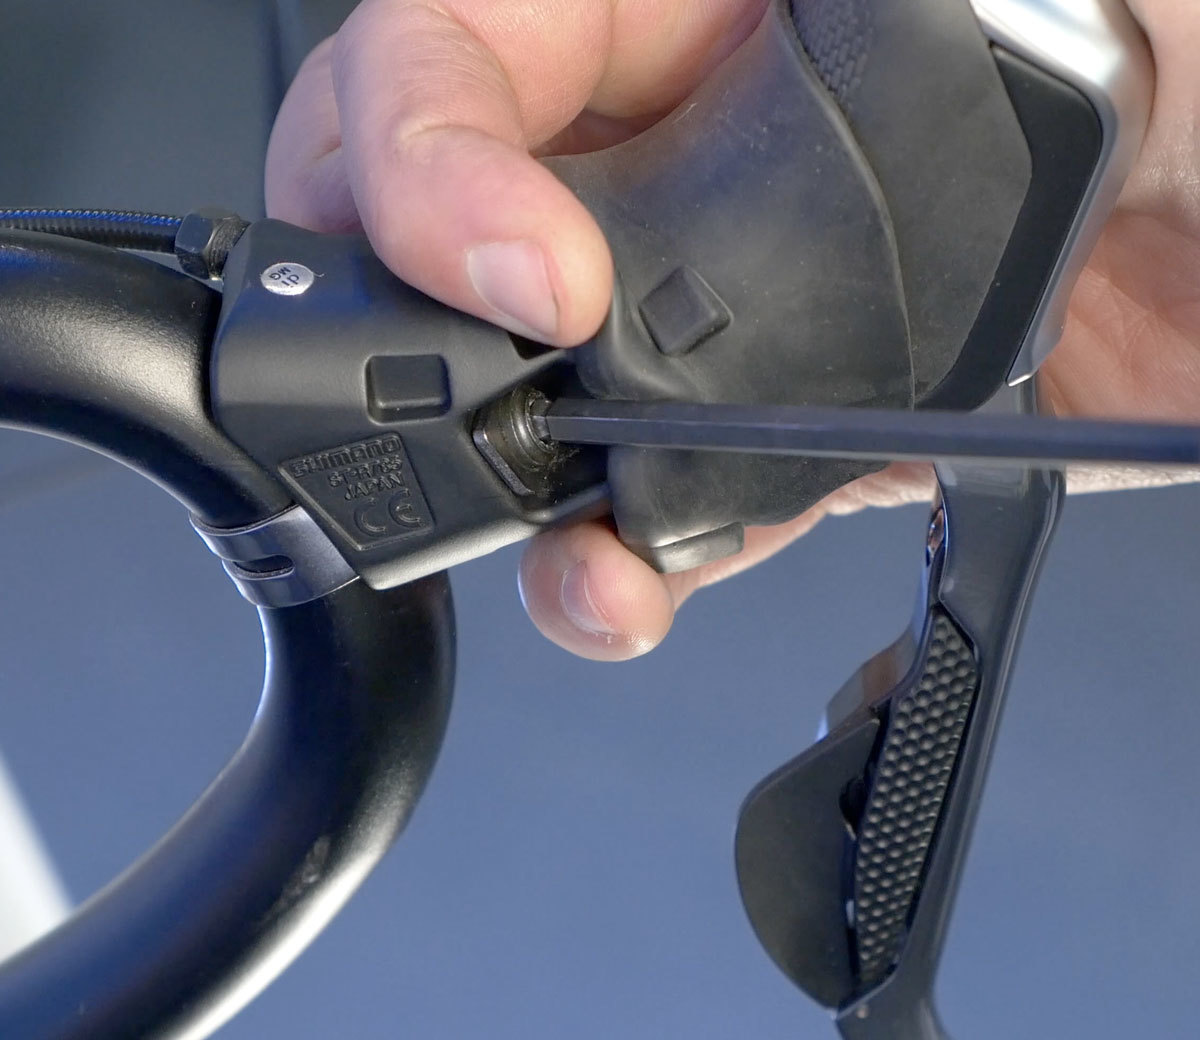
For the integrated shift lever brake levers of SRAM or Shimano that route the cables along the handlebars, the location of the mounting bolt is under the rubber cover. Pull the hood forward to expose socket head.
If there is not bolt head under the back of the hood, pull the front of the hood to the back and look for the bolt head at the front of the lever body.
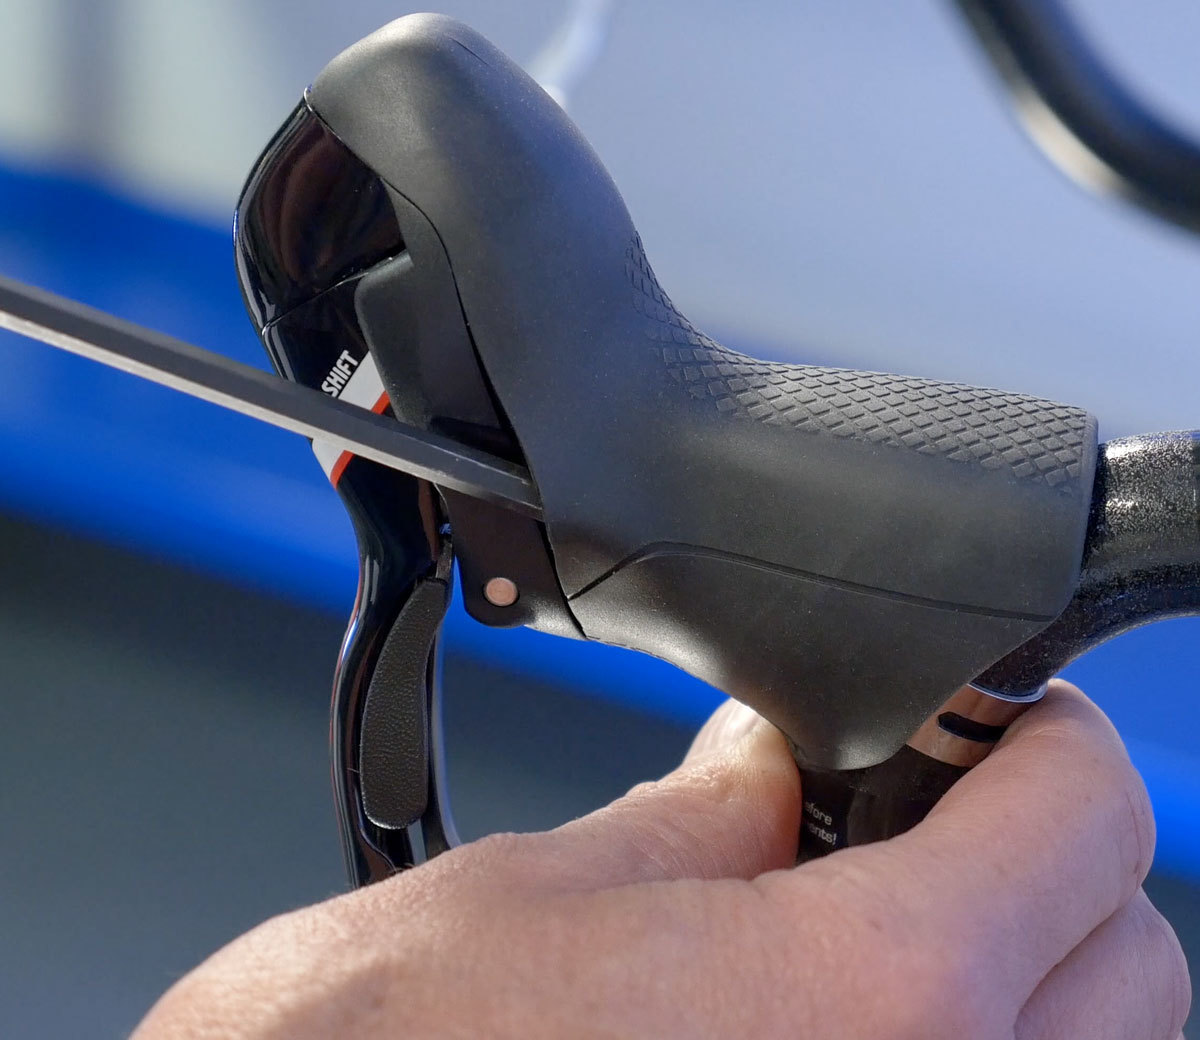
On the microSHIFT integrated brake lever/shift levers there is an access port from the front of the lever. The same is true of Shimano designs where the brake housing is under the bar tape, but the derailleur housing passes inboard of the lever.
Lever Installation
To install levers on a drop bar, loosen the strap mount. Engage the strap on the drop, slide the lever up close to the final position. Snug the mounting bolt, but not so tight that it cannot be moved for final positioning. Repeat the process on the other side.
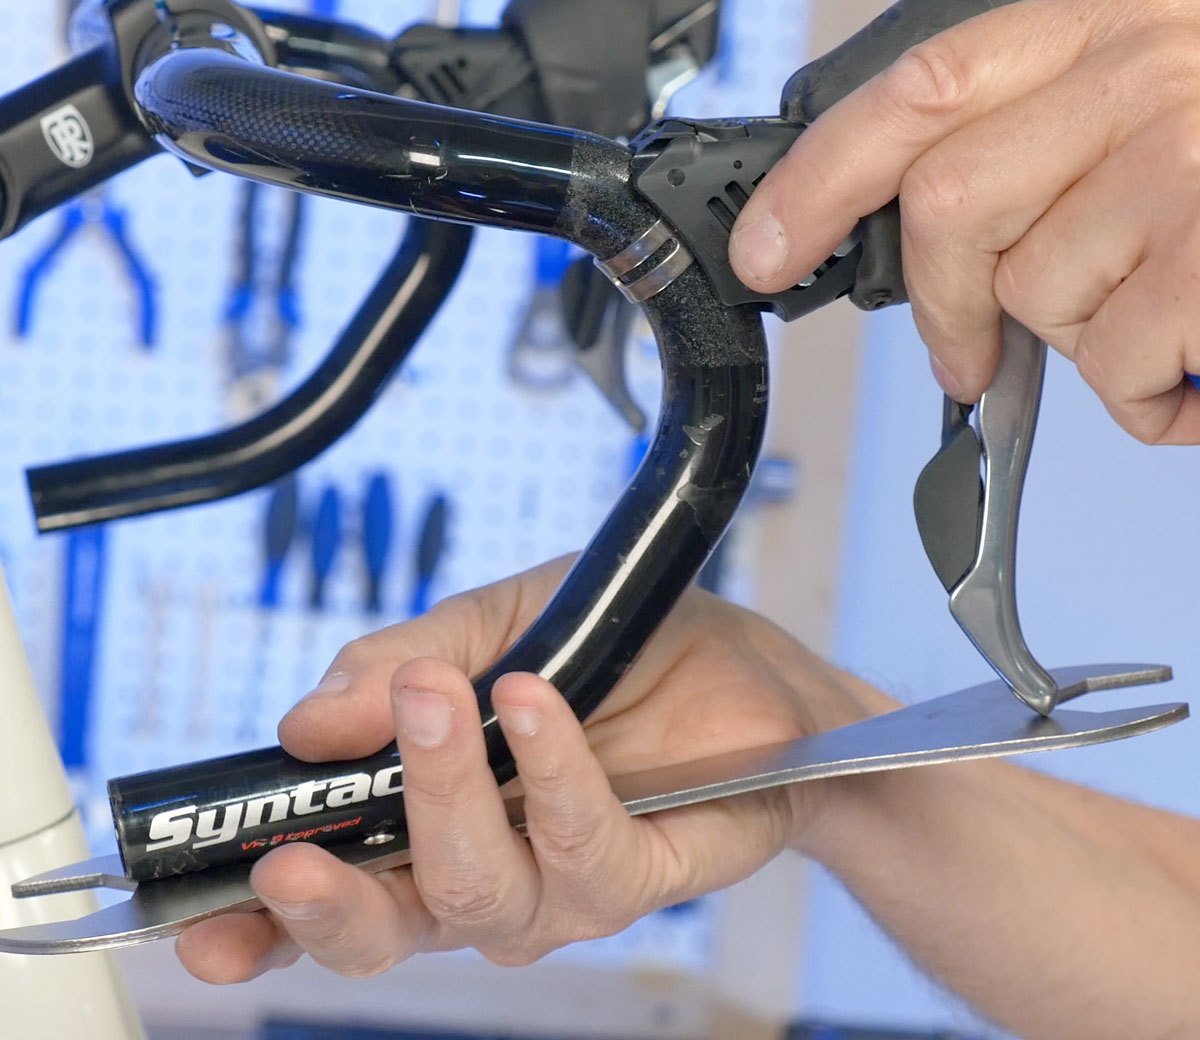
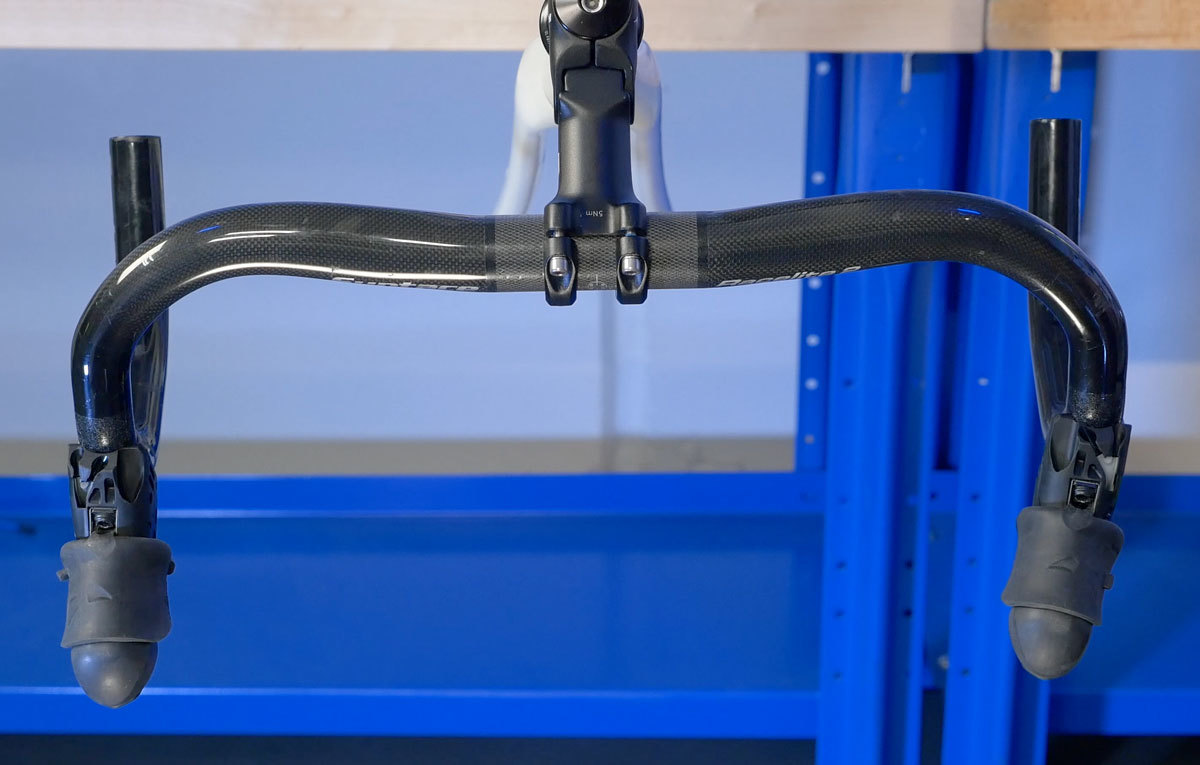
After both levers are installed, set the height. A good rule of thumb on height is to reference the bottom edge of the drops. Extend that line using a straight-edge under the drop section of the bar. Bring the lever tip even with the straight edge.
The lever can be moved from this average setting upon rider preference. Raising the higher will mean make the levers are easy to reach from the top of the bars, but more difficult to reach from the drops.
Inversely lowering the lever will make the lever easy to reach from the drops, but it will be more awkward to reach when riding on the top.
Check that both lever are the same height. A simple test is to use a piece of string. Pull the string tight as it is placed on top of the levers. Sight the line as being parallel to the handlebar top.
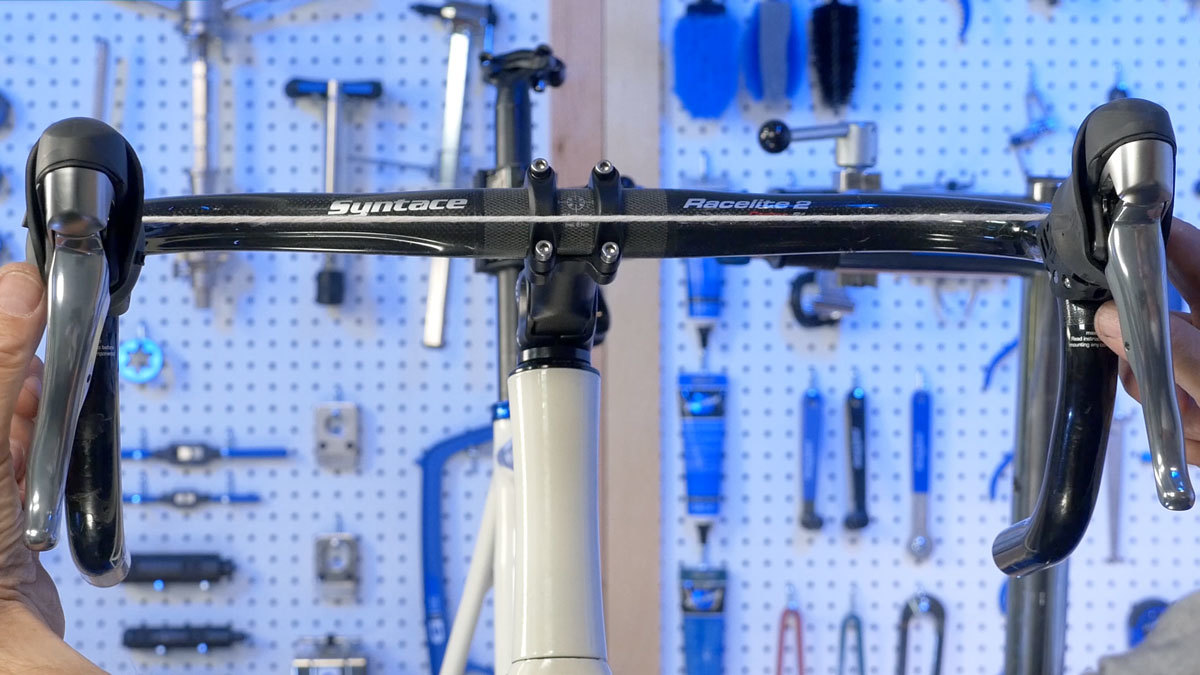
Sight over the bars and look at the rotation of the two brake levers. The lever should be parallel to each other and to the center plane of the bike.
Fully secure levers. Manufacturers’ recommended torques can go from 6 to 10 Newton meters (approximately 92 inch-pounds). The location of the bolt head makes it often impractical to get in there with a torque wrench. Use perceived torque by hand is an important concept. Tighten down the lever incrementally. Especially with carbon bars, and/or a plastic body, the lever only needs just enough torque so it doesn’t easily move.
Next article in this series
Brake Housing & Cable Installation: Drop Bars View Article
Related articles
Brake Lever Mounting & Positioning: Upright Bars View Article
Handlebar Tape Installation (Drop Bars) View Article