Tubeless Tire Conversion
This article will cover the process of converting a non-tubeless wheel to a tubeless system, including sealing the rim strip, installing the valve stem, and troubleshooting the installation of the tire.
Preliminary Info
- Scissors
- Seal pick or small cross-tip screwdriver
- Tubeless valves
- Tubeless rim tape
- Rags
Additional supplies are required for tubeless tire installation, these are covered in the appropriate article.
Converting from an inner tube system to a tubeless system can be done, but there are limitations. Ideally, the tire and rim should be designated as “Tubeless Ready” or “Tubeless Conversion System” in order get an acceptable bead seal to the rim. This designation may appear on the product itself, or in the information provided by the manufacturer, such as the packaging or manufacturer website.
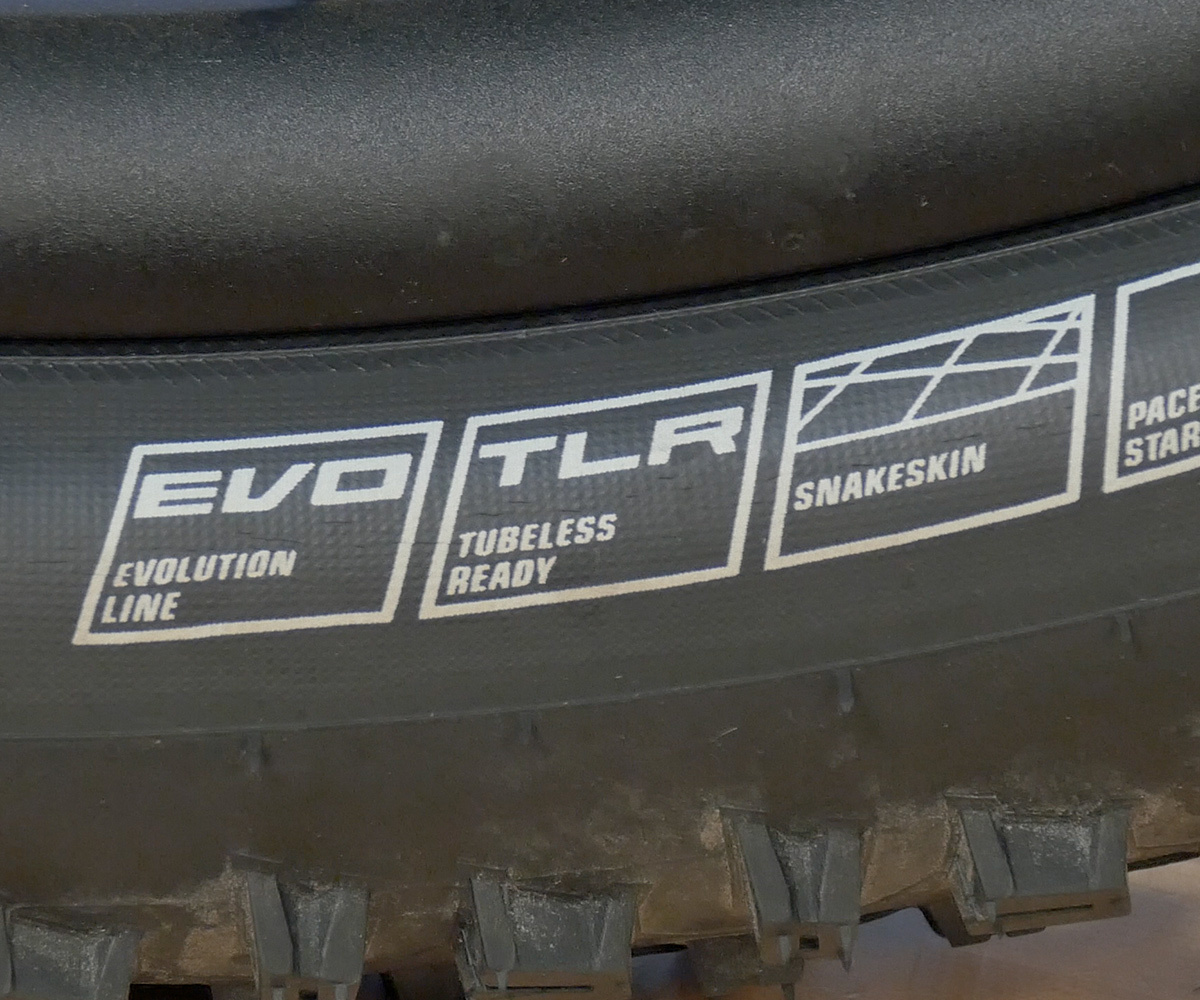
Tire with Tubeless Ready designation
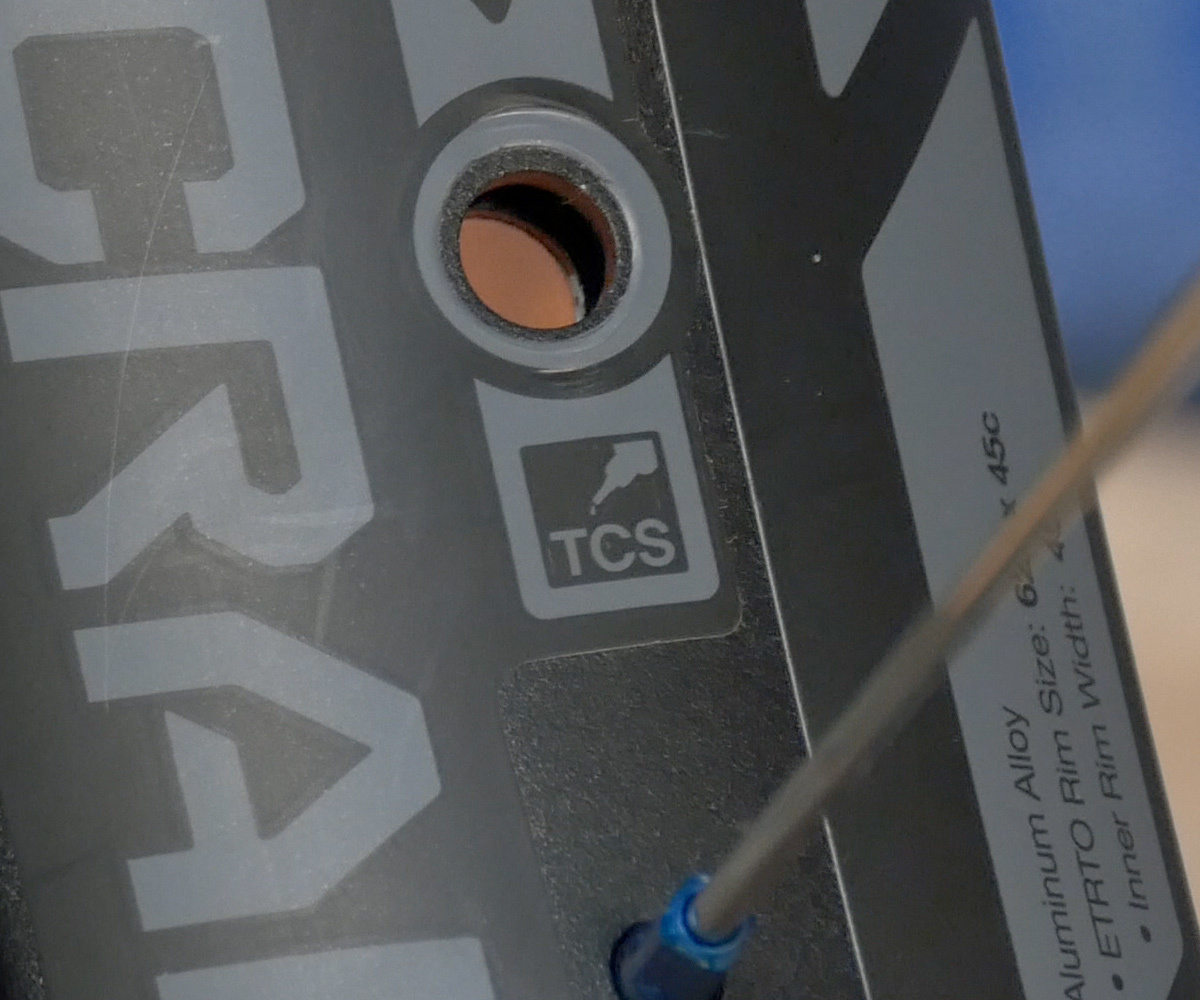
Rim with Tubeless Conversion System designation
Note that there are no industry wide “tubeless ready” fit standards, and results can vary in consistency.
Rim Taping
Prepare the rim by removing any inner tube style rim strip.
Clean the inside of the rim channel using a solvent that will not leave an oily film, such as alcohol or acetone.
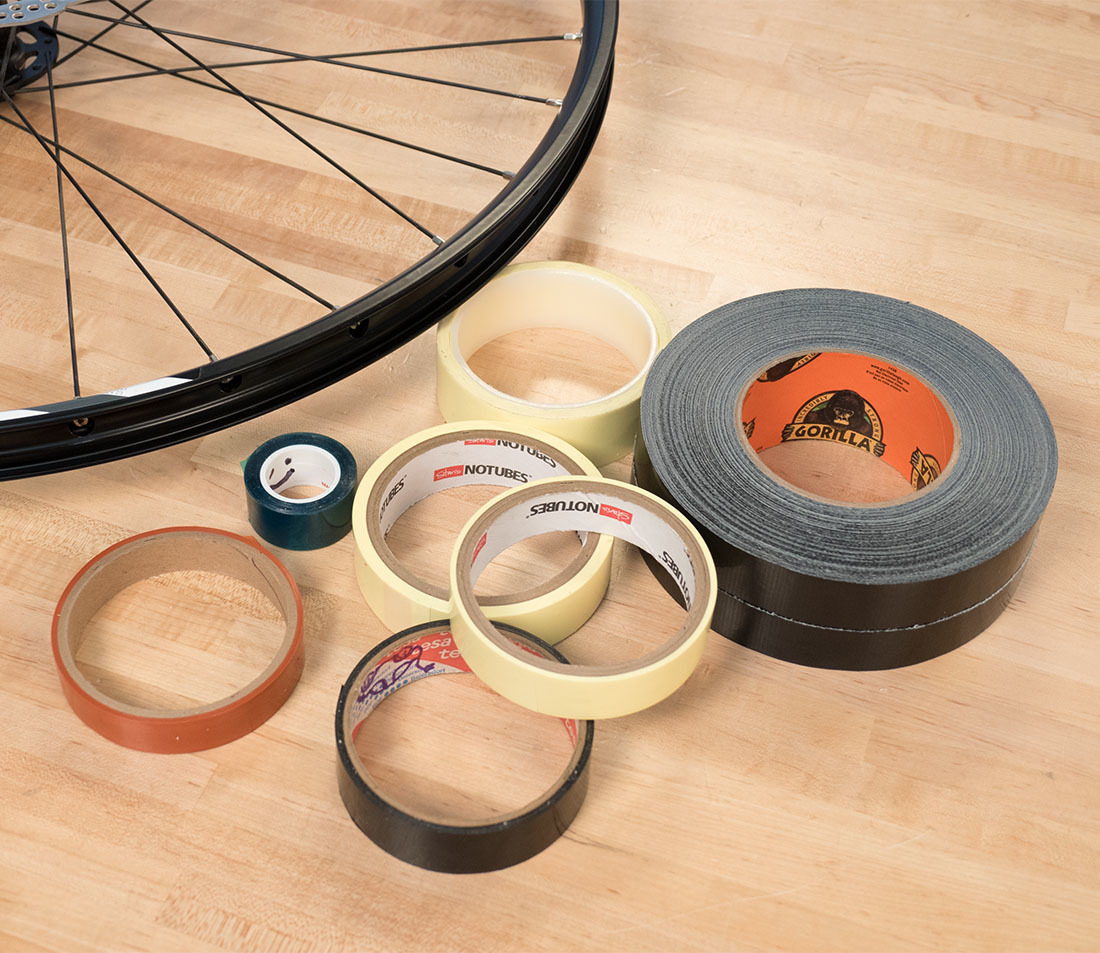
Choose a sealing tape of an appropriate width for the rim.
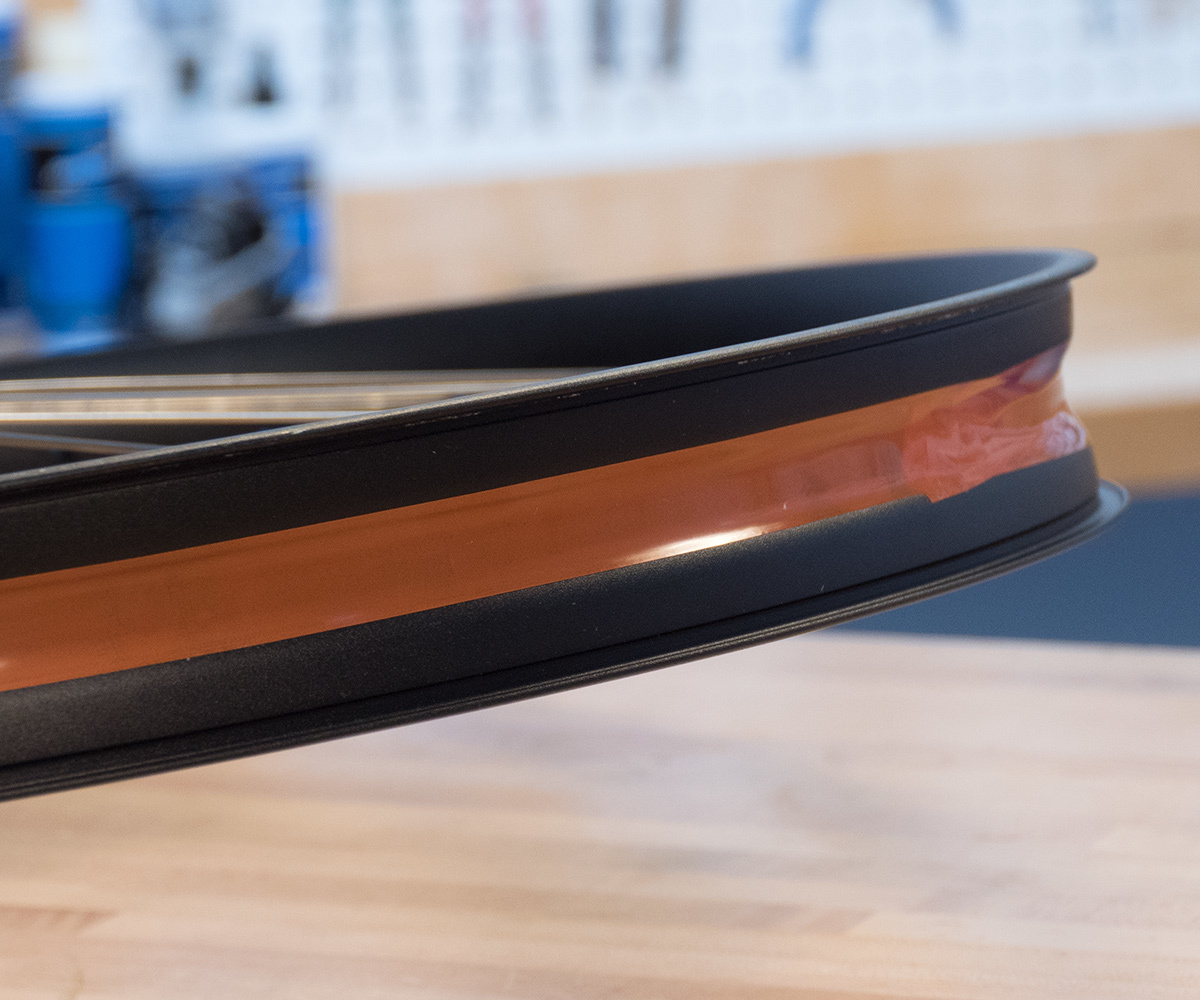
This tape is far too narrow. The seal will not be airtight.
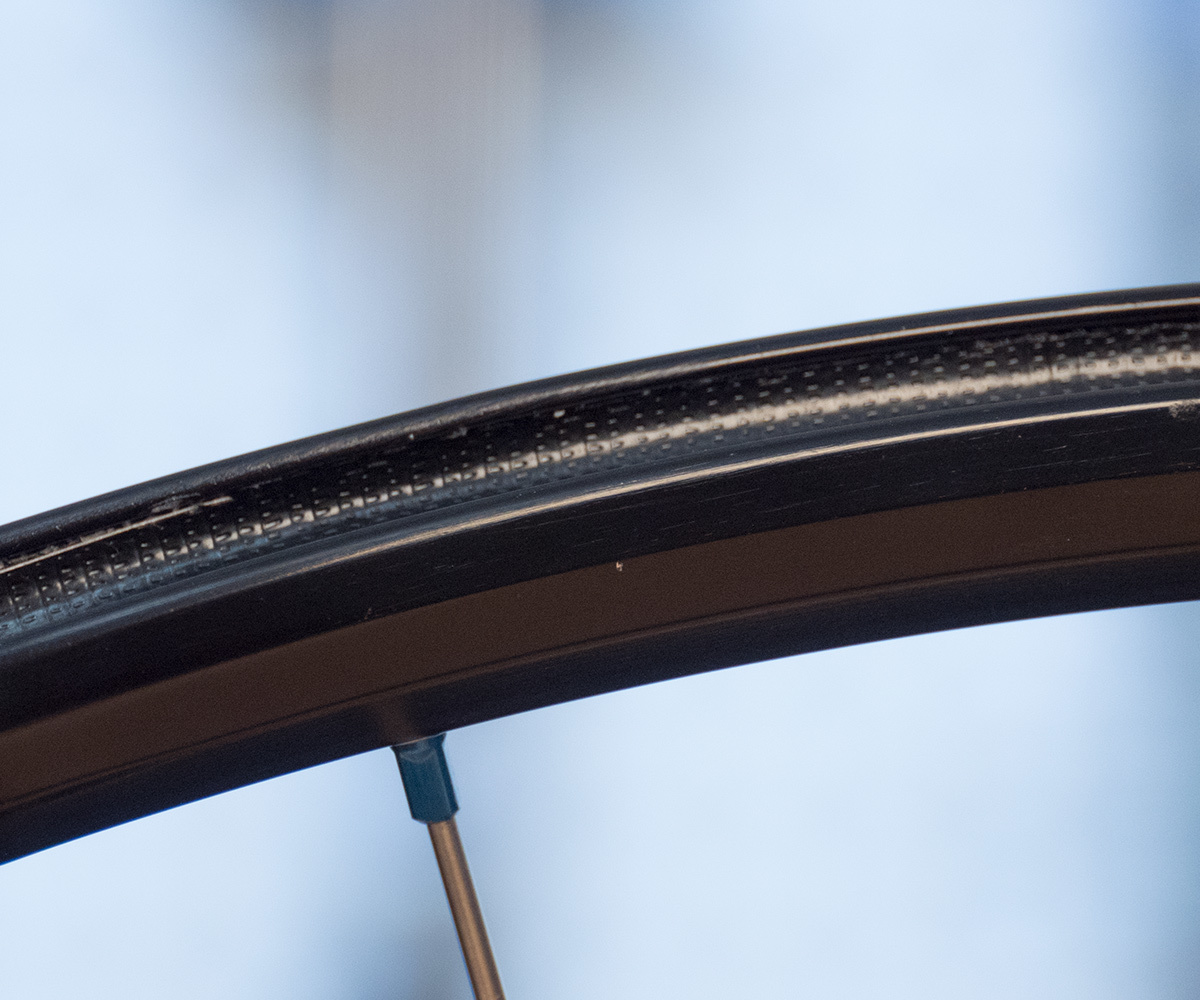
This tape is too wide and goes up into the bead seat. This may interfere with the seal.
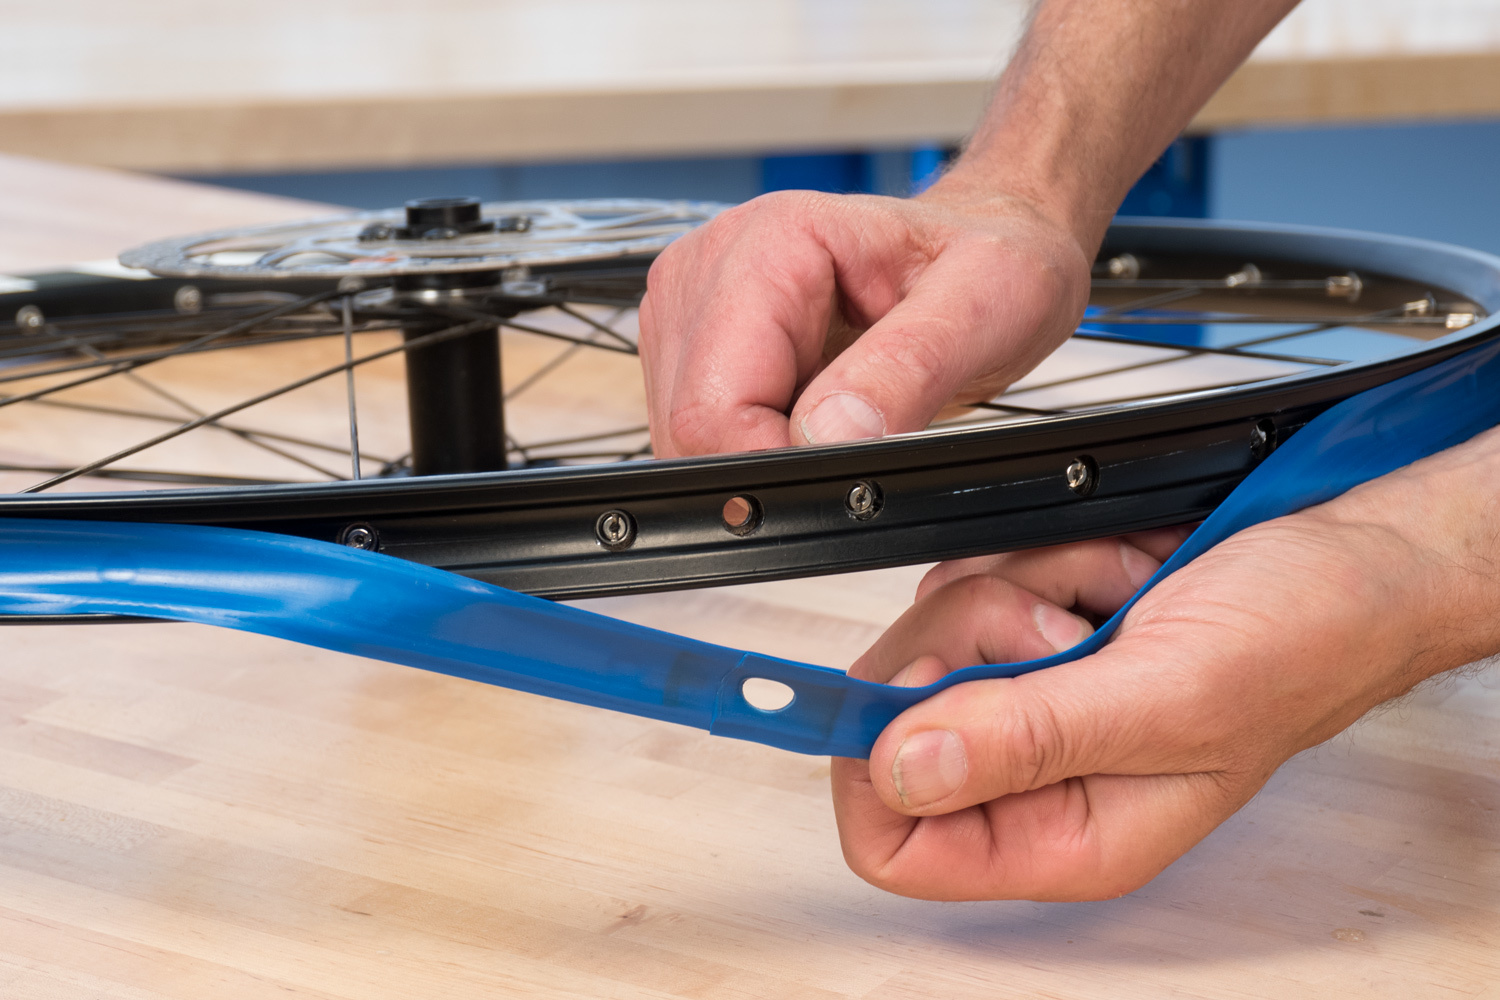
Begin engaging the tape at least one spoke hole away from the valve. Pull on the tape as you press it firmly to the rim surface.
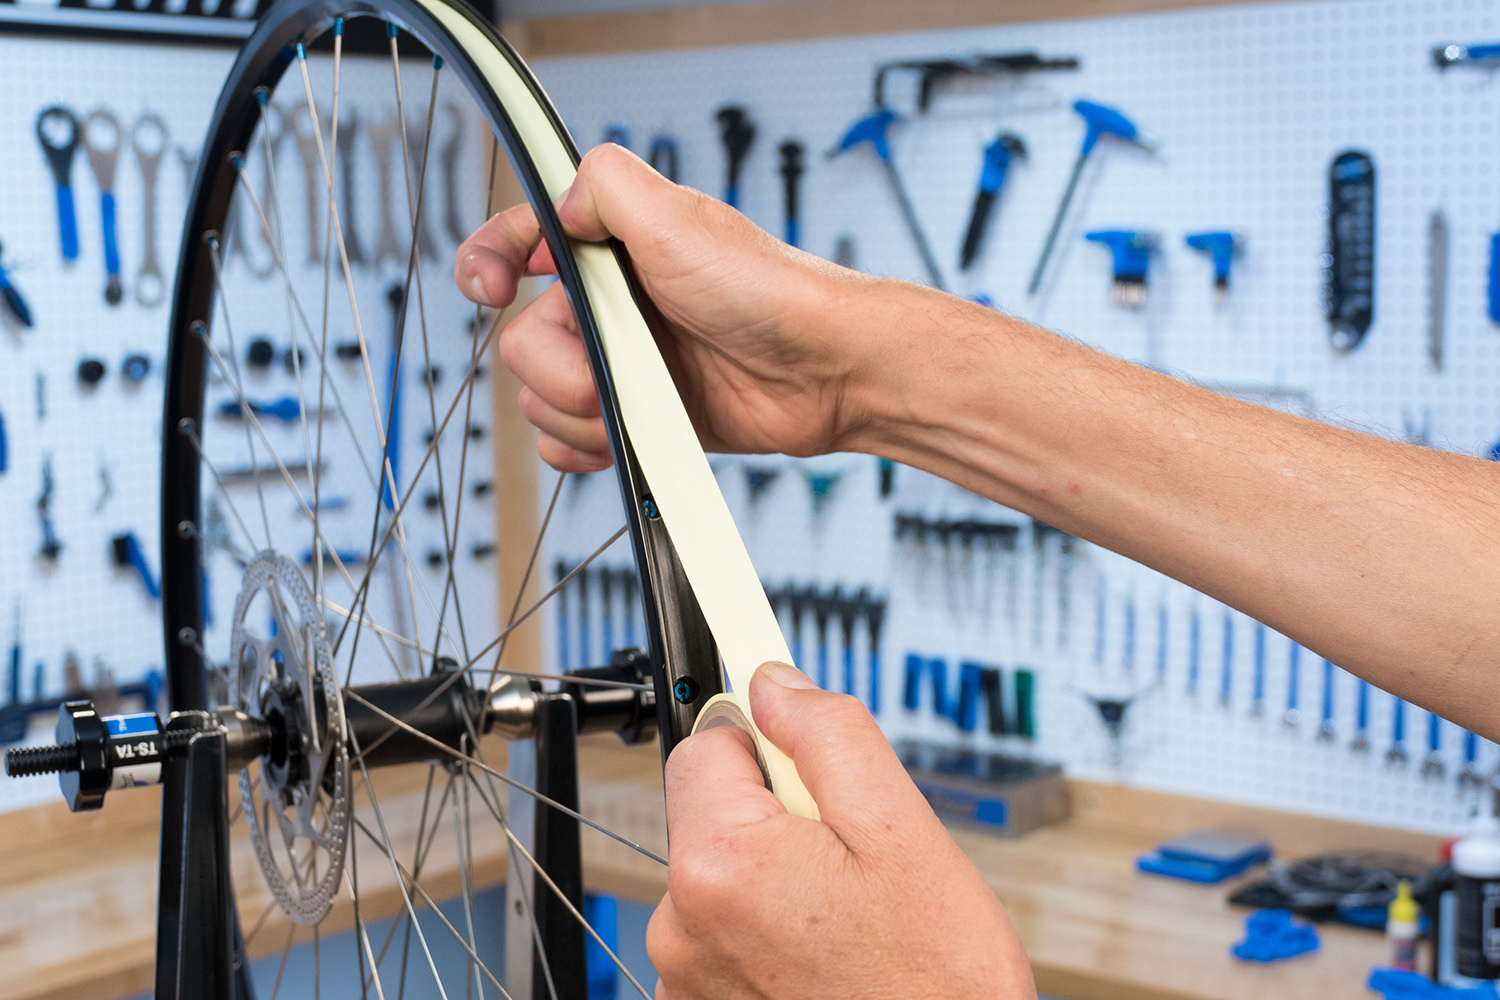
Be sure to evenly place the tape. If the tape is poorly placed, the seal will not be airtight.
Pass over the valve hole again so the tape is overlapped, and cut the tape.
Valve installation
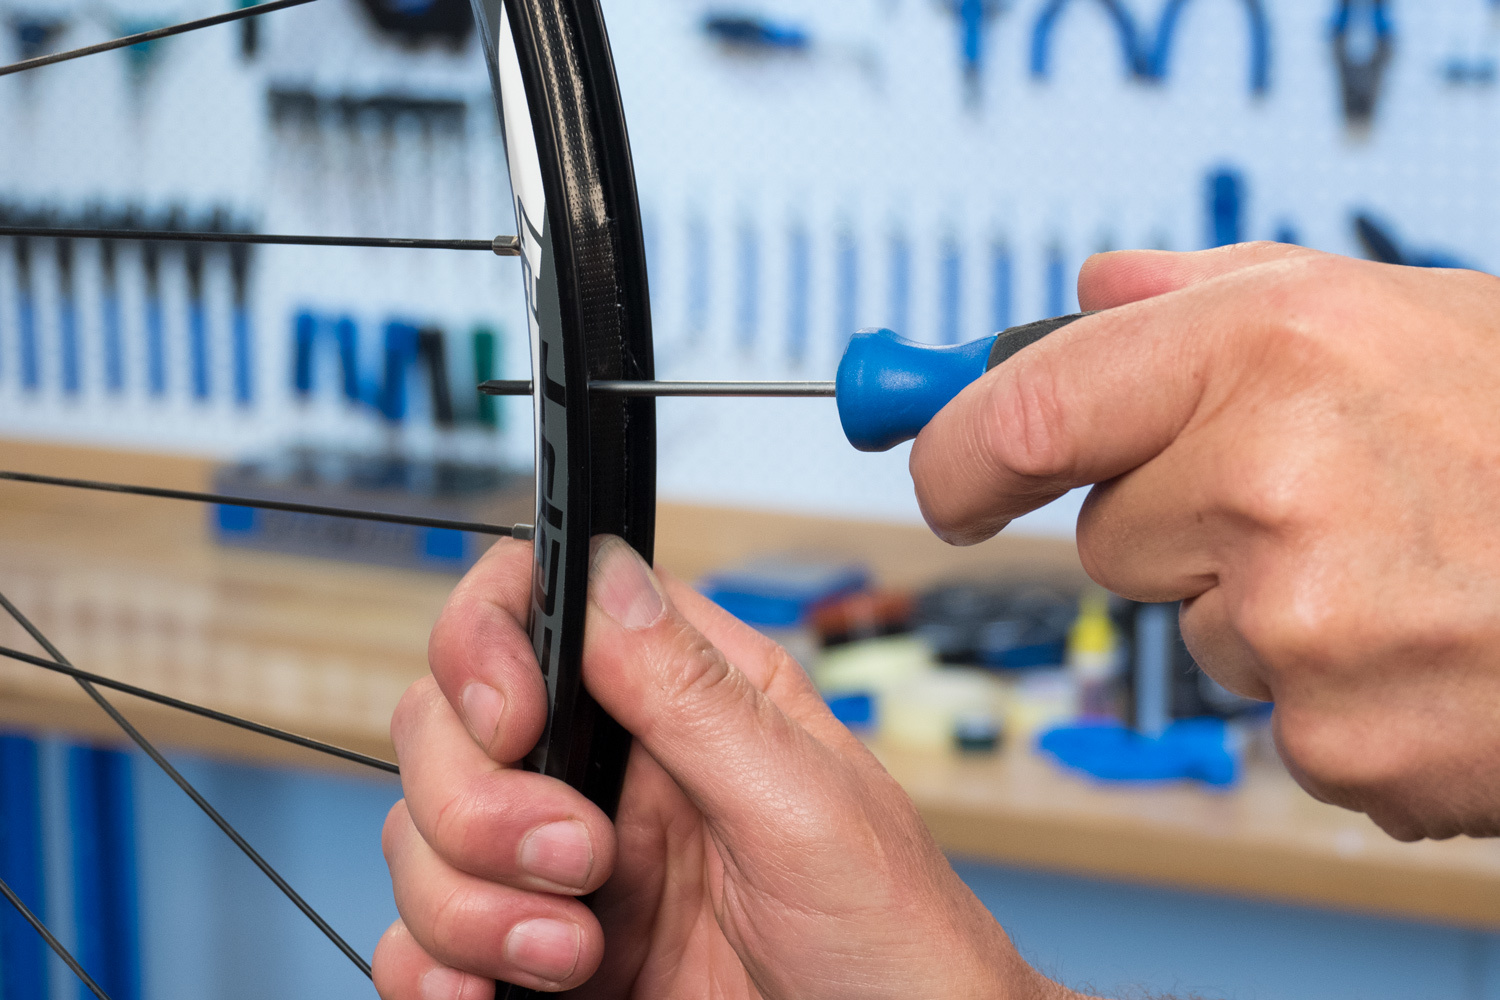
Locate the valve hole. Use a seal pick or a small Phillips screwdriver to punch a round hole through the tape.
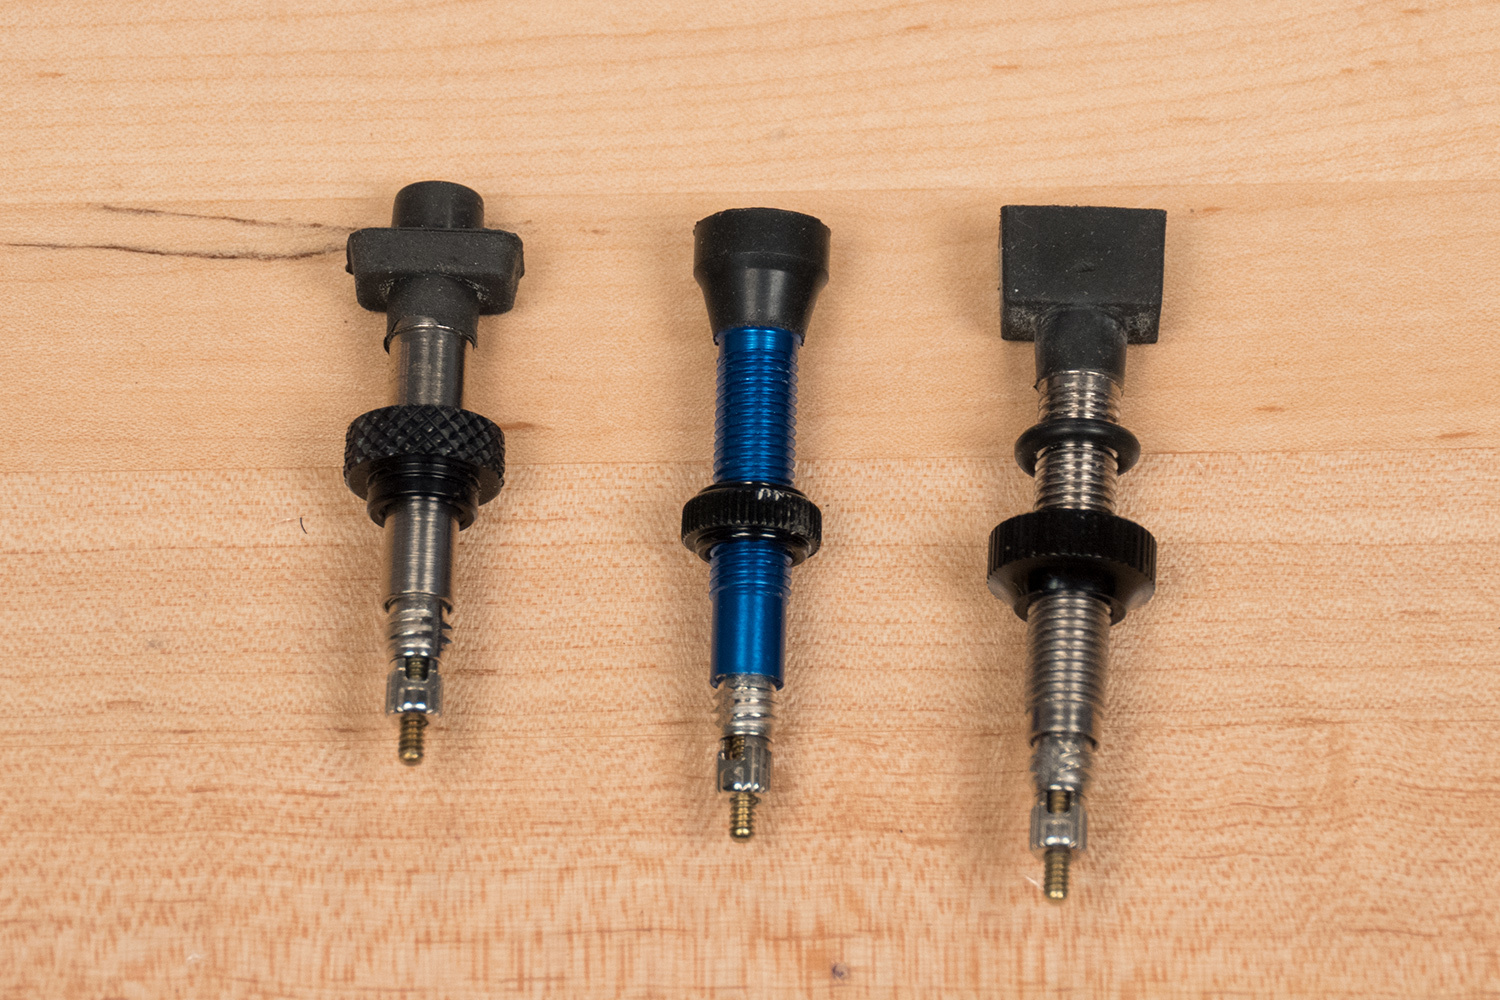
There are different styles of tubeless valves, and they vary in length and design.
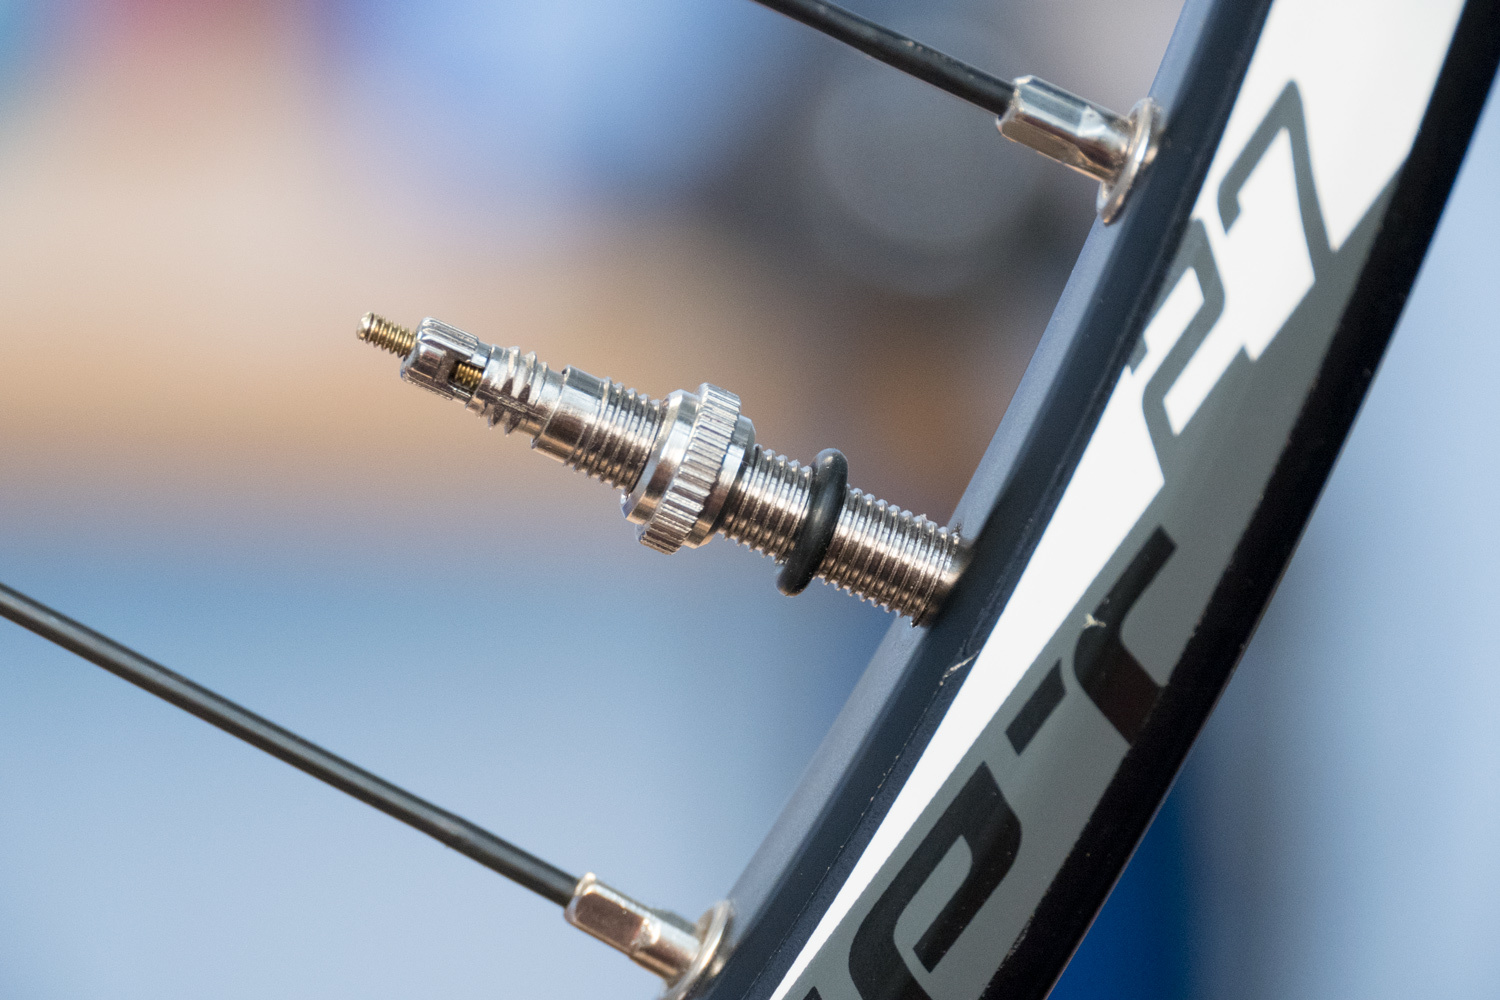
Insert the valve through the tape and through the valve hole. Be sure the fitting is properly aligned inside the rim.
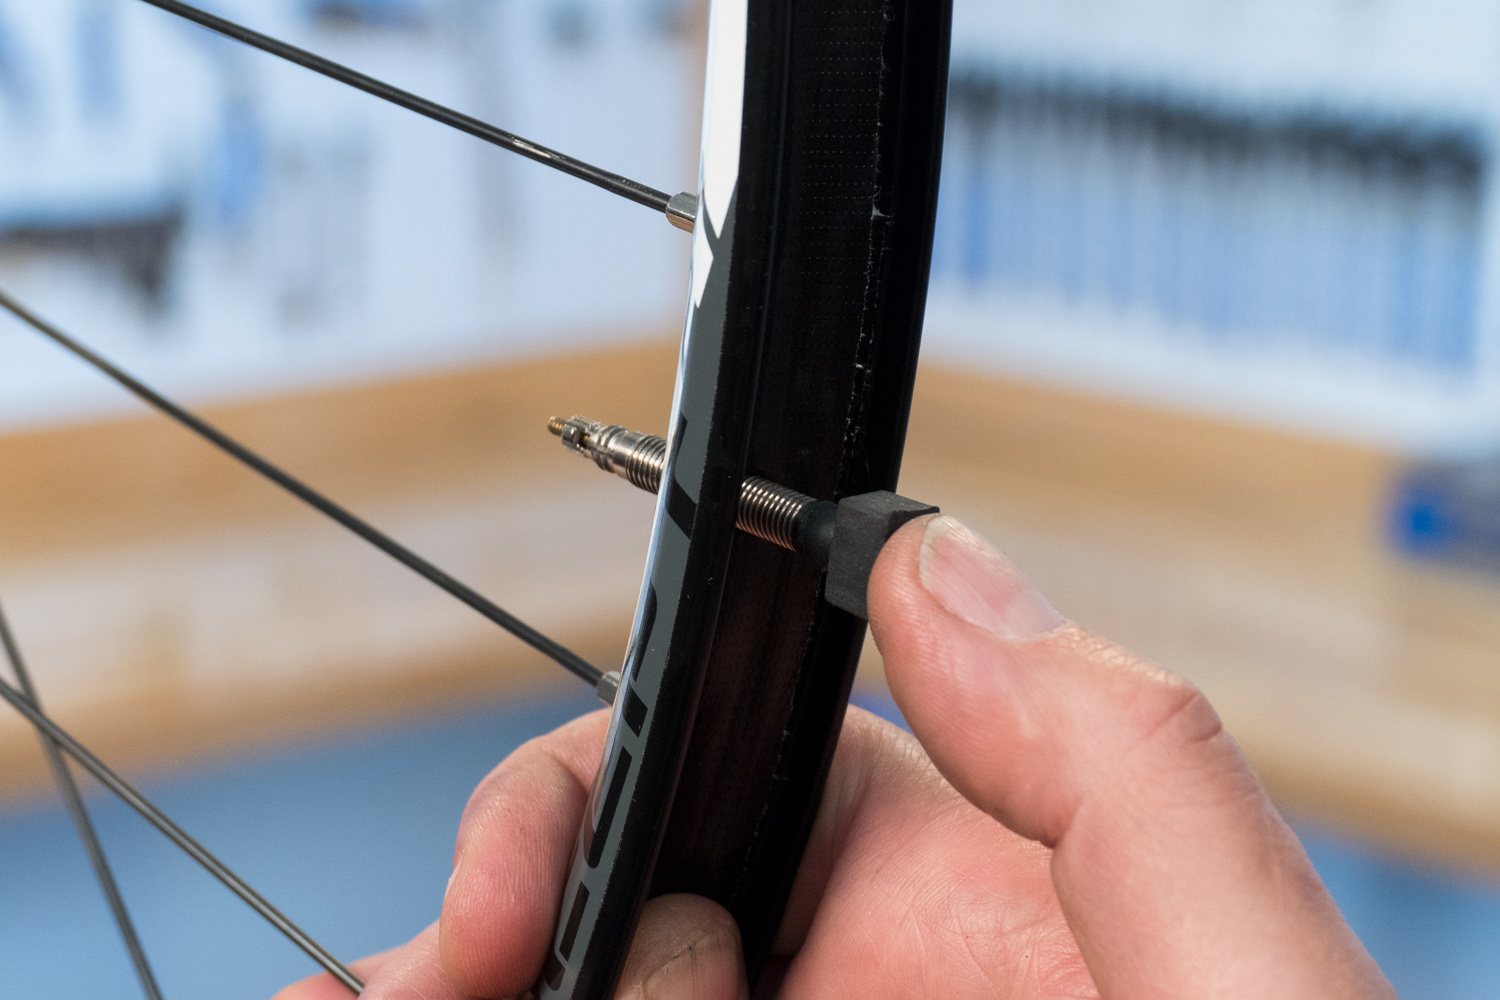
Install the O-ring, if any, and install the valve nut. Make sure the nut is secure.
Tire installation
Once the rim is sealed with tape and the valve is installed, the installation process is the same as for any standard tubeless system. However, know that getting a successful seal on a tubeless conversion can take time, so do not expect to ride immediately. Once the tire has been installed, check the tire after a few hours and see if it has properly sealed. If it’s leaking, add more air and continue to spin it to move the fluid around the interior.
It can take some time, even days, for the tire to seat up fully.
Next article in this series
Tubeless Tire Removal and Installation View Article
Related articles
Tubeless Tire Compatibility View Article