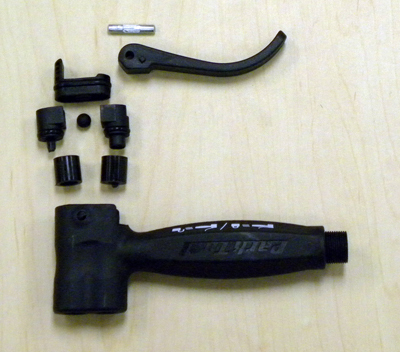
PFP-5 Floor Pump Service
This article will discuss the service of the PFP-5 Home Mechanic Floor Pump (discontinued)
Pump Head Service
- Pump Head Service:
- Hammer (HMR-4)
- Small punch
- 4mm hex or similarly sized punch
- Plunger Gasket Replacement:
- Phillips screwdriver
- Silicone-based lubricant
- Gauge/Base Replacement:
- Phillips screwdriver
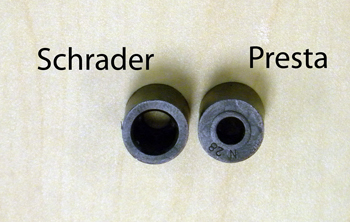
With repeated use, the gaskets of any pump will begin to wear. The PFP-5 pump head uses two gaskets that may be reversed to gain more service. The gaskets may also be replaced. Both Presta and Schrader gaskets are identical. There is a large hole and a small hole at the end of each gasket. Gaskets are simply reversed and moved to the adjacent hole to gain fresh material for engaging the inner tube valve.
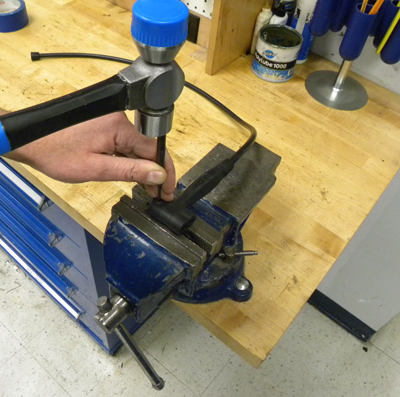
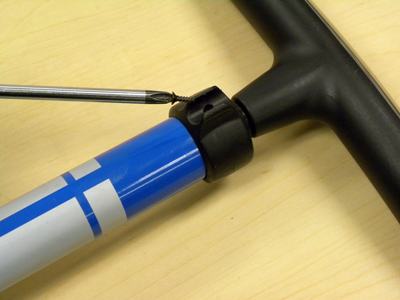
It is first necessary to disassemble the pump alloy head assembly. Place pump head lever is in the up or open position.
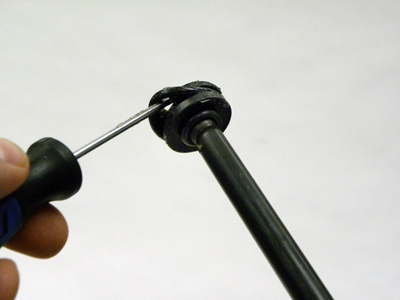
- Use a small punch or similar tool and tap out the lever pin from the head. Pin must have a hole or gap as in a vise in order to disengage from the pump head.
- Push out gaskets and inner parts of pump head. Push from valve side toward lever side of head.
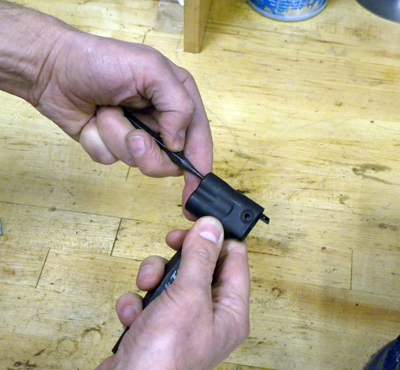
- Continue to push from the Schrader hole and presta hole alternatively to remove the Schrader and presta ball-seats from head housing.
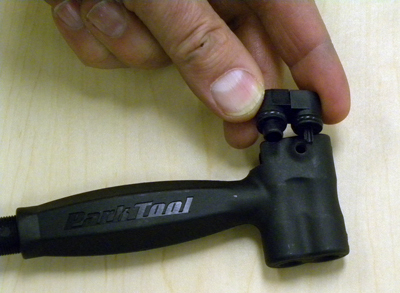
- Lay the parts out in the corrrect orientation. Use care not to misplace the rubber ball.
- Reverse/Replace both gaskets. Schrader and presta gaskets are identical. Presta side will have smaller opening toward inner tube valve. Schrader side will have larger side toward inner tube valve. Note head housing is marked for Presta and Schrader, replace gaskets accordingly. Push on backside of gaskets until gaskets are fully seated. Install head ball between ball-seats. Ball-seat with cross-shaped stud is Schrader side, and the seat with the hole is the presta side. Install ball seats on top of gasket accordingly. Push ball seats from backside to fully seat them against gaskets.
- Install and press seat retainer until fully seated.
- Install lever in open position and install lever pin. Push or tap pin fully in place.
- Pump head assembly is ready for use.
Plunger Gasket Replacement
With time and use, the plunger gasket may require replacement or lubrication. Use a silicone based lubricant to lubricate pumps.
- Use a Phillips screwdriver and remove screws on either side of top cap. Pull upward on pump handle and remove shaft from pump body.
- Pull seal from pump head.
- Grease new seal and install of shaft plunger.
- Install shaft into pump body.
- Install screws to secure top cap.
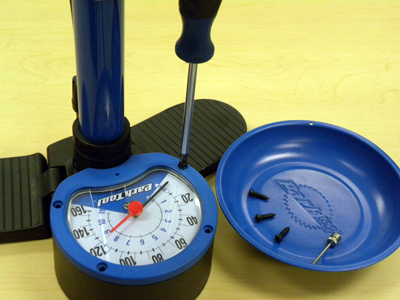
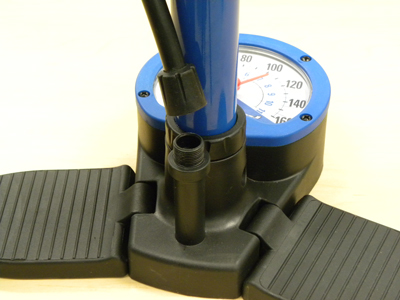
Gauge Service
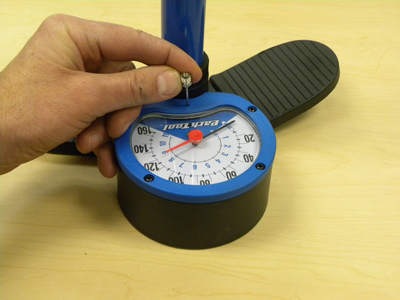
The gauge may be replaced. The gauge may also be removed to repair or remove the red indicator needle under the gauge cover.
- Pull out the ball inflation needle from the base.
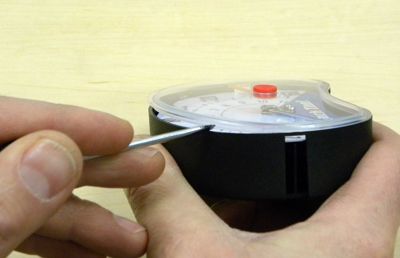
- Loosen and remove the four screws holding the gauge cover.
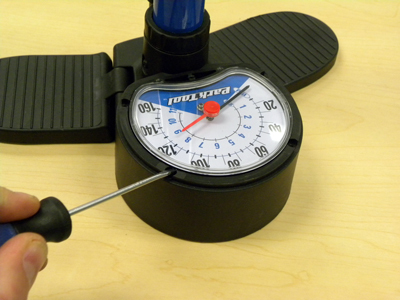
- Left the gauge cover and gently pry loose the gauge body. Use a small tipped screwdriver to pry alternatively on the left and right side of the gauge to lift it free.
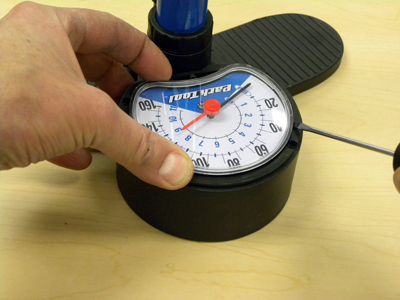
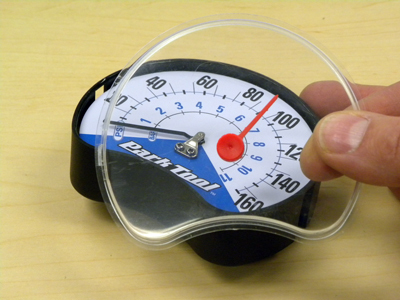
- Pull gauge from pump.
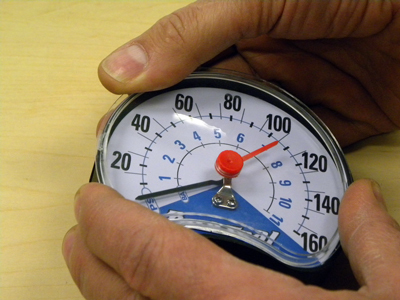
If the red indicator point is loose inside, the plastic cover may be removed. Use a small tipped screwdriver to gently pry between the cover and the gauge body.
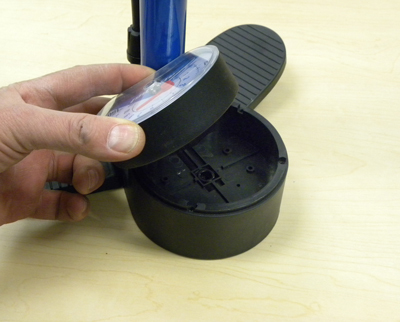
- Install gauge cover by snapping into place.
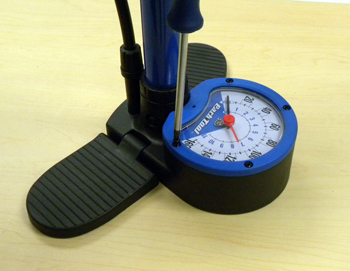
- Reinstall gauge into base and push down gently. Install cover and install the four screws.
Base Replacement
(Part #1079)
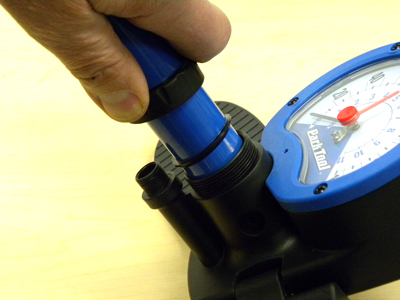
1. Loosen and remove the hose fitting from the base. Turn nut counter-clockwise.
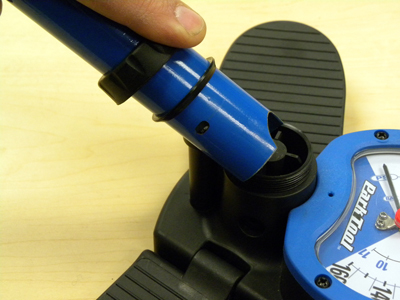
- Loosen the compression ring at the base of the blue steel tube. Ring may be secure. If necessary use slip joint pliers to carefully loosen the ring. Pull ring upward and pull compression seal up from base.
- Loose and remove two screws holding blue tube from base.
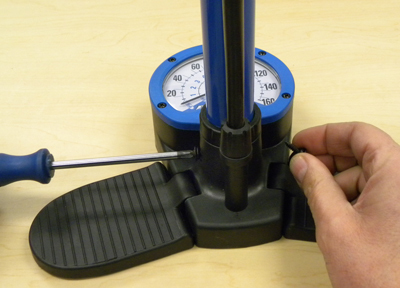
- Lift blue steel tube from base.
- Remove both left and right side screws at the base. Pressure gauge can be removed as described above.