FSA® K-Force® WE® Shifter Pairing
This article reviews how to connect or "pair" FSA® K-Force® WE® wireless shifters.
Preliminary Information
FSA® electronic shifting uses a combination of wired and wireless communication between components. Both shift levers use wireless communication with a microprocessor housed in the front derailleur. It is necessary to “pair” both shifters to the processor. This is only performed for new systems that are being installed out of the box. If the bike is purchased new and complete with operating derailleurs this procedure has already been performed.
Pairing Procedure
After attaching cable from battery, depress the POWER button on the front derailleur body. This is the front button. Two blue lights flash on the body indicating power is on.
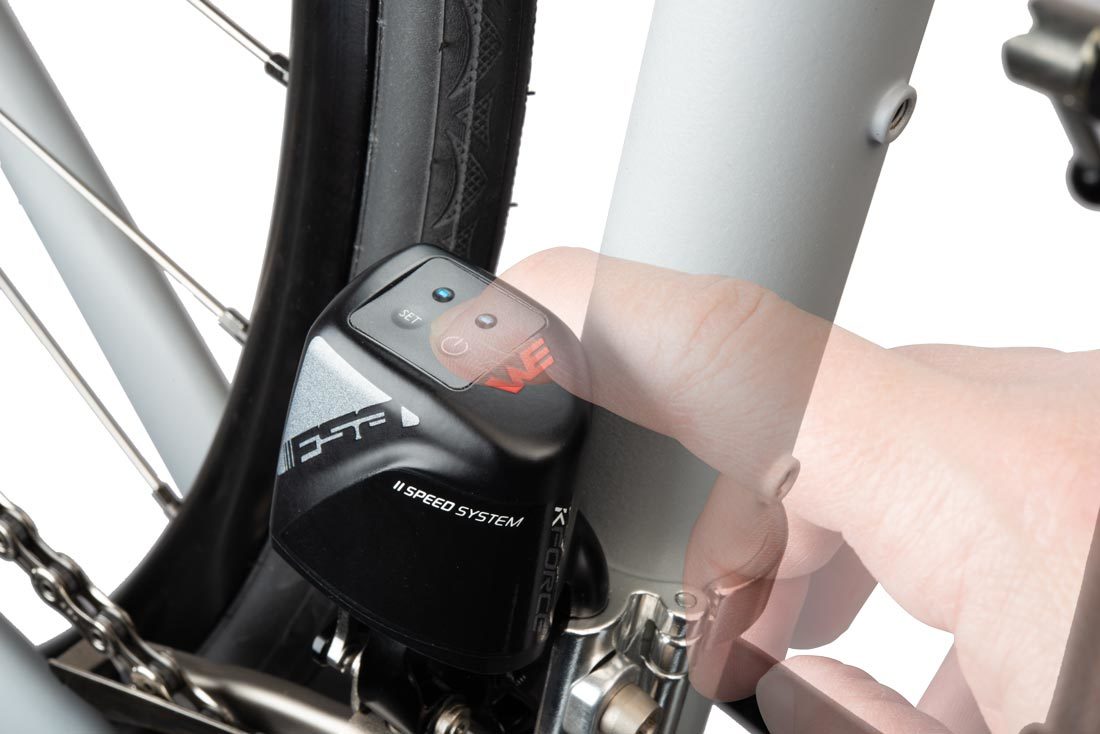
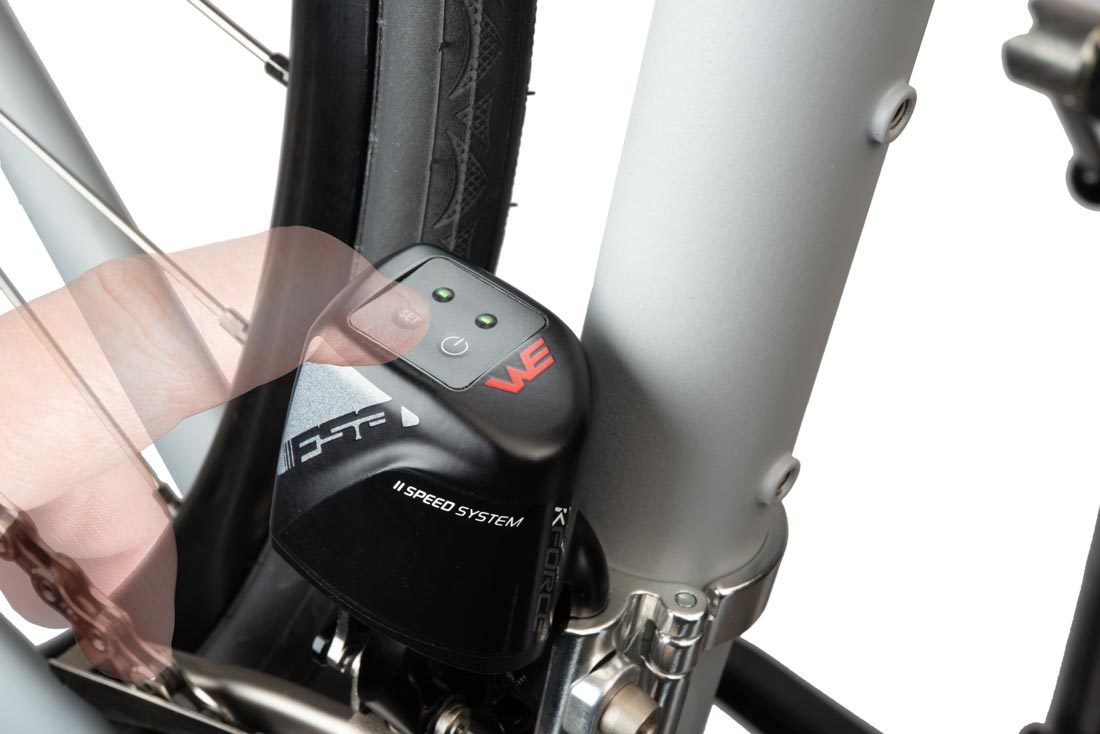
Again at the front derailleur, push and hold the SET button for three seconds, which is the back button. Both lights flash green to show the system is in the PAIRING mode.
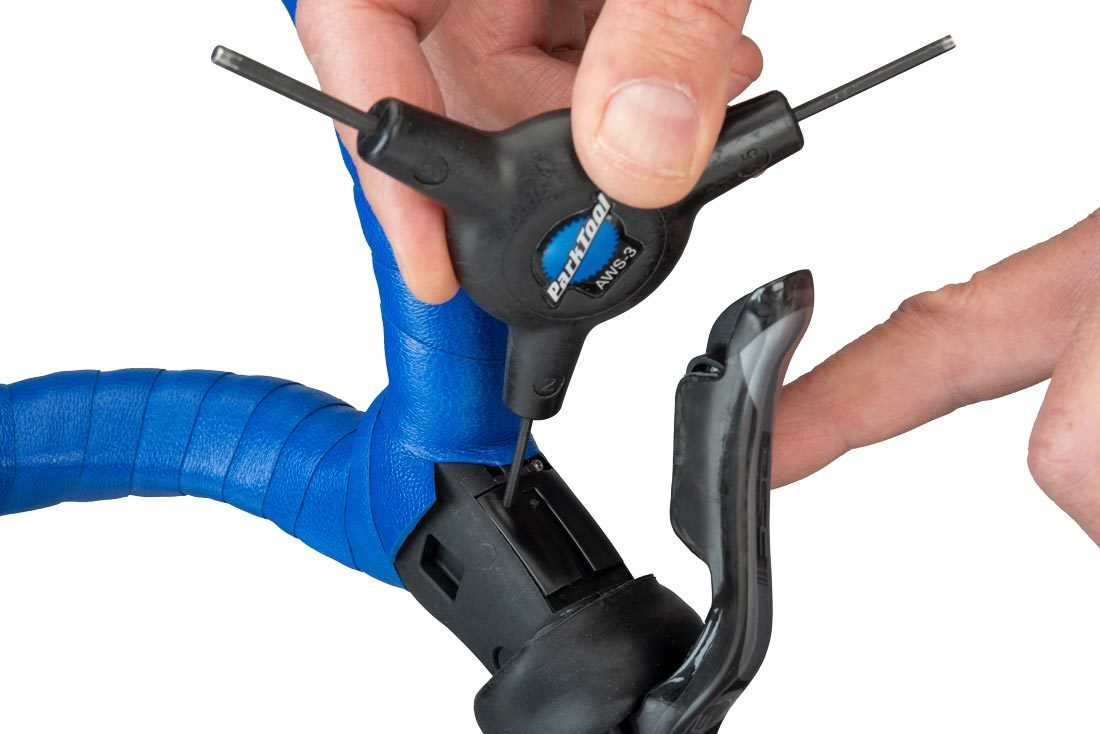
Pull the hoods of both levers forward to expose the pairing button under each body.
Use a 2mm hex to push the pairing switch on the lower side of the first shift lever body. Hold this while pushing the shift lever button at the blade. The pairing button on the lever body should illuminate red to indicate the lever is in pairing mode.
Depress the POWER button on the front derailleur for 6 seconds. This pairs that one shifter to the microprocessor. Watch for the red light to blink at the shift lever. Both LED lights will then illuminate blue at the derailleur.
Repeat the process on the second shift lever. Depress the pairing button at lever while also pressing shift lever at blade.
Again push POWER button for 6 seconds, until both LED lights illuminate blue.
Exit the SET mode by pressing the SET button on the front derailleur. Both LEDs will illuminate amber. Bike is now ready for shifting adjustment.