Freewheel Removal and Installation
This article will review the removal and installation of threaded freewheel systems as well as single speed freewheeling BMX/Freestyle bikes.
Getting Started
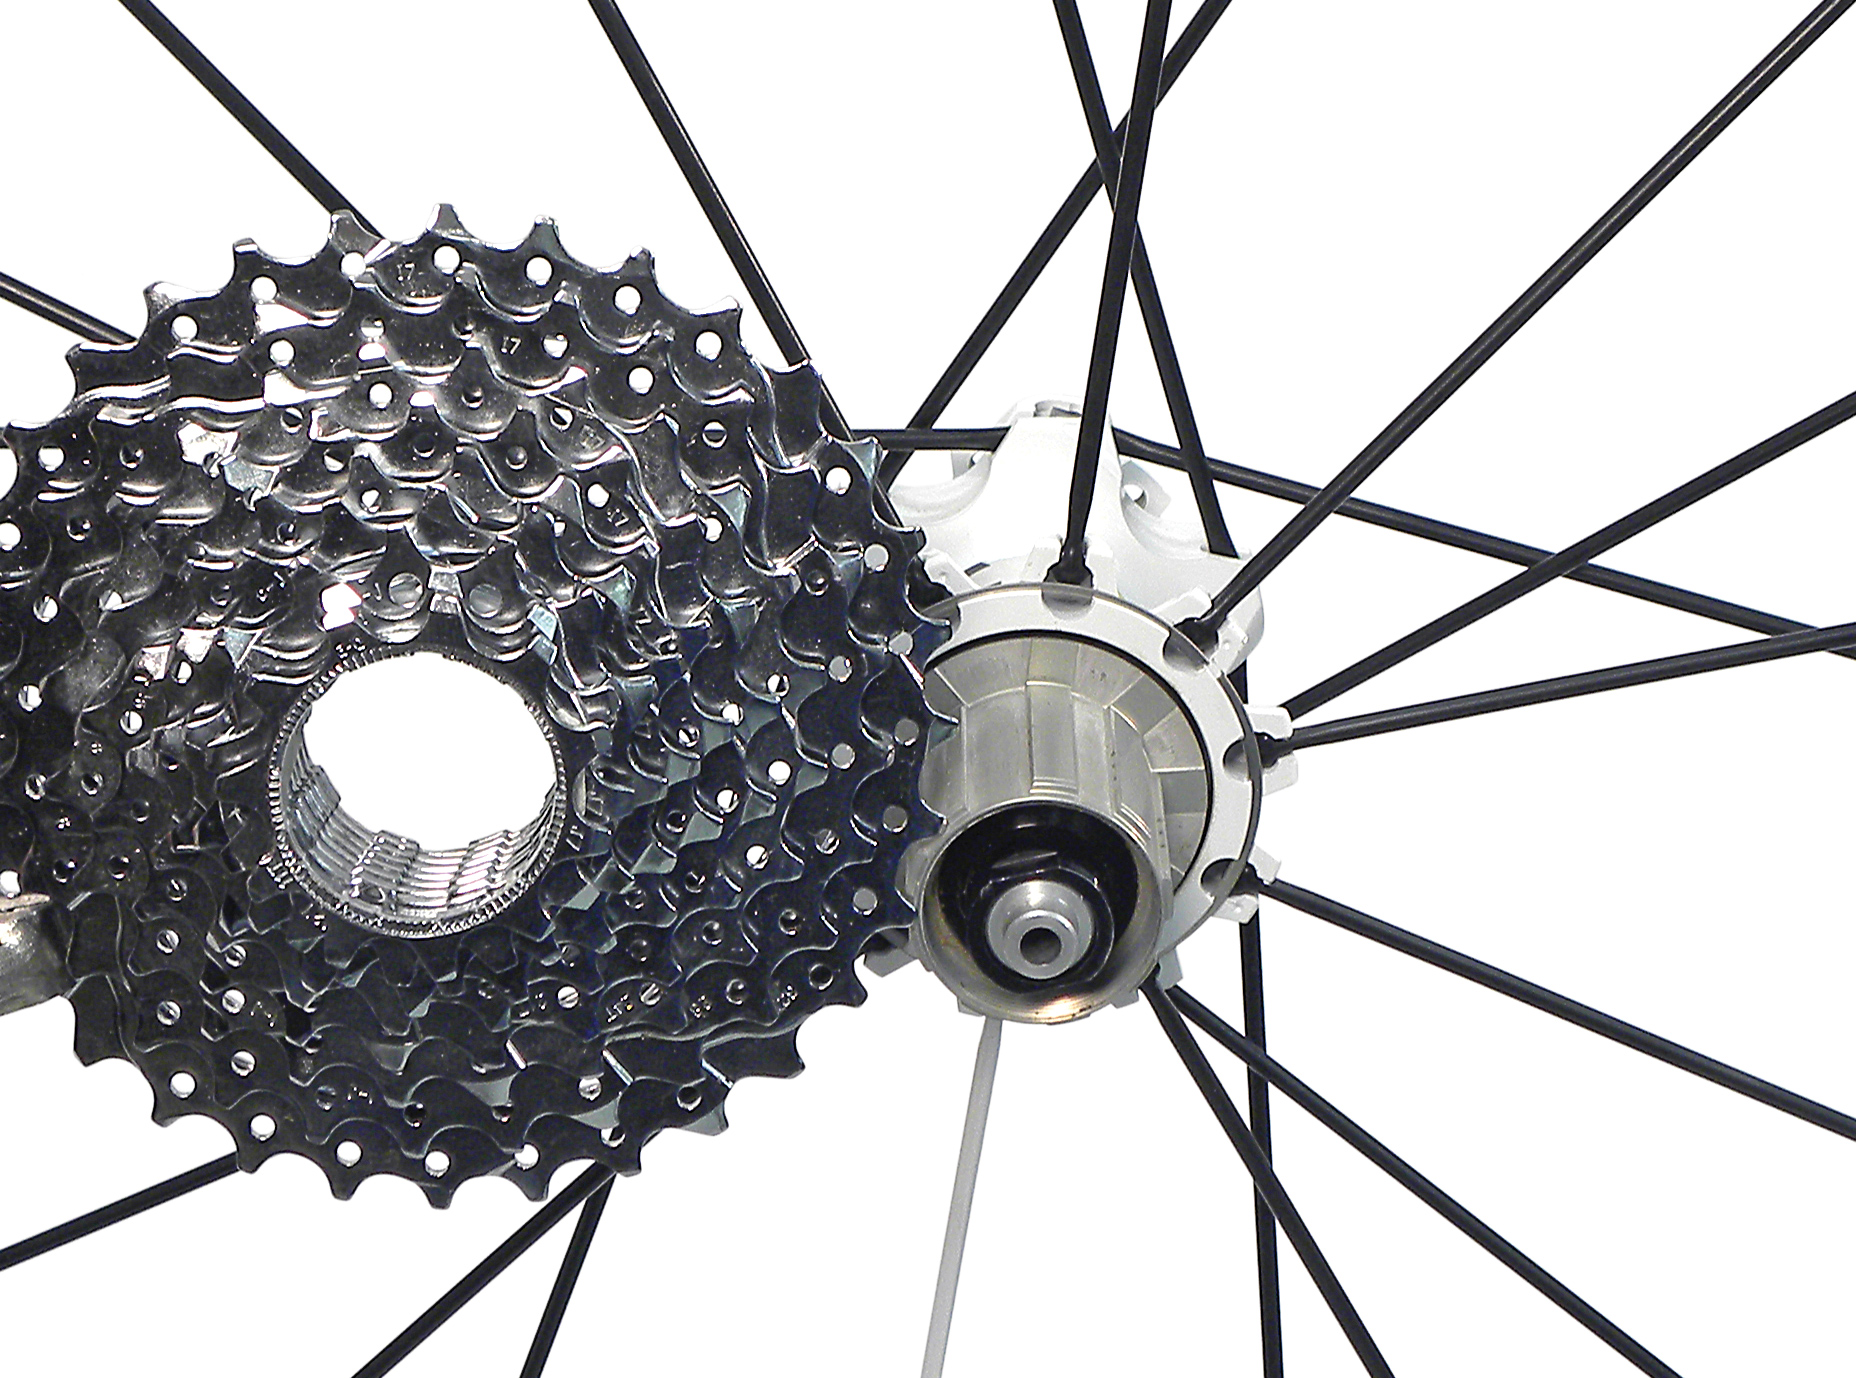
The rear cogs (or “sprockets” or “gears”) are attached to the hub in one of two ways. Newer bikes tend to use a cassette-style hub. The cassette hub uses a freehub sytem, which is a type of clutch mounted to the body of the hub. This cylindrical mechanism ratchets counterclockwise to allow for coasting, and locks clockwise to propel the bike forward the bike when pedaled. The freehub body has a series of splines on the outer shell. Cassette cogs have corresponding spline shapes which allow them to slide over these splines. A lockring threads into the freehub and holds the cogs in place. When the lockring and cogs are removed, the ratcheting freehub remains on the hub body. Most modern bicycles use the freehub system. Cassette systems are discussed at Cassette Removal and Installation. See a typical cassette hub below.
Older bikes, lower-end bikes, and many e-bikes may have a large external thread machined into the hub. The freewheel, a unit consisting of the cogs and ratcheting mechanism, threads directly onto the hub.
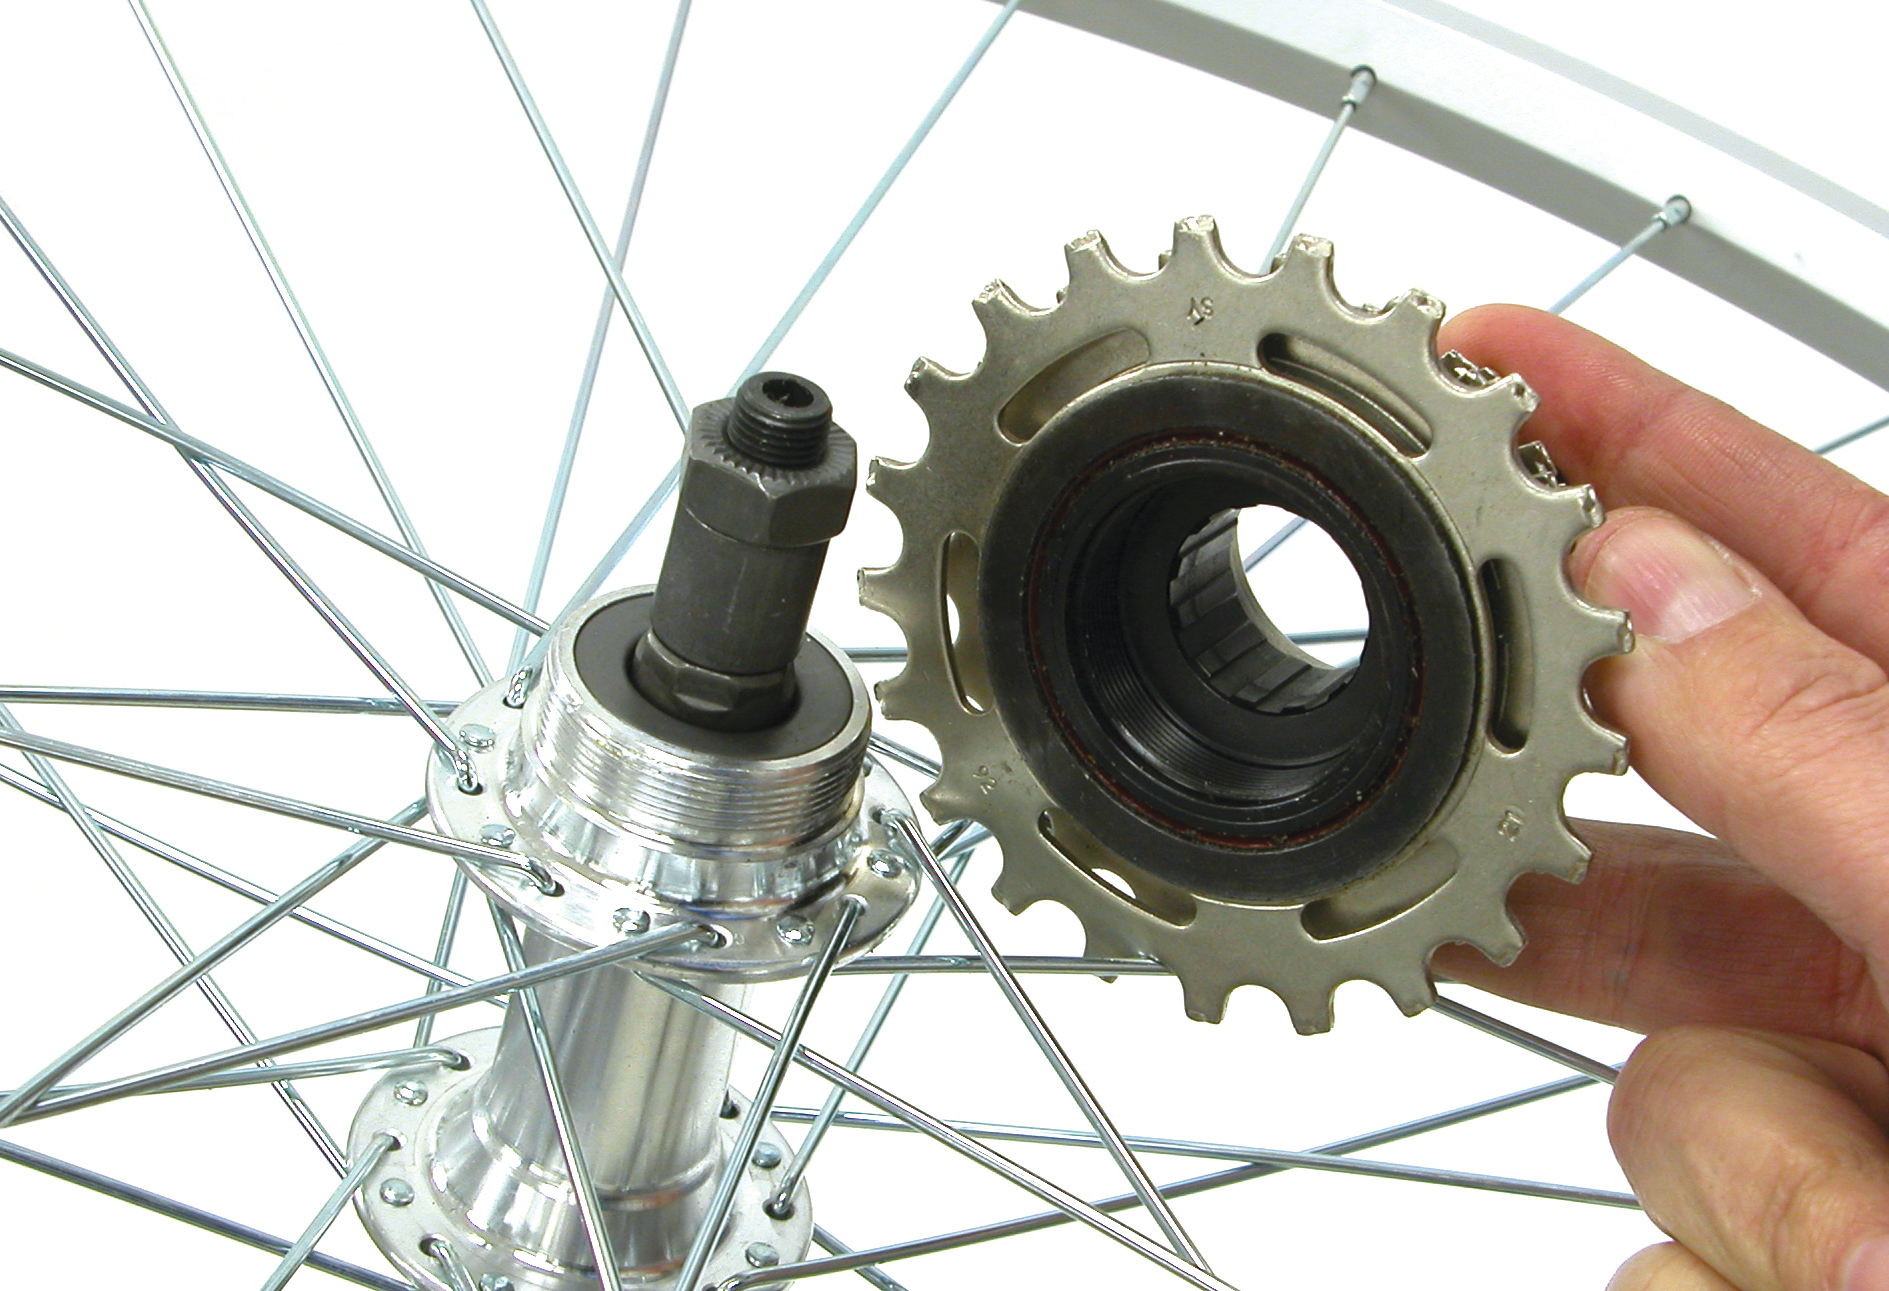
This article will review the removal and installation of freewheel systems.
Freewheel Tool Compatibility
You will need to determine the style or brand of freewheel you have. The table below shows every style that has a compatible installation & removal tool made by Park Tool.
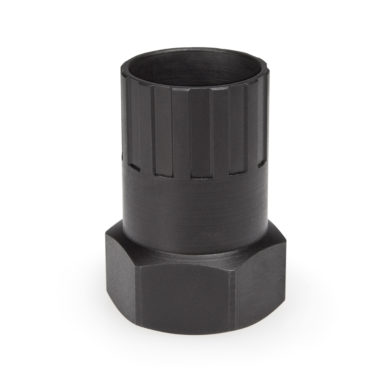
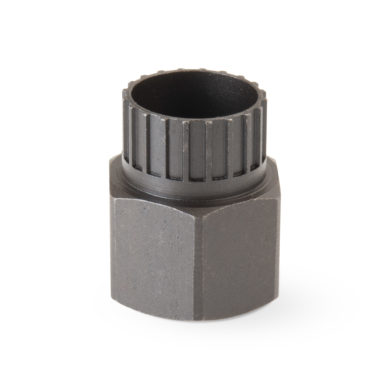
| FR-1.3* | |
|---|---|
| Shimano®, Sun Race®, Sachs® | 12 splines, approx. 23mm diameter |
 |
 |
| FR-2 | |
| Suntour® two-notched | 2 notches, approx. 25mm diameter |
 |
 |
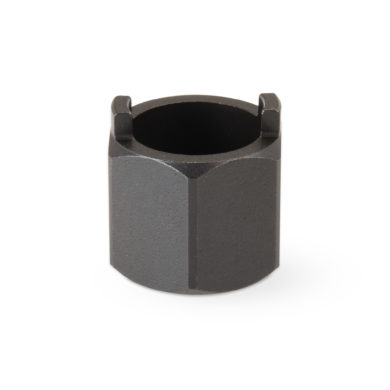
| FR-3 | |
| Suntour® four-notched | 4 notches, approx. 24mm diameter |
 |
 |
| FR-4 | |
| Atom®, Regina®, some Schwinn®-approved | 20 splines, approx. 21.6mm diameter |
 |
 |
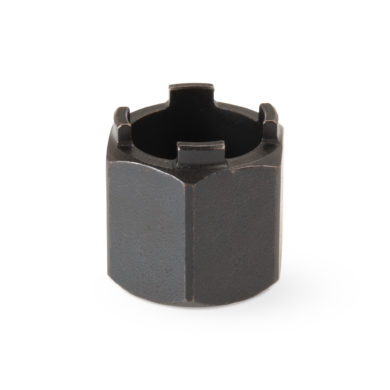
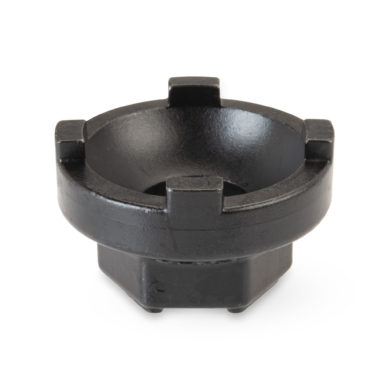
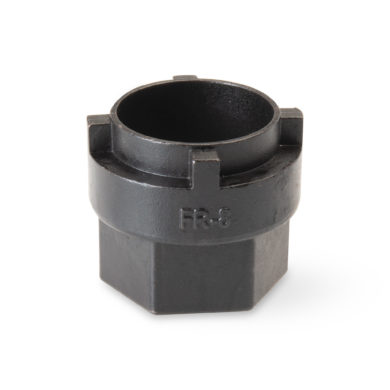
| FR-6 | |
| Single speed & BMX | 4 notches, approx. 40mm diameter |
 |
 |
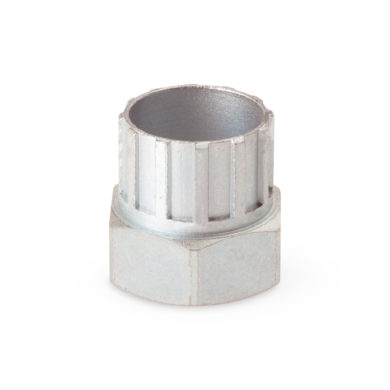
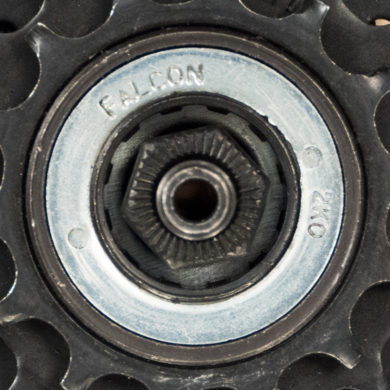
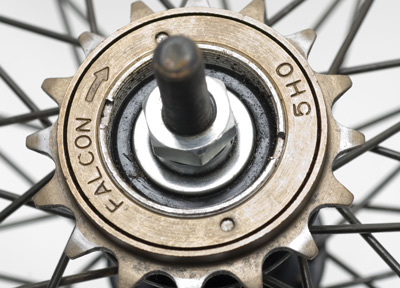
| FR-7* | |
| Falcon® | 12 splines, approx. 23mm diameter |
 |
 |
| FR-8 | |
| Compact single speed (30mm thread / “flip-flop hubs”) | 4 notches, approx. 32mm diameter |
 |
 |
*NOTE: Shimano-style and Falcon freewheels have similar but distinct tool fittings. DO NOT use the FR-1.3 on Falcon freewheels, or the FR-7 on Shimano-style freewheels.
There are older model freewheels where the tool is no longer available. An old Shimano standard has 12 splines approximately 20 mm in diameter. There is an older French Maillard freewheel with 24 splines with an approximate diameter of 31 mm. Park Tool does not make tools for these freewheel systems.
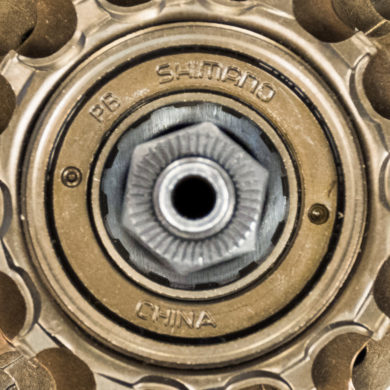
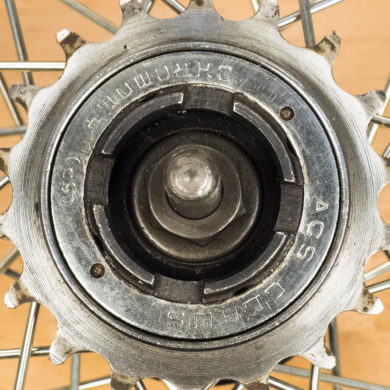
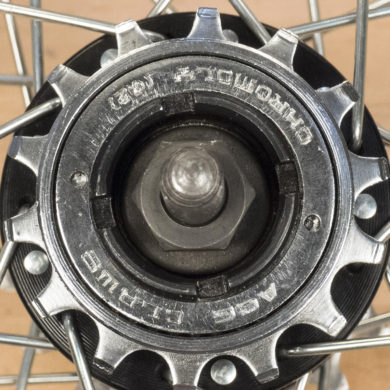
It may still be possible reuse the wheel but it will require destroying the freewheel. There are also current models of freewheels that do not have an adequate design for removal. In the image below, the freewheel has two very narrow and shallow notches that do not allow enough purchase for a tool. Removal of this type of freewheel would likely result in ruining both the freewheel and the tool. For either situation, see Freewheel — Destructive Removal.
Very narrow and shallow removal notches in a single speed
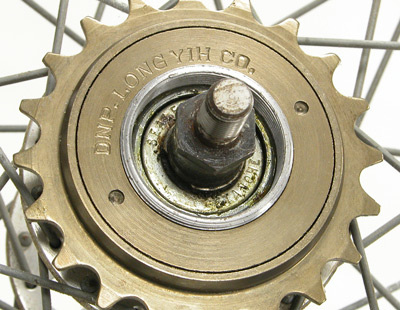
This model of freewheel has no removal tool fittings of any type
Freewheel Removal
- Mount the bike in a repair stand and remove the rear wheel.
- Remove the quick-release skewer.
- Engage the appropriate tool into the splines/notches.
- Reinstall the quick-release skewer. Install and snug skewer nut against removal tool. The skewer acts as a retaining device for the removal tool.
- Turn the removal tool counterclockwise using a large adjustable wrench, 1″ socket with handle, or other appropriate wrench. It will typically require some force to turn the freewheel.
- Turn remover only 1 full revolution counterclockwise. Loosen and remove skewer before continuing to remove freewheel.
- Continue to turn remover counterclockwise until freewheel is unthreaded from hub. Lift freewheel from hub.
Freewheel Installation
- Heavily lubricate the mounting threads of the freewheel using grease or anti-seize compound.
- Lay wheel on bench, and hold flat. Hold freewheel so cogs are parallel to wheel rim and lower freewheel onto threads.
- Sight right side of hub and freewheel. Axle should appear centered in hole of freewheel. If axle appears off center, freewheel may be cross-threaded on hub threads. Remove and realign.
- Begin threading cogs clockwise by hand until freewheel feels fully threaded. If a great deal of resistance is encountered, remove and attempt better thread alignment.
- Seat the freewheel:
- Use a chain whip to rotate the cogs clockwise until snug. This will fully seat the freewheel against hub.
- Alternatively, install the wheel into the bike, apply the rear brake, and push down on the pedal.
- If a new freewheel or wheel was installed, check all adjustments of the rear derailleur. See Rear Derailleur Adjustment.
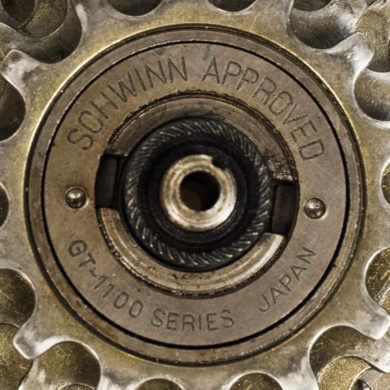
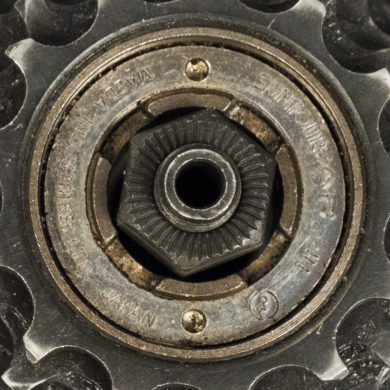
There are some brands and models of thread-on freewheels that use a lockring to hold the cogs to the freewheel body. This lockring can sometimes be removed; however, there is typically no need to do so. Individual cogs of these freewheels are not typically available. The lockring is used to assemble the freewheel unit, and it is not intended for service. When the cogs wear out, the entire freewheel as a unit must be replaced. In the freewheels below, notice the cog lockrings. These are not “cassette” systems, but threaded freewheels, and use the FR-2 and FR-1.3 respectively.
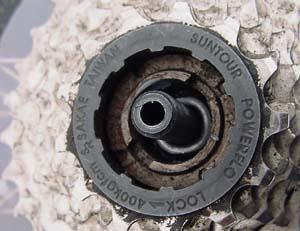
Freewheel using the FR-2
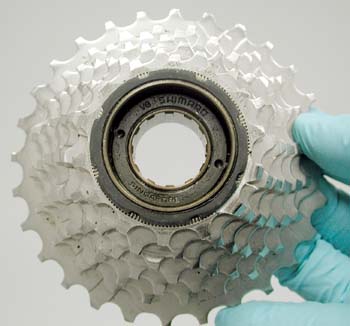
Freewheel using the FR-1.3
Related articles
Cassette Removal and Installation View Article
Freewheel — Destructive Removal View Article
Freehub Service View Article