Bottom Bracket Service: BB30 Adapters
The BB30 shell will accept adapters to permit the installation of non-BB30 cranksets. This article covers service of BB30 adapters for Campagnolo®, Shimano®, SRAM®, and more.
Campagnolo® and Fulcrum® Adapters
Begin by removing the C-clips from either side of the shell (Figure 1).
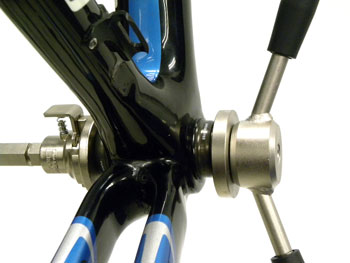
Campagnolo® offers adapters for both Ulta-Torque™ and Power Torque™ systems. The installation process is the same for either one. It is best to press one cup at a time using a headset press (Figure 2).
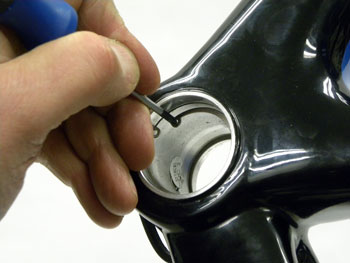
Figure 1. Remove C-clips

Figure 2. Pressing left side cup only
Proceed to fully press the second cup (Figure 3). If either cup appears to have a loose fit, use retaining compound such as Loctite® RC680.
Removal of the Campagnolo® adapter cups can be involved. Remove crankset. Use a screwdriver and/or needle nose pliers to remove both internal seals. Use the Park Tool RT-1 head cup remover to drive out one cup. Reverse the tool and drive out the second cup.
24 mm Spindle Crankset Adapters
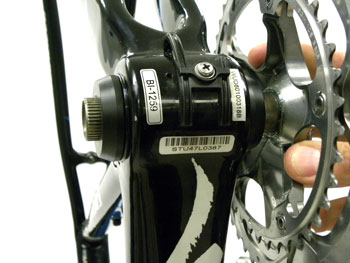
The external crankset cranks that use the smaller 24 mm spindle can be installed into the BB30 shell. The BB30 bearings and C-clips are left in place (Figure 4). Simple spacers are used against the bearings to effectively widen the shell and reduce the diameter.
These spacers are available for the Shimano, FSA and Race Face cranksets. A different spacer with different inside diameter for the spindle are available for the SRAM GXP cranksets. Simply install adapters into the bearings of the BB30 shell (Figures 4 and 5). Adapters spin against bearing inside shell.
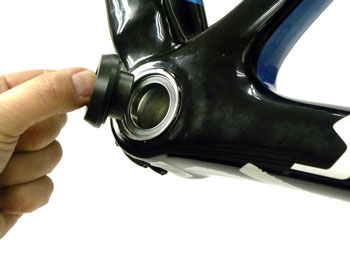
Figure 4. Adapters insert into bearing
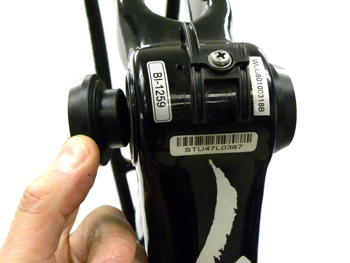
Figure 5. Install both adapters
The adapters widen the effective shell width to equal the required width for the cranksets. Install crank spindle through adapters (Figure 6).
Install second arm and adjust as normal according the recommendations of the brand and model (Figure 7).