One-Piece Crank & Bottom Bracket Service
This article will discuss removal, cup replacement, installation, and adjustment for one-piece crank bottom bracket bearings (also known as Ashtabula bottom brackets).
Getting Started
The one-piece bottom bracket and the one-piece bottom bracket shell are found on some older Schwinn® bicycles, many juvenile and BMX bikes, and on many department store-type bikes. One piece of steel forms the crank arms and goes from the pedal, through the bottom bracket, to the other pedal. This crank also acts as the bottom bracket bearing axle.
The one-piece crank system can be replaced with a three-piece bottom bracket system using a different bearing system and a spindle that is separate from the cranks.
The crank arm is threaded in the middle, and acts as the bottom brackets spindle. The crank drive side threading is a right-hand threading, and the non-drive side (left side) is a left-hand threading. It is necessary to first remove the left side pedal in order to remove the crank. Turn the left pedal axle clockwise to remove. See Pedal Removal for more detail.
Bearing & Crank Removal
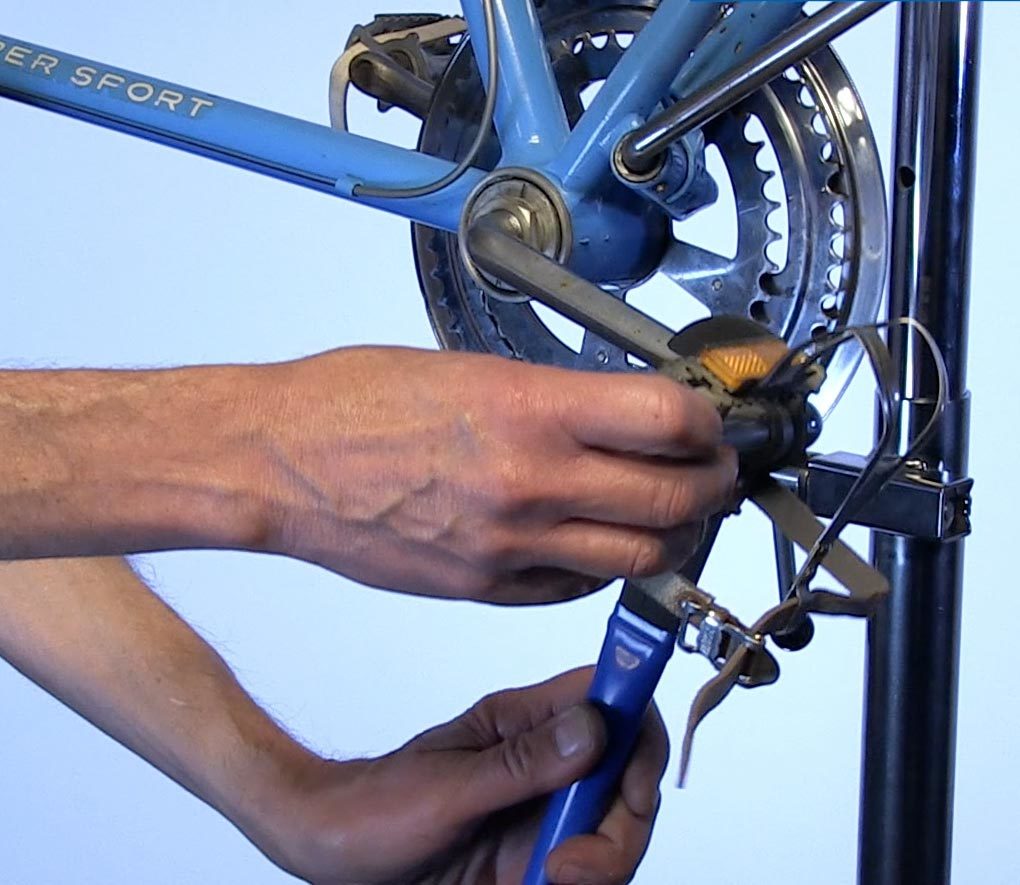
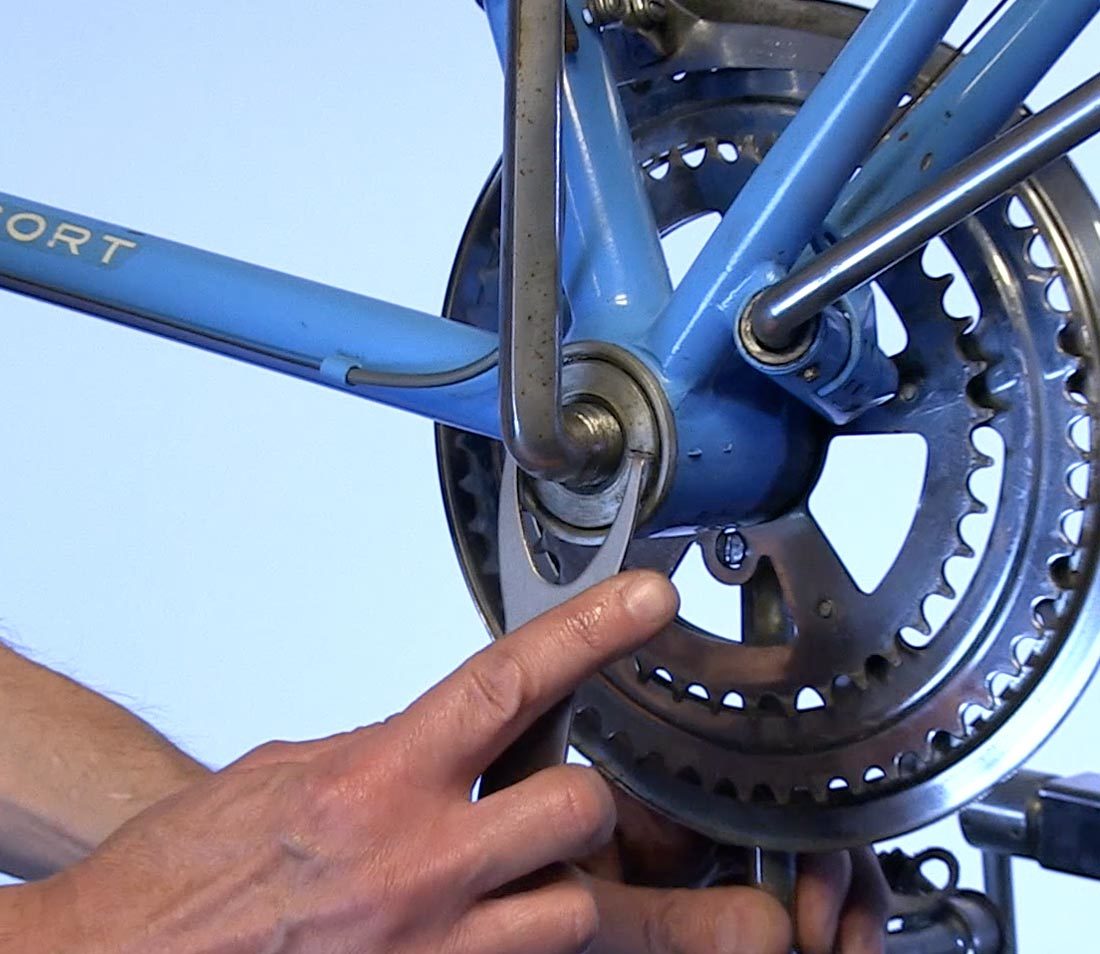
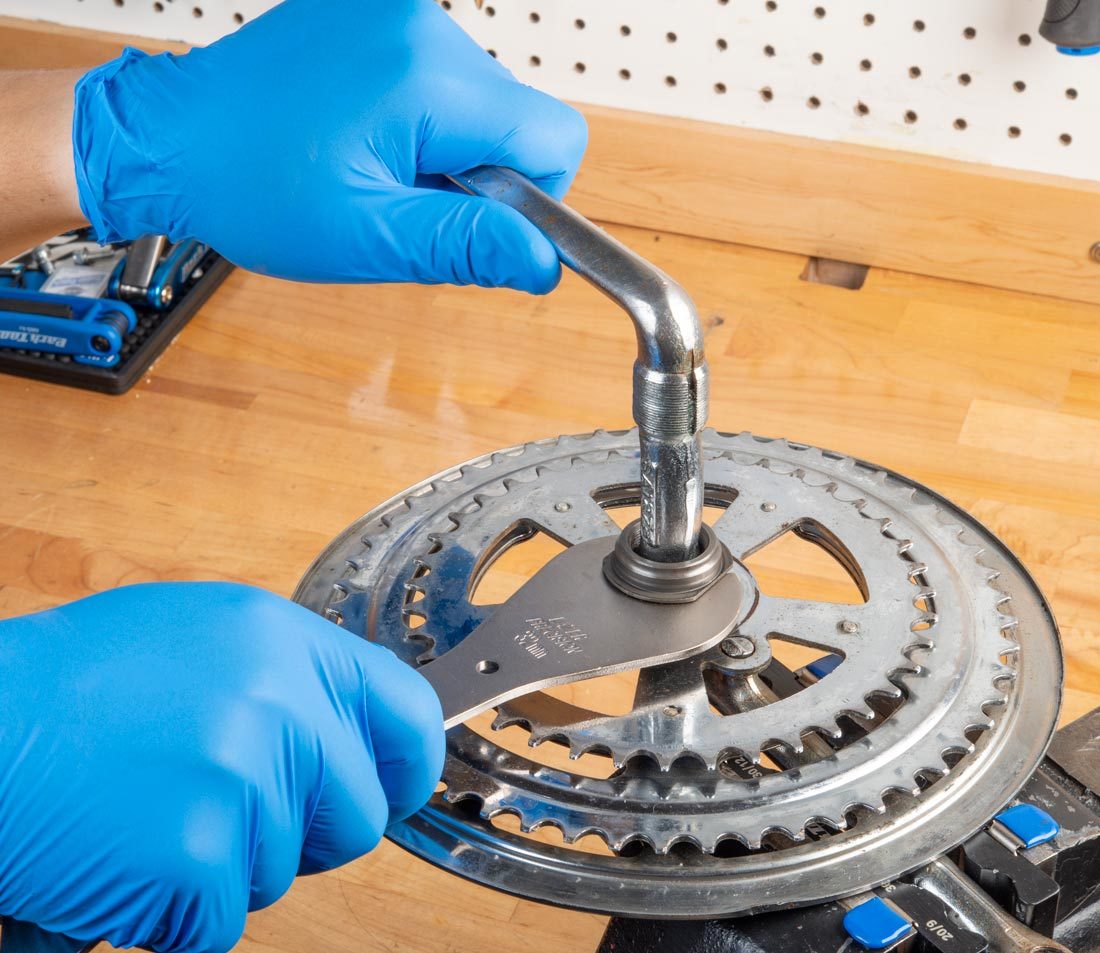
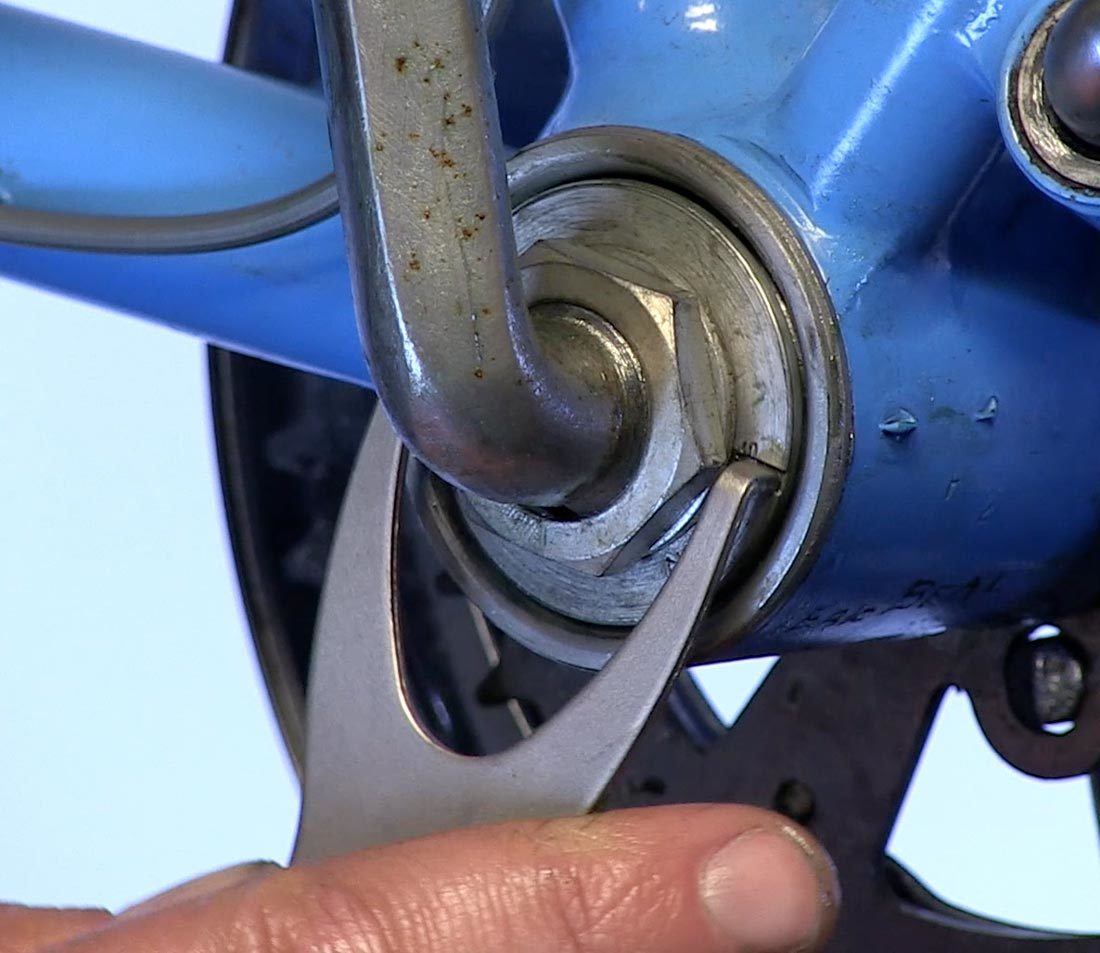
- Loosen and remove locknut and keyed washer underneath. Remove adjusting cone clockwise using an HCW-18 or pin spanner.
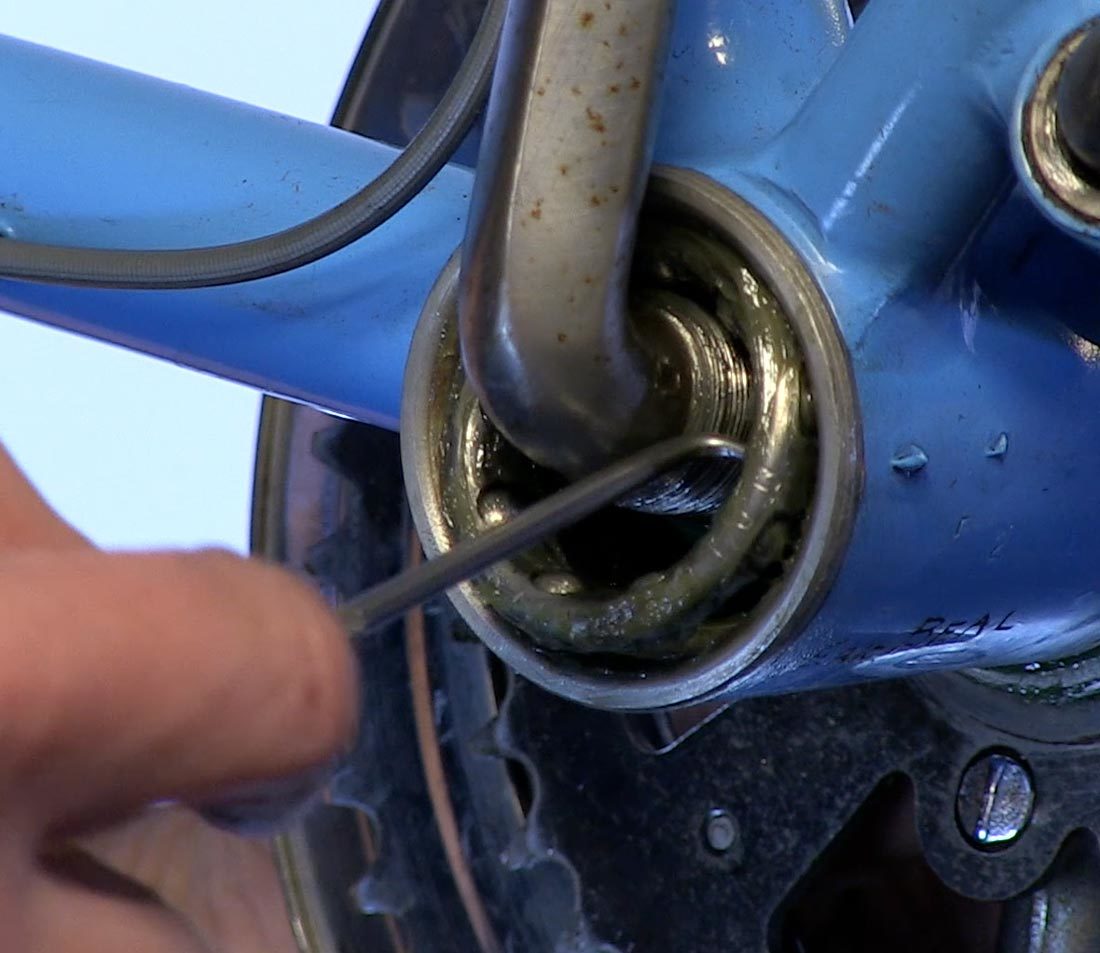
- Pull the left caged bearing out of the cup using a seal pick or small screwdriver. The crank arm will not remove with bearing in place.
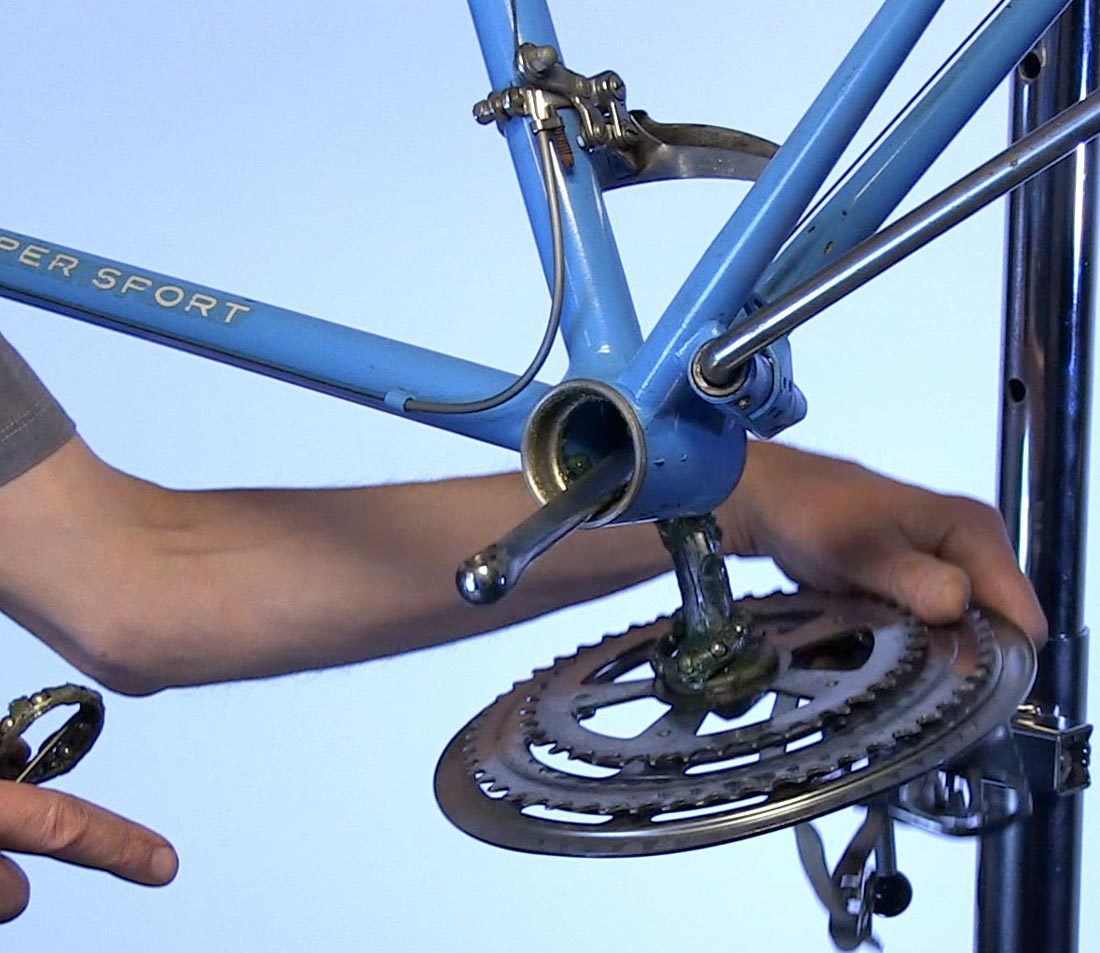
- Rotate and slide the crank arm out of the bottom bracket shell. Ensure that the right side caged bearing were also removed from the drive side cup.
- Inspect drive side cone for wear. It is not necessary to remove cone for cleaning. If replacing, clamp arm in vise with right side cone facing up. Remove drive side cone counter-clockwise.

- Clean, degrease, and inspect all parts. Inspect bearing cups in frame.
Bearing Cup Replacement
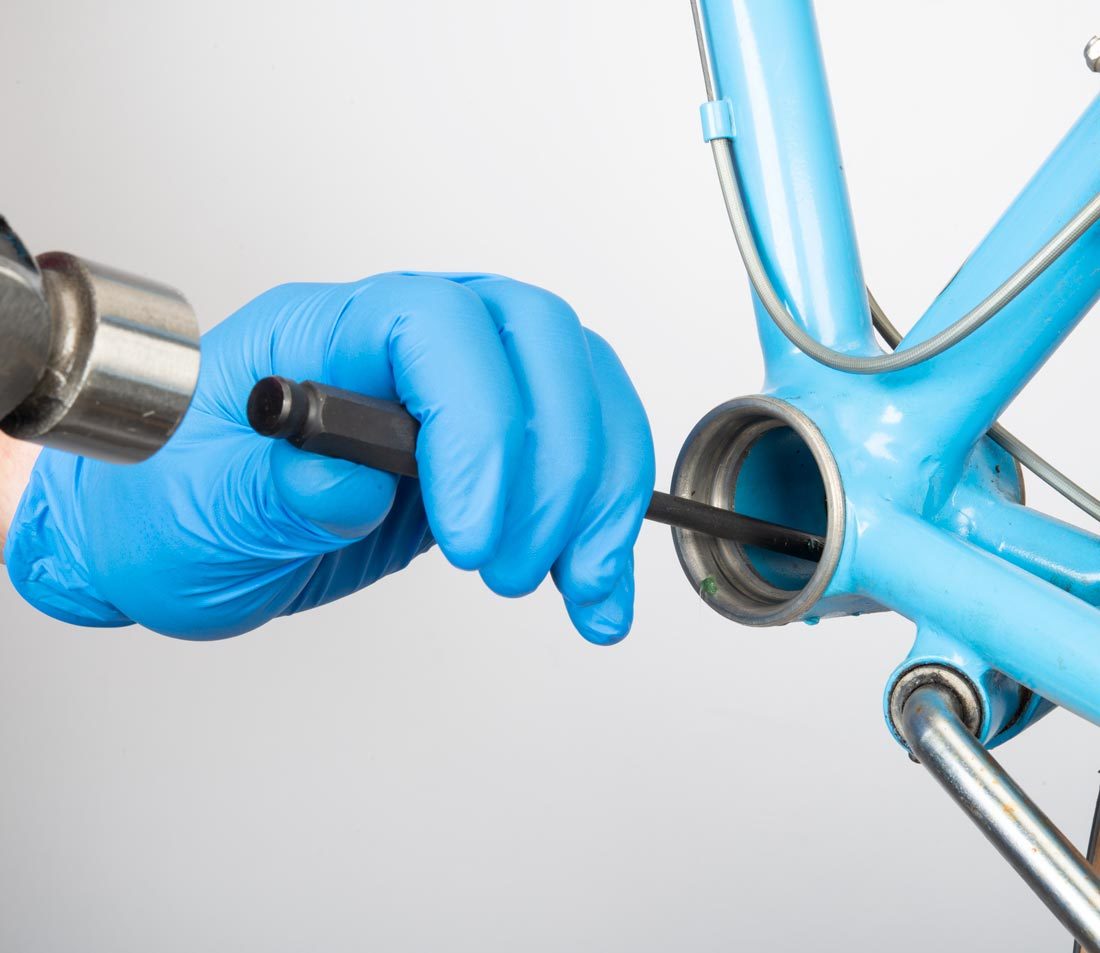
Generally, if the bottom bracket is overhauled, there is no reason to remove the cups. However, if the cups are worn or the bottom bracket is being replaced, the cups must be removed. Use a punch and hammer to remove the cups. Tap on alternating sides until cup is removed.

Bearing Assembly
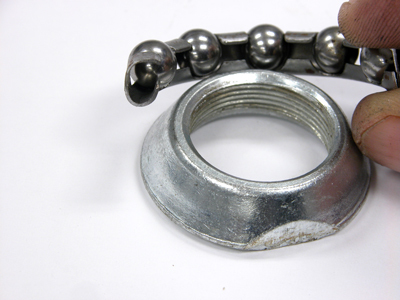
Most one-piece bottom brackets use bearing retainers. Check the orientation of the retainers before installing as retainers have only one correct orientation. Inspect the metal cage that retains the ball bearings. The cage traps each ball with a hook. Look for the open side of the ball retaining hook. This open side of the hook shape cage should face the cone shaped race. If in doubt, install the cage, and place the race inside and turn the cone by hand. If the cage is correct, it will feel smooth. If the cage is upside down, the cage retainer will rub on the cone race and it will feel horrible. Reverse the cage and test again.
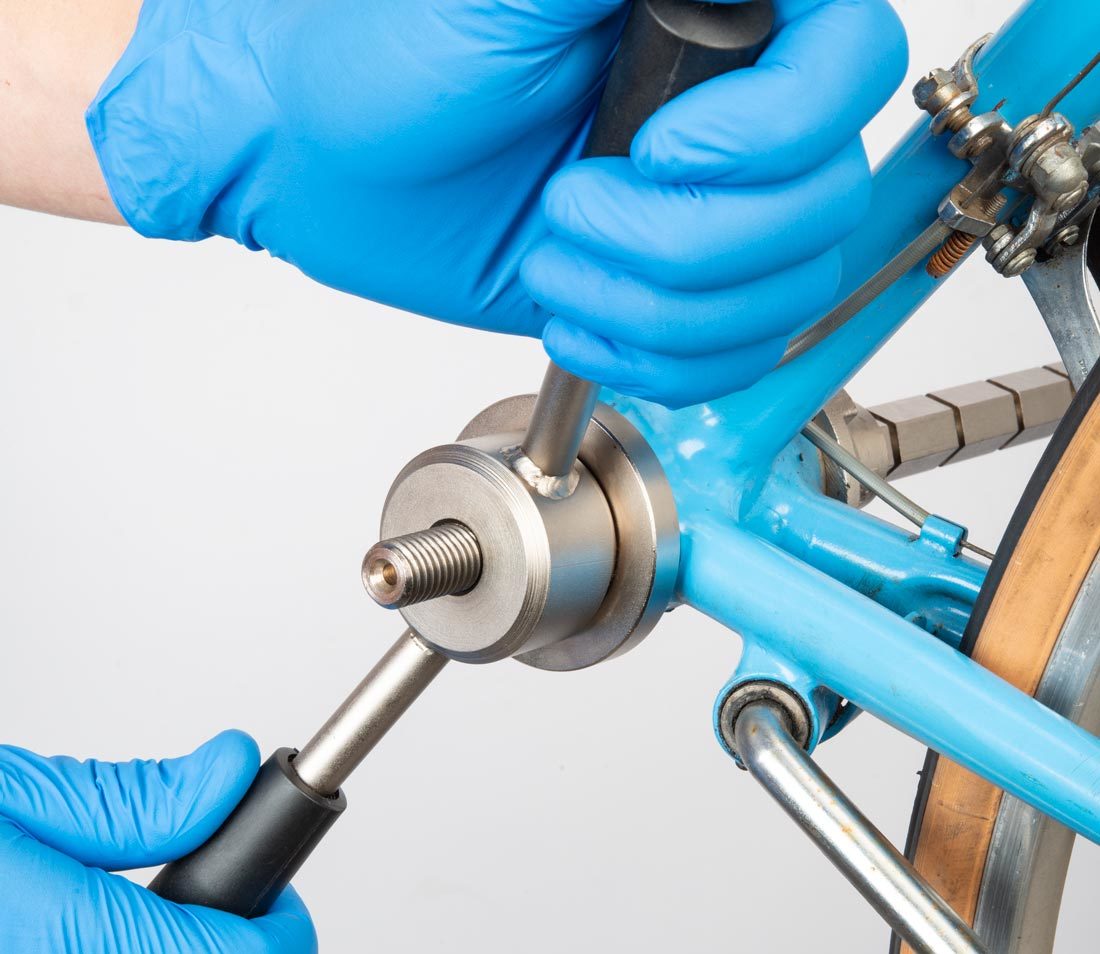
- If the cups were removed, begin by installing cups using the HHP-2, HHP-3, or BBP-1.
- Install drive side cone, if necessary. A mild threadlocker is recommended.
- Pack bearings and cups fully with grease.
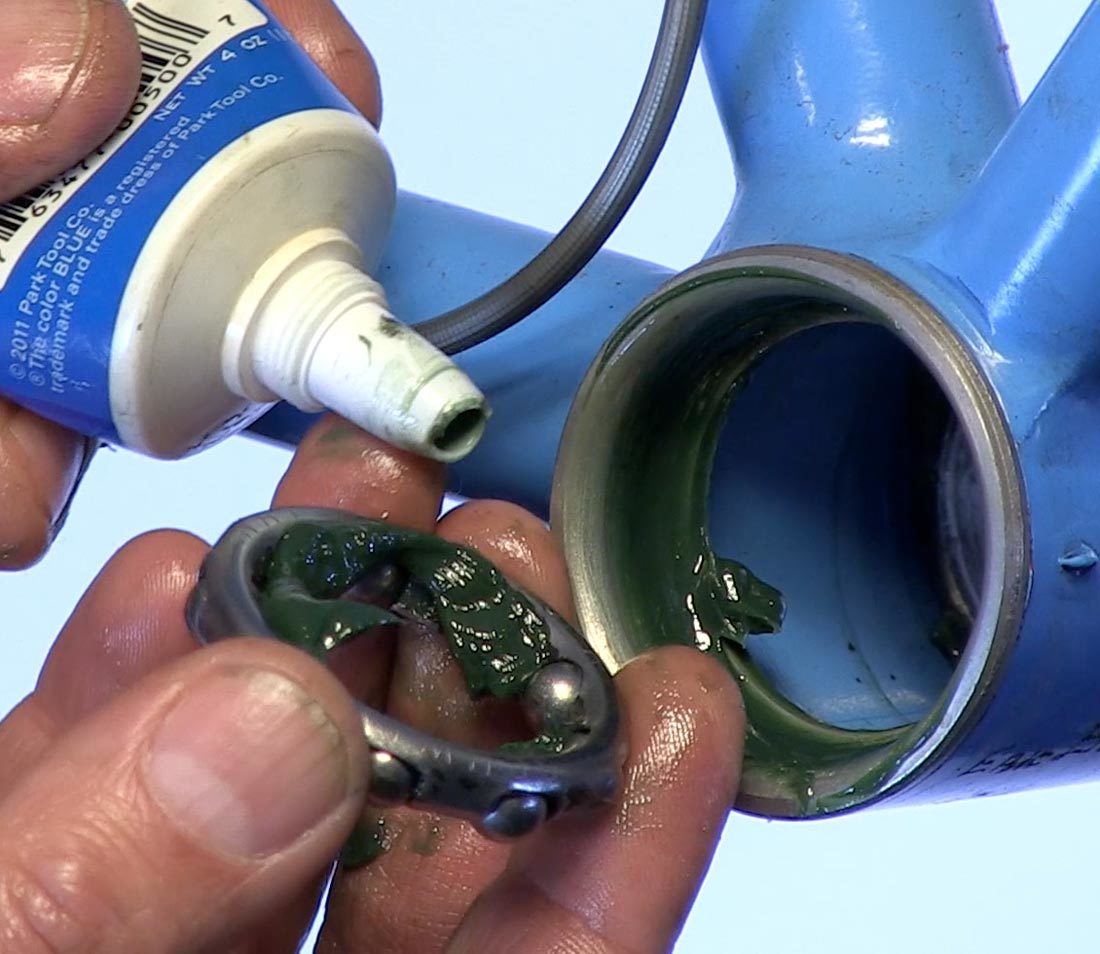
- Place one caged bearing on the drive side cone. Inspect metal retainer to make sure that the ball bearings face the cone and retainer side sits in cup.
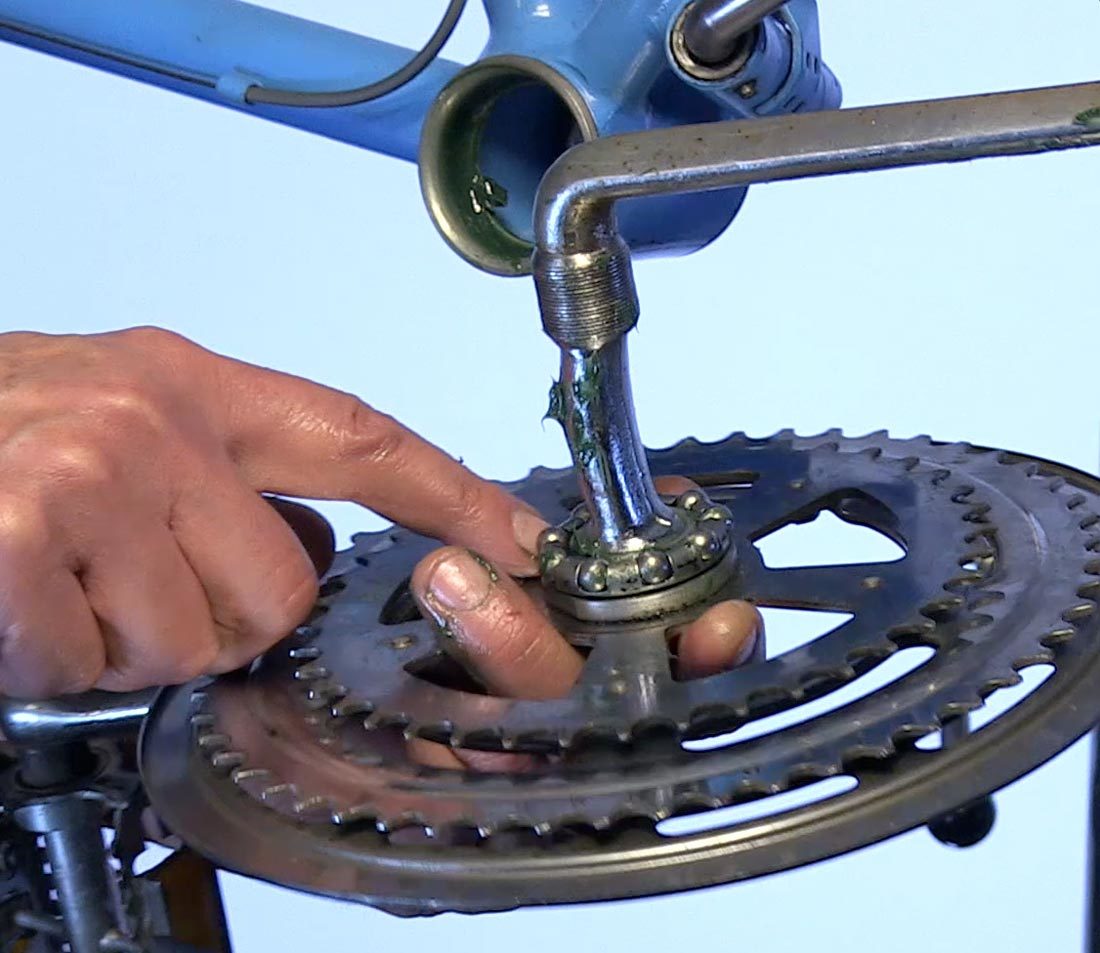
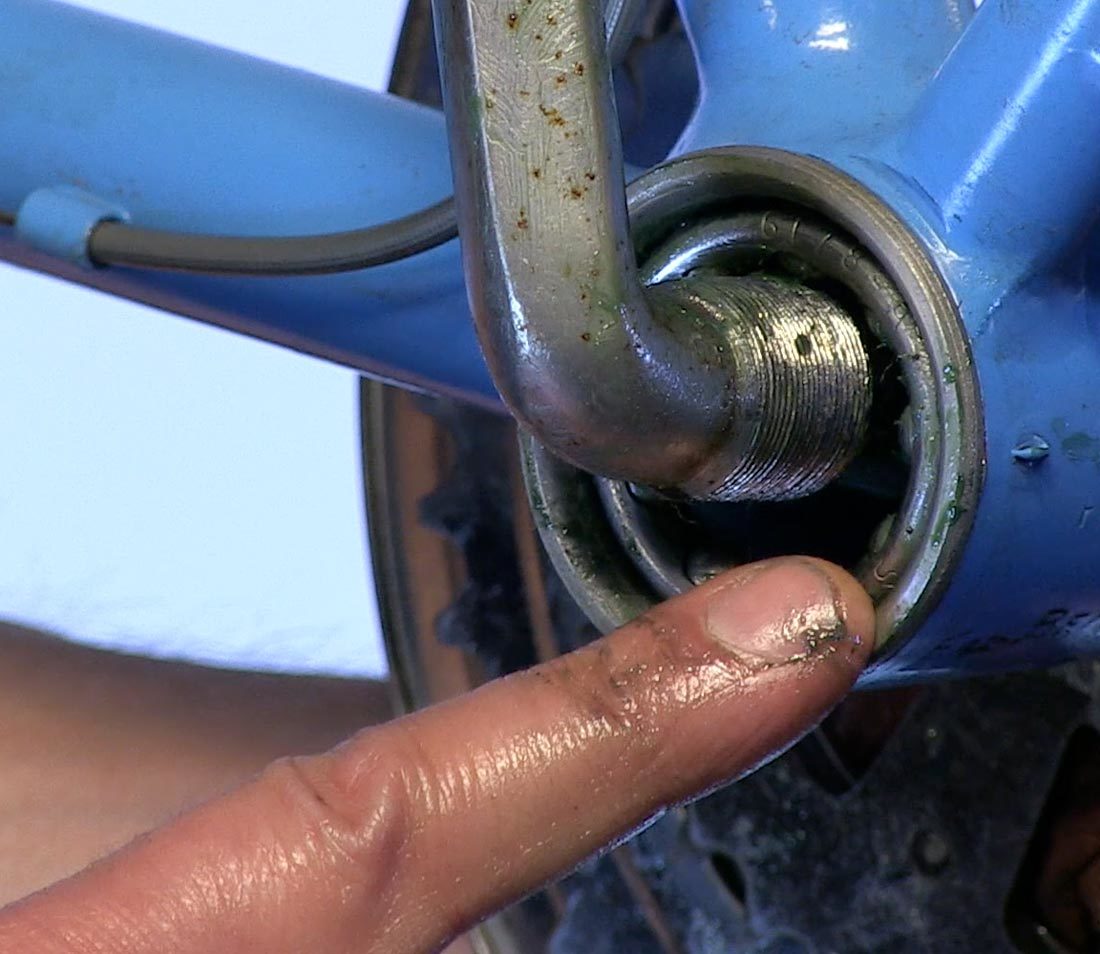
- With bearing on cone, feed the crank arm into bottom bracket and through shell. Install non-drive side bearing, and thread on adjusting cone. Adjusting cone is a left-hand thread, turned counter-clockwise to install.
- Install keyed washer, then loosely install locknut.
Bearing Adjustment
The basic concept for bearing adjustments is to get the bearings adjusted as loose as possible but without play. This can be done by purposely beginning with play in the adjustment, then tightening in small increments until play is gone. With much use the bottom bracket bearings, cups and cones may become worn and pitted. In this case, a smooth bearing adjustment will not be possible. If the bottom bracket is correctly adjusted but grinds when spun, the cups and/or cones are worn and should be replaced.
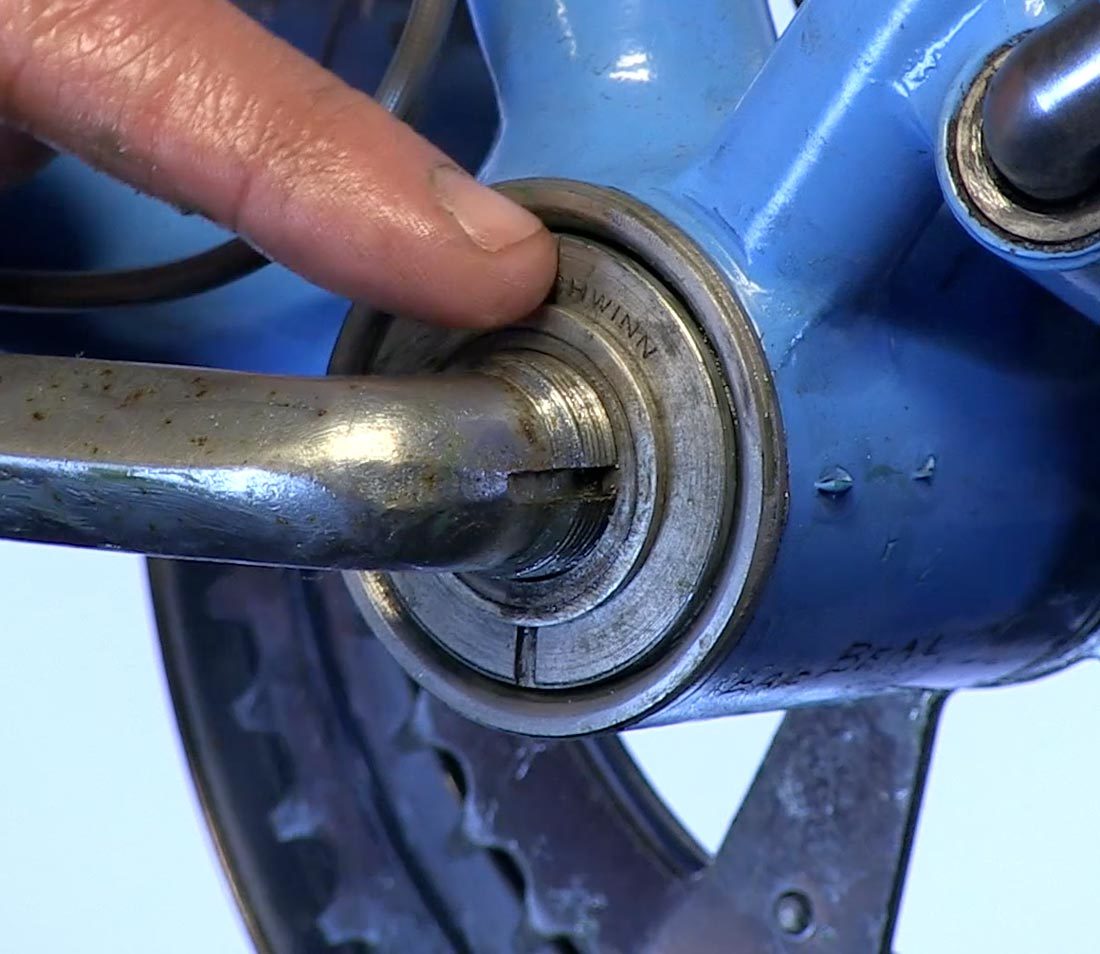
- Begin with locknut loose. Turn adjusting cone counter-clockwise until it hits the ball bearing, then turn back clockwise to loosen 1/4 turn.
- Fully tighten the locknut.

- Grab the crank arm ends and rock sideways to check for play. If play is present, loosen locknut and turn adjusting cone counter-clockwise slightly to tighten. Re-secure locknut and check again.
- Repeat process of checking for play and re-tightening cone a slight amount until no play is felt. NOTE: The one-piece crank systems do not use a polished bearing system. There will be some roughness to a correctly adjusted bottom bracket. Adjust as loose as possible but without play in the bearings.
Related articles
Bottom Bracket Removal & Installation: Threaded View Article
Crank Removal and Installation: Two-Piece Compression Slotted View Article
Three-Piece Crank Removal and Installation View Article