Handlebar Removal & Installation: Flat Bars
This article will walk through the process of how to remove and install flat handlebars.
Preliminary Info
- Ruler and angle gauge or other method of measuring lever position
- Appropriately sized hex or Torx®-compatible wrenches
- Torque wrench or torque driver with appropriate bits
- Grease or threadlocker for stem bolts
- Assembly compound for carbon bars
- Rags
Handlebars may be replaced to get different dimensions such as such as WIDTH (A), RISE (B), UPSWEEP (C) and BACKSWEEP (D).
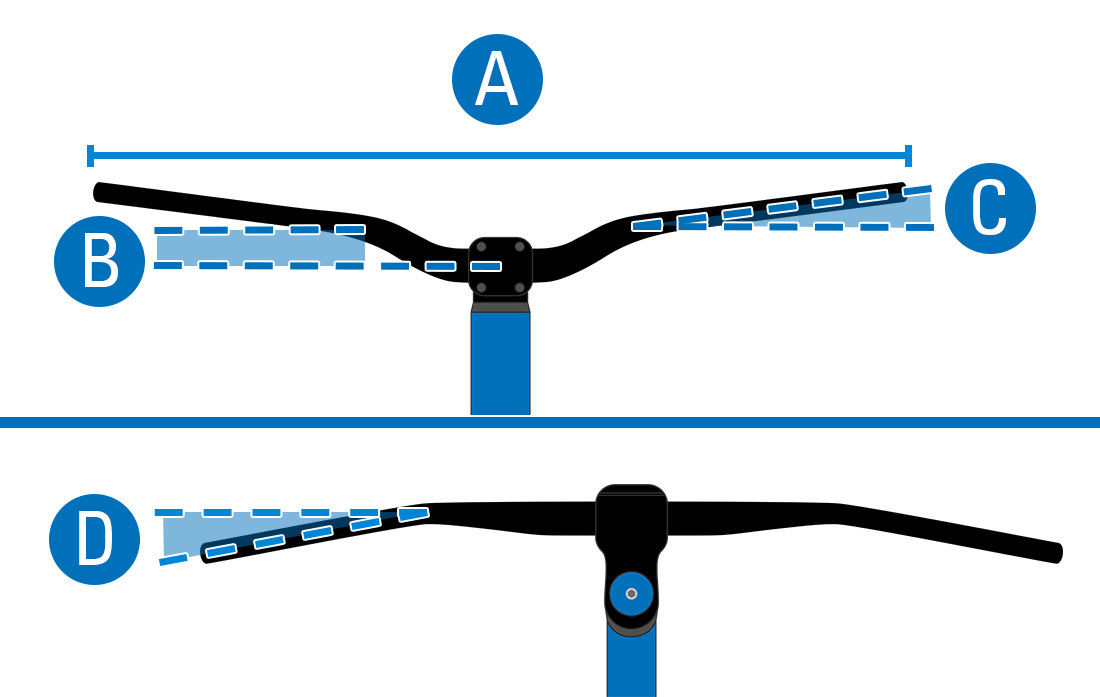
Bars also come in different materials including carbon, aluminum, steel, and titanium. Each material has its own unique properties.
When selecting a new bar it is also important that the bar diameter and the stem clamp diameter are the same. The most commonly found sizes for flat bars are 22.2, 25.4, 31.8, and 35mm.
To determine bar diameter, measure right where the stem will clamp using a metric caliper. Be sure to be accurate as some clamp diameters are within fractions of a millimeter of each other and are not cross-compatible.
It is difficult to determine the clamp diameter of the stem by measuring it. The clamp diameter is typically engraved or labeled on the stem, but sometimes it is not. Contact the stem manufacturer for more information.

Measure the center of the bar
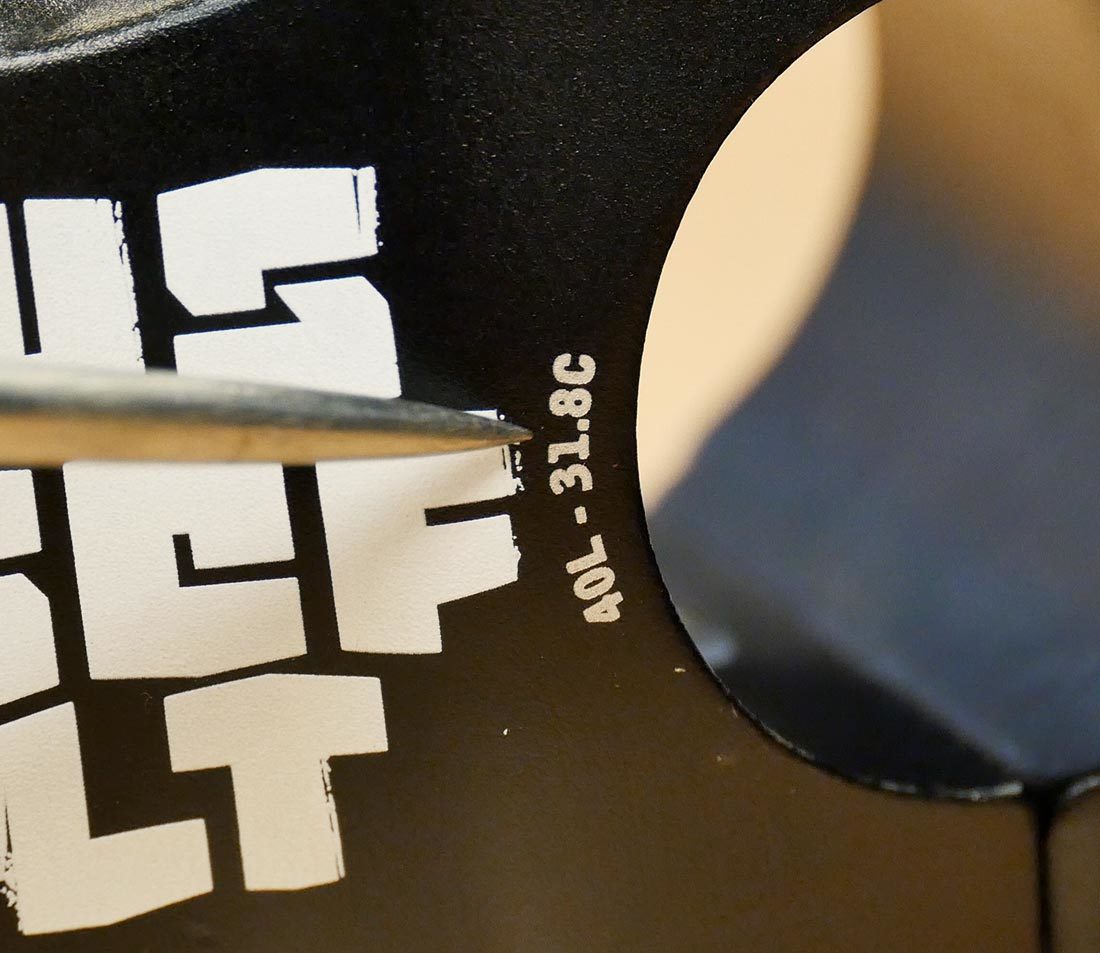
Stem size is often labeled on the stem
There are also shims available to make a smaller diameter bar compatible with a larger sized stem.
Handlebar Removal
Begin by taking note of the position of your controls. It can help to take pictures for later reference.
It can also be helpful to use a ruler and angle gauge or other suitable measuring device to get your position back to where you feel most comfortable.
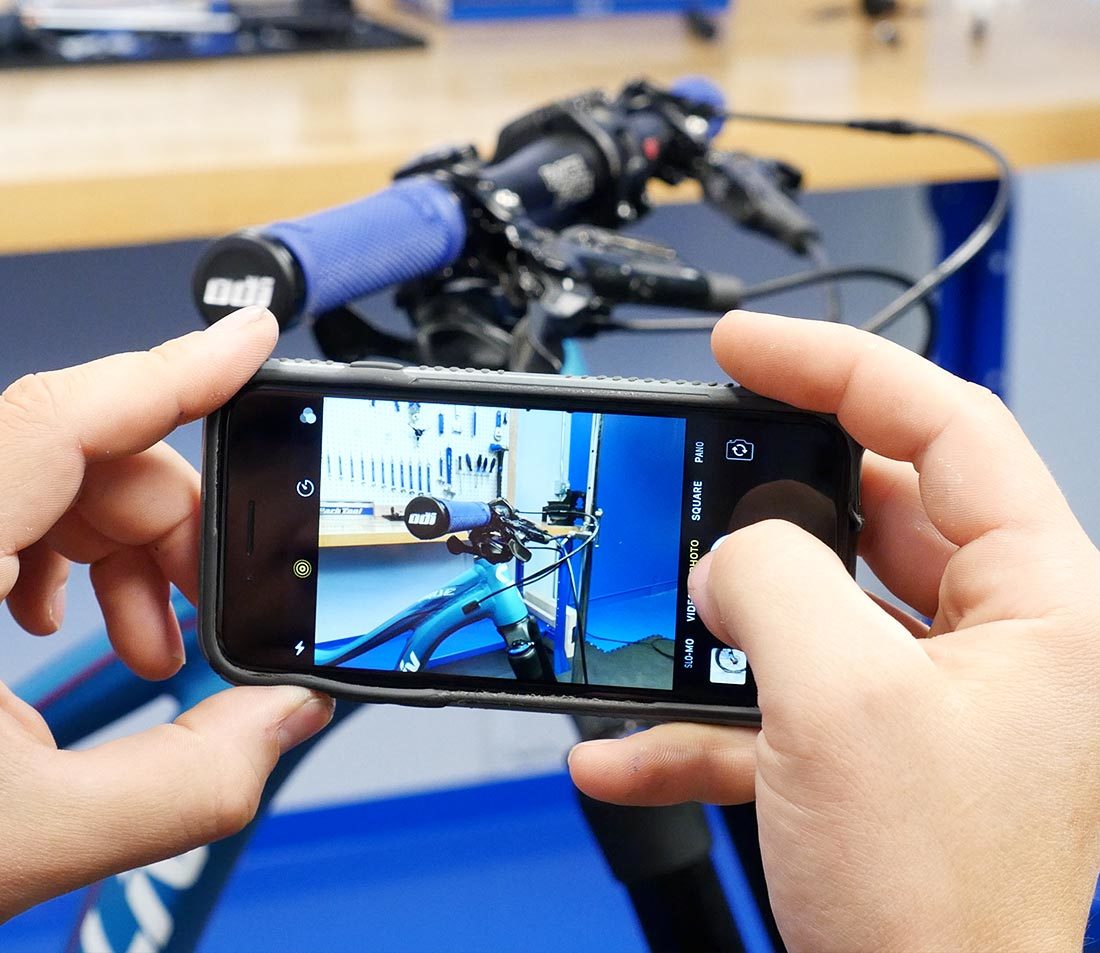
Take photos from multiple angles for later reference
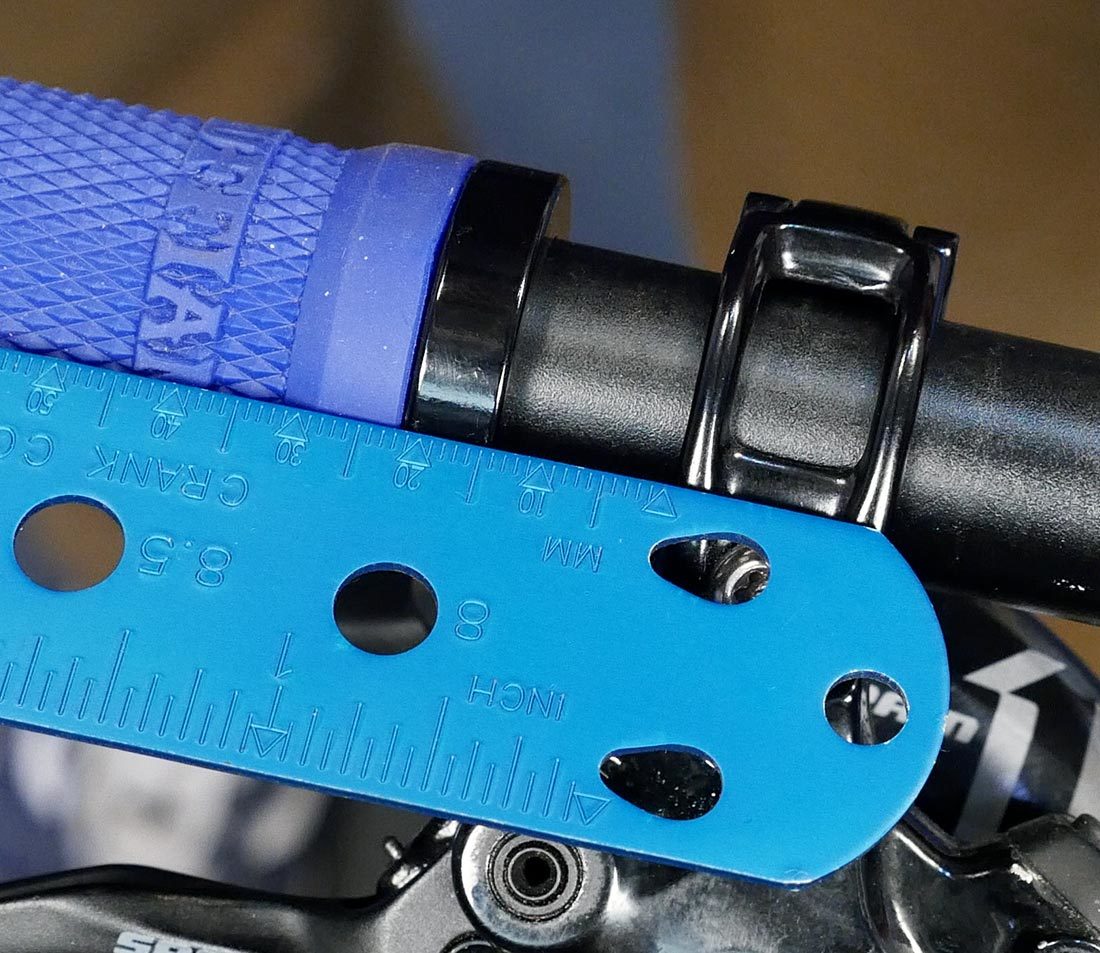
Measure and note the distance between each component
Once you have made note of the position and location of your controls, remove the grips, brakes, shifters, and any other accessories from the bar.
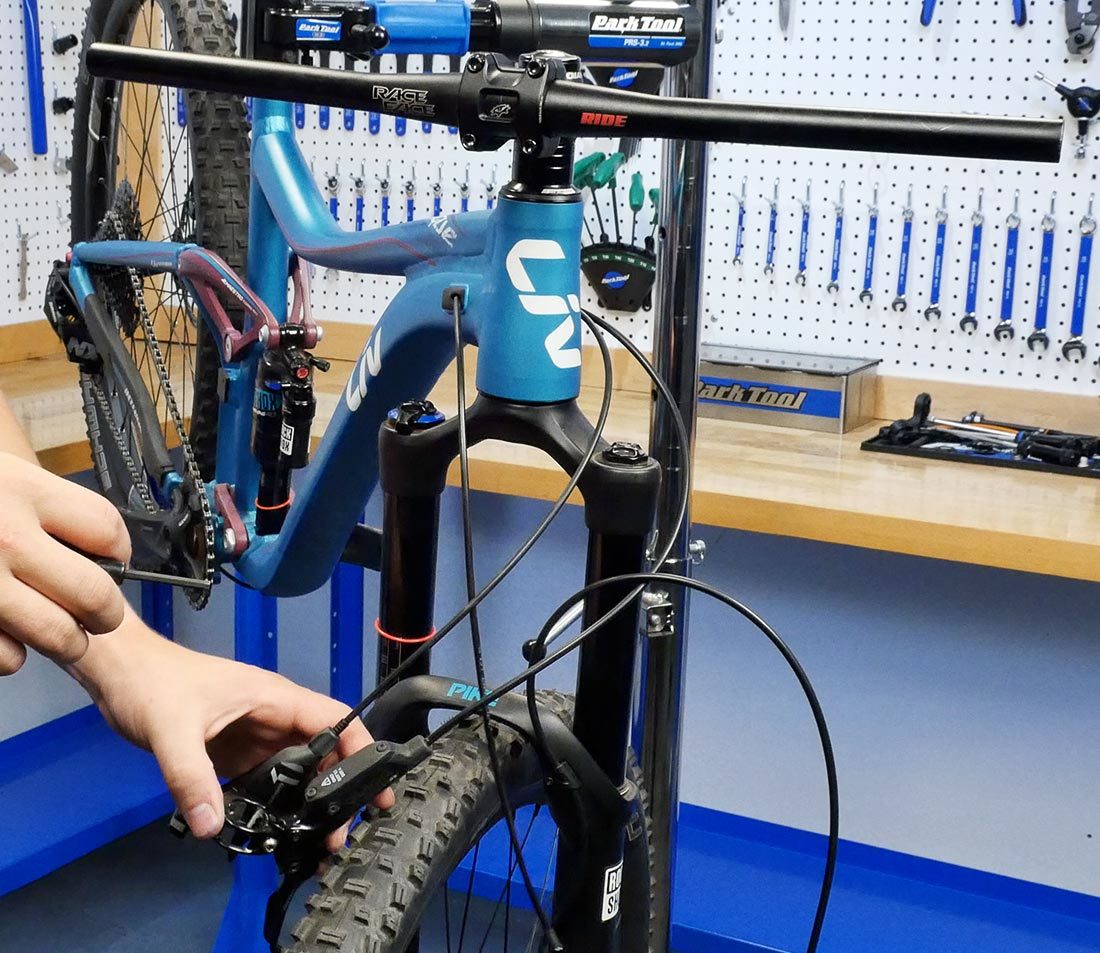
Removable Faceplate Stems
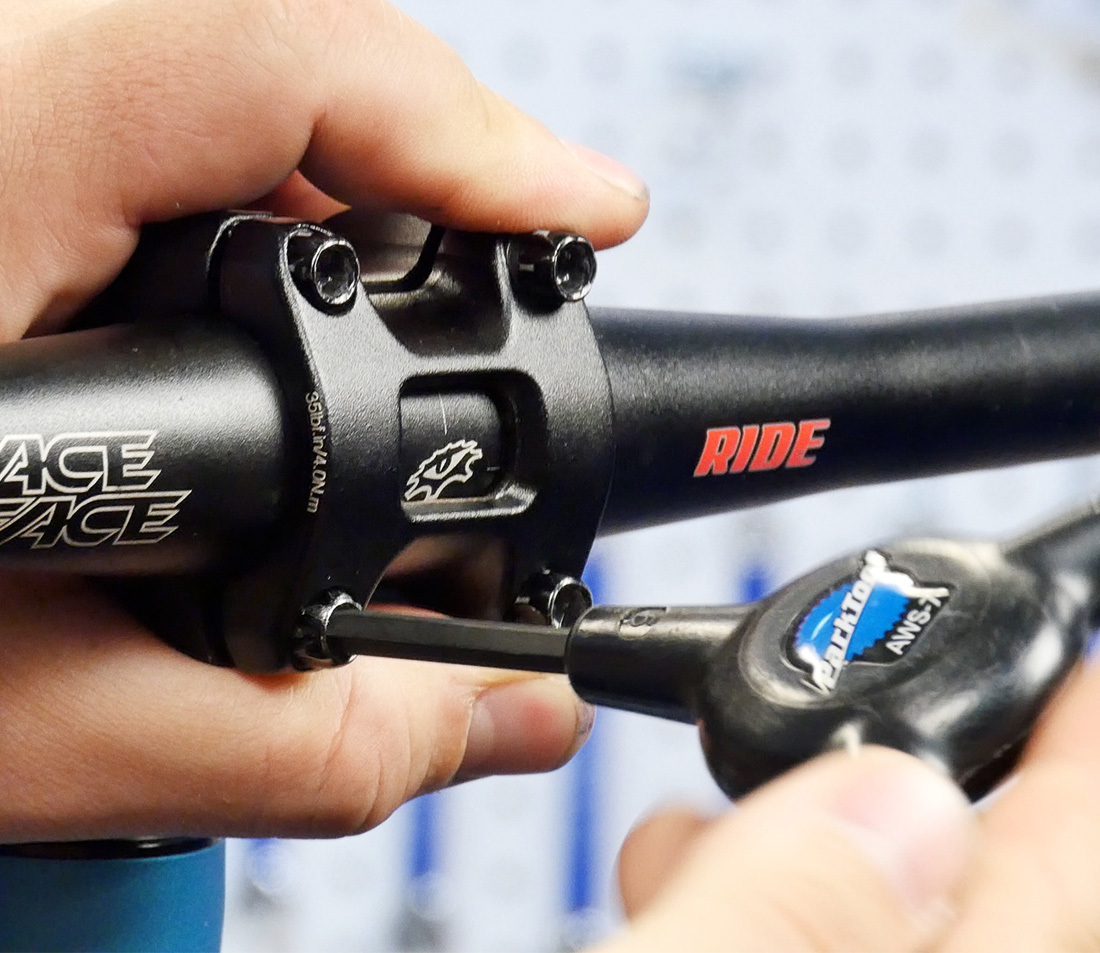
Stems with removable faceplates have become extremely common, and it is likely that you have this style of stem. Simply loosen the faceplate bolts evenly and remove the faceplate and bar. Hold the bar as you loosen the bolts, as once the last bolt is removed the bar will be free to fall.
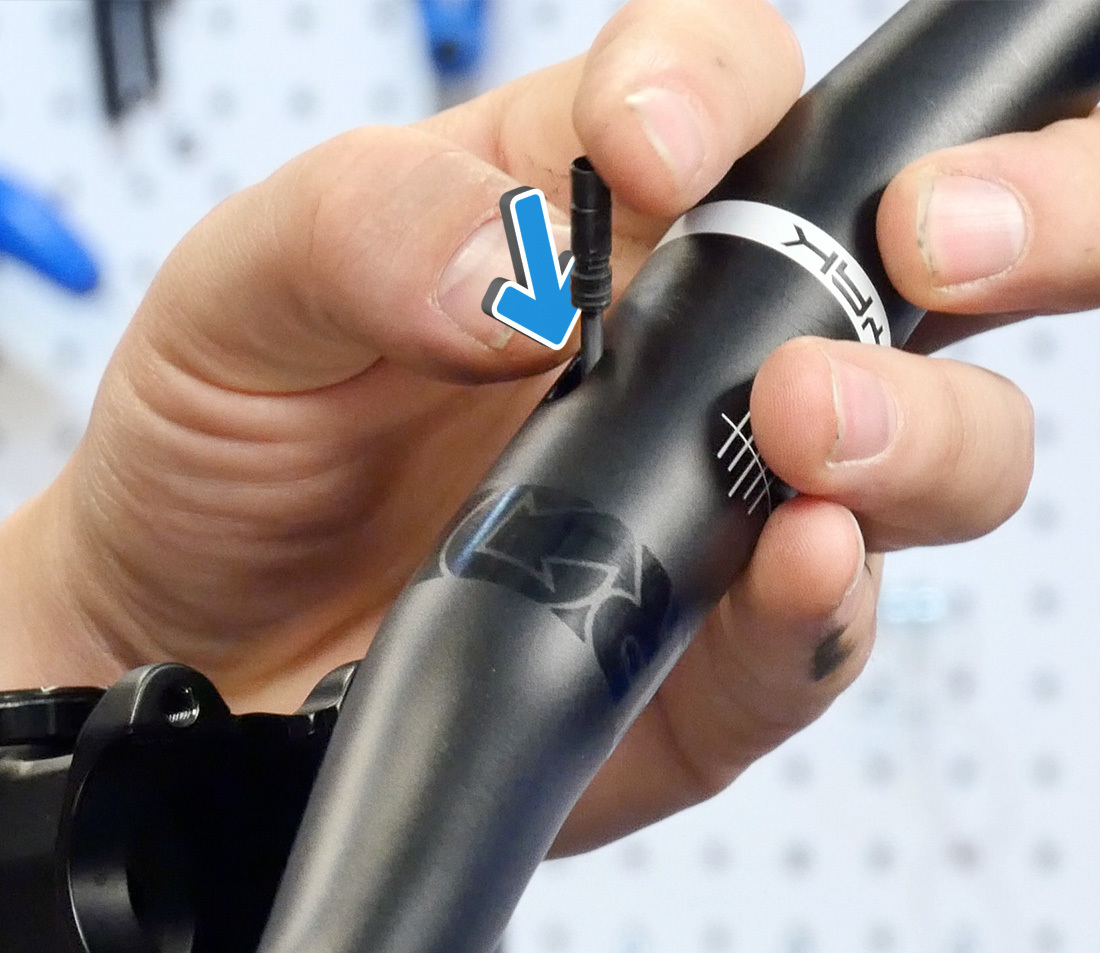
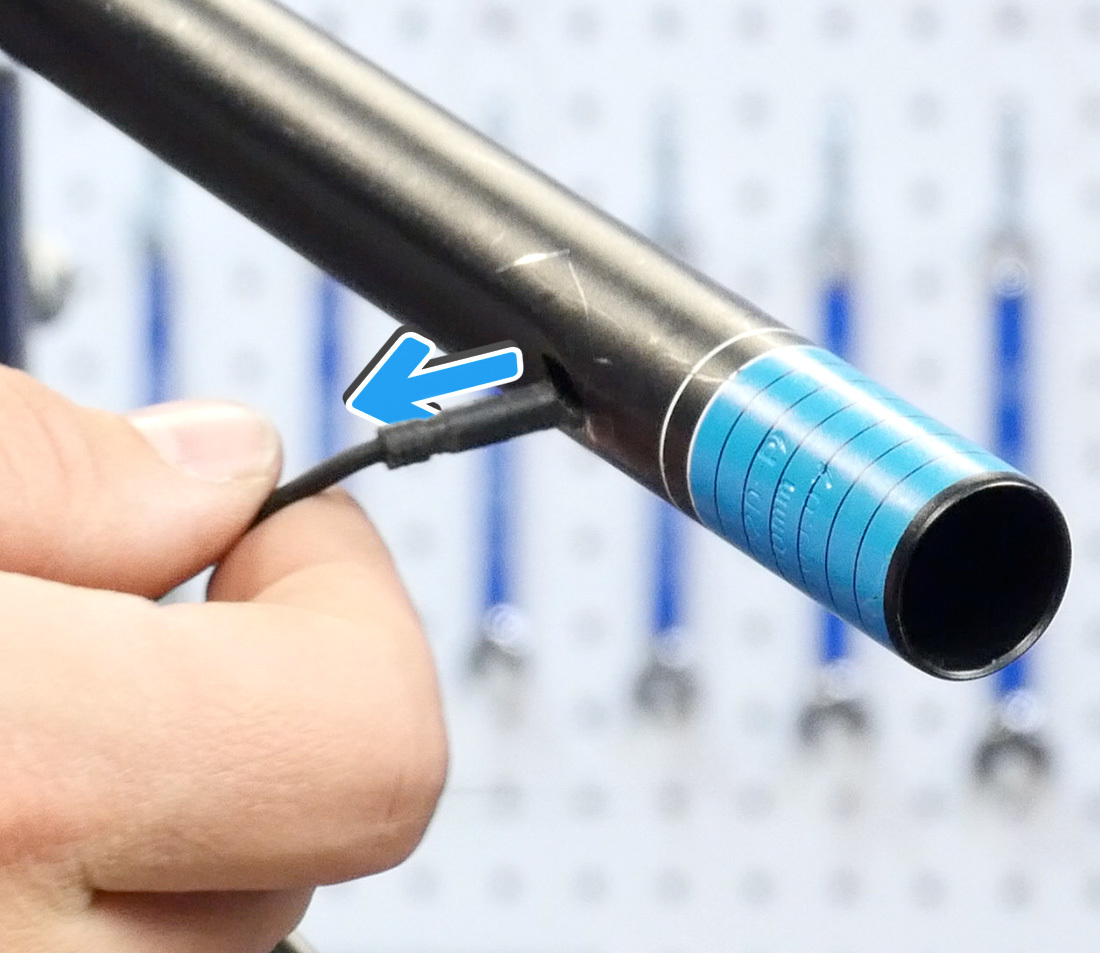
Once the bar is separated from the stem, if you have an electronic shifting system with internal routing in the handlebars, be sure to remove the wire at this time.
Compression Slotted Stems
Some stems use a compression slot, with a single bolt at the top or bottom holding the bar to the stem. To remove the bars, loosen the bolt securing the bar to the stem. Then simply slide the bar out.
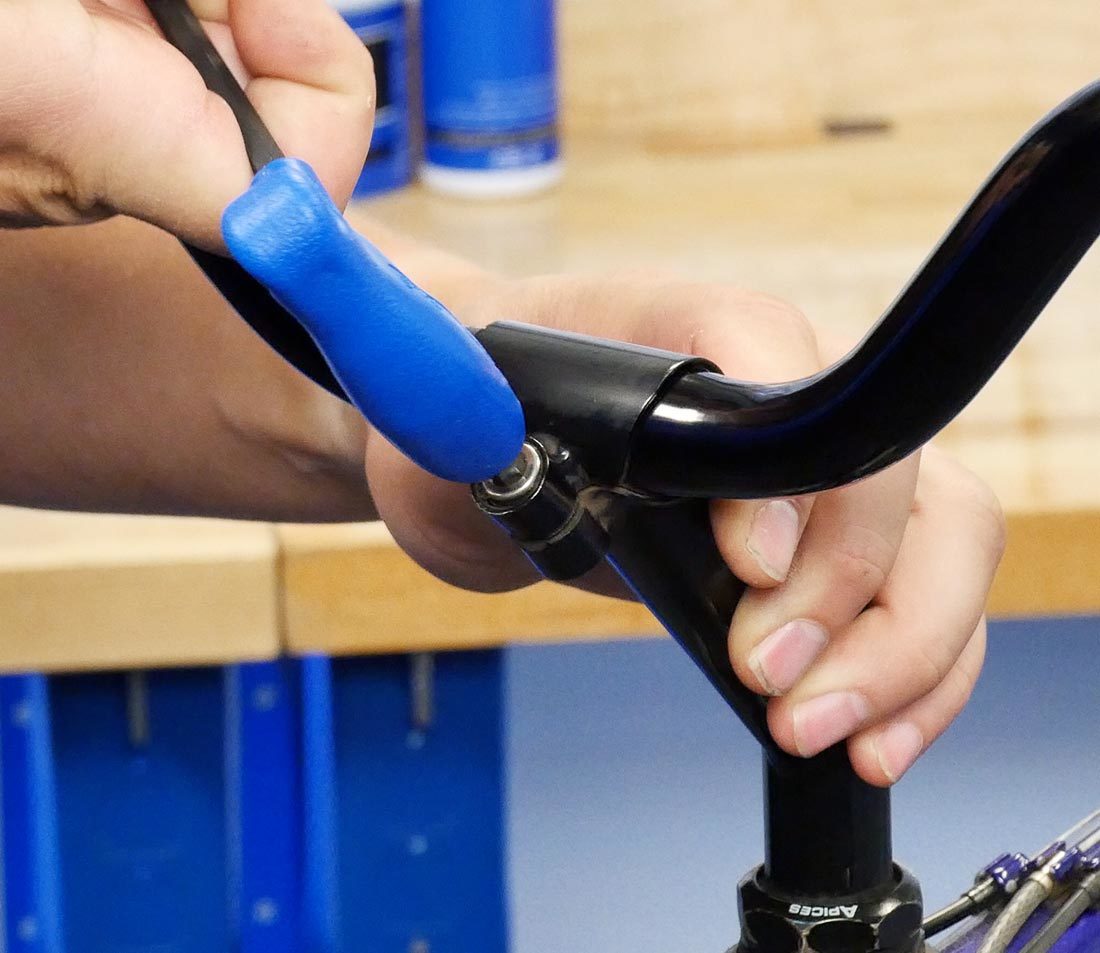
2–3 revolutions should be loose enough
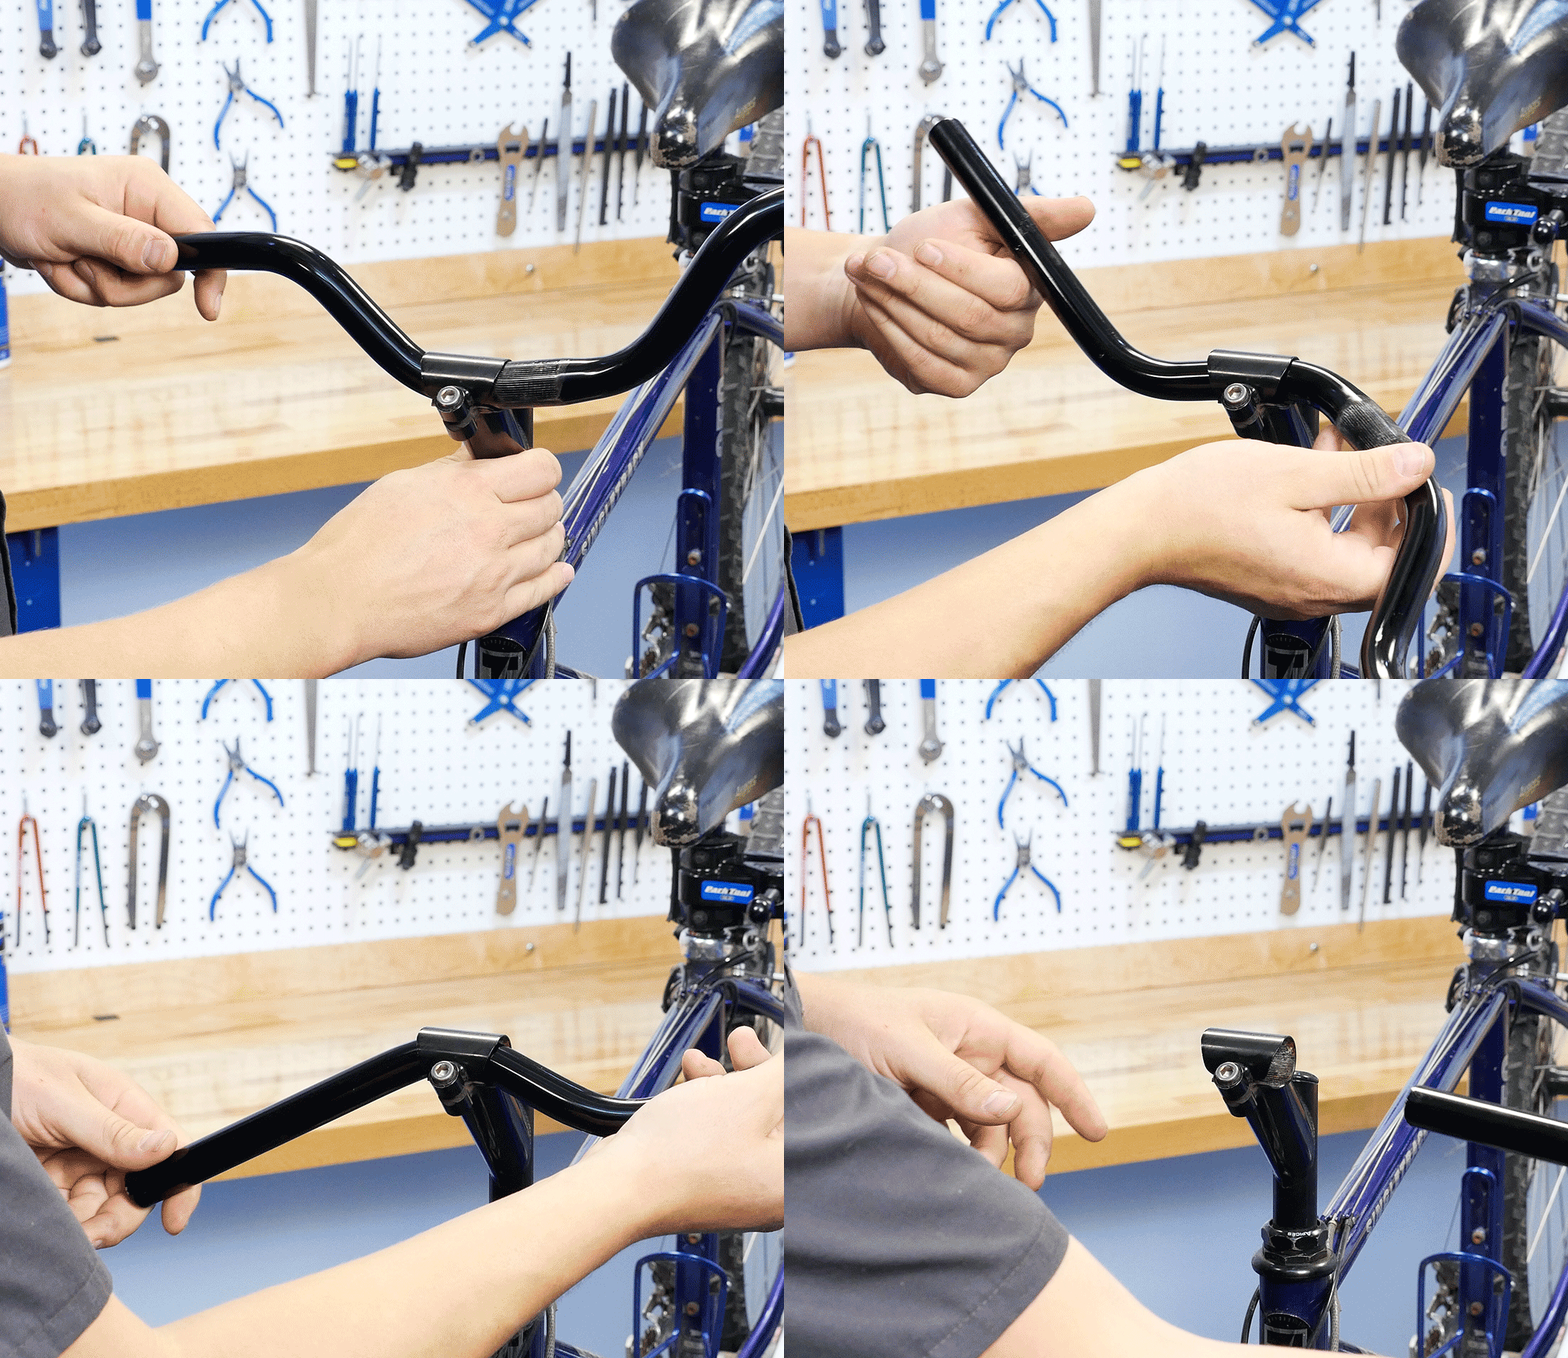
It may be necessary to roll the bar slightly to clear the stem
Handlebar Installation
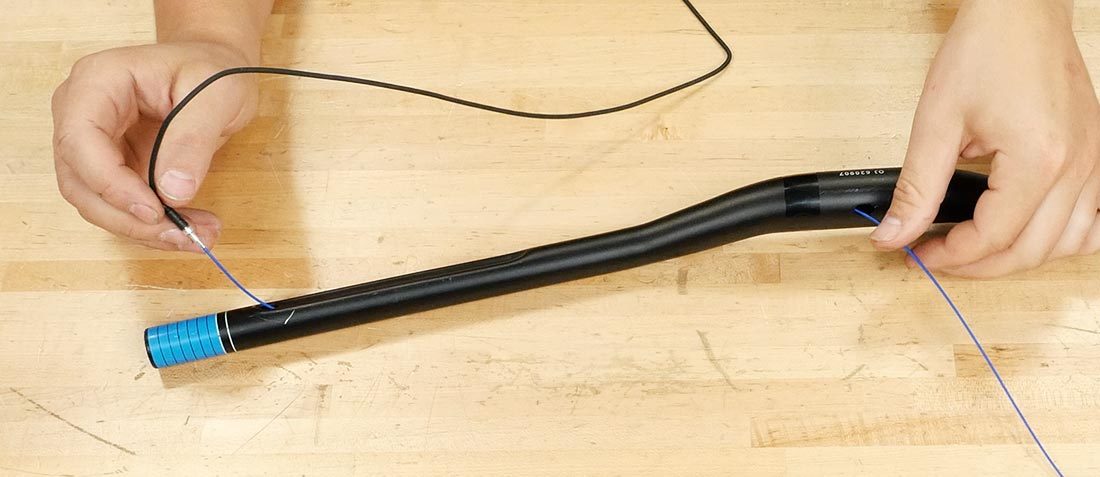
For bars with internal routing, begin by routing the cable through the new bar. The Park Tool IR-1.2 can assist with this process. Remember to thread the cable through the stem when the time comes.
Before installing the new bar, wipe the bar, stem body, and faceplate clean using a clean rag or paper towel. This is also a good time to apply grease or threadlocker to the faceplate or compression slot bolt threads. One small drop each is plenty.
If you are installing a carbon bar, it is wise to apply an assembly compound such as Park Tool SAC-2 where the bar meets the stem. This will help create the needed friction between the bar and the stem to resist rotation. It will also act as a barrier between the bar and stem materials.
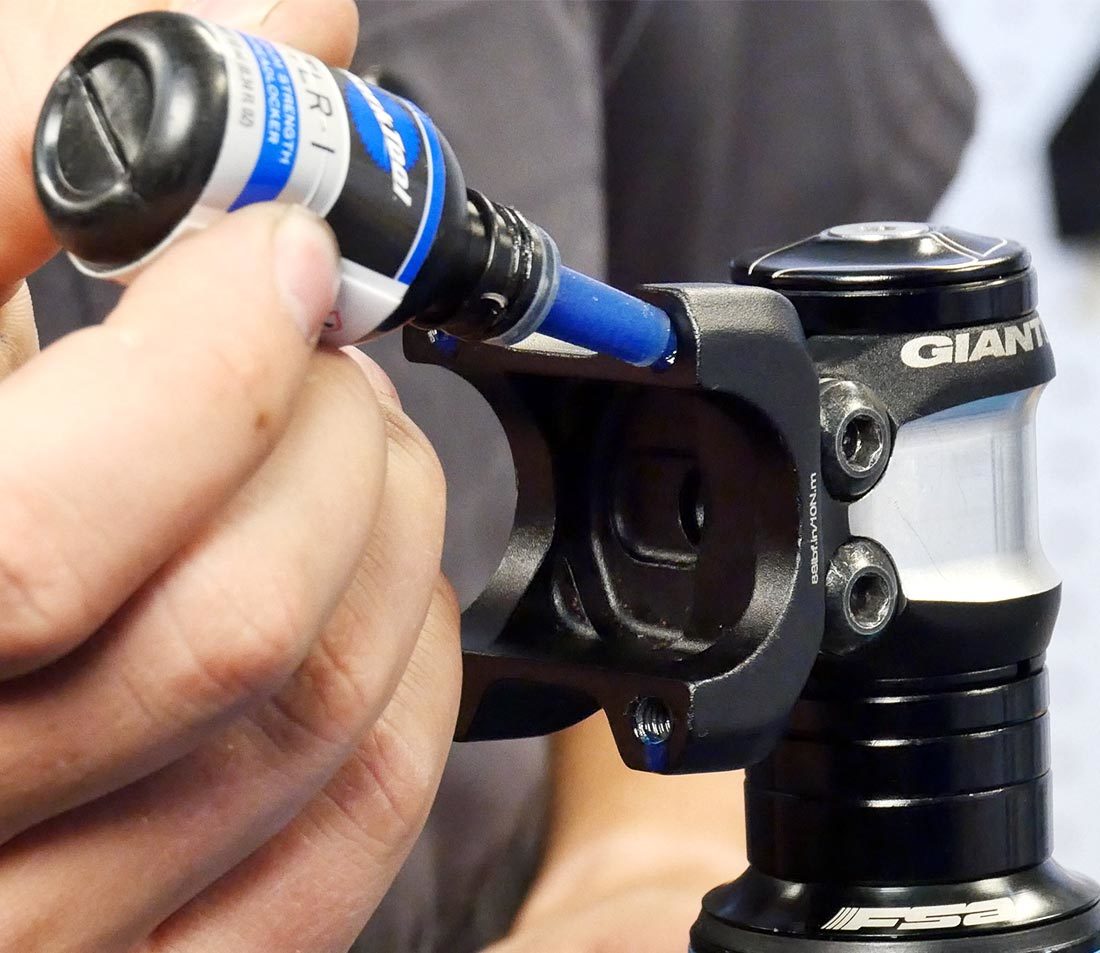
Apply grease or threadlocker to the bolts or bolt holes
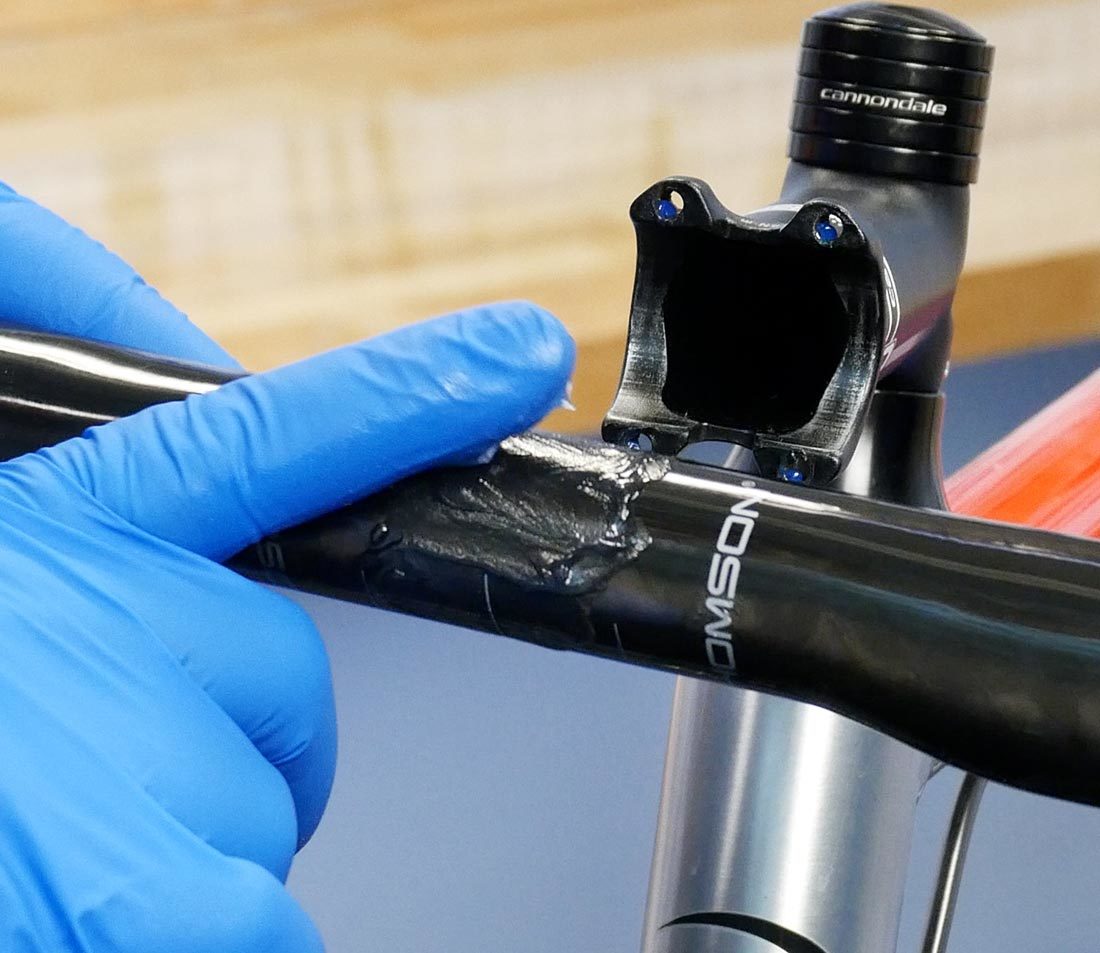
Spread the assembly compound over the area that is covered by the stem
Removable Faceplate Stems
Place the bars in the stem. Place the faceplate over the bar and thread the bolts in evenly just enough to hold the bars in the stem.
Most stems require the faceplate bolts to be threaded in even amounts on the top and bottom. Some stems are an exception, and require you to thread in the top or bottom faceplate bolts all the way before tightening down the opposite side bolts. This style of stem is often labeled accordingly. Consult the manufacturer to verify.
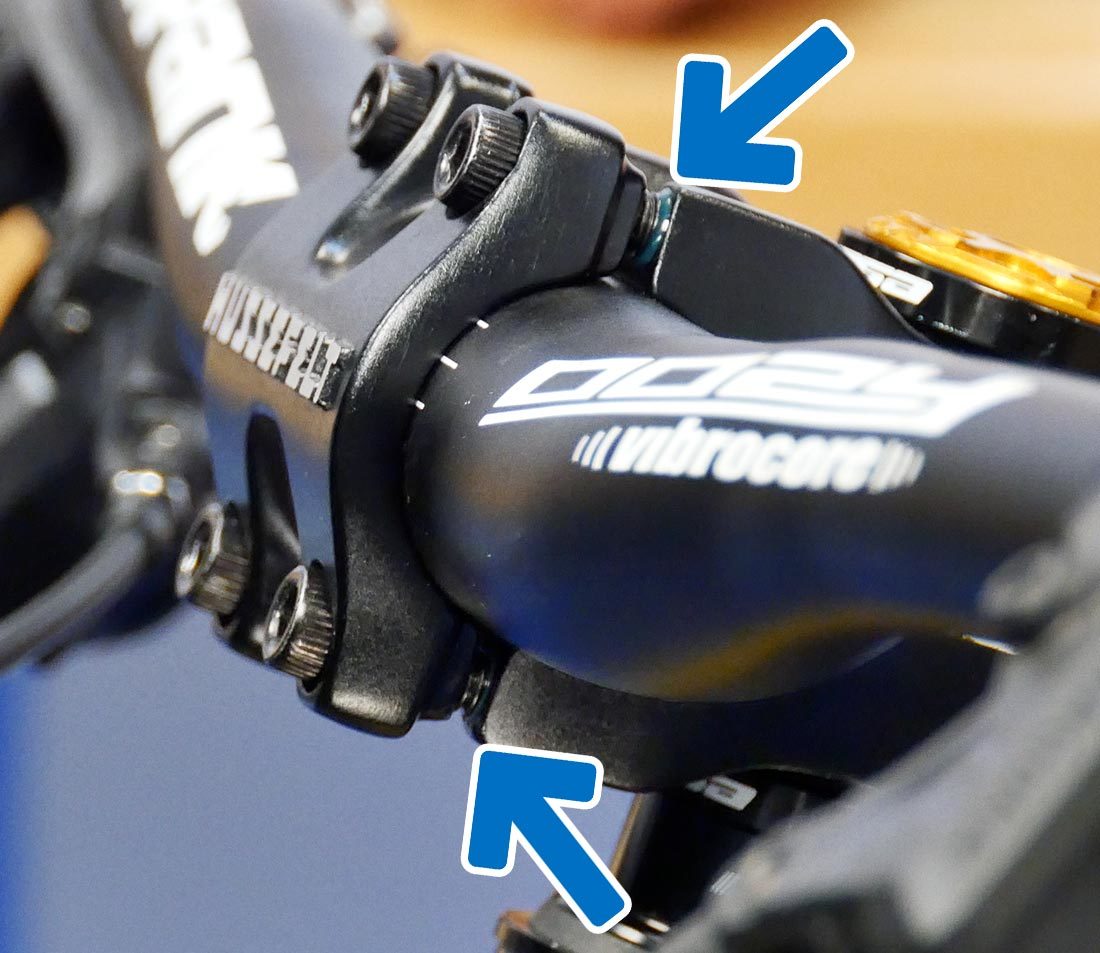
Typical stem designs require even threading of the faceplate bolts
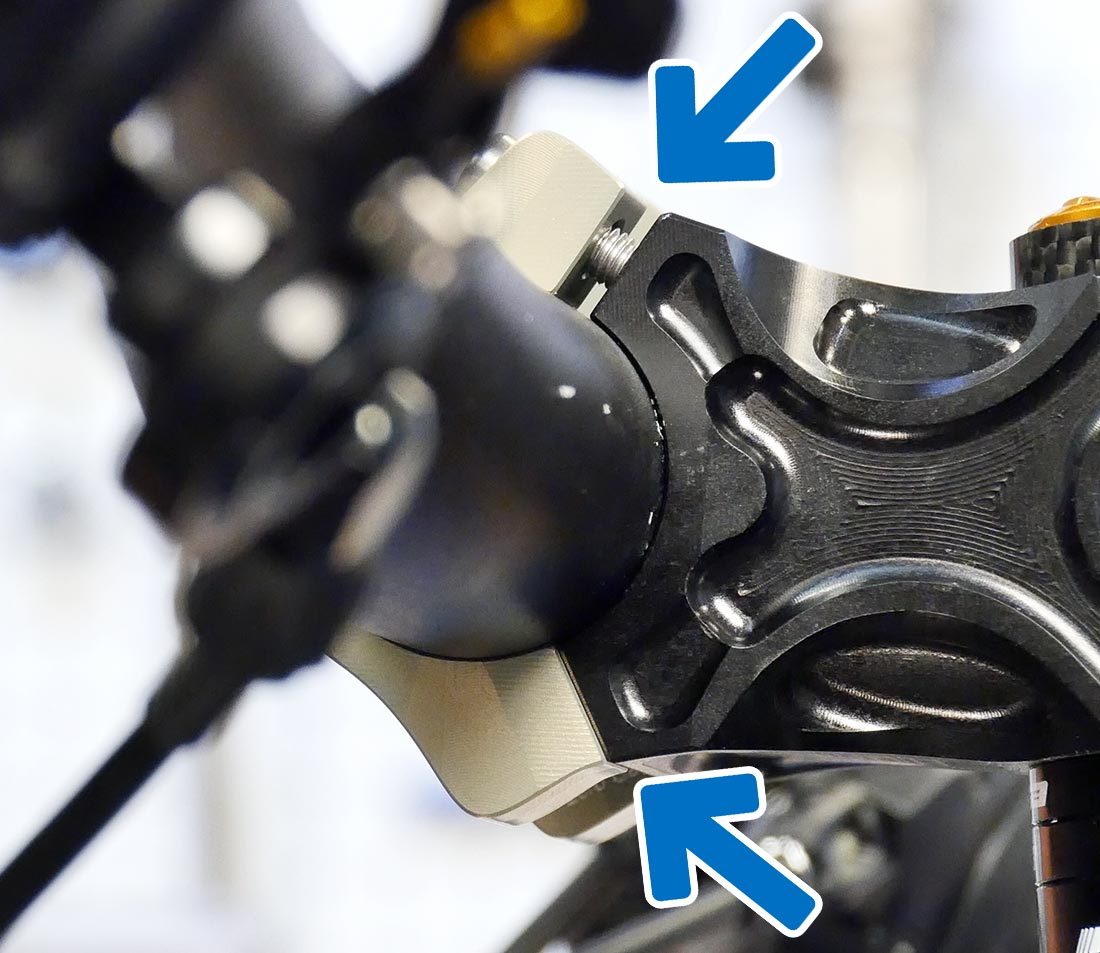
Some designs require the top or bottom to be threaded in completely
Compression Slotted Stems
Ensure the stem bolt is sufficiently loose and insert the bar. Thread in the compression slot bolt just enough to hold the bars in the stem.
All Stems
At this point, set the bike on the ground, stand over the bike and make sure the bar is centered in the stem. Then set the bars to the desired amount of roll.
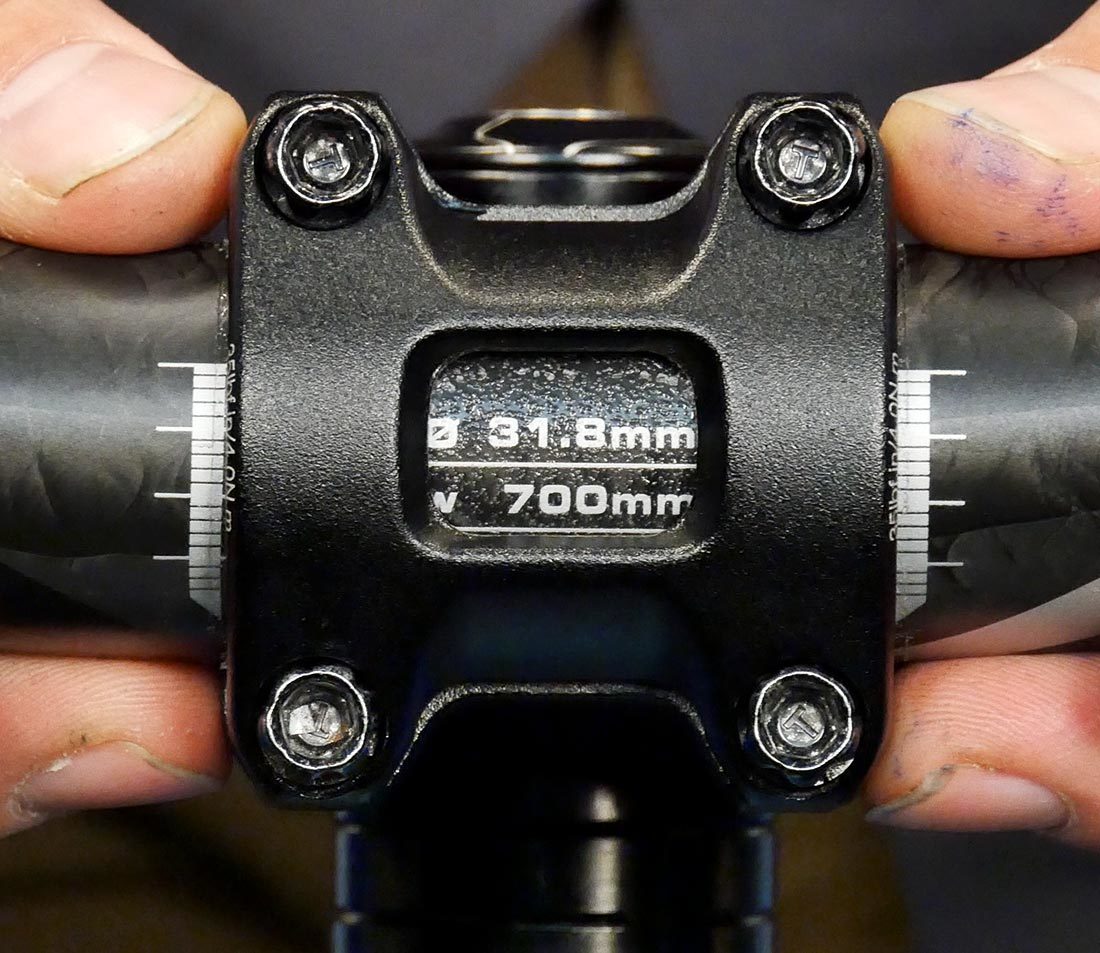
Many bars have markings to aid in centering
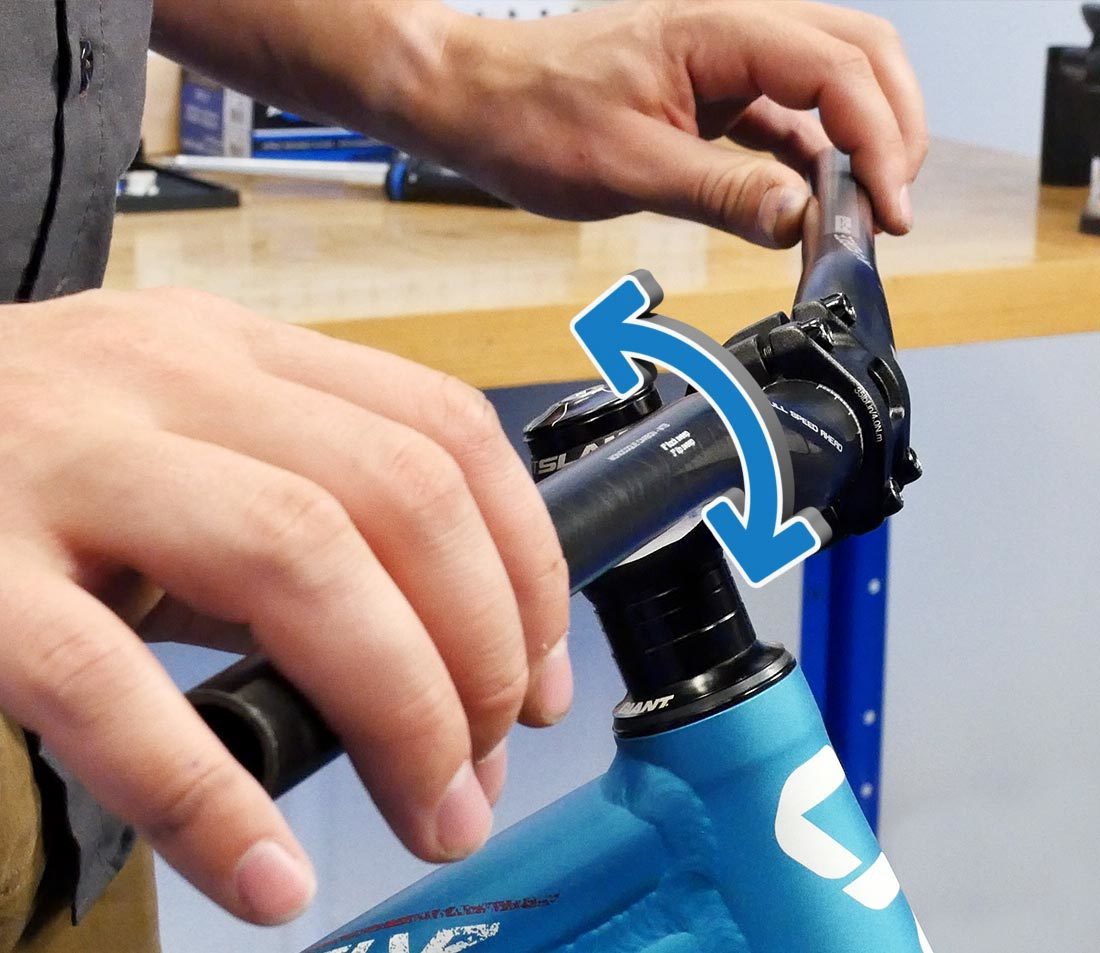
Set bars to desired amount of roll
For faceplate stems, tighten and torque the faceplate bolts to the appropriate specifications. It is advised to tighten incrementally in a cross pattern to distribute the pressure equally.
For stems with a compression slot, simply snug and torque the bolt.
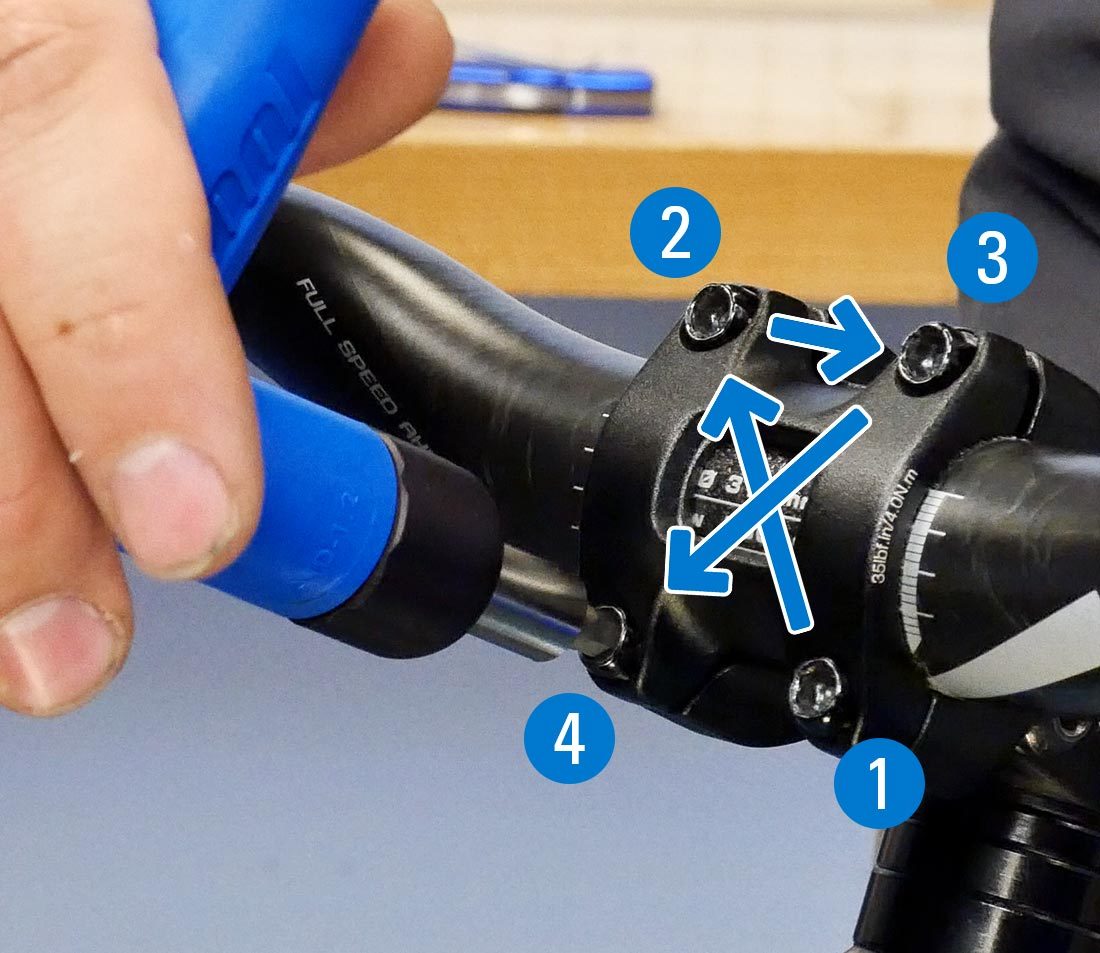
Tighten and torque in an "X" pattern
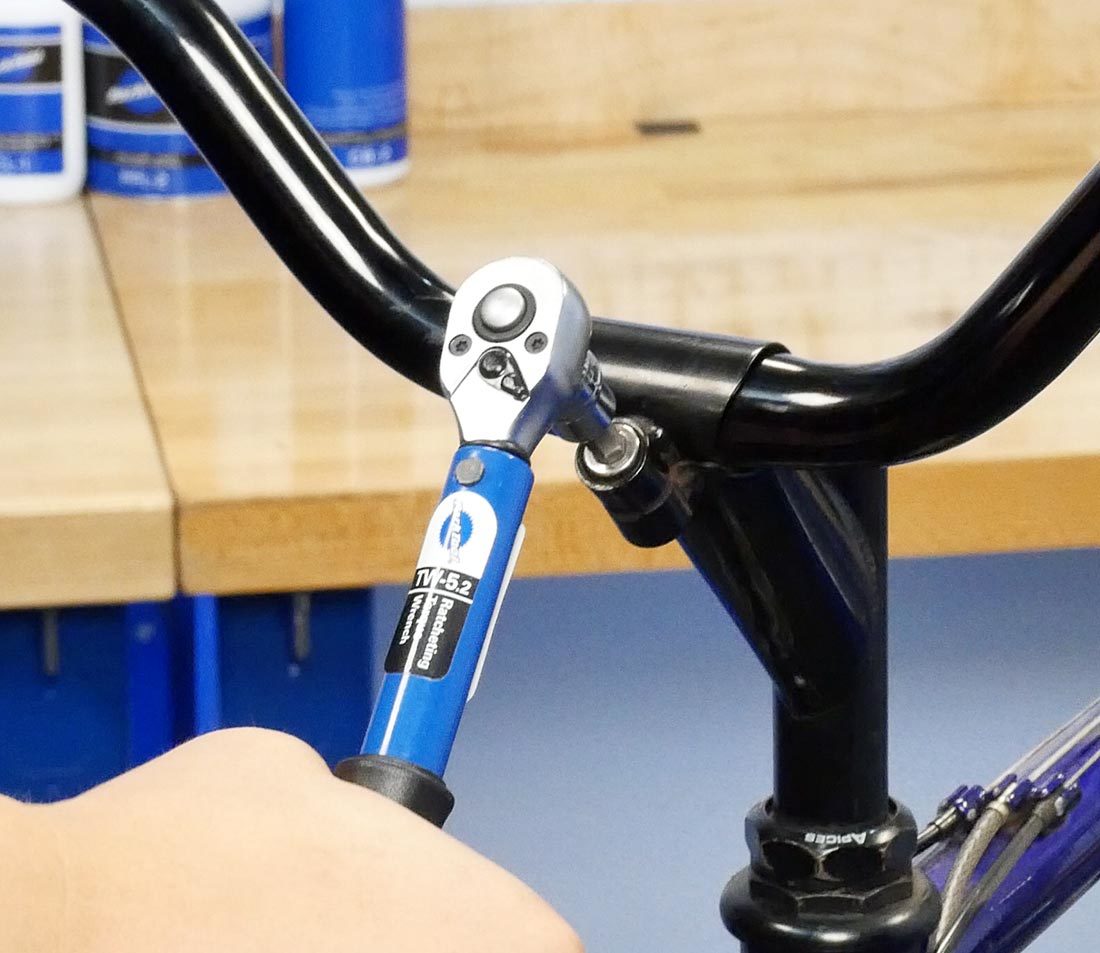
Torque to appropriate specifications
Once you have the bars installed you are ready to reinstall the controls and grips. To reinstall the controls, reverse the removal process. For assistance installing the grips, see Handlebar Grip Installation (Flat Bars). Consult the photos and measurements you took during the removal process and adjust accordingly. Torque all fasteners to the appropriate specifications — check with the manufacturer for more information.