Bottom Bracket Removal & Installation: Thread-Together
A review of how to remove and install a thread-together bottom bracket, also referred to as thread-thru bottom brackets.
Preliminary Info
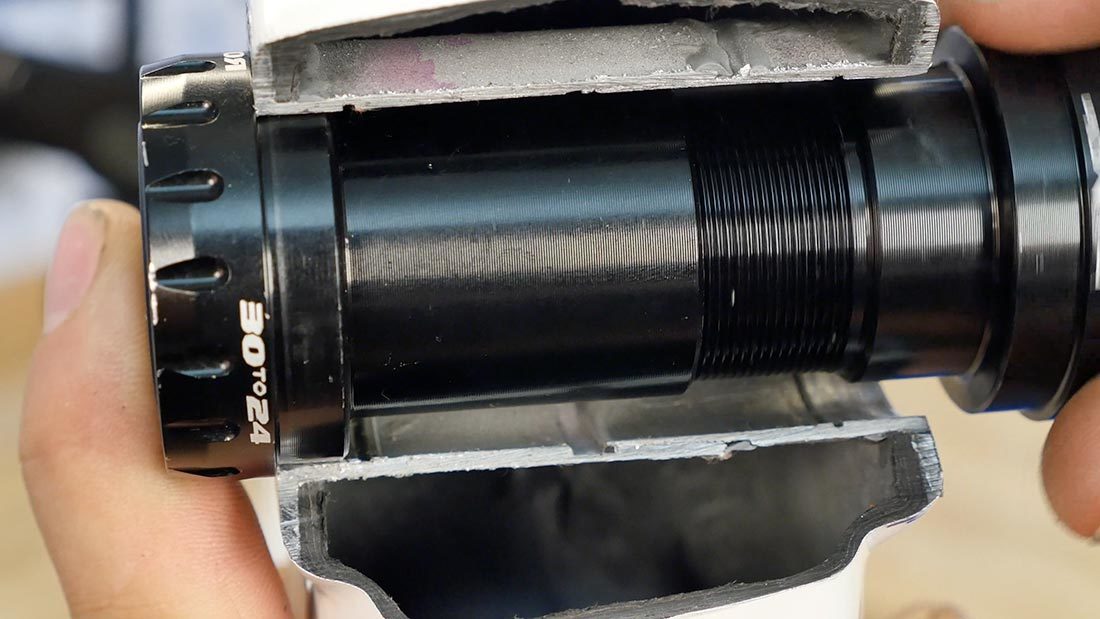
Bicycles that use a press fit bottom bracket system have no internal threading in the frame shell. These designs work by pressing in a non-threaded cup. The “thread-thru” or “thread-together” systems are an alternate system designed for the press fit frame.
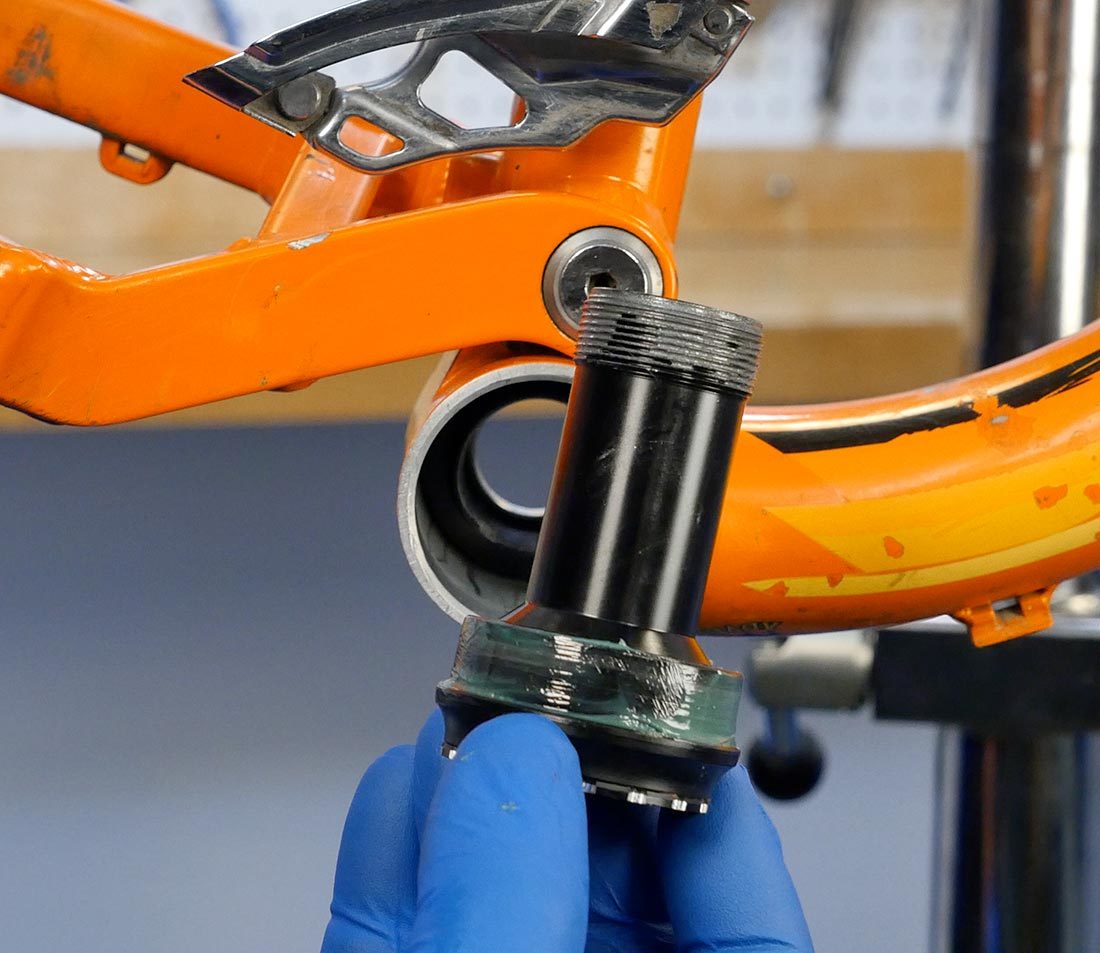
The thread-thru bottom brackets come as two pieces. Each side will have a threaded sleeve, one with external threads and one with internal threads. The two sides will engage in the middle of the shell and pull the bearing cups tight against the frame.
Removal
Begin by selecting the correct tool. It is often necessary to remove the crank to inspect the bottom bracket. Remove the cranks from the bike. See the appropriate article at Cranksets.
After the crank is removed, inspect the bottom bracket to determine the correct tool. See Bottom Bracket Tool Selection: Threaded and Thread-Together.
Engage the appropriate tool on the drive side cup and loosen counter-clockwise. If the non-drive side cup also turns, you may need to use a second tool to hold it stationary.

Engage tool, maintain pressure against cup and loosen
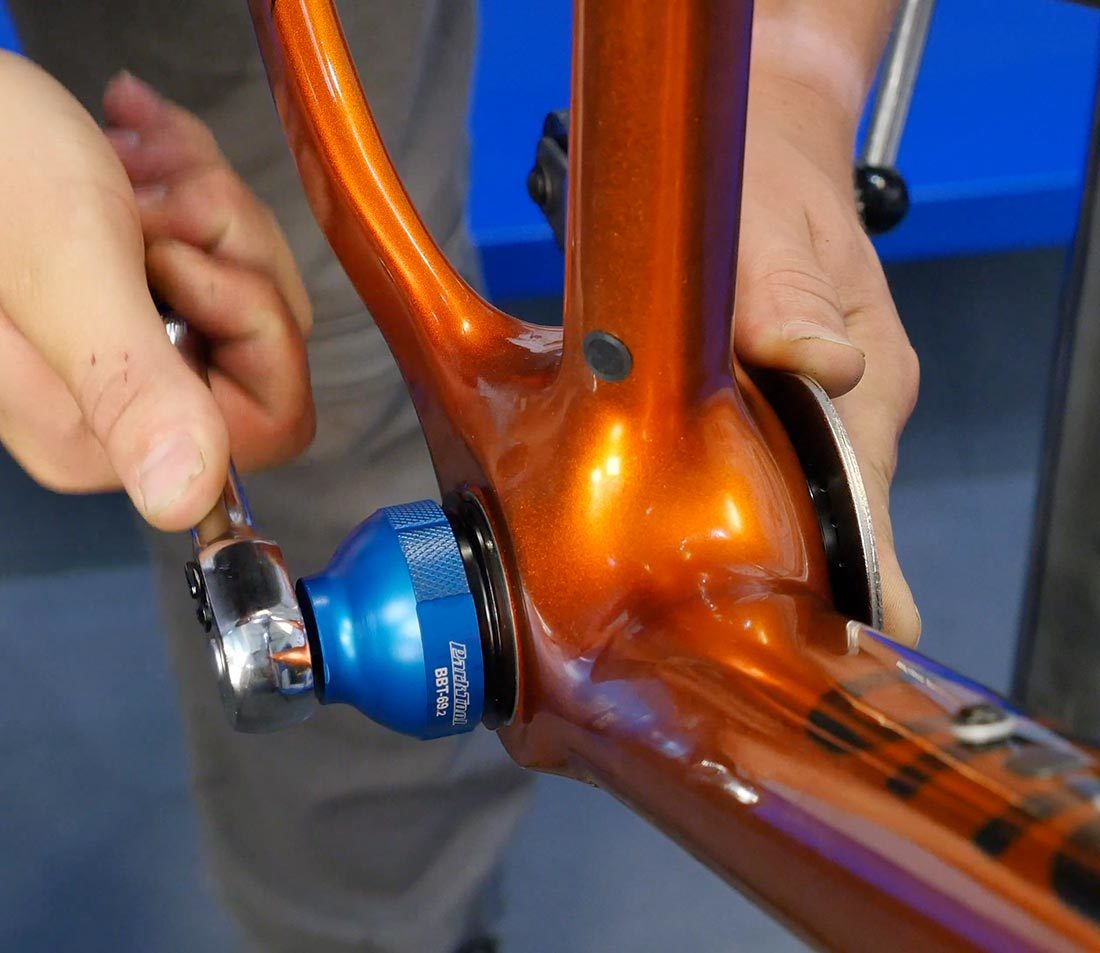
Use two tools if the opposite side also turns
The remaining cup is pressed into the non-drive side of the frame shell. It can removed similar to a press fit bottom bracket cup. See Bottom Bracket Tool Selection: Press Fit.
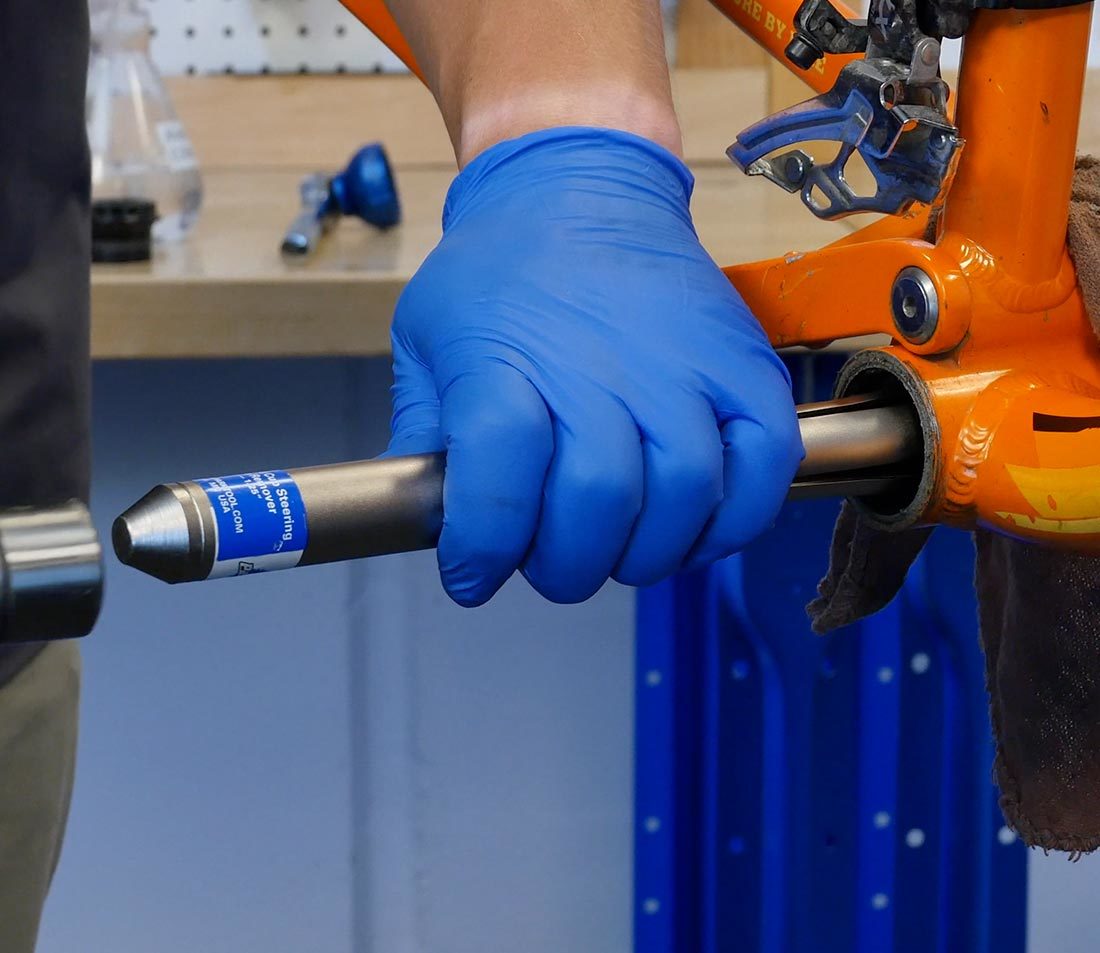
NOTE: Praxis® models may use an internal sleeve that must be removed for replacement. After removing the drive-side cup, use a remover such as the Park Tool RT-1 and drive out the left side, similar to removing a press fit bottom bracket.
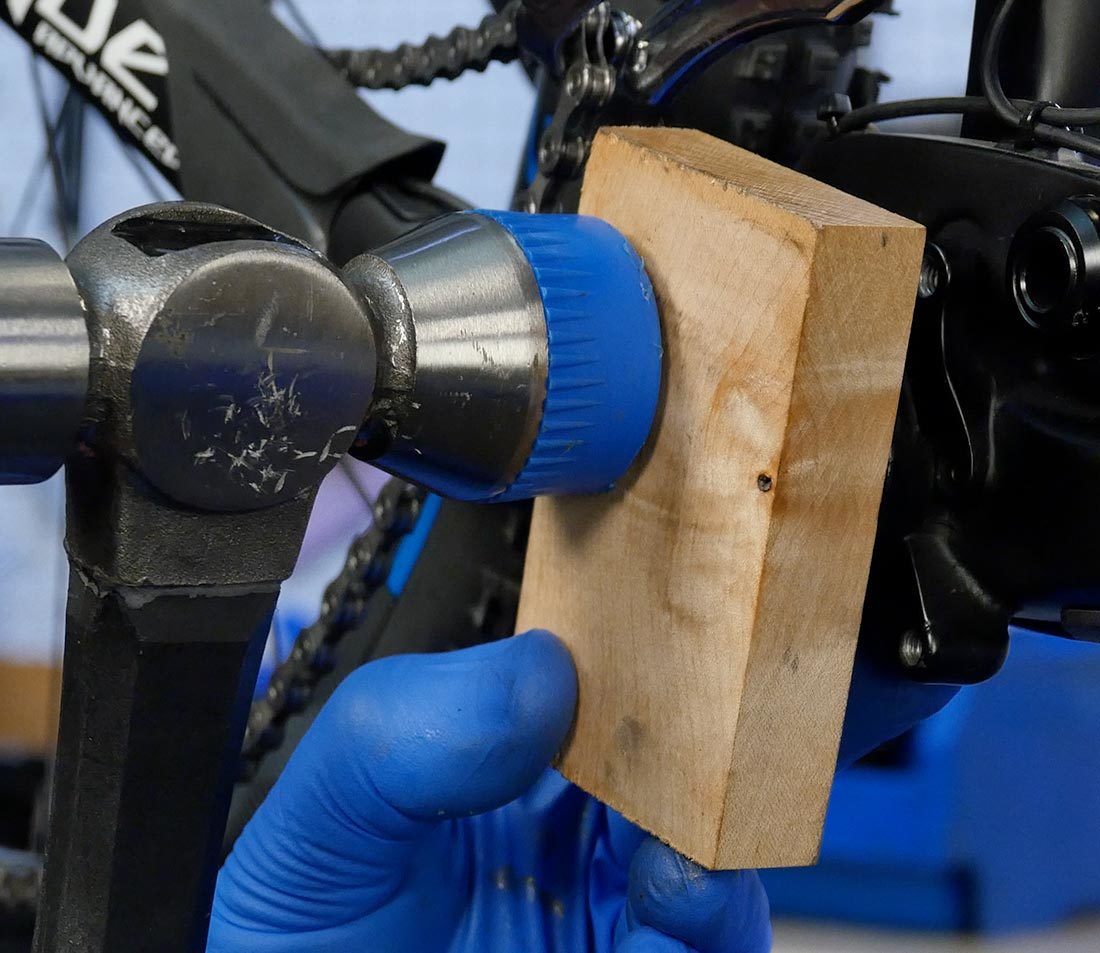
An alternative removal process is to use the drive-side cup as a remover. After removing the drive side, reinstall it engaging it by installing 3 full turns. Use a block of wood over the drive side and strike it squarely to free the non-drive side.
Installation
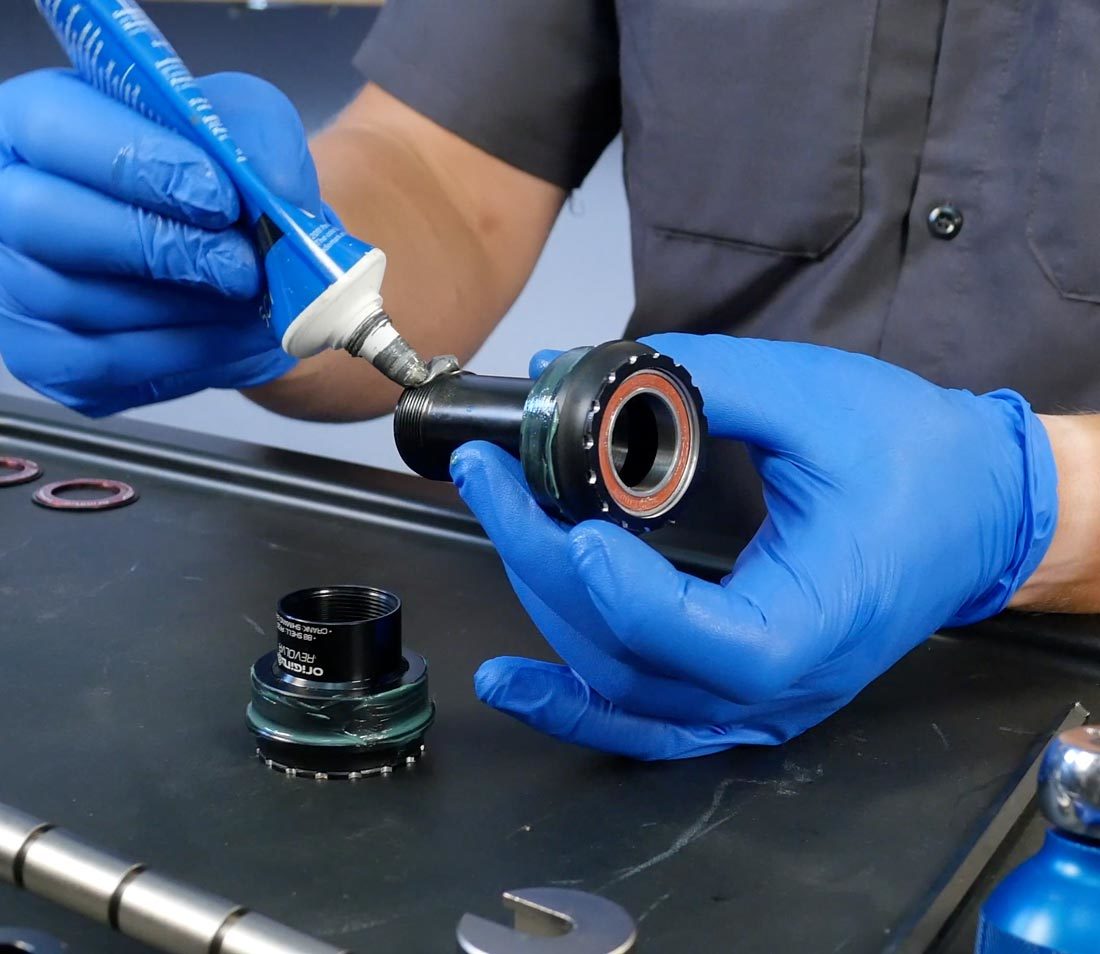
Preparation of the threads and pressed surfaces is an important part of the installation process.
A good option for threads is a mild threadlocker such as the Park Tool TLR-1. This provides lubrication for the threads as it pulls tight, then dries to harden and expand. A mild locker is “service removable” and will come apart with normal tools.
Another option for threads is an anti-seize such as Park Tool ASC-1. At a minimum use grease such as Park Tool PPL-1.
Options for the contacts surfaces inside the shell are ASC-1 or a grease.
Use a bottom bracket press such as the BBP-1.2 to press in the non-drive-side cup first. Substitute a headset press or similar tool if a bottom bracket press is not available.
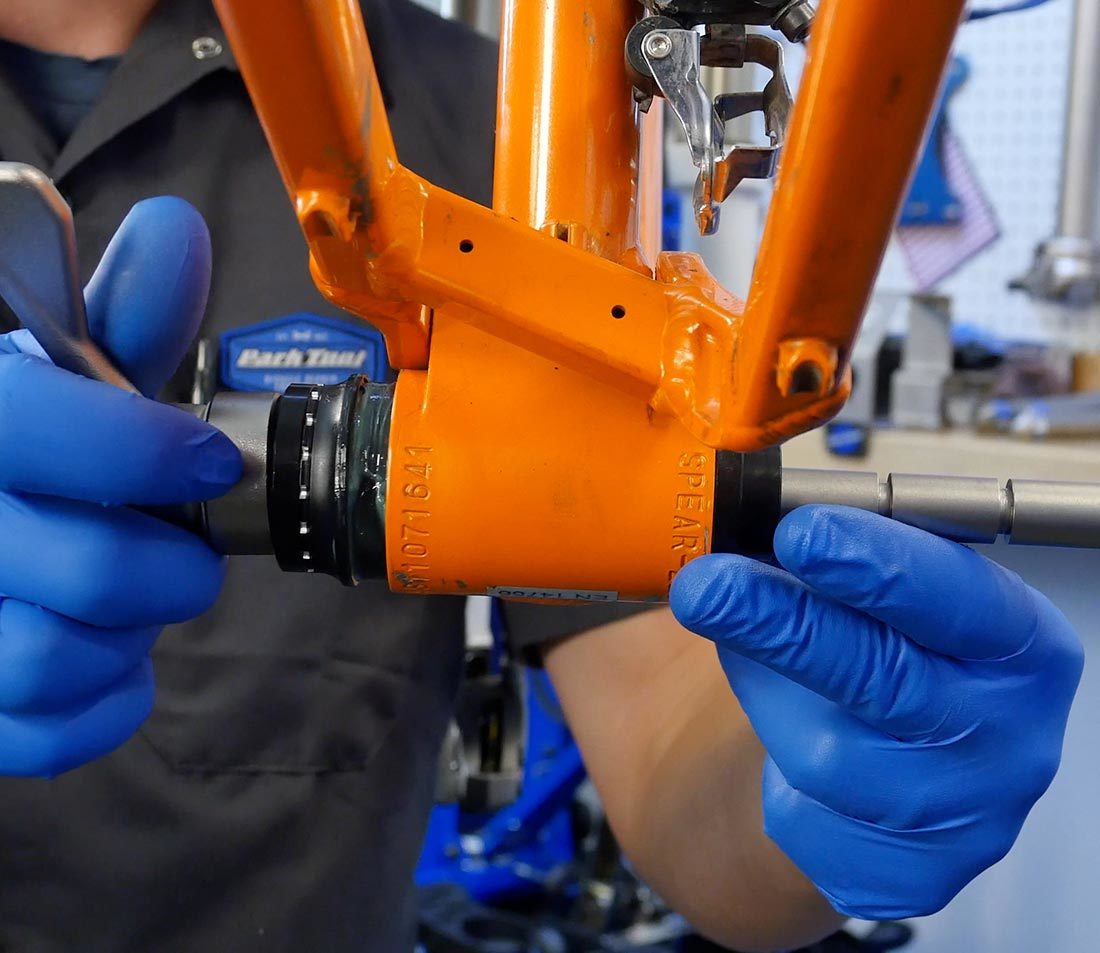
The opposite side threads into the pressed side and is driven in using the correct tool.
Fully tighten the second cup to the recommended torque, typically 30Nm. If there are narrow wrench flats on the component, use care not to let the wrench slip.
Related articles
Bottom Bracket Standards and Terminology View Article