Written by Calvin on December 23, 2006/Calvin's Corner
Calvin's Last Minute Bike Assembly Guide
Let me begin this article by saying first that if you are reading this hoping to assemble that gift bike, you are already in trouble. Bicycles, even simple “children’s” bicycles are vehicles, and are in their own way, sophisticated. You are better off purchasing a bicycle complete from your local independent bicycle retailer. That being said, some parents have purchased a bicycle in a box that needs to go together, and that will be the focus of this article.
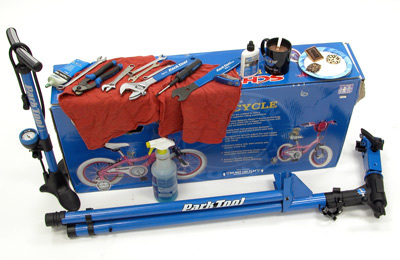
Before you even open the box, gather up some of the tools you can expect to need (assuming you have them).
BEGINNINGS
Open the box and pull out the bike and all the extra parts and accessories, arranging them in a tidy pile. Double check the inside of the box for anything you may have missed.
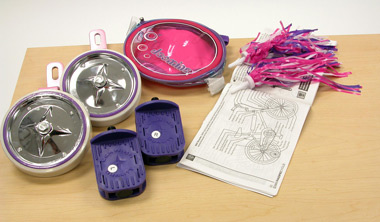
All accessories accounted for and ready to install.
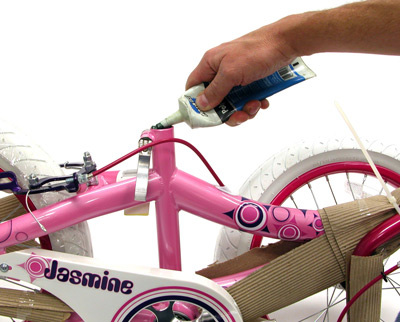
Grease inside the seat tube, install the post and secure it.
Before pulling off the packaging, install the bike in your repair stand.
Hold the bike by the post, and remove the packaging and zip ties.
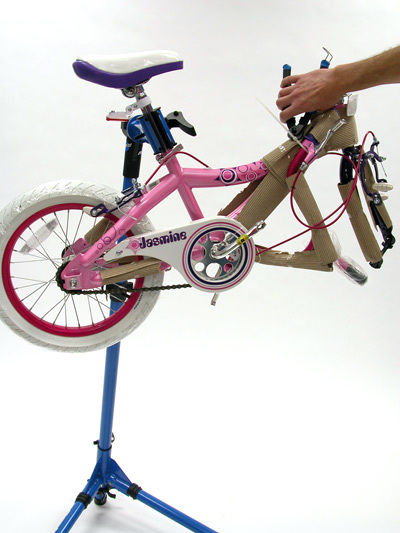
Do not let the handlebars hang down, which may kink housing and cables.
Frugal Mechanic Tip: cut the zip tie next to the head. This leaves you a useable length of tie that can be reused.
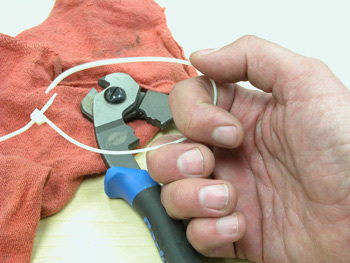 Longer zip ties can get a second use.
 Do not spare the grease on fittings such as stems.
BARS & STEMS
Install the handlebars. Heavily grease the stem and binder bolt before installing into the steering column.
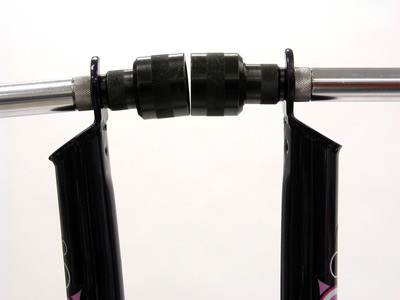
Align and secure the handlebars. It can help to use a straight edge held to the fork blades to create a straight line. Rotate the stem so the handlebars align with the edge, then secure the bolt. This is faster and easier then aligning the stem to a wheel. After getting the stem secure, check the handlebar binder bolt, if any.
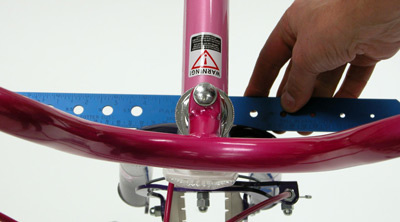
Bars misaligned
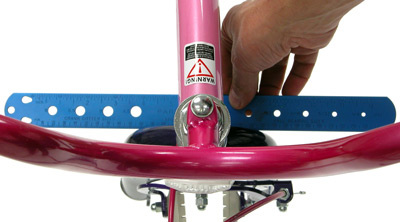
Bars aligned
BEARINGS
It is best to put a wrench to every nut, bolt and screw you can. Assume that nothing is tight. This does not mean you rotate each fastener an additional 1/2 turn, but check the security by applying the appropriate load or torque.
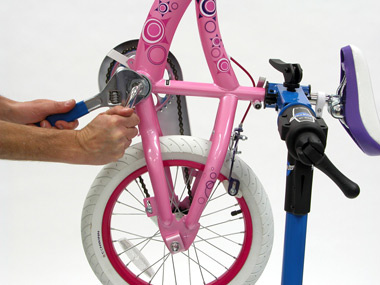
Rotate the bike in the stand to make components easier to reach. This nut tightens counter-clockwise.
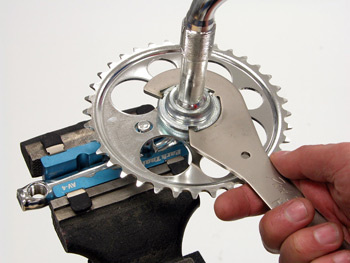
The HCW-5 was used to secure the right side cone, which tightens clockwise.
This bottom bracket seemed very tight when rotated, yet it also had play when the arms were moved side to side. Something weird was going on, so it was necessary to take it apart. The right side cone was loose, which did not allow a proper bearing adjustment. This is yet another example of the benefits of a professional assembly.
Old Assembler Tip: Lower the work stand and turn the bike upside down. This allows gravity to work in your favor.
REAR WHEEL
Bearings on new bikes may or may not be properly adjusted. Do not expect “silky smooth” rotation, but there should be no rocking or play in the bearings.
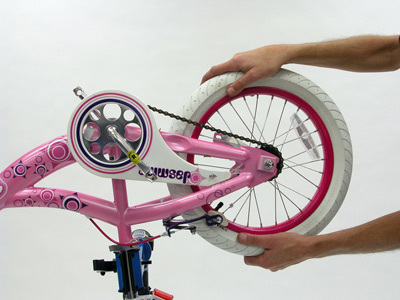
Rock the rear wheel side to side to check for play.
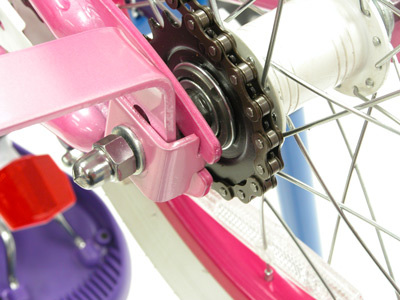
Spin the rear coaster hub, and adjust bearings only as necessary.
It is best to actually remove the wheel to check bearing tightness, but at least give the wheel a spin by hand. It should rotate several times and not come to a screeching stop.
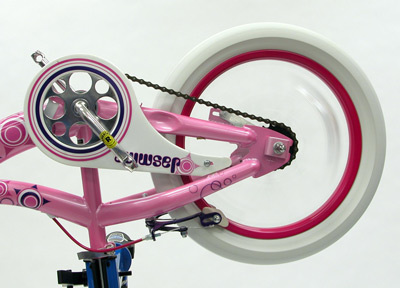
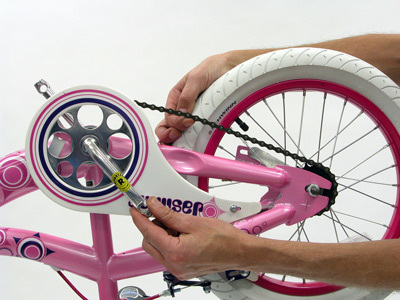
Check chain tension. A new box out of the bike may have the chain set too tight. Turn the cranks and find the tightest part of the crank rotation. There should be about 1/2-inch (12mm) movement up and down at this point.
Grease threads and install training wheel parts.
Install the rear training wheel parts but do not worry about adjustment. This will be done when the bike is on the ground.
PEDALS
IMPORTANT NOTE TO ALL PARENT-MECHANICS:
There are left and right hand pedal threads. Fortunately for this model, the manufacturer has tried to label things to make it easier for us. The right side pedal secures clockwise. The left pedal secures counter-clockwise, proving that “righty-tighty” is not always right, I mean correct.
This is where a specialty wrench such as the PW-5 can be handy. They give you plenty of leverage to keep the pedals tight to the cranks.
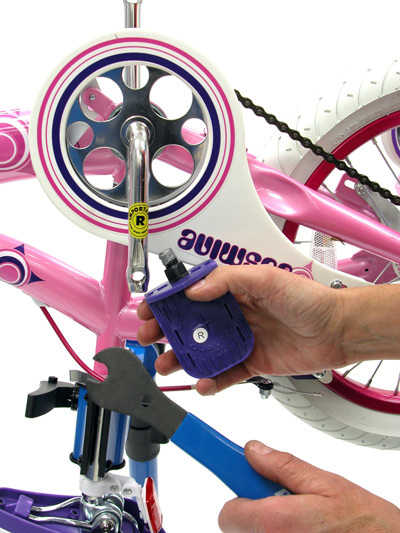
Double check pedal marking so they get on the correct side. Lubricate threads heavily.

Hold the rear wheel to help give leverage to the wrench.
FRONT WHEEL
Install the front wheel. There are typically special washers that act as a redundancy to the axle nut.
This special washers fits in a hole in the dropout.
 Use longer wrenches when possible, not a short adjustable such as this one.
Again, professional assembly is the way to go, even on a child’s bicycle. The front wheel was awkward to install, and using the FFG-2 alignment tools, we see the dropouts are misaligned.
Wheel axle nuts typically require at least 250 inch pounds torque. If you are using a short adjustable wrench, give it a hard pull.
BRAKES
Time to worry about the brake system. This bike, like many children’s bikes now days, has two systems. There is a coaster brake, and a pair of caliper rim brakes.
Cable housing length is often too long on new bikes out of the box. It is best to shorten housing, but at least try to dribble in some light lubricant.
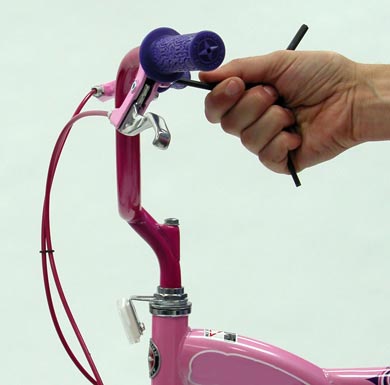
The brake levers are often aligned too far upward. Use a hex wrench and lower them slightly. The lever should follow the line of the arm of the young rider.
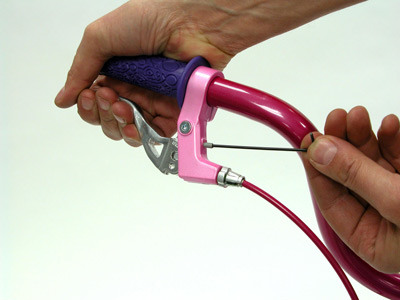
Disconnect the cable end from the lever and run lube down the cable.
The lever reach, or the distance from the lever to the bar, is often set for large adult hands. Look for a reach adjustment screw and run this in.
Pull lever back before running screw inward.
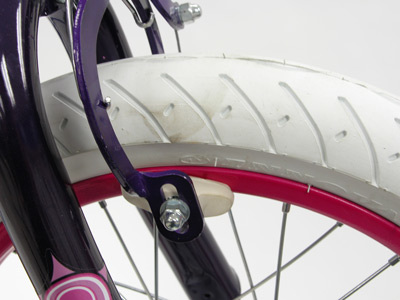
This pad is crooked. Loosen pad holding nut and rotate this pad slightly counter-clockwise.
Check brake pad placement. Pads should strike only the rim, not above or below the rim surface.
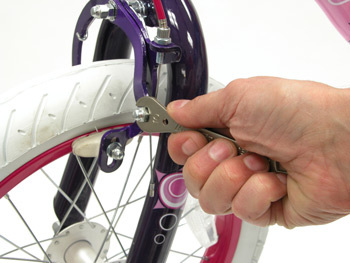 Check cable fixing nut tightness.
HEADSET
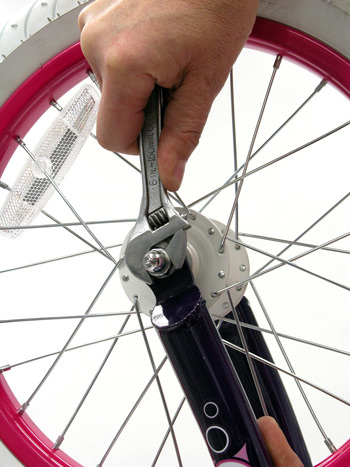
Check the headset locknut for security. Make sure you end with the reflector bracket pointing straight. The bracket acts as a washer for the headset as well.
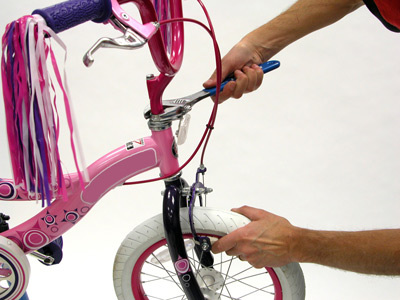 Use front wheel to help leverage the wrench.
TIRES
Inflate tires fully. Go to the the maximum recommended pressure. The bike may be sitting till spring time, and the tires will bleed down by then.
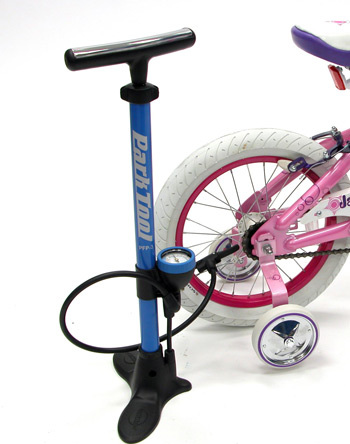 Max out tire pressure.
TRAINING WHEELS
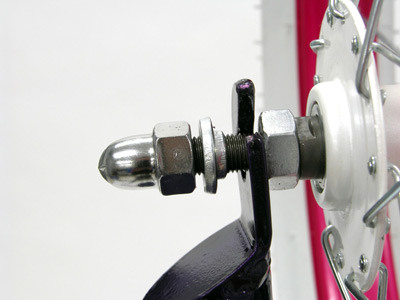
After the tires are fully pumped, set the adjustment for the training wheels. The training wheels need to be set slightly above ground level. The axle nut typically locks the height of the training wheel bracket.
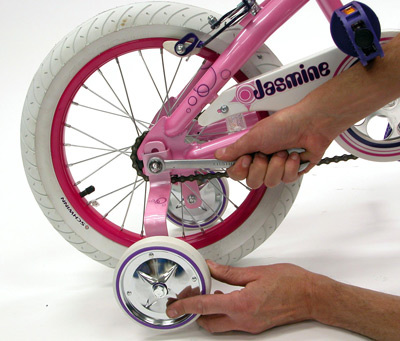
Training wheel height is adjusted at the axle nut.
Shim each side to speed adjustment.
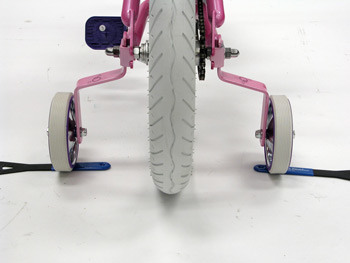
The bike should be normal or perpendicular to the ground when adjusting the training wheels. Use a tile or wood floor if possible. The bike will tip slightly to each side.
One simple method is to use a shim under each wheel while the primary tire is pressed down to the ground. Shim the wheels up about 1/8 to 1/4 inch (3–6mm).
FINISHING TOUCHES
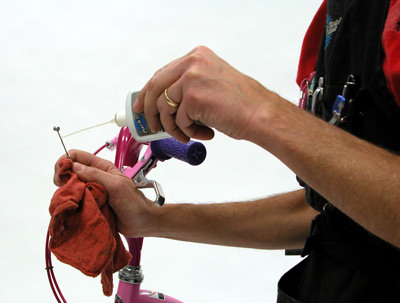
Do not forget the important details when you near assembly completion. Install the steamers into the bar grips.
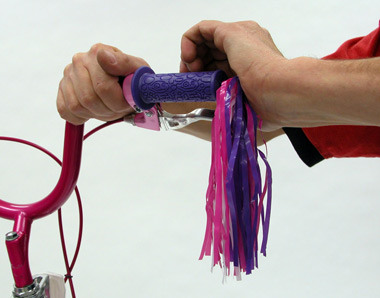
Use a rag on your palm if there is excessive force required.
The bike is ready to go.
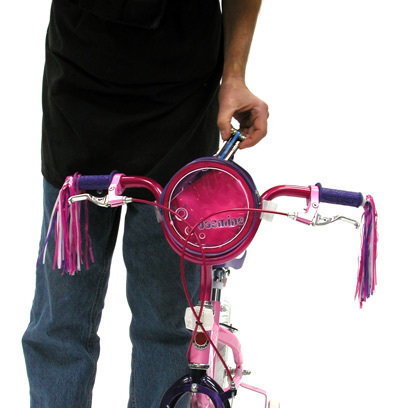
Give the bike a good cleaning, as this is the last time the child will see those white tires. Attach any other accessories, such as this front bag/purse. Make sure these types of add-ons are secure to the bike, because if they fall of during a ride it may prove a danger to the child.
Everyone knows it is bad luck to give an empty purse, so we will drop in the IB-2 to encourage this young lady toward a career in engineering, or, better yet, as a bicycle mechanic.