How to Center Park Tool Truing Stands
This article will discuss the calibration procedures for the TS-2, TS-2.2, TS-2.2P, TS-2.3, and TS-4.2 Professional Wheel Truing Stands. The same procedures and concepts apply to all stands. For the TS-4, see our How To Use & Center the TS-4 Professional Wheel Truing Stand video.
Preliminary Info
- Perfectly dished and true wheel or 1554-1 Centering Gauge
- Hex wrench for collars — 4 mm on newer stands & ⅛" on older stands
- Measuring caliper such as the DC-2
- Wrench for caliper arm nut such as a 19 mm cone wrench
Park Tool Professional Wheel Truing Stands are adjusted at the factory to center the rim between the calipers. With repetitive use or rough handling during shipping, the stands can come out of center. However it’s important to understand that wheels can have issues that impact whether the rim appears centered between the caliper fingers. For precision dishing work, the TS-2, TS-2.2, TS-2.3 and TS-4.2 are intended to be used with a dishing tool, such as the Park Tool WAG-4 or WAG-5. See these tools discussed in the article: Wheel Dishing (Centering).
NOTE: Older TS-2 stands can benefit from the TS-RK rebuild kit. Inspect the shaft collars. Older stands will use zinc colored collars with a set screw.
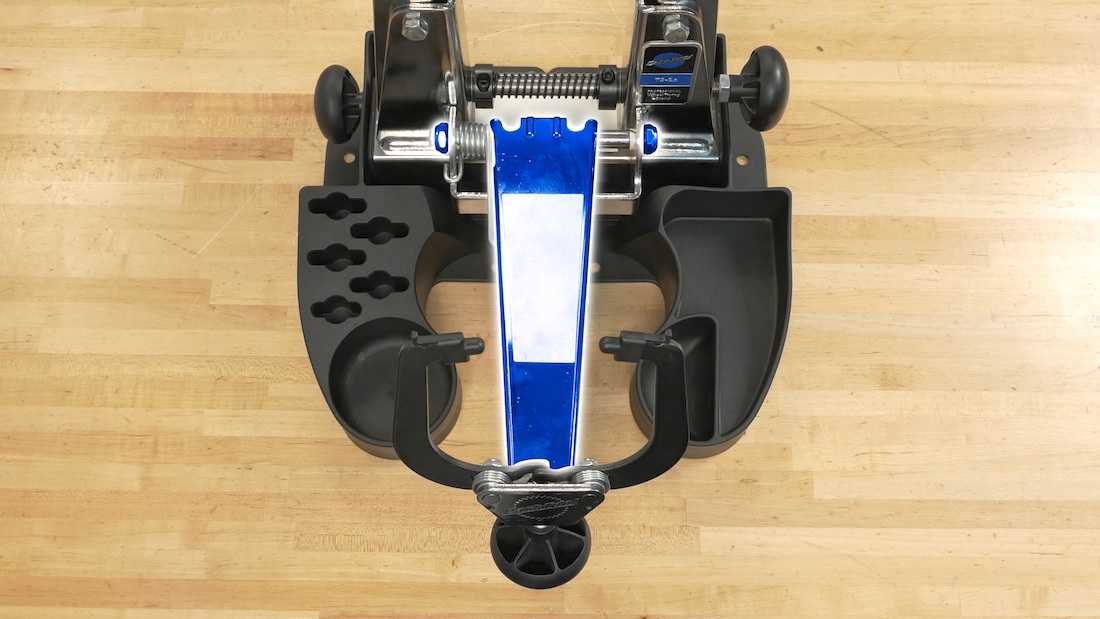
Centering Uprights
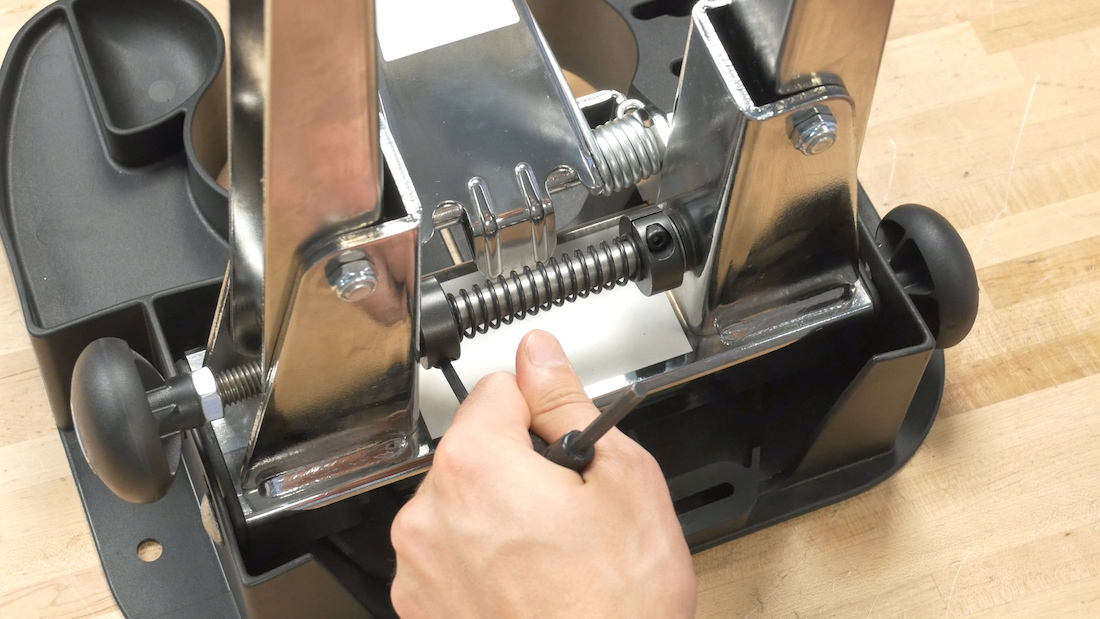
- Loosen the bolt or set screw on both collars located on the shaft between the base uprights. Push the arms side to side to double check shaft movement in the collars. Some older TS-2 stands have collars with set screws that drive directly into the main shaft. Upon loosening the set screw it may be necessary to use pliers to free the collar from any burr created by the set screw on the main shaft.
- Install a dished and true wheel into the uprights and tighten the upright adjusting knob until the arms are gently snug on the axle locknuts. Do not assume a “factory fresh wheel” has been properly dished — double check it.
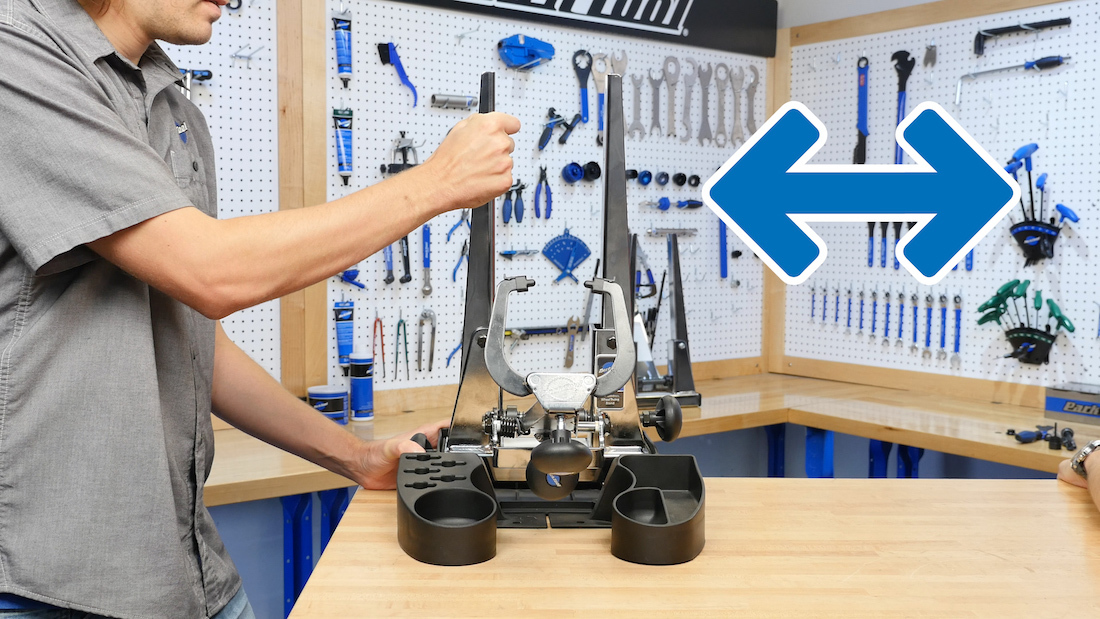
- Tap the upright arms left or right until the rim appears centered between the base uprights
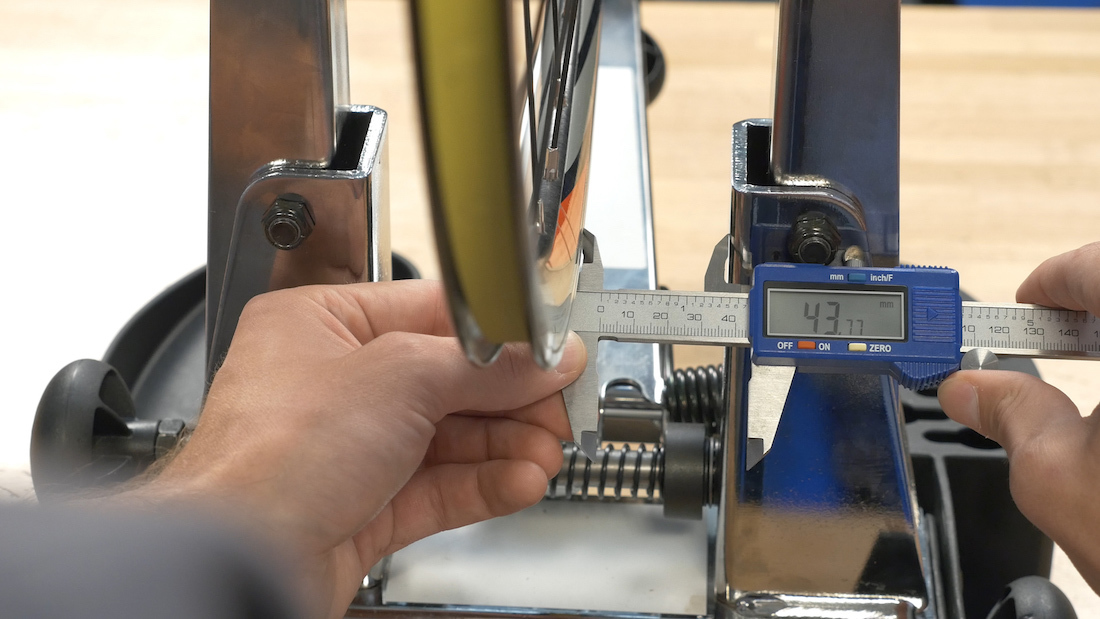
- Using a caliper, measure the distance from the right side base upright to the right side of the rim. Repeat the measuring process on the left side. Adjust the uprights left or right until both sides are equal to within 1 mm.
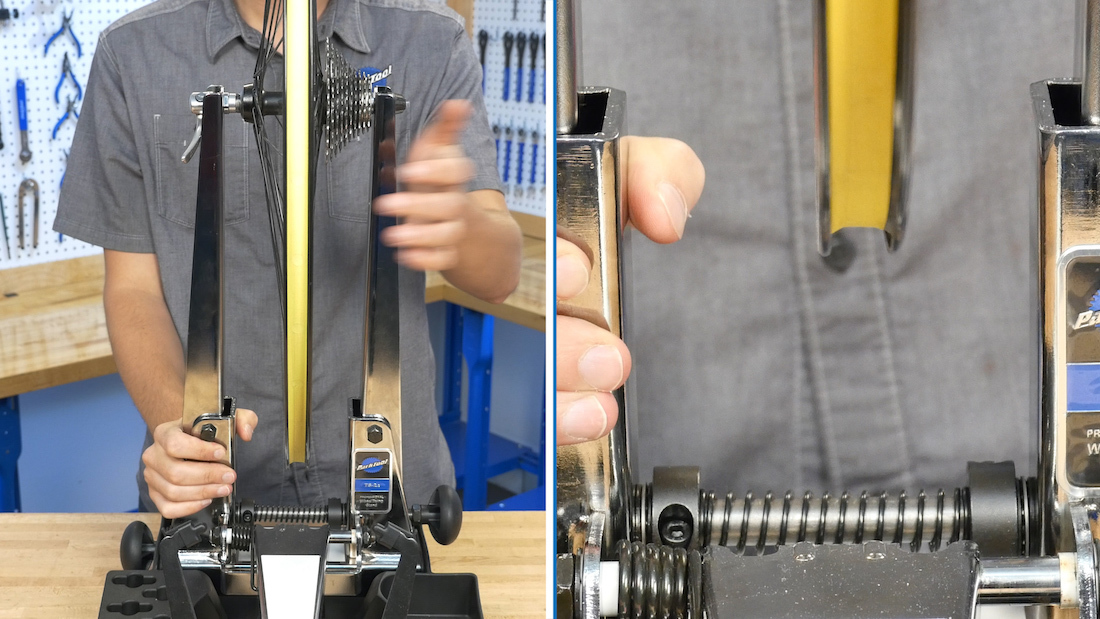
- After the rim is centered between the base uprights, tighten the collars. Newer stands will have cap screws that pinch the main shaft. Torque these to 8-9 Nm. If you are working with an older TS-2 stand, there will be set screws on the collars. Secure these to 4 Nm.
The uprights are now centered, and the next process is to center the caliper arm.
Centering Caliper Arm
Before starting this next procedure, check the calipers for free movement. Pull outward and then release. Use the nut to make adjustments if they do not move freely.
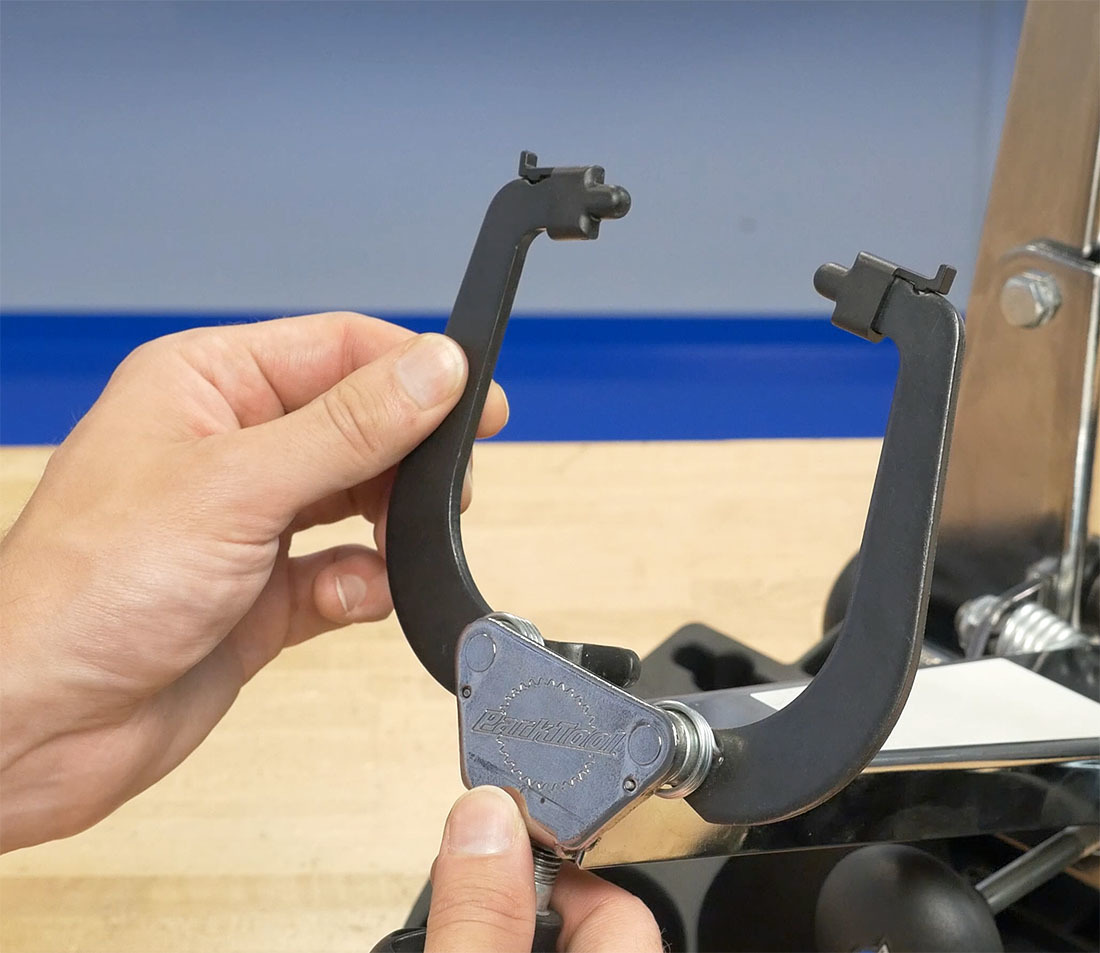
Check each caliper for free movement
Loosen nut slightly if caliper does not move freely
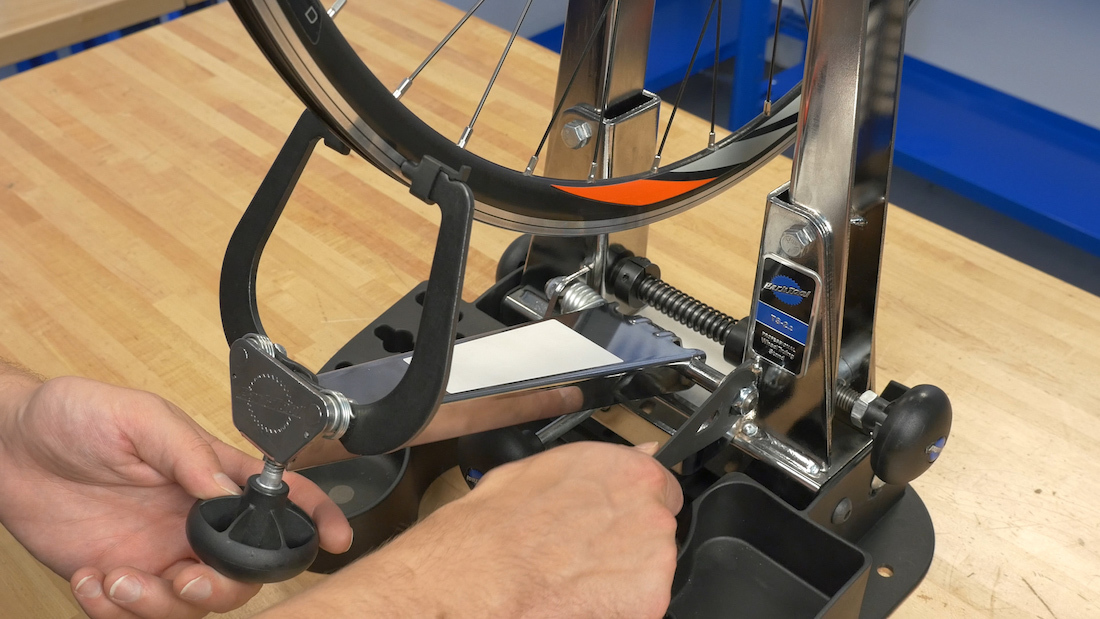
- Install a perfectly dished and true wheel into the uprights, remembering not to over-tighten.
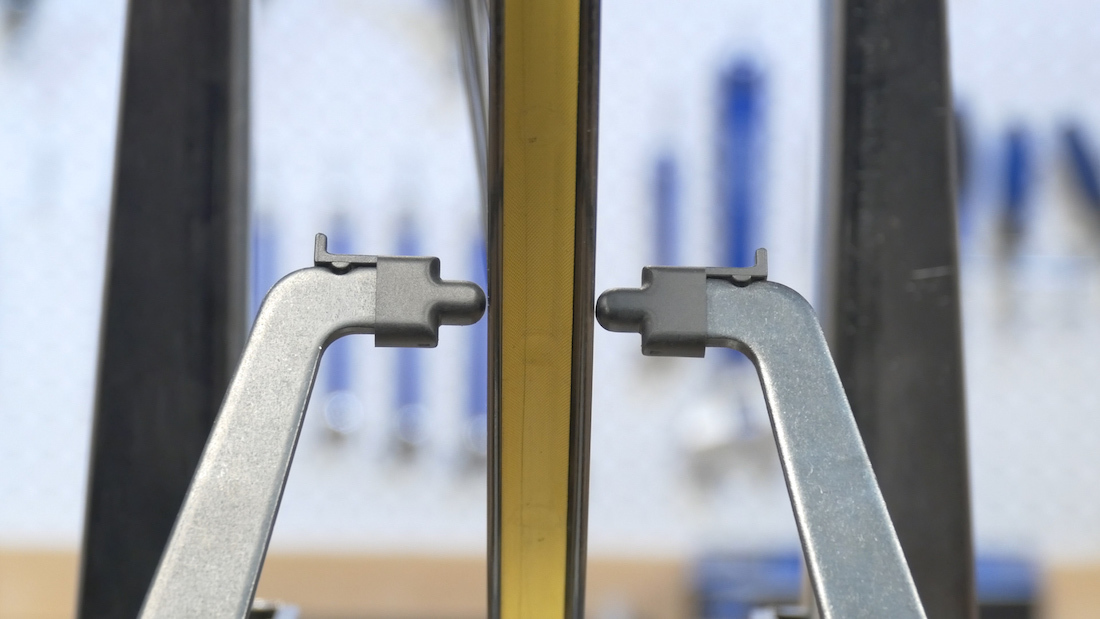
- Adjust the caliper fingers to the rim. If there is a gap between one of the caliper fingers and the rim (shown below), the caliper arm needs centering.

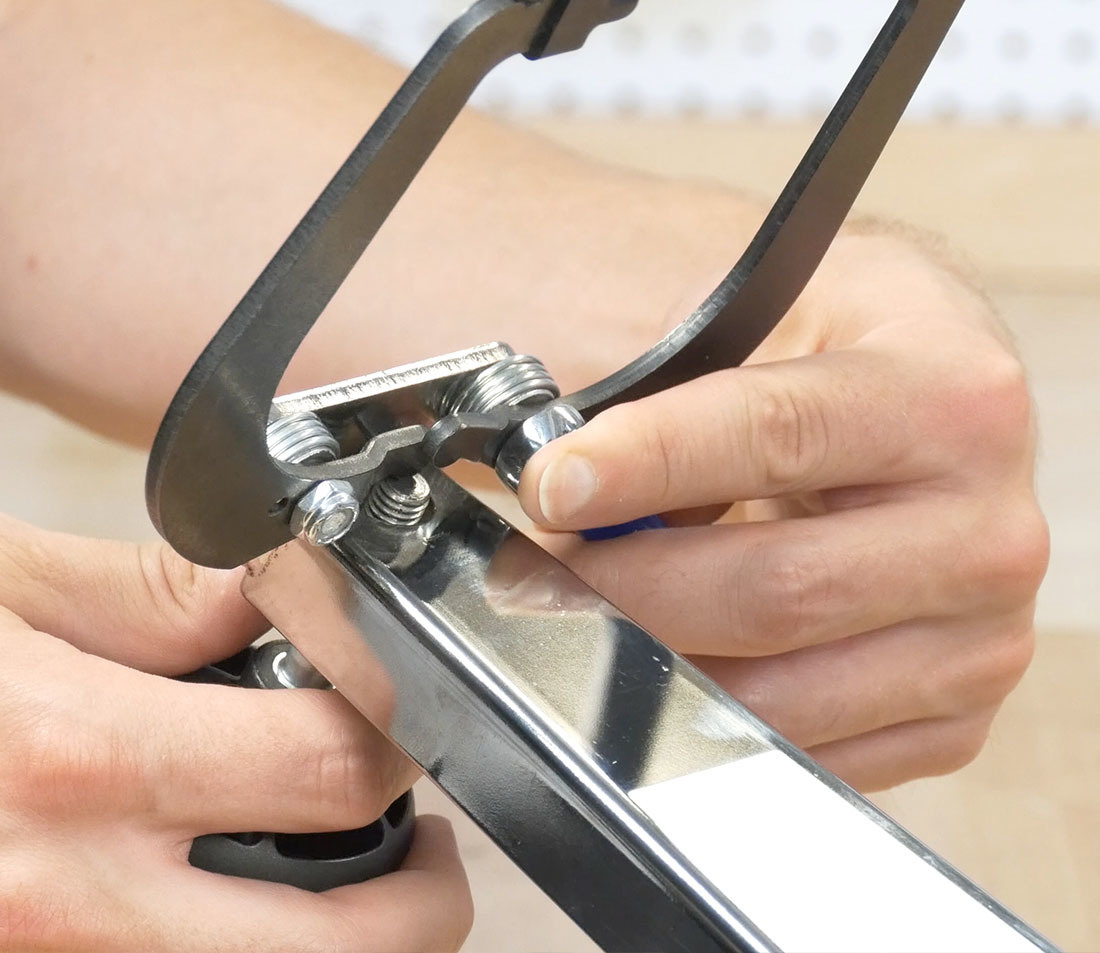
The entire caliper arm can be moved left or right using the two nuts at the base of the caliper arm.
- To move the arm right, loosen the left nut 1/4 to 1/2 turn and tighten the right nut the same amount. Repeat as necessary. Reverse the process to move the arm left. Take care to turn the locknuts equally, so as to not over-tighten or loosen the caliper arm. Proceed until the caliper fingers are centered to the rim.
Your truing stand is ready for use. Again, for the most accurate wheel dish, a dishing tool such as the WAG-4 or WAG-5 should be used in conjunction with a truing stand.
Related articles
TS-RK Rebuild Kit Installation View Article
Wheel Truing (Lateral & Radial) View Article
Wheel Dishing (Centering) View Article