Chain Tension for Tandem Front End
This article will discuss sizing the captain-to-stoker chain for tandems, called the "primary" chain. This is the chain that connects the front rings to the back rings. Setting chain tension will also be discussed.
Getting Started
- Repair Stand
- Crankarm pullers as needed CCP-22, CCP-44, or CWP-7
- Hex wrenches
- Pin spanner SPA-1
- Crankbolt wrenches as needed, HR-8 etc.
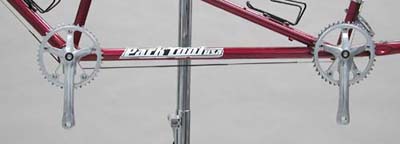
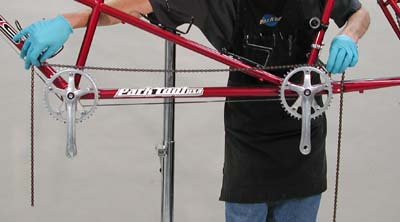
The person in front of a tandem is called the “captain,” and the person behind is the “stoker.” Typically, the captain and stoker cranks are synchronized or timed to be pedal identically. For example, the front left crank will be in the 12:00 position at the same time the rear left crank is in the 12:00 position. The typical tandem system fixes the front and rear riders. When the captain pedals, the stoker must also pedal, and visa versa. There are, however, tandem system available where the front and rear person may pedal at different times, and either may coast or freewheel. The timing of the chain is not necessary for these systems.
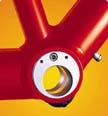
Tandems typically use an “eccentric” in the front bottom bracket shell. The shell will be a second shell for the bottom bracket bearing and axle. The axle is off-set, or eccentric, to the center of the shell. When the eccentric is rotated in the frame shell, the front axle will get longer or shorter from the rear stoker axle.
The eccentric is rotated until there is correct chain tension, and then locked in position.
There are several systems of locking the eccentric. The frame shell may be split, and use a pinch-bolt, similar to stems or seat tube clamping systems. An eccentric may have a wedge-bolt system, similar to wedge-type quill stems. The bolt tightens and the wedge jams inside the frame shell to hold the eccentric. An example of the wedge-bolt system is below.
Another options in the set-screw. Set-screws fittings are welded into the shell, and the screws simply push into the eccentric. Set-screws by their nature tend to burr whatever they are holding. This burr can at times make readjustment more difficult.
Begin by loosening the binder on the front eccentric. To install a front tandem chain, begin with both left side cranks pointing directly down at the 6:00 position. It can help to remove the right side cranks, which allows the left side arms to point downward from their weight.
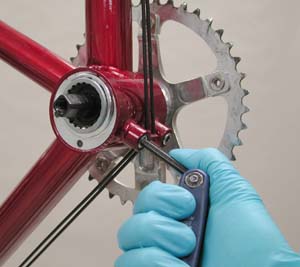
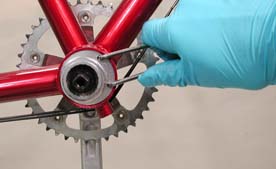
Rotate the eccentric in the shell. There will commonly be a pin holes for a pin spanner such as the Park Tool SPA-1. Turn the axle so it will be closer to the rear axle. Standing on the left side of the bike, this will be seen as the 3:00 position. Pull the primary chain taut above the front and rear rings. Use care not to move cranks and lay chain onto rings. Joint chain at lower section of chain. Chain length is set in only one-inch increments. Only inner and outer sections of chain may be joined. Pull chain snug to determine which link to cut. Cut the next link one inch longer if necessary. The eccentric will take up the slack of this extra inch.

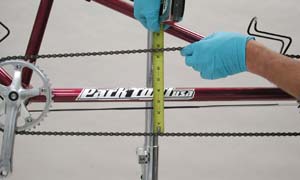
Join chain links according to chain manufacturers instructions. See also related articles below for chain cutting, installation, and removal. Chain will be slack in this position. To increase tension, rotate eccentric either direction. Generally, set tension so there is approximately one-half inch (12mm) of play up and down in the chain at point halfway between axles.
Test tension setting by pedaling. There may be one section of rotation that appears tighter. If the chain does not bind at this point, it is not an issue.
Next article in this series
Chain Length Sizing View Article
Chain Replacement: Derailleur Bikes View Article