Tire and Tube Removal and Installation
This article will discuss the removal and installation of tires and tubes.
Wheel Removal
- Repair stand (optional, makes the work a lot easier)
- Tire levers such as the TL-1.2, TL-4.2, TL-5, TL-6.3, or a multi-tool that incorporates a tire lever
- Patch Kit such as the GP-2 or VP-1
- Air pump: either a floor or hand pump. An air compressor with correct fittings (such as the INF-2) can also be used
- Wrench for non-quick-release type wheels that use outer axle nuts
To remove a tire and tube, the wheel must be removed from the bike. See Wheel Removal and Installation for a review of this process.
Removing Tire and Tube from Rim
The common bicycle tire is called a “clincher” tire, and in made with bead on the inside edge of the tire. The bead fits snugly into the wheel rim. As the inner tube is inflated, the tire bead is pushed against the “bead seat” of the rim, the portion of the rim that is hooked to hold the bead. The sizing of the rim bead seat and the tire bead must match. There are currently many different bead diameter standards, and none are interchangeable.
Because tire beads can be a tight fit in the rim, it is commonly necessary to tire levers to pry tire bead up and over rim sidewall. Do not use a screwdriver, knife, or other sharp object, which might damage tire or tube. Fully threaded valve shafts may have a locking nut next to rim. Loosen and remove locking nut before deflating.
- Deflate tire completely. Even a small amount of air left in the tube can make it more difficult to get the tire off. For best results, press downward on wheel while depressing the valve.
use a small tool such as a hex wrench to depress the plunger inside a Schrader valve
On a Dunlop valve, unthread the cap a few turns, then pull outward on the tip of the valve
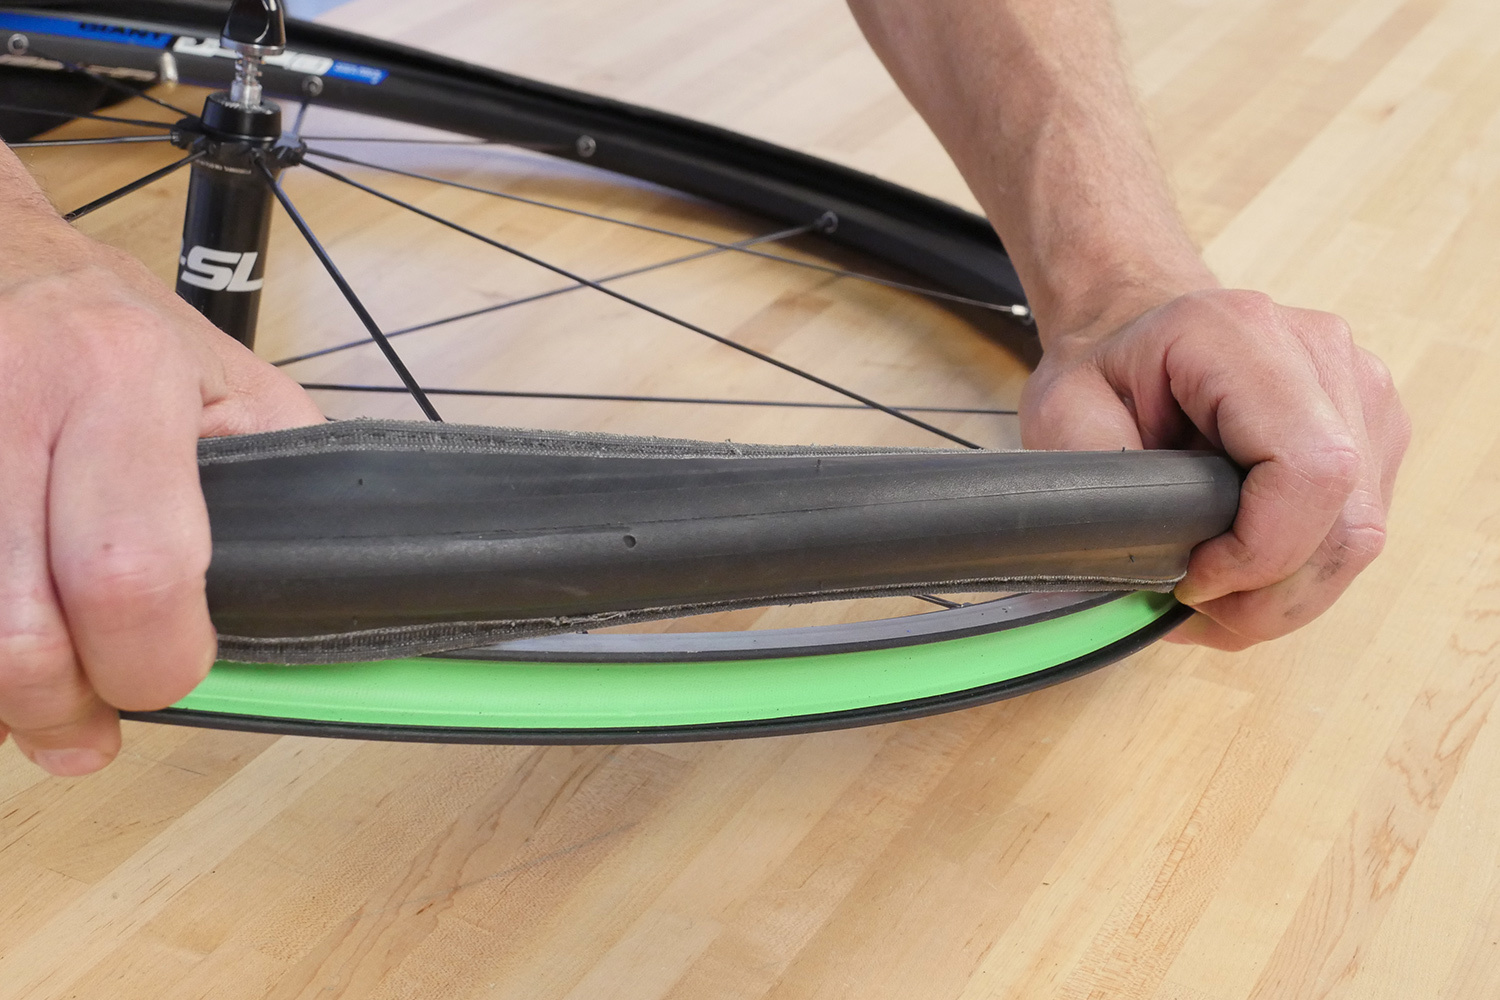
- Push one bead of tire toward rim center. The tire bead will be pressed tight against rim. Pushing it inwards loosens the bead from the rim. Repeat on other bead.
- Engage one tire lever under bead of tire. Engage second lever 1-2″ (25-50mm) from first lever then pull both levers toward spokes to lift bead off rim. Disengage one lever. Move it two inches (5cm) along the rim and engage lever in the bead. Pull lever to lift next section of bead off rim.
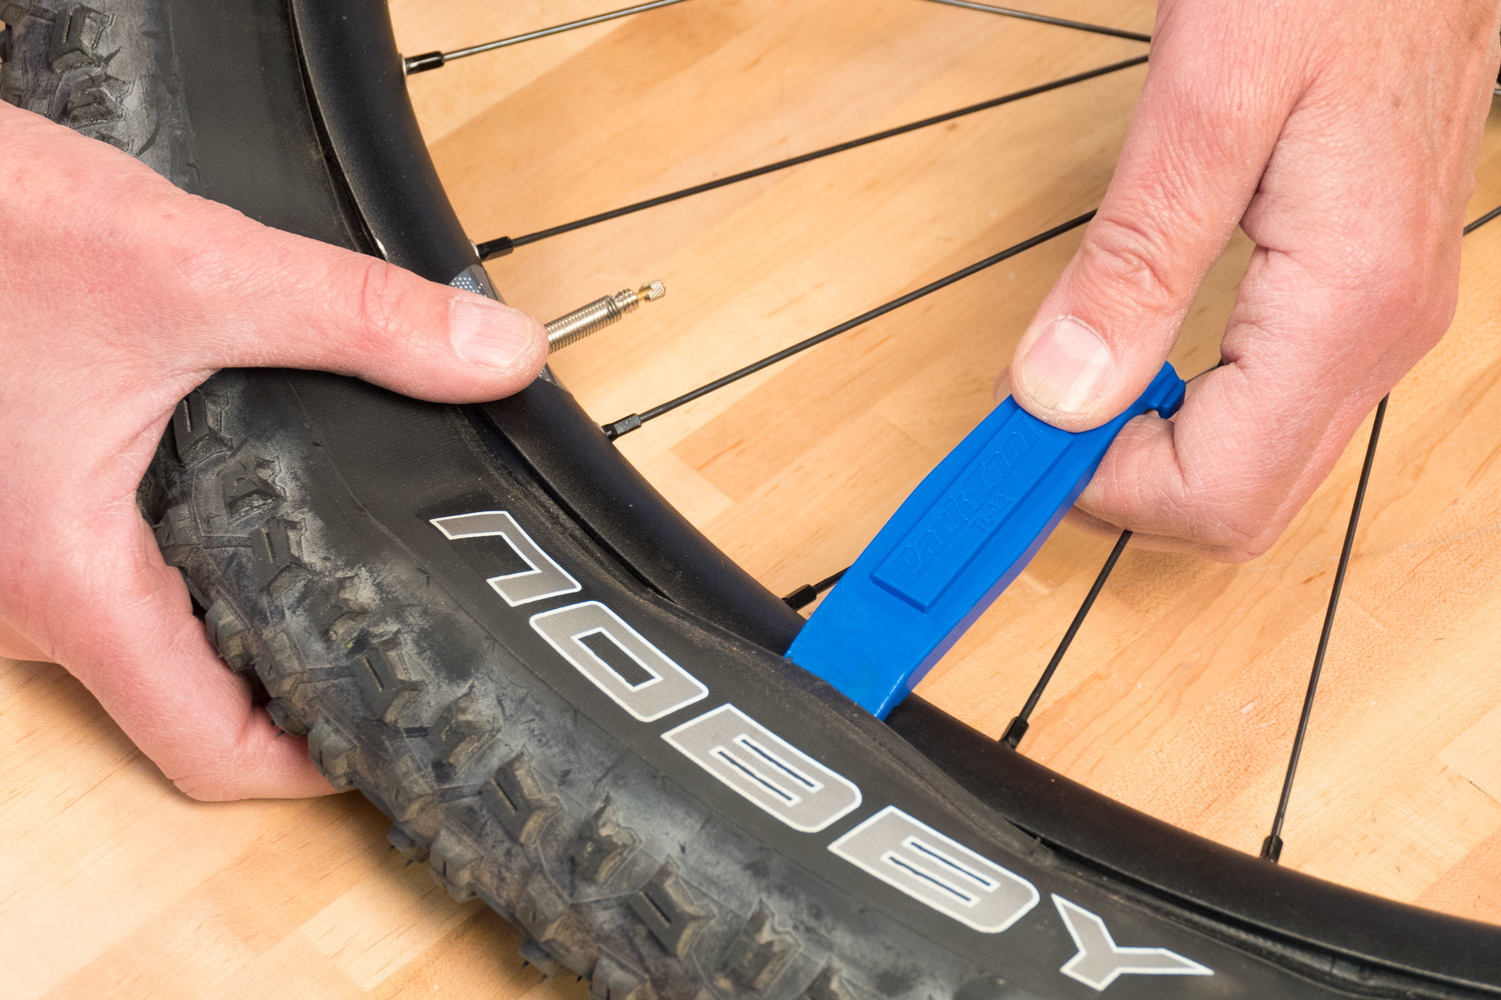
- Repeat engaging the lever until the bead loosens. Then slide the lever along the rim under the bead.
- Starting opposite the valve, pull inner tube from tire. Lift valve from valve hole and remove tube from wheel.
- Remove second bead from rim, which removes tire completely from rim. To fully inspect the tube and tire, it is best to remove both completely.
Inner Tube Inspection
When servicing a flat tire, always inspect tire and tube carefully to locate the cause of failure. This will help prevent future flats from the same cause.
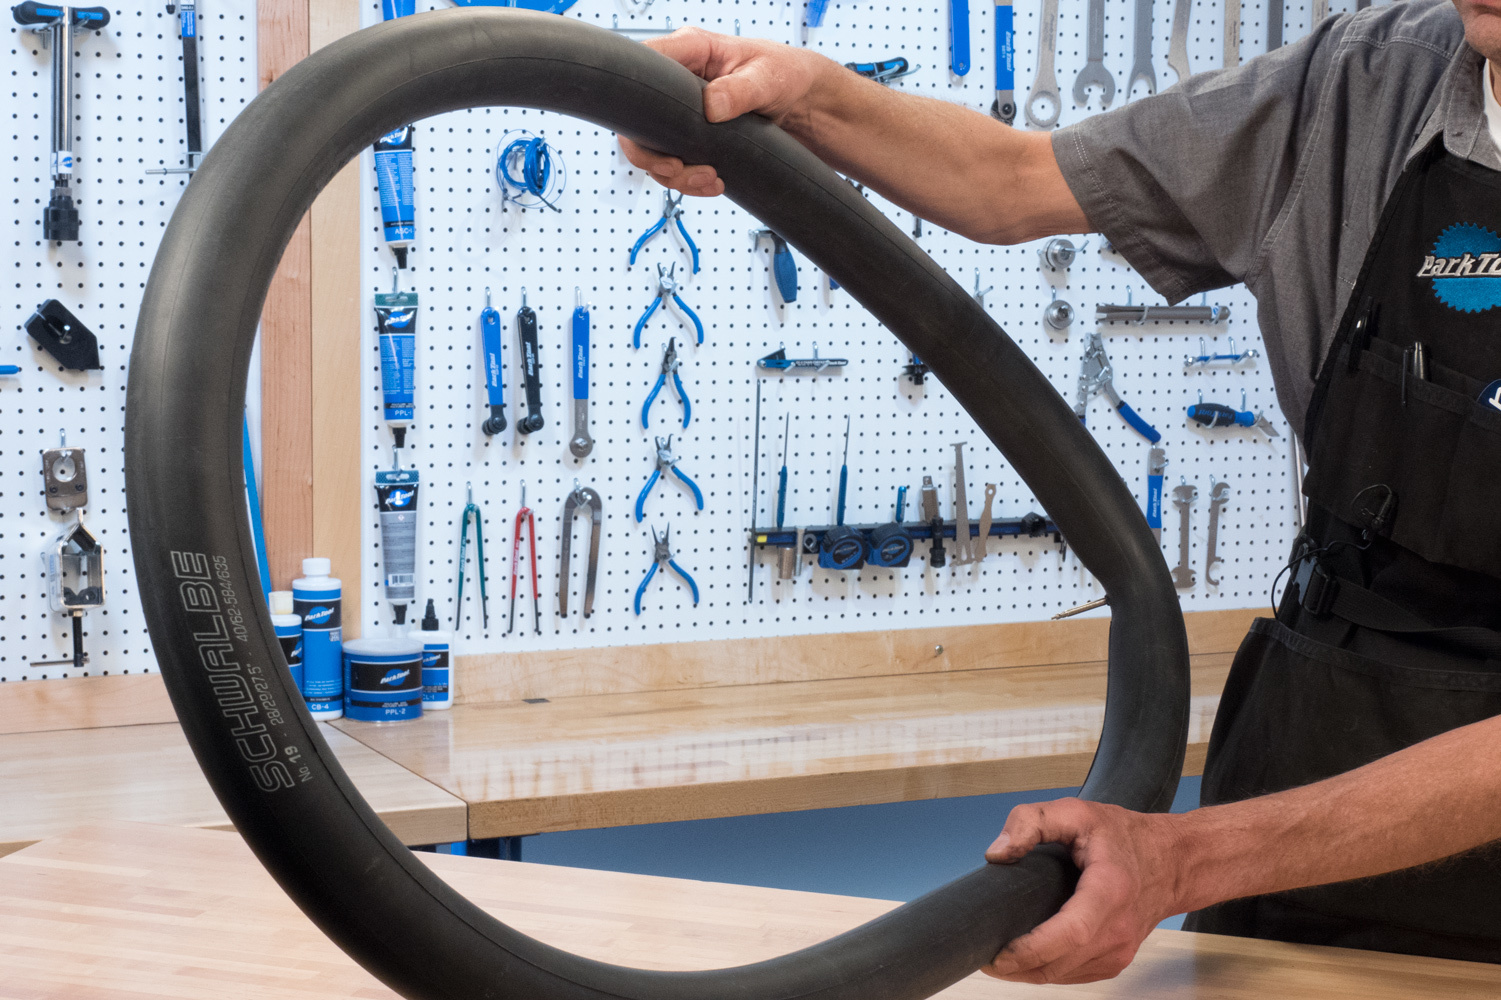
- If possible, inflate inner tube to twice its normal width.
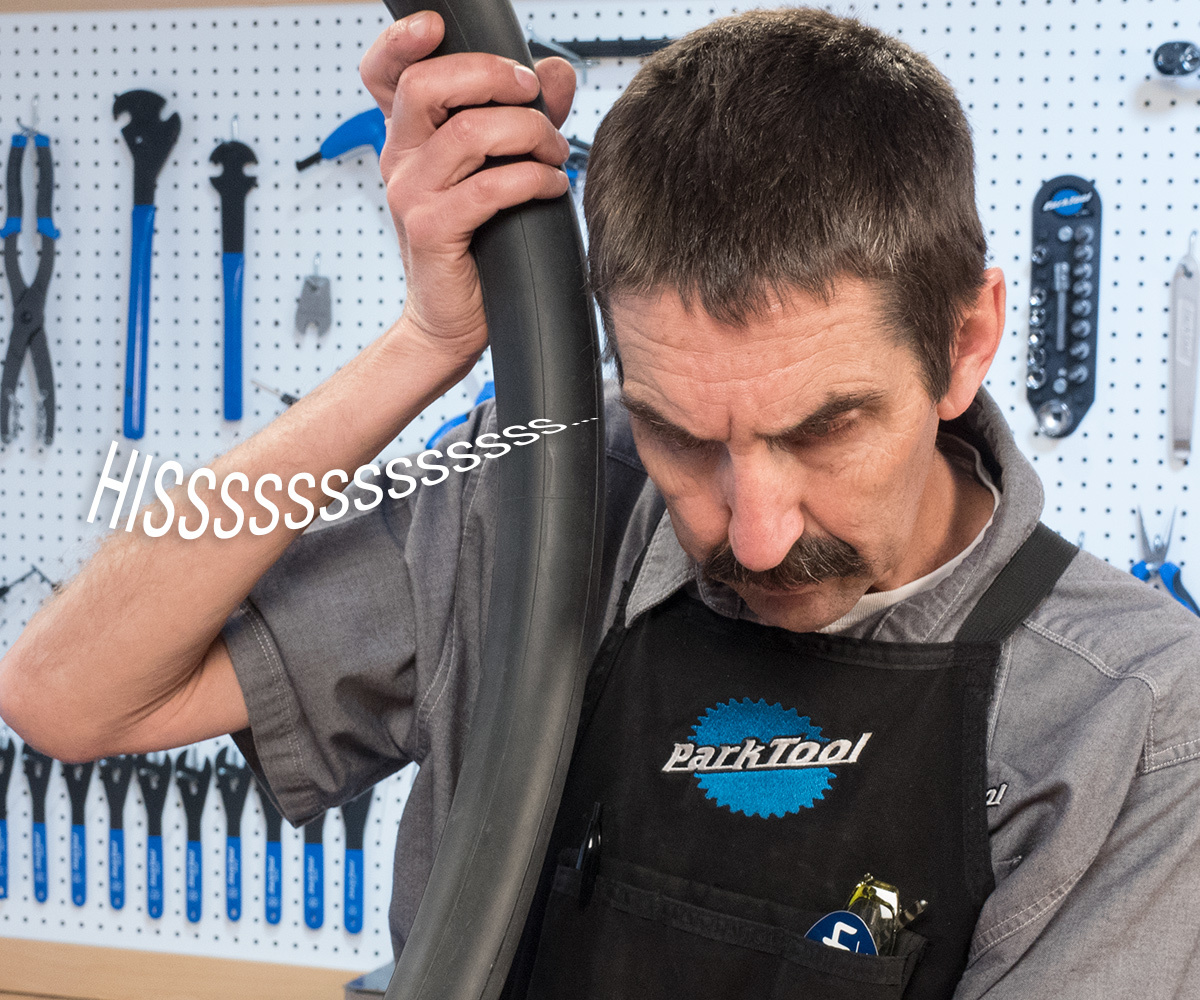
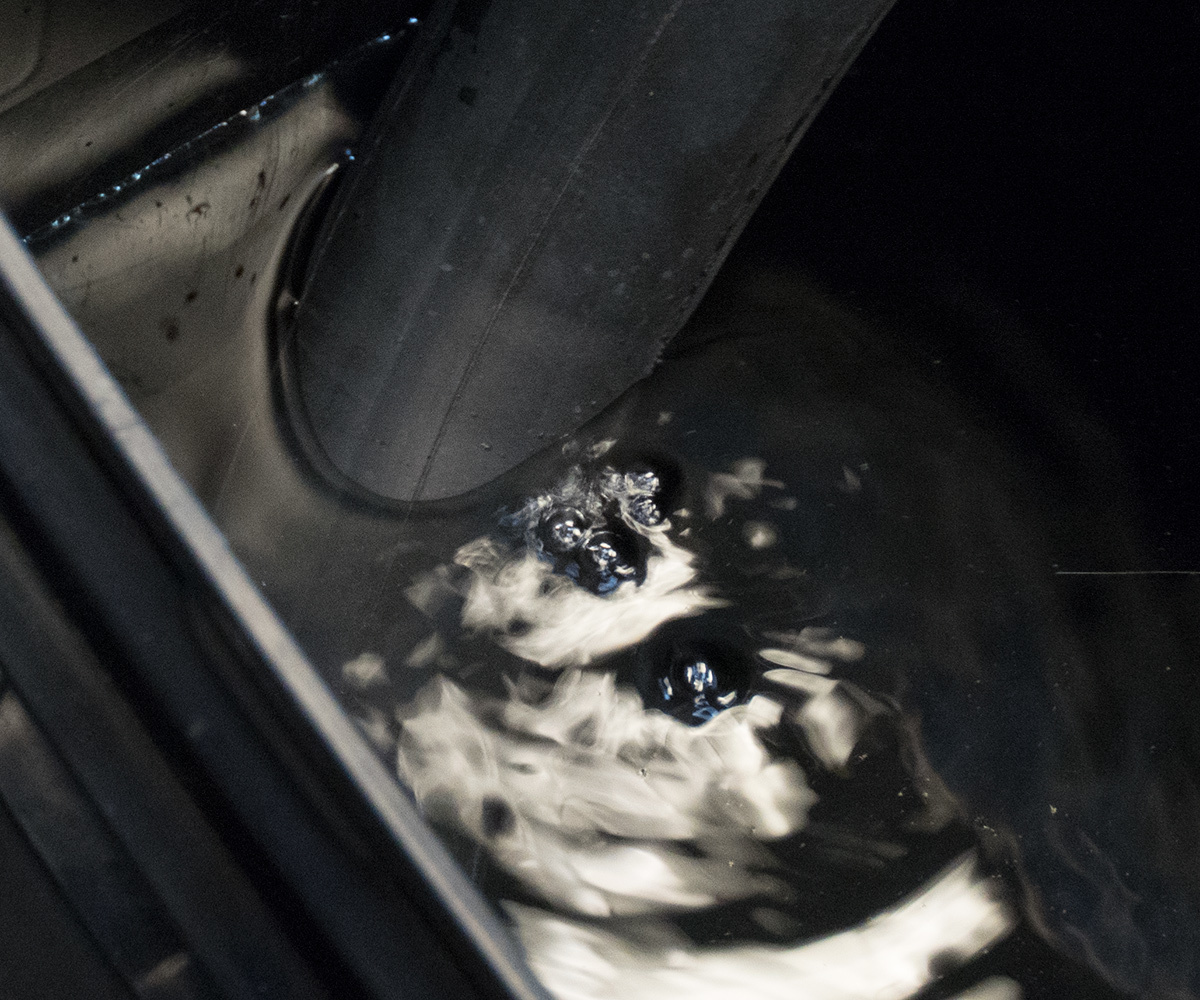
- Inspect for air leaks by holding tube close to the sensitive skin of lips or by holding tube near your ear to hear air escaping. Move the tube around its circumference. If these steps do not work, submerge tube in water and watch for bubbles at the hole.
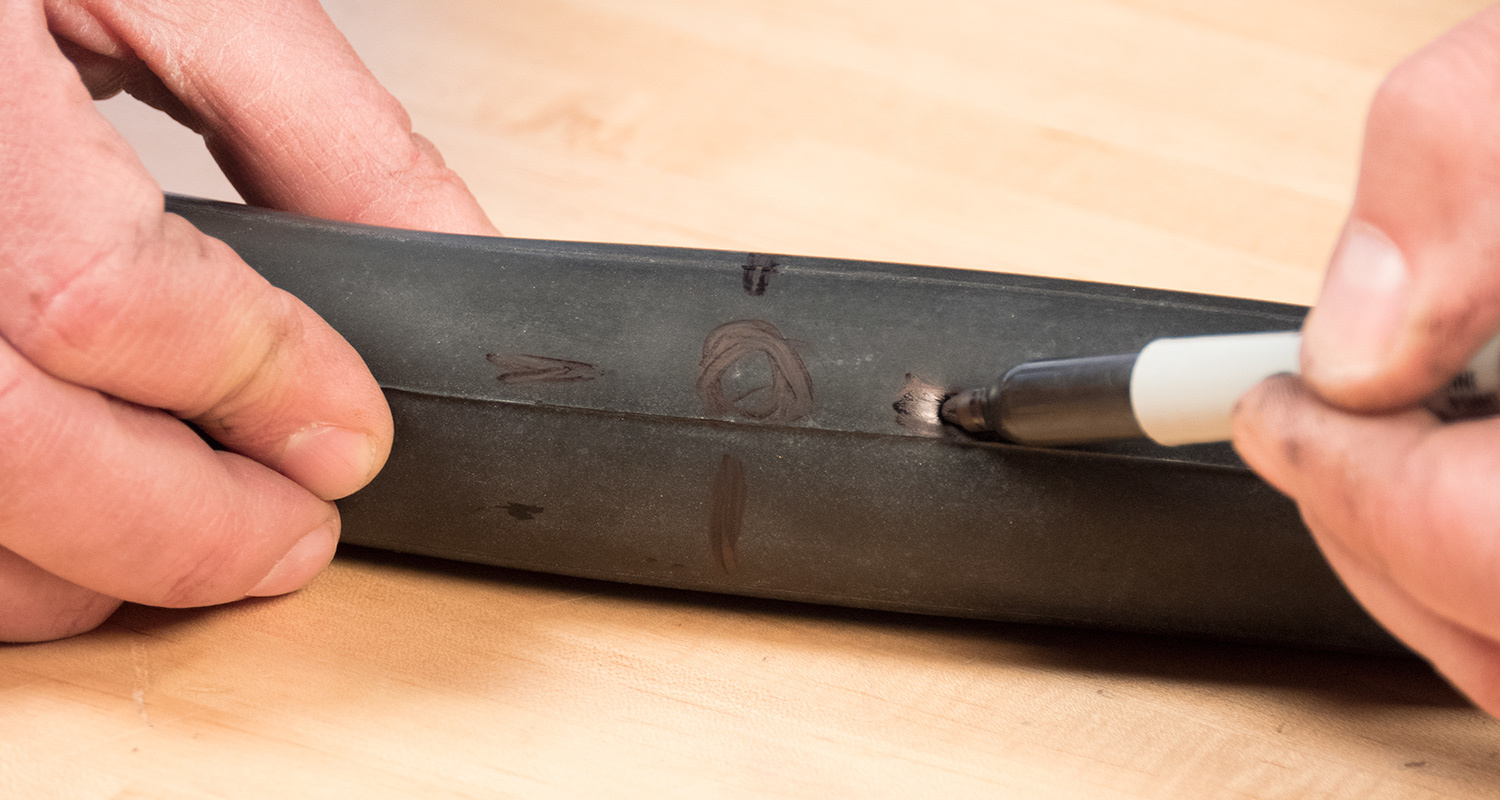
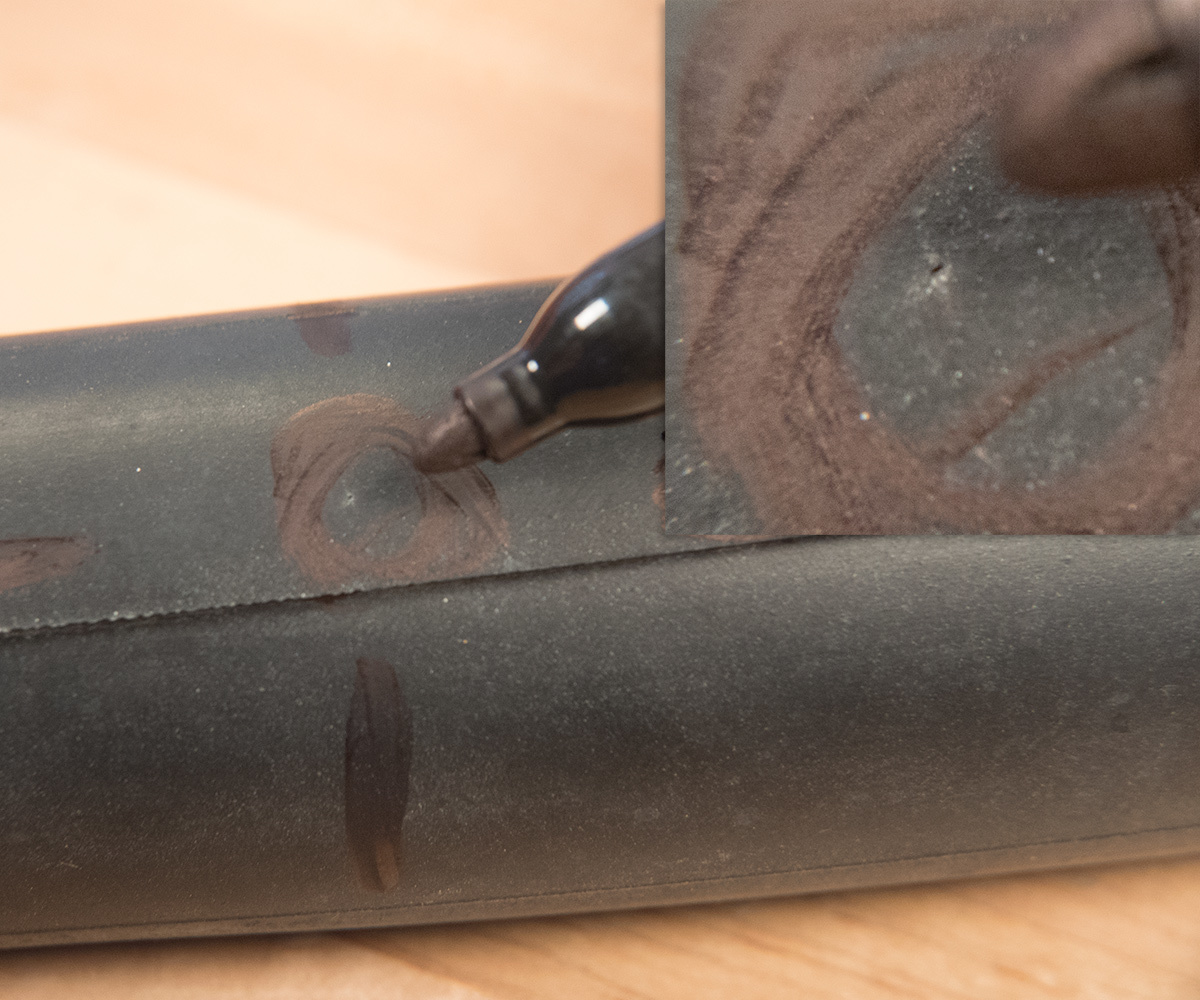
- If you plan to repair the inner tube, use a marking pen to mark hole. Make four marks, one to each side of hole. Do not mark close to hole, as the mark may be sanded off.The type of cut or hole in the tube will help determine the cause of the flat.
Common causes of tire and tube failures:
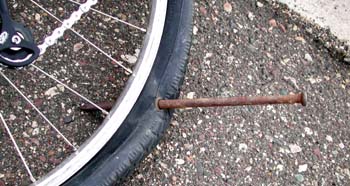
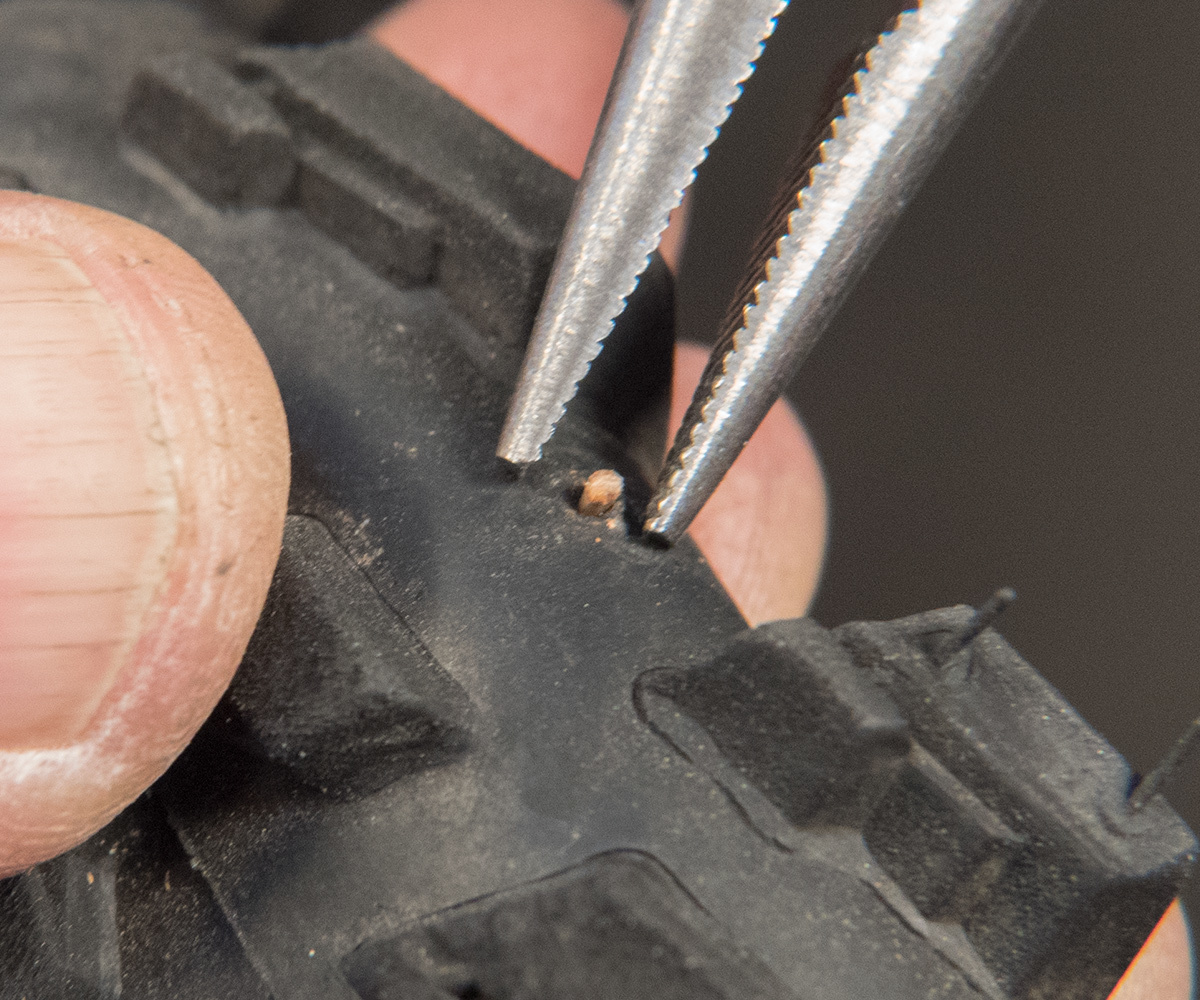
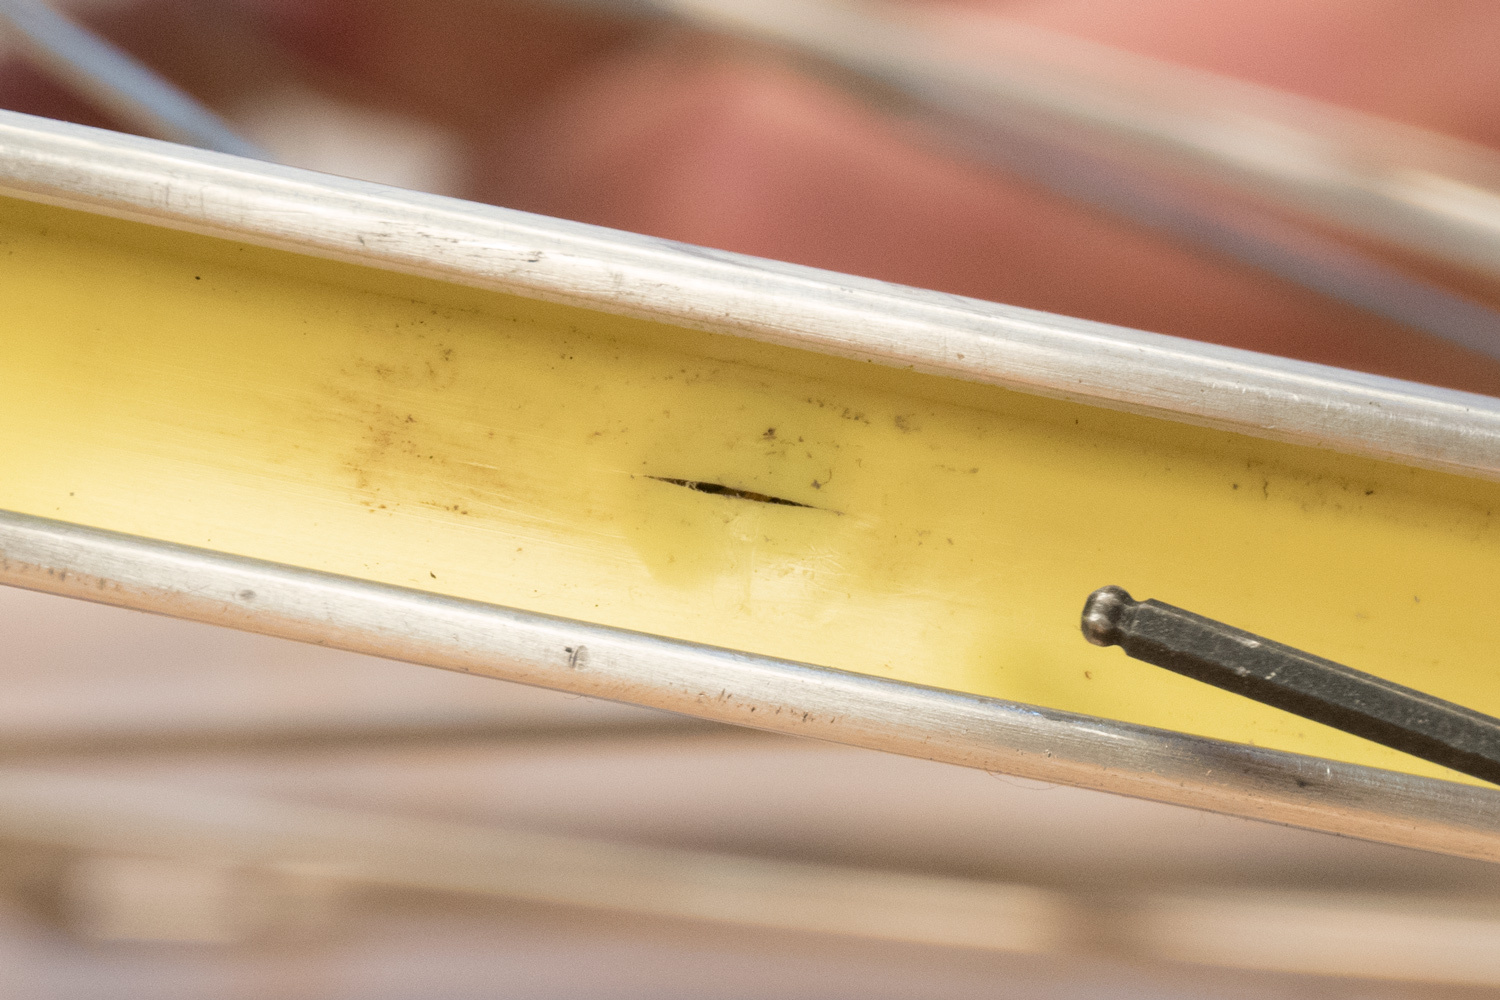
- A single puncture or small hole is commonly from a thorn, wire, or small nail. These may be repairable. Check tire as well for thorn, etc. and remove it.
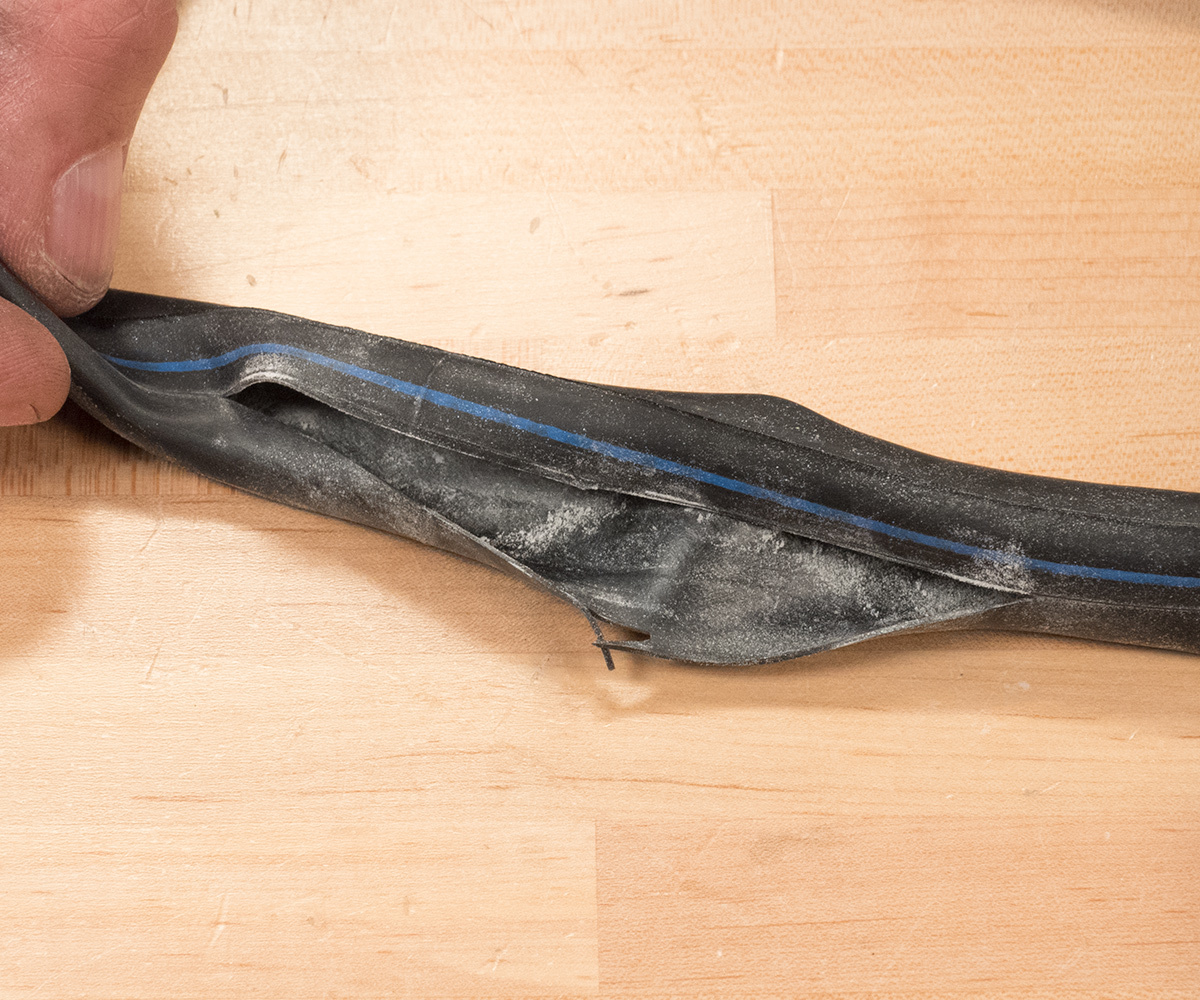
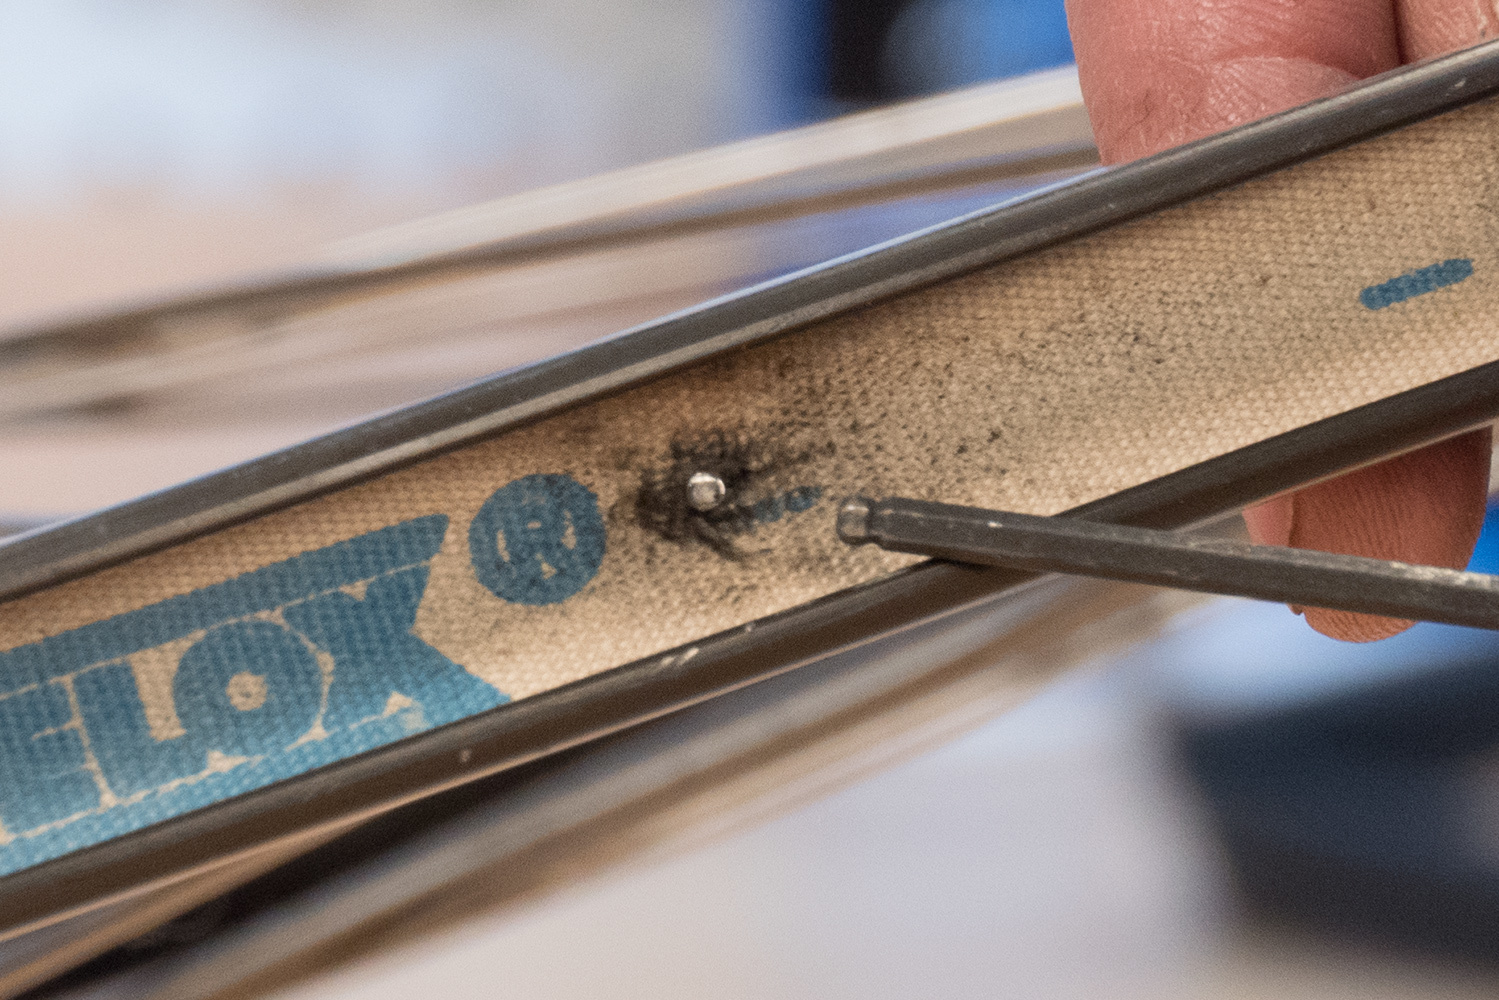
- Double slits are commonly the result of a rim pinch. The tube was pinched between the rim and an object in road/trail. Increase air pressure or use wider tires.
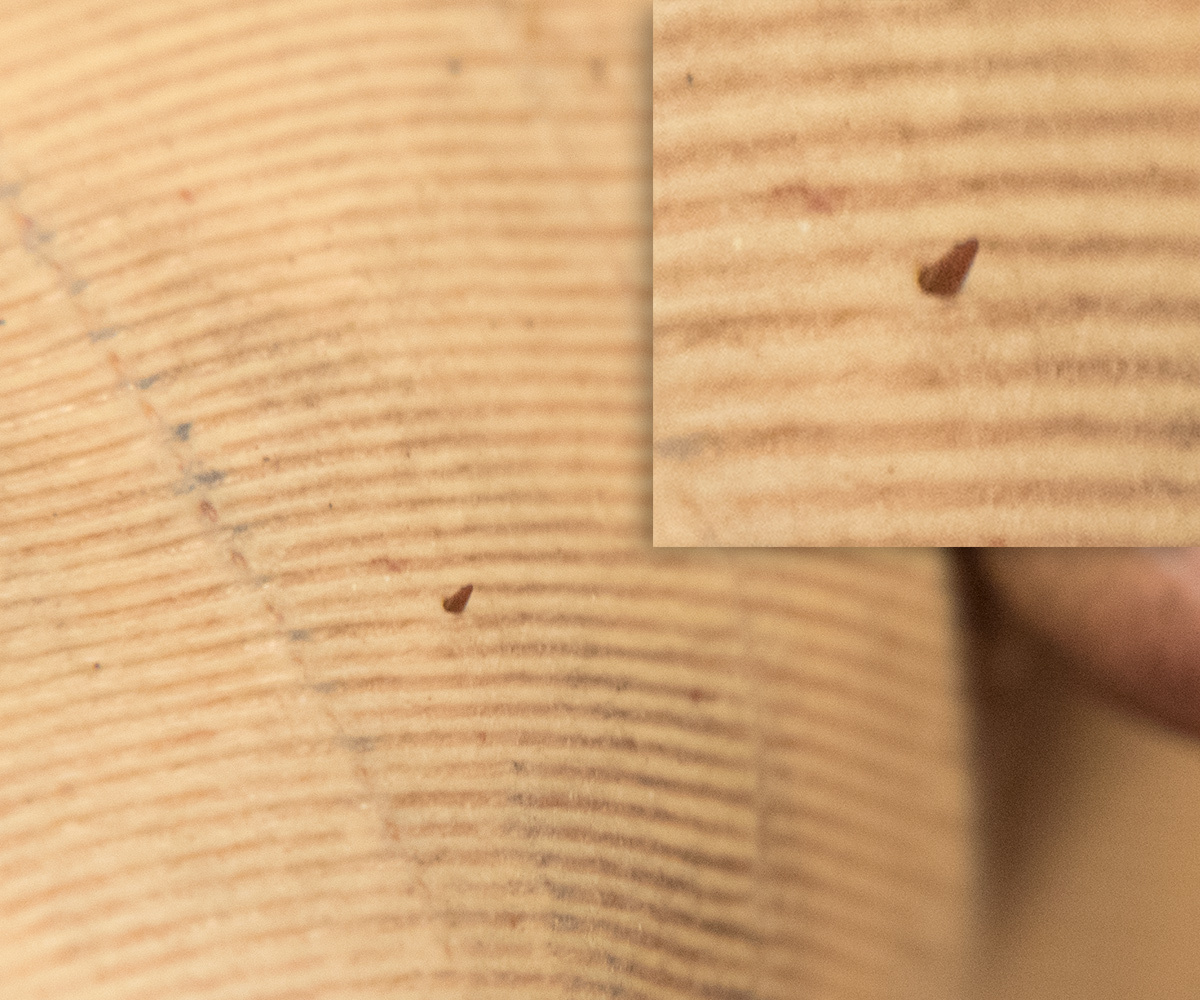
Small pinhole indicating a puncture
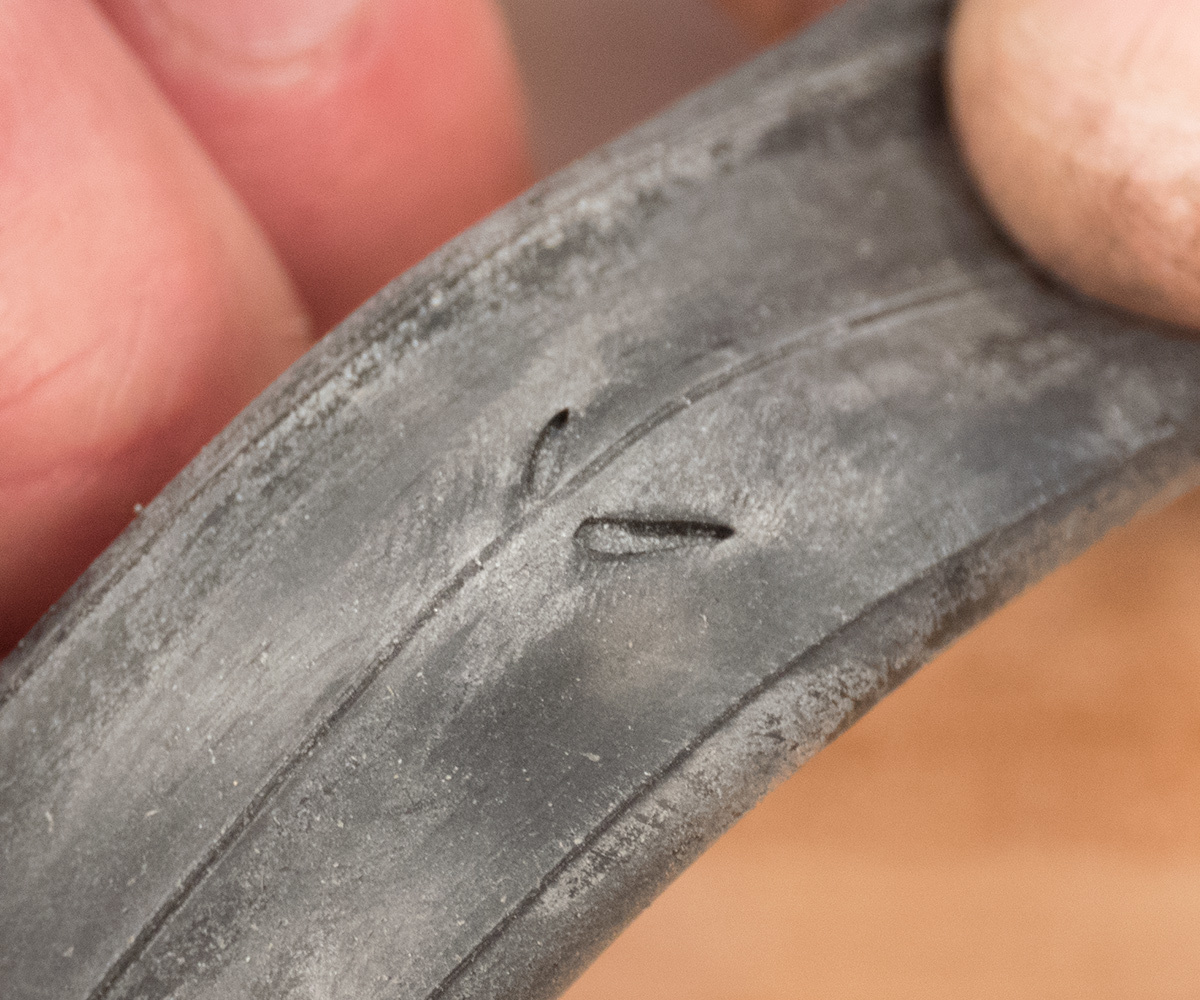
Symmetrical slits are indicative of a rim pinch
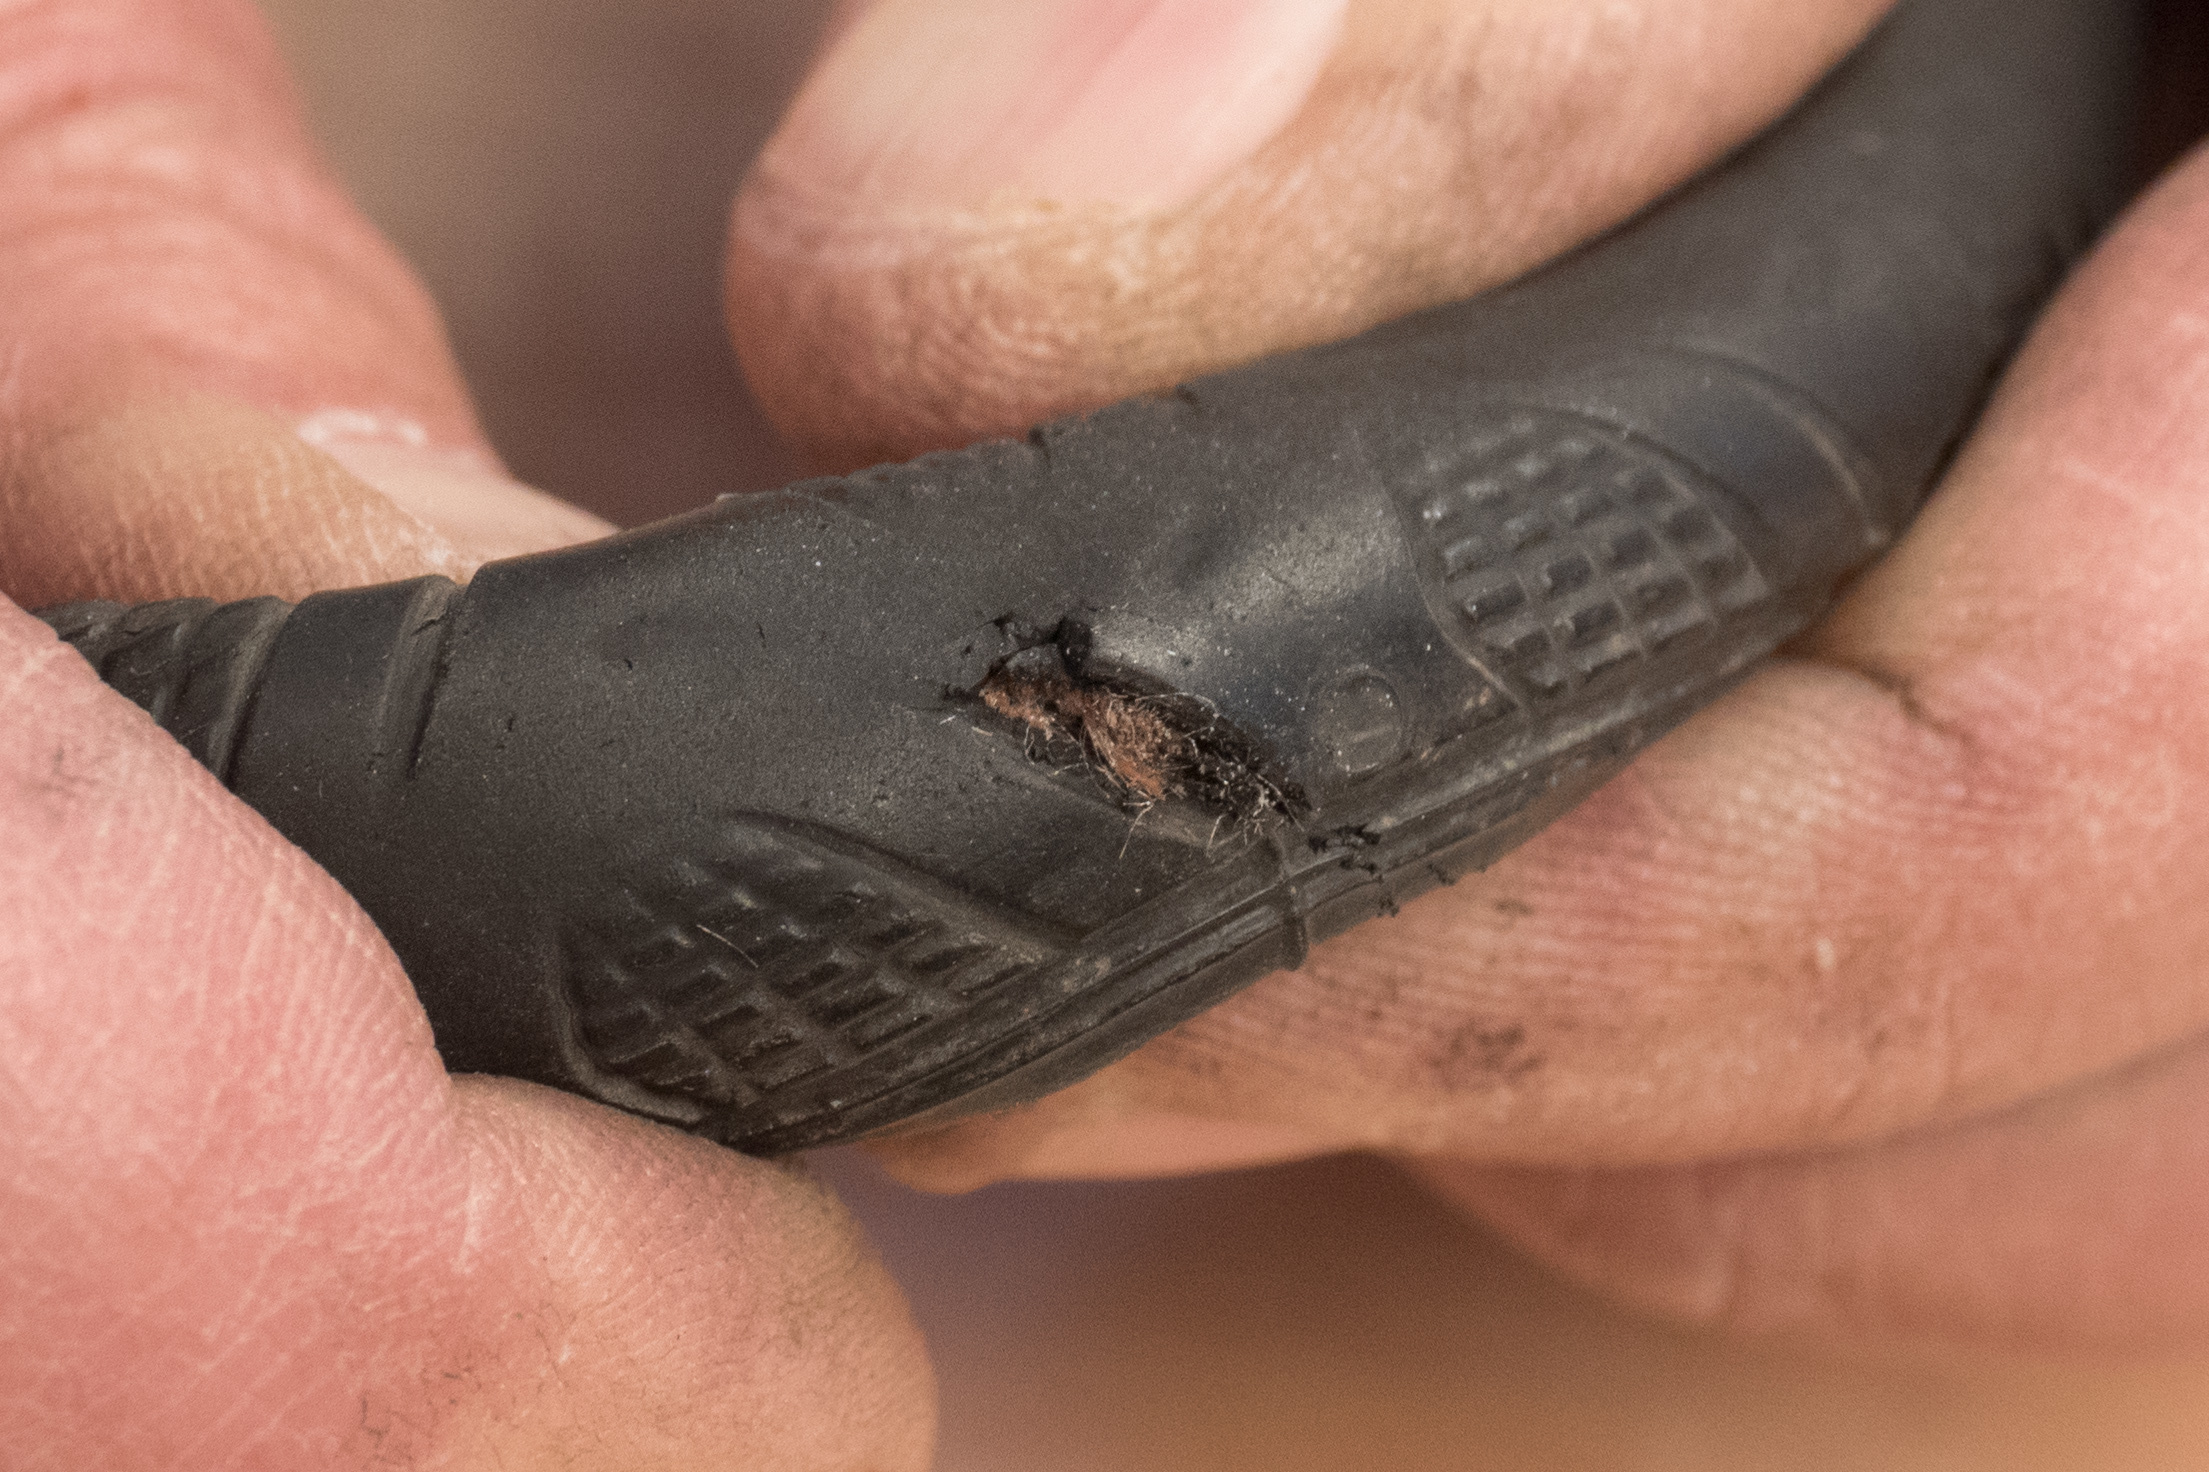
- Blowout causing a large shredded hole. These are usually not repairable. Check tire and rim as well for damage.
- A long cut or rip may also indicate a tire blow out. Typically this is not repairable. Use care when seating tire during installation.
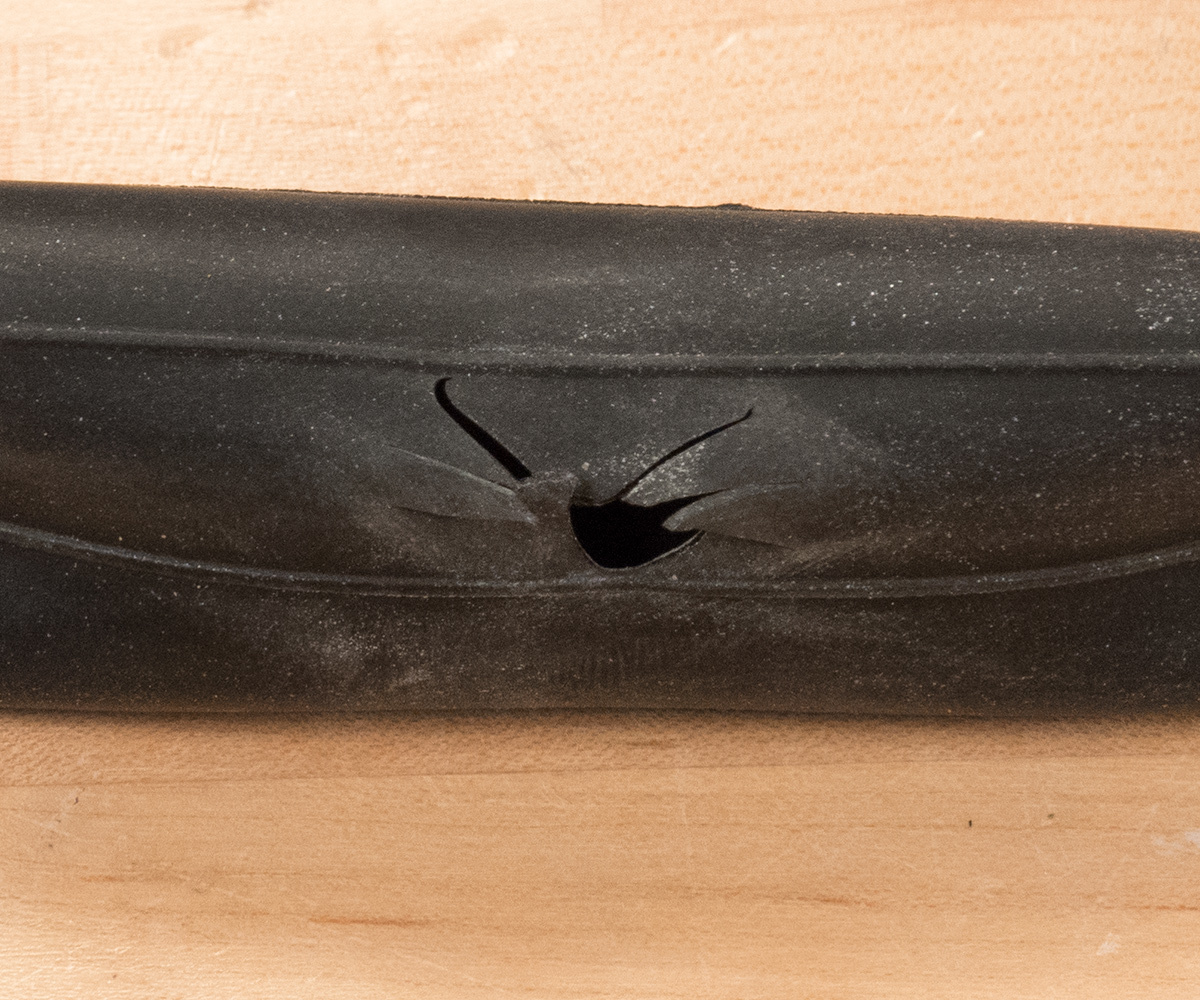
Totally shredded, dude
A long slit-like blowout can indicate an improperly seated tire
- Hole on inside edge of tube indicates a problem inside the rim, such as from rim strip failure, a protruding spoke or other sharp object inside the rim.
- Cut at valve core, commonly from misalignment of tube in rim or riding with low pressure. Be sure tube is mounted straight in rim and check pressure before rides.
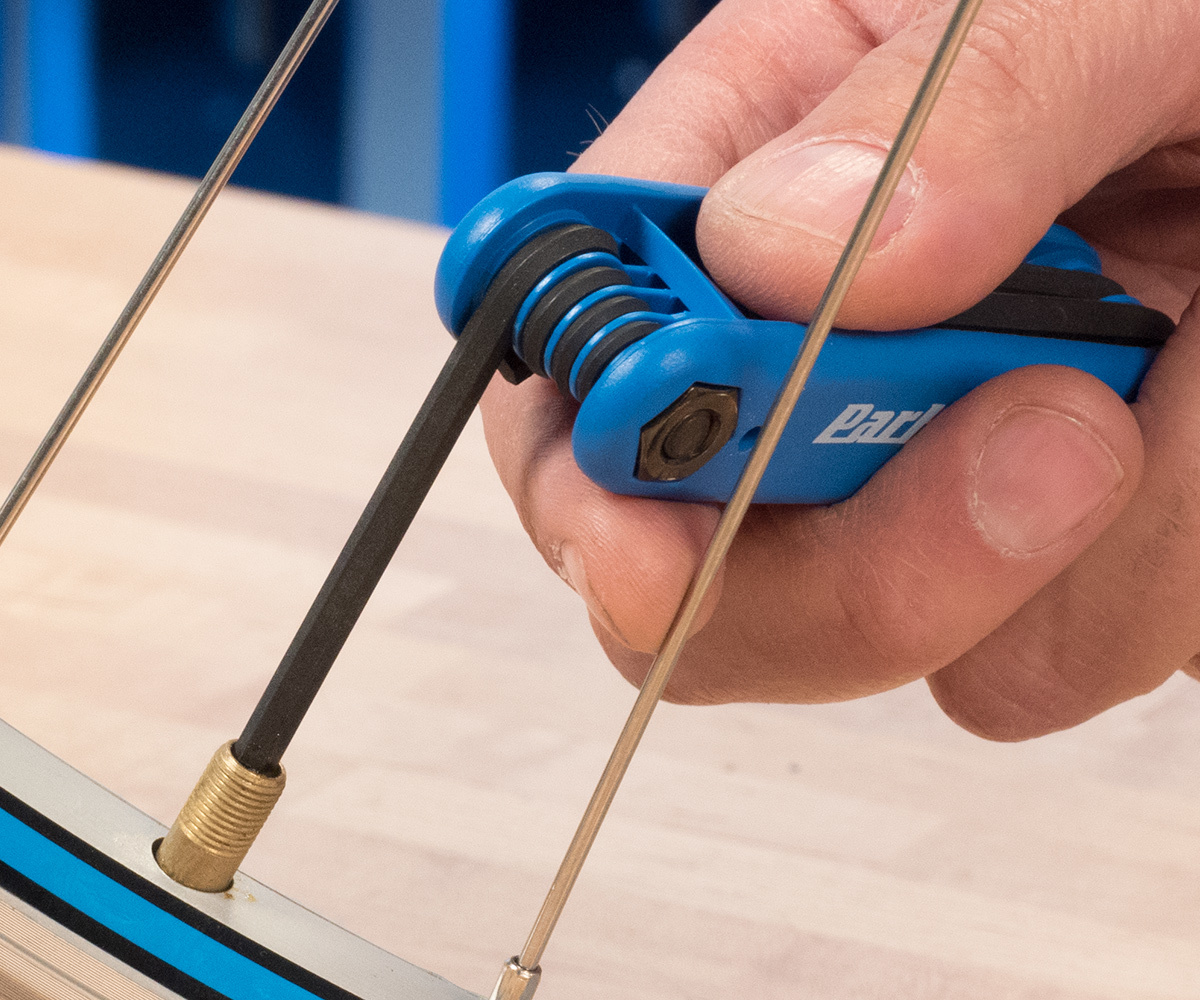
- Leaky valve core. Tighten with a valve core tool such as the VC-1. More common with Schrader type valves, but also possible on some Presta valves.
Tire Inspection
It is important to always inspect the tire as well as the inner tube. The cause of the flat, such as a nail or piece of glass, may still be embedded in the tire or tread. Inspect both the outside of the rubber tread and the inside of the casing.
- Inspect outside of tread for protruding nails, pieces of glass, thorns, or other objects. Squeeze any cut to look inside for objects such as slivers of glass.
- Visually inspect inside of tire casing for nails, glass or debris. Wipe inside of casing with a rag, and then carefully feel inside with fingers.
- Inspect sidewall for rips, holes, or damaged rubber and casing.
- Inspect wire or fabric tire bead for damage.
Rim Inspection
The wheel rim is made with holes between the rim sidewalls for spoke nipples. A rim strip covers the holes or nipples. The rim strip can be made out of different materials such as cloth, rubber, or polyurethane plastic. The strip protects the inner tube from sharp edges in the base of the rim and from spoke ends and nipples that might puncture the tube.
Inspect inside the rim cavity, looking at the rim strip and for any sharp corners or protruding spokes.
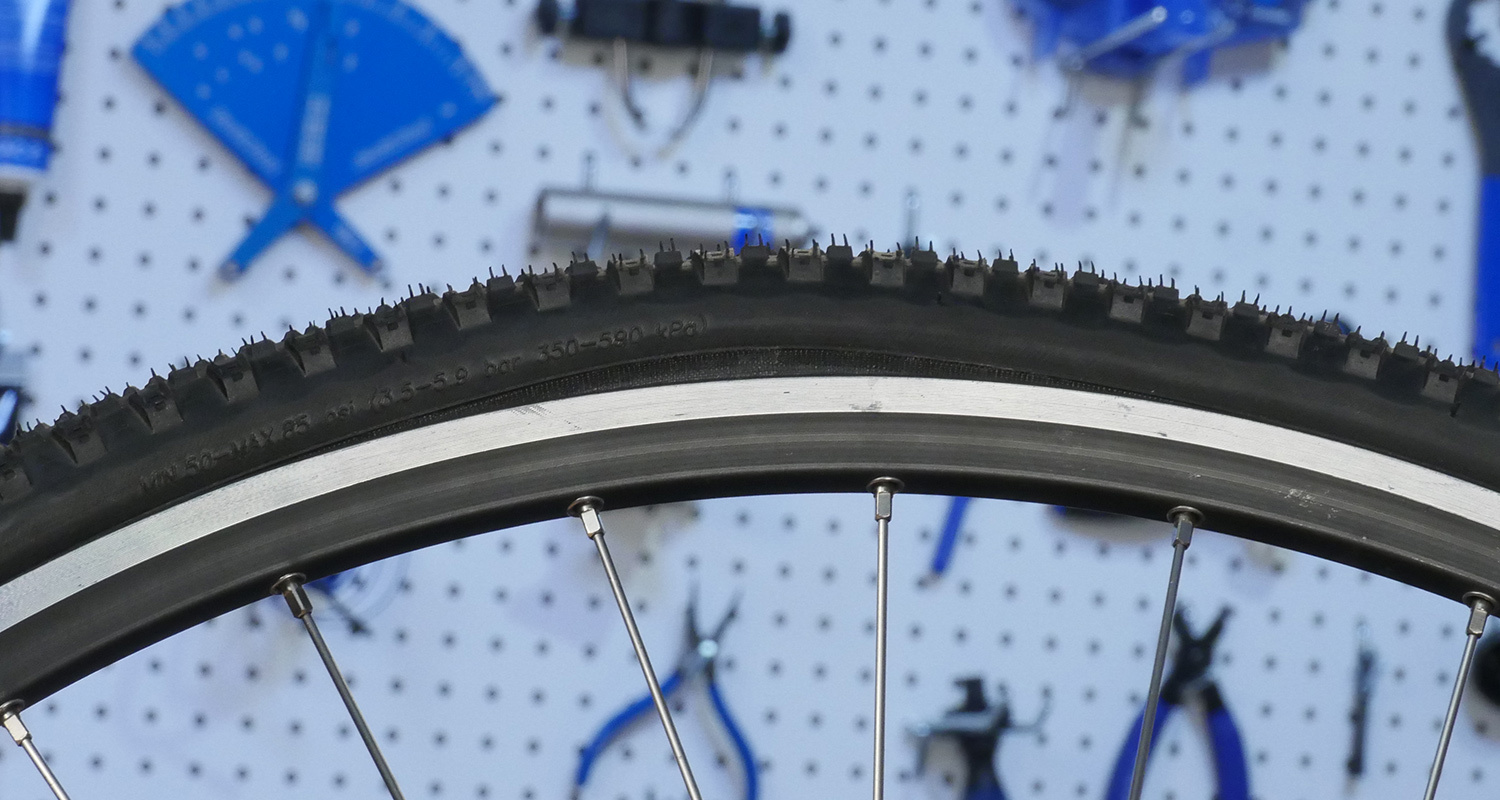
The rim strip should be wide enough to cover the bottom of the rim, but not so wide it interferes with the seating of the tire bead. Inspect the rim strip whenever changing a tire or inner tube. Look for tears and rips, and make sure rim strip is centered over the nipple holes. In the image below, the rim strip is damaged, which may cause a flat tire.
Valve Types
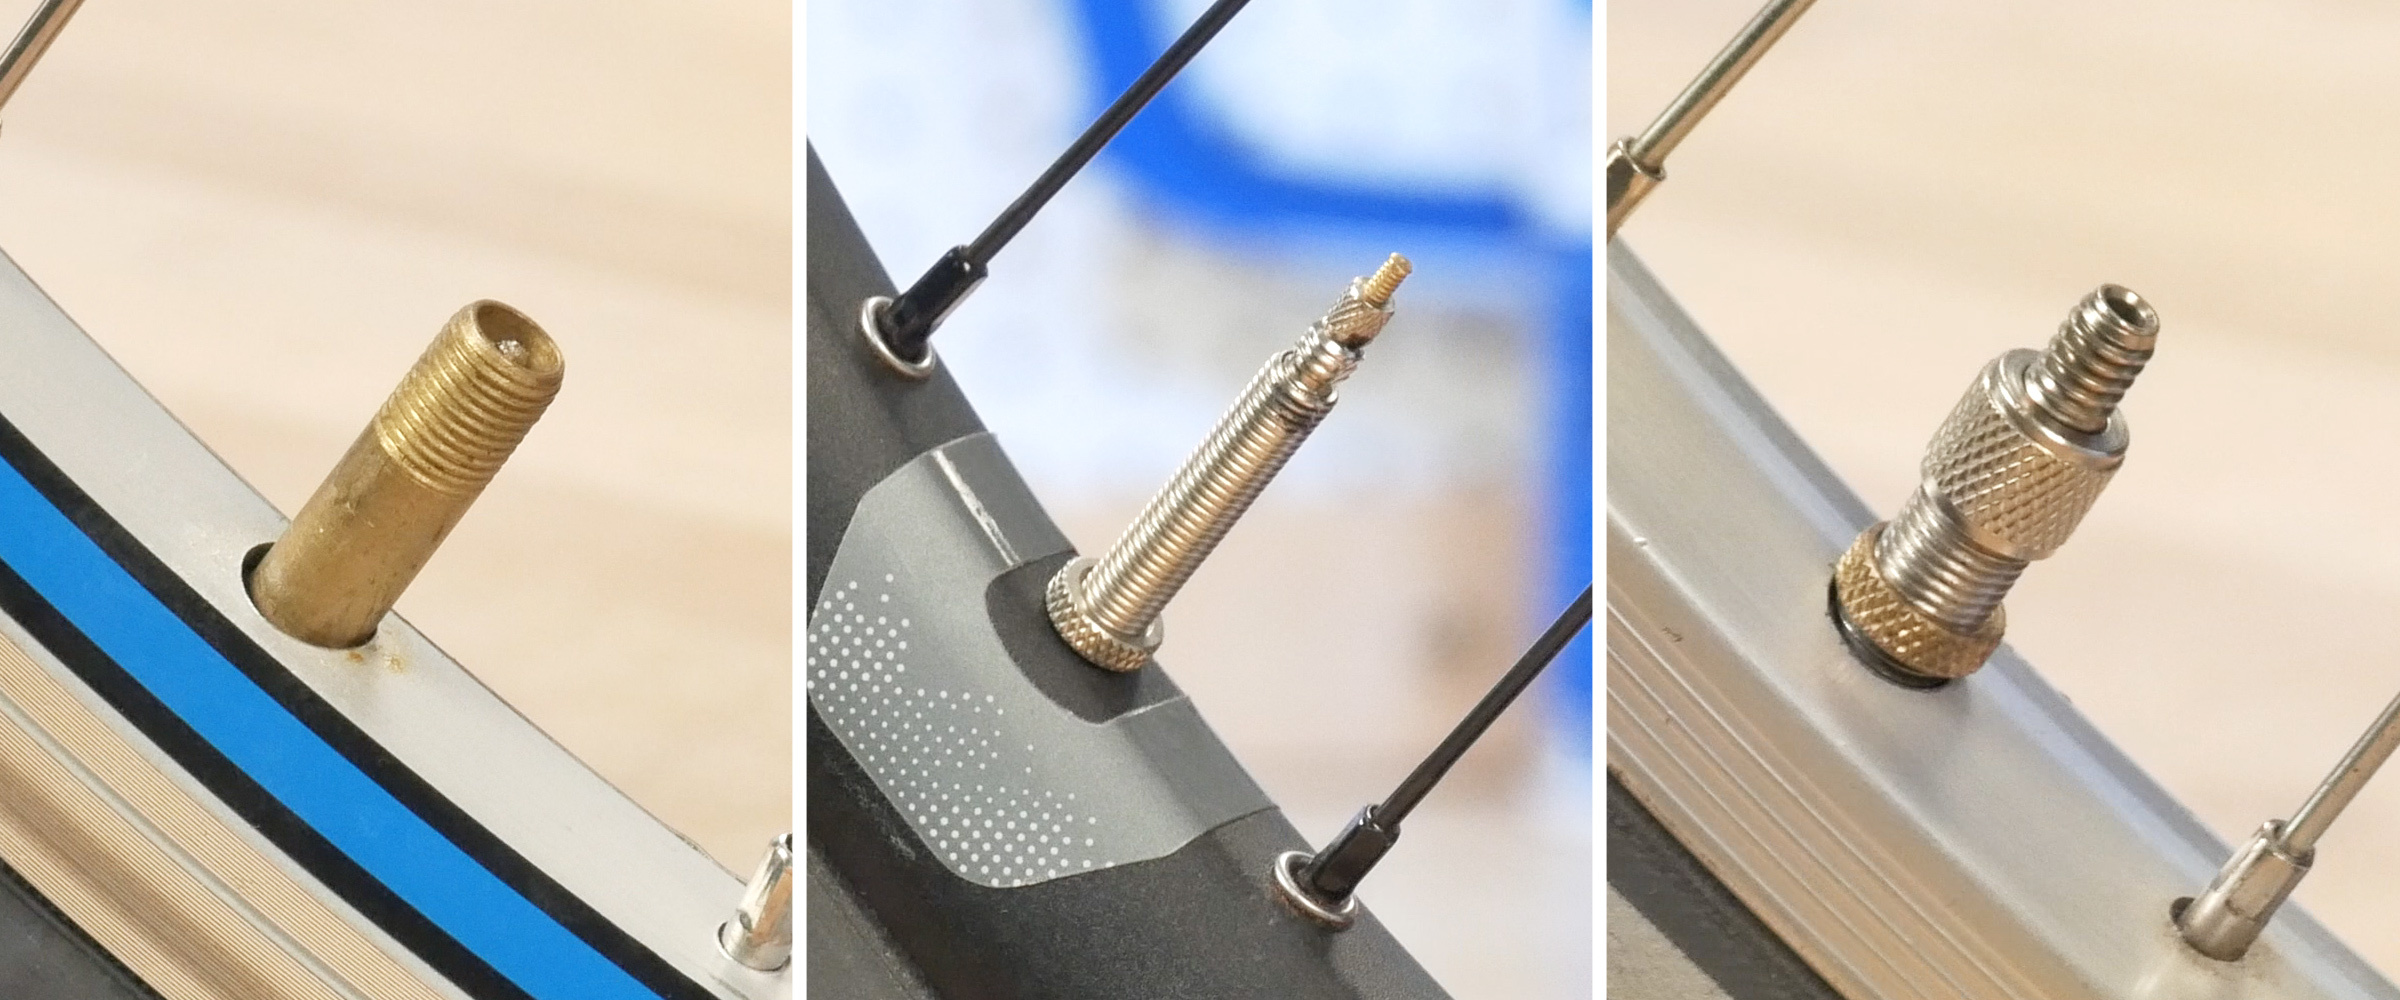
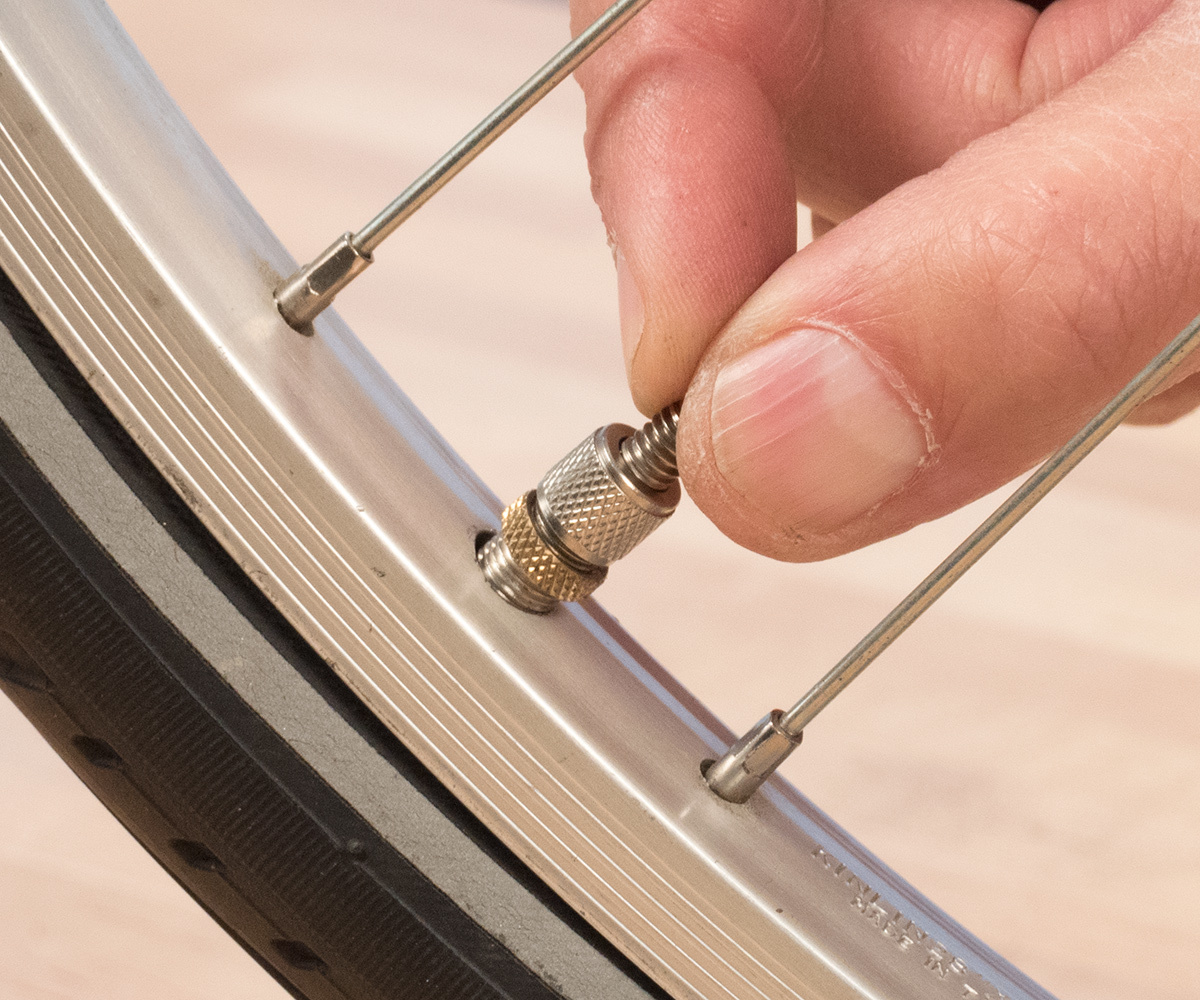
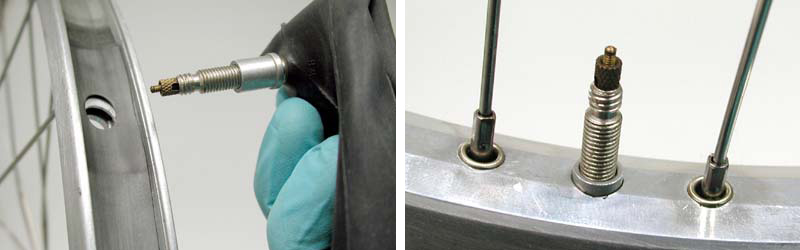
There are three common types of valve stems on bicycles: Schrader (“American” type), Presta (“French” type) and Woods (also known as “Dunlop”). The Schrader-type valve is common on American cars and motorcycles. It is also found on many bicycles. The valve stem is approximately 8mm (5/16″) in diameter and has an internal spring plunger to assist in shutting the valve. To deflate the schrader valve tube, it is necessary to stick a small hex wrench or other object into the valve in order to press on the stem and release the air. Upon release of the stem, the stem spring shuts. Schrader-compatible pump fittings press on the internal stem with a plunger, allowing the tube to be filled.
The Schrader valve core can be removed if necessary. This is rarely required, but a valve can become stuck and cause a slow leak. A loose core can also be the source of a slow leak. A special tool such as the Park Tool VC-1 will remove and or tighten the core.
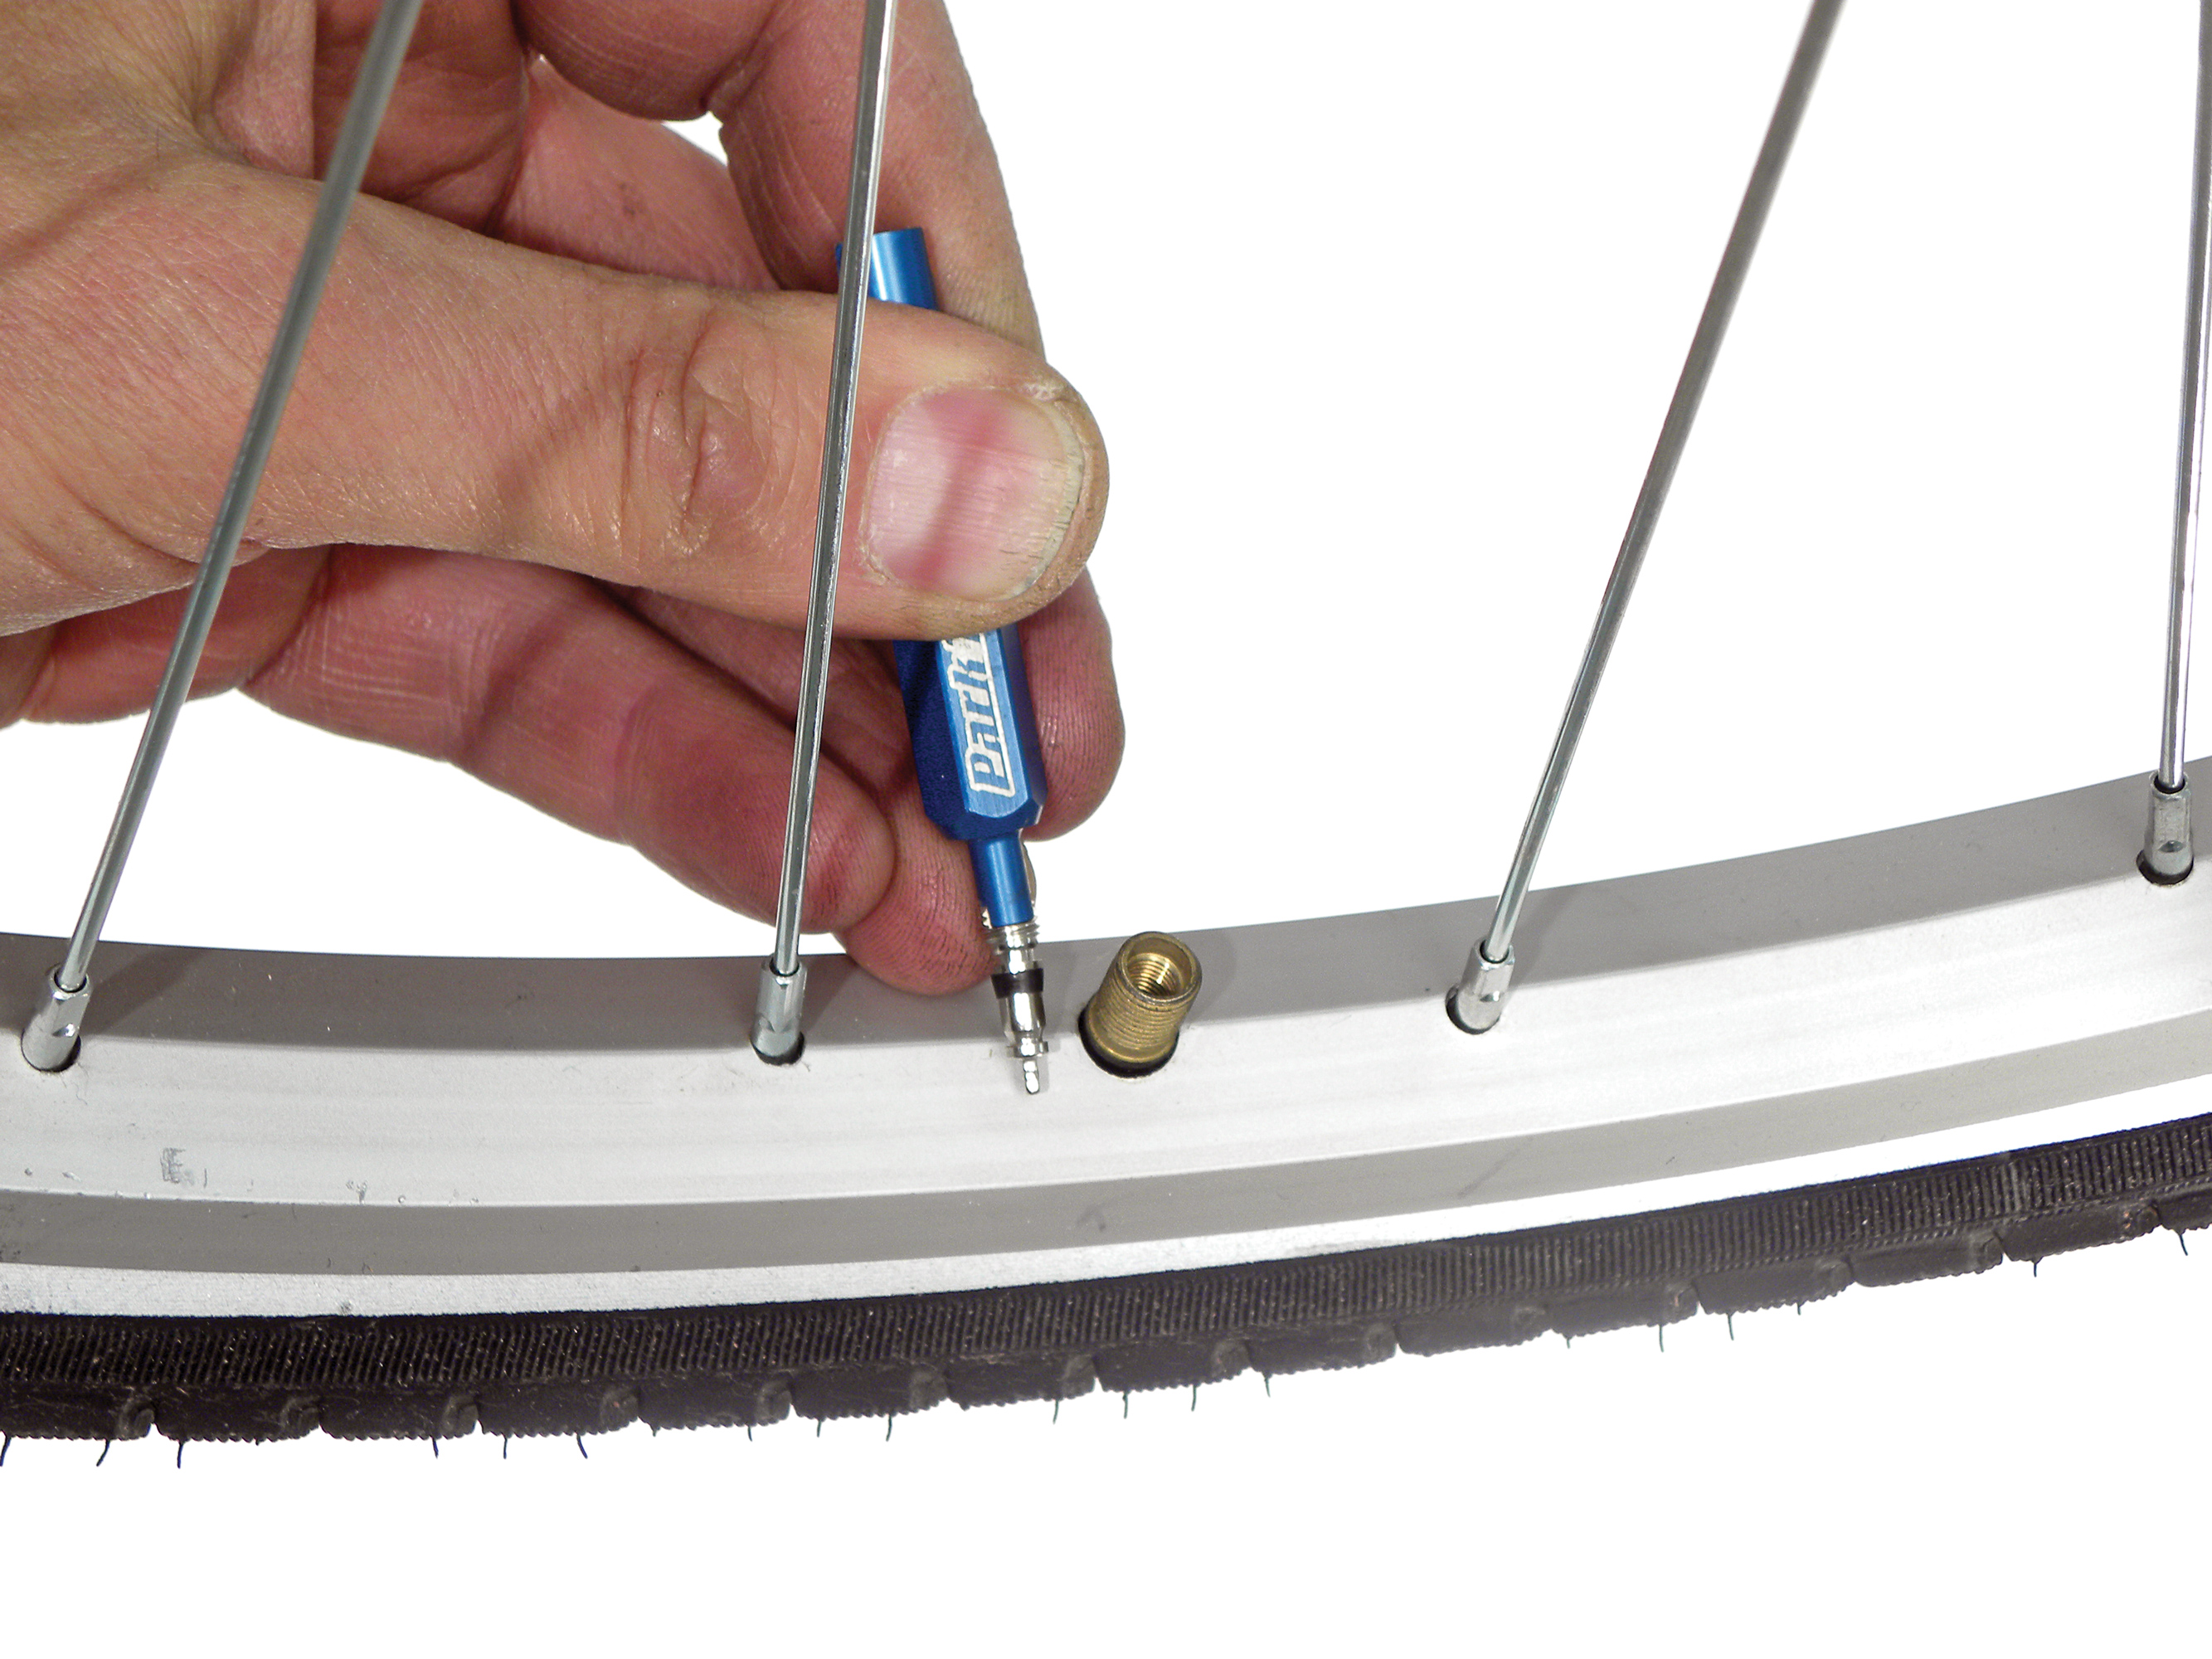
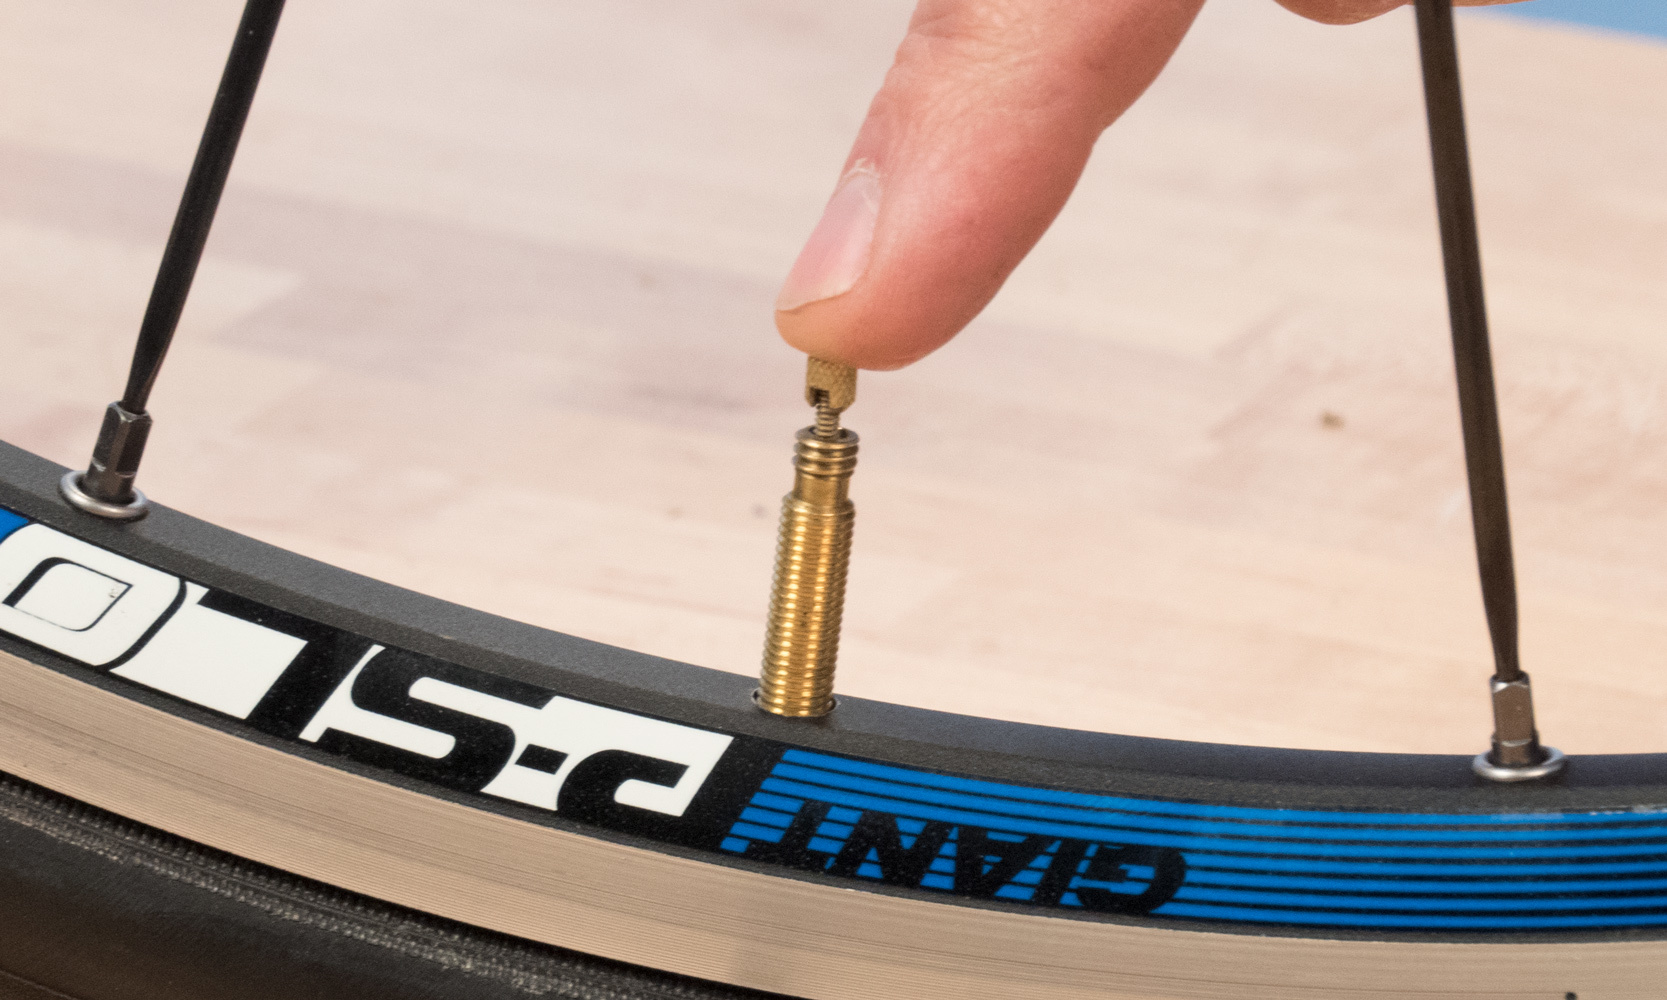
The Presta valve is common on mid and higher priced road and mountain bikes. Presta stems are nominally 6mm (1/4″) diameter, thinner than Schrader valves. At the top of the stem is a small locknut, which must be unthreaded before air can enter the tube. To deflate the inner tube, unthread the locknut. Depress the valve stem to deflate. To inflate the tube, unthread the locknut and tap the valve to insure it is not stuck.
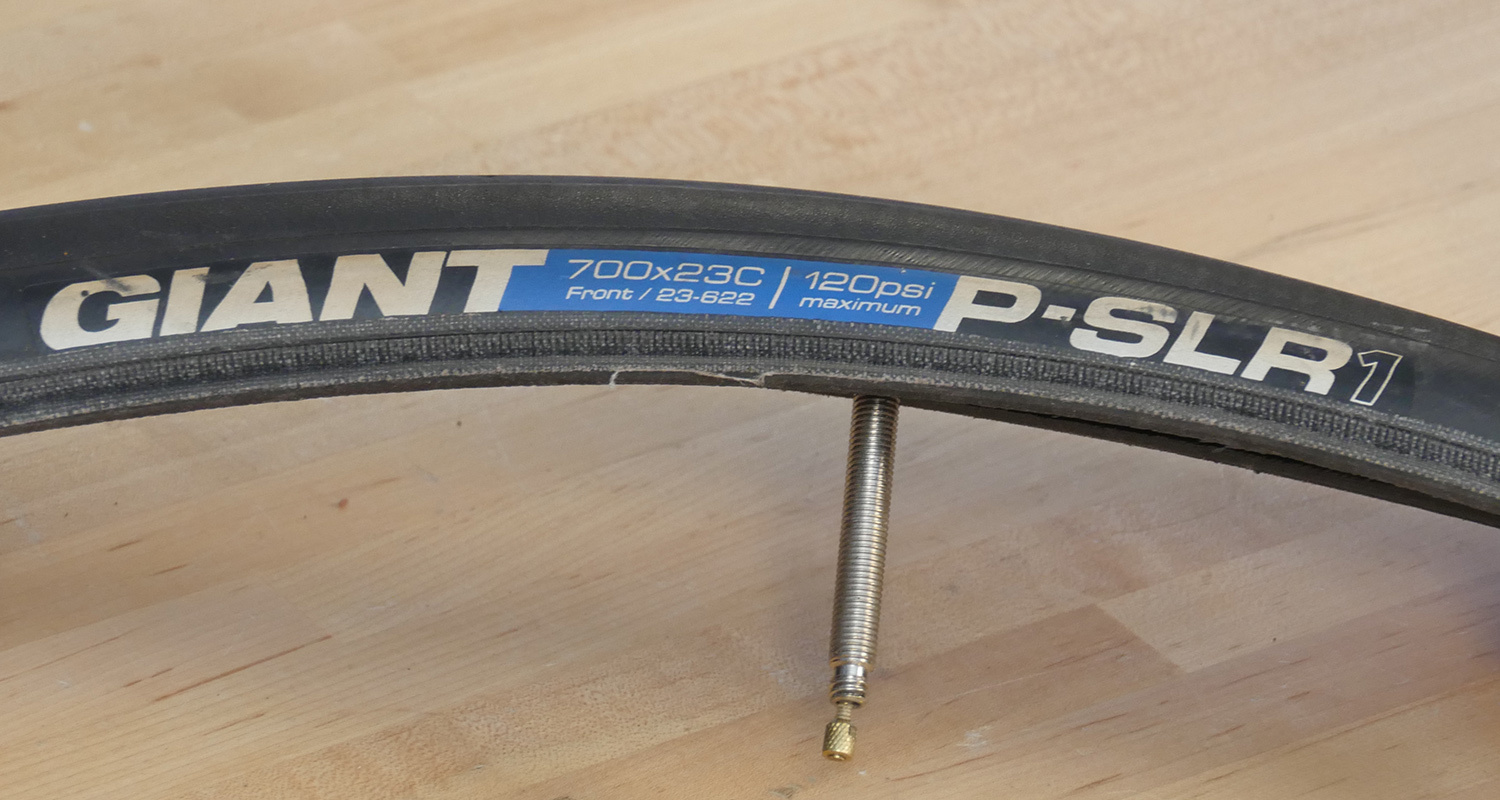
Presta valve tubes are available with different length valves. Longer valve stems are needed for deeper aerodynamic rims.
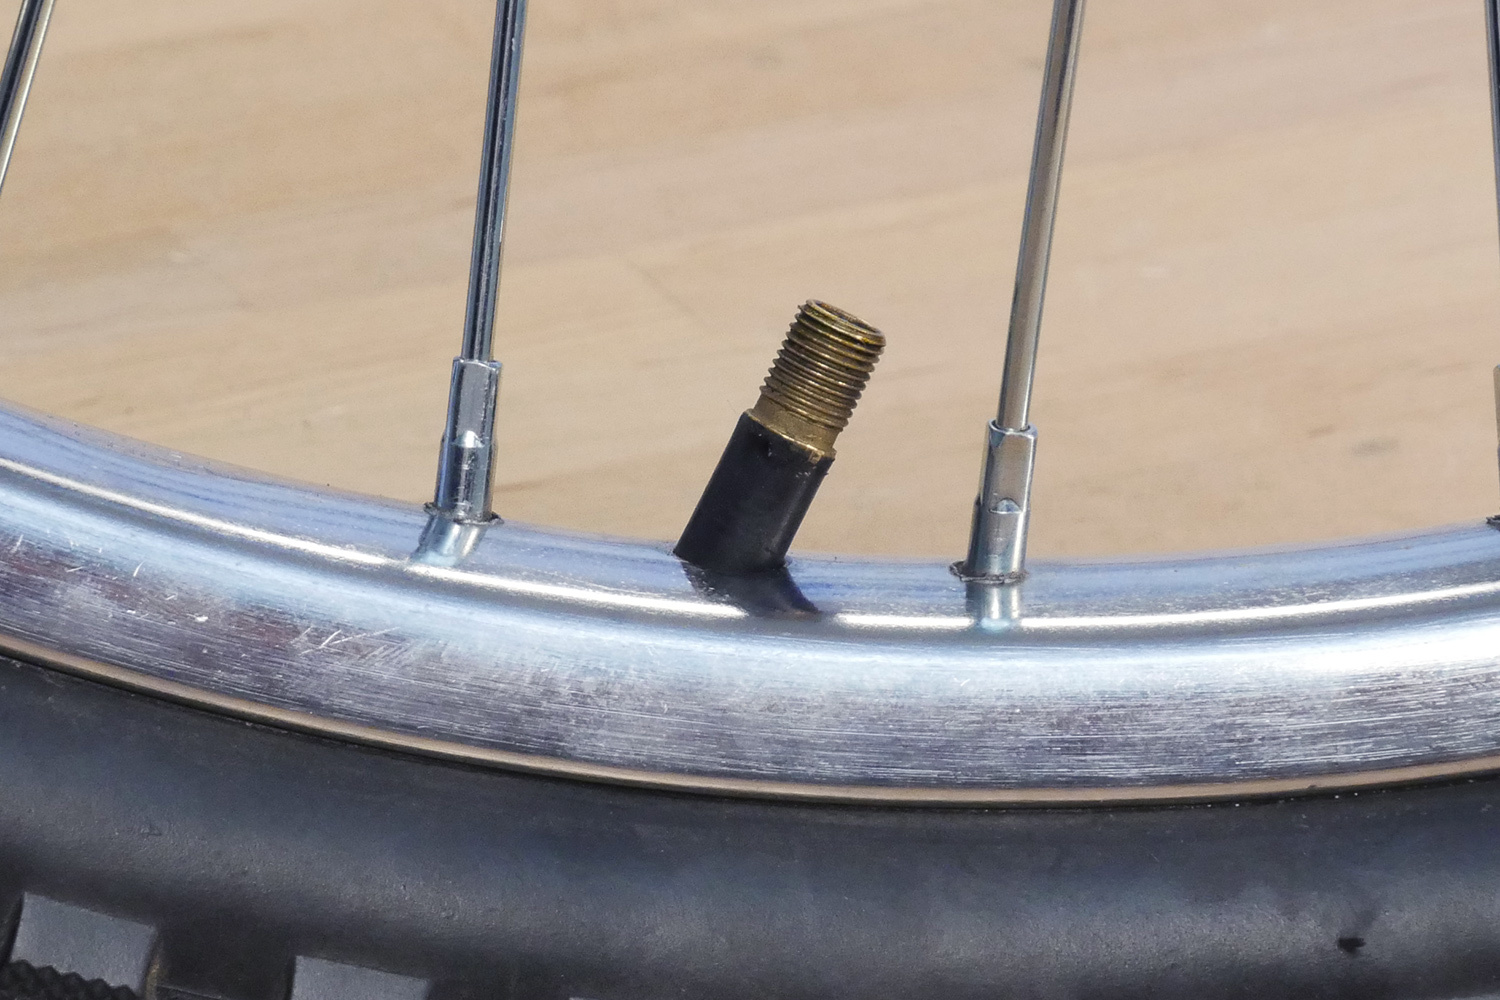
The rim valve hole should match the valve of the tube. It is possible to use the smaller Presta valve in a rim intended for the larger Schrader by using an adapter sleeve.
Inner Tube Repair
Simply replacing the punctured inner tube with a new tube is always the safest and most reliable procedure. However, it is possible in some cases to repair a small hole in an inner tube. If the hole is quite large, it may not be possible to repair. When in doubt, replace the tube.
For full instructions, see Inner Tube Repair.
Tire and Tube Installation
- Note directional arrows of tire manufacturer, if any. Directional arrows printed on the sidewalls indicate rotation of wheel. Not all tires have direction orientation.
- Inflate tube enough for tube to just hold its shape.
- Install tube inside tire. Install with tube valve adjacent to air pressure recommendations written on tire sidewall.
- Lower tire and valve into rim valve hole and align valve so it is pointing straight toward hub. A crooked valve can lead to a flat tire later.
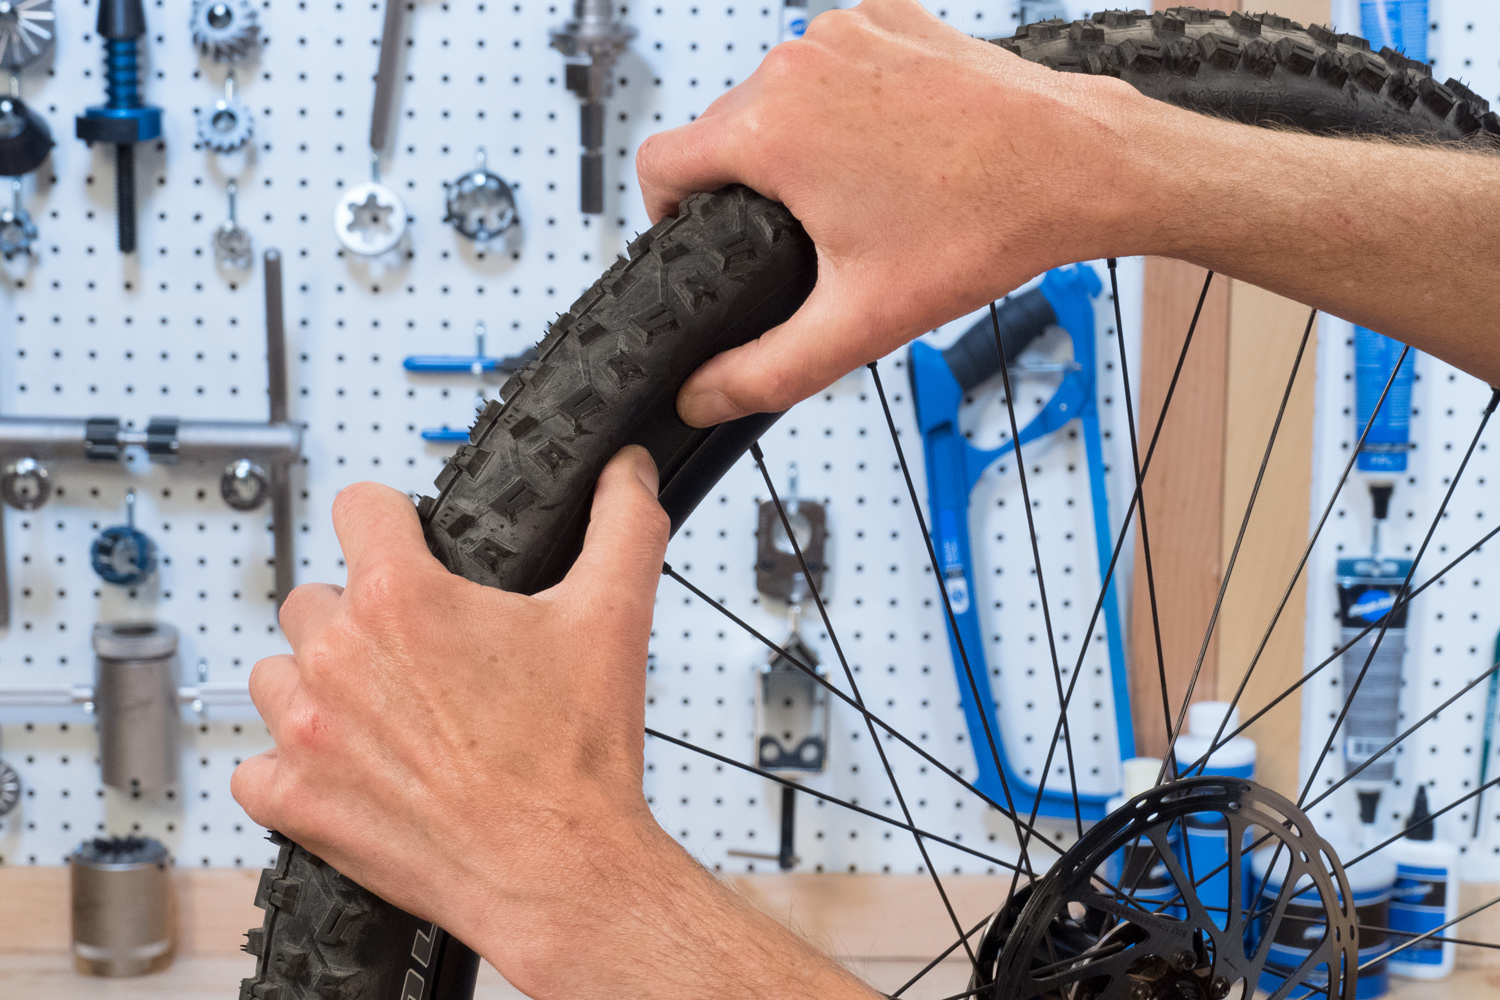
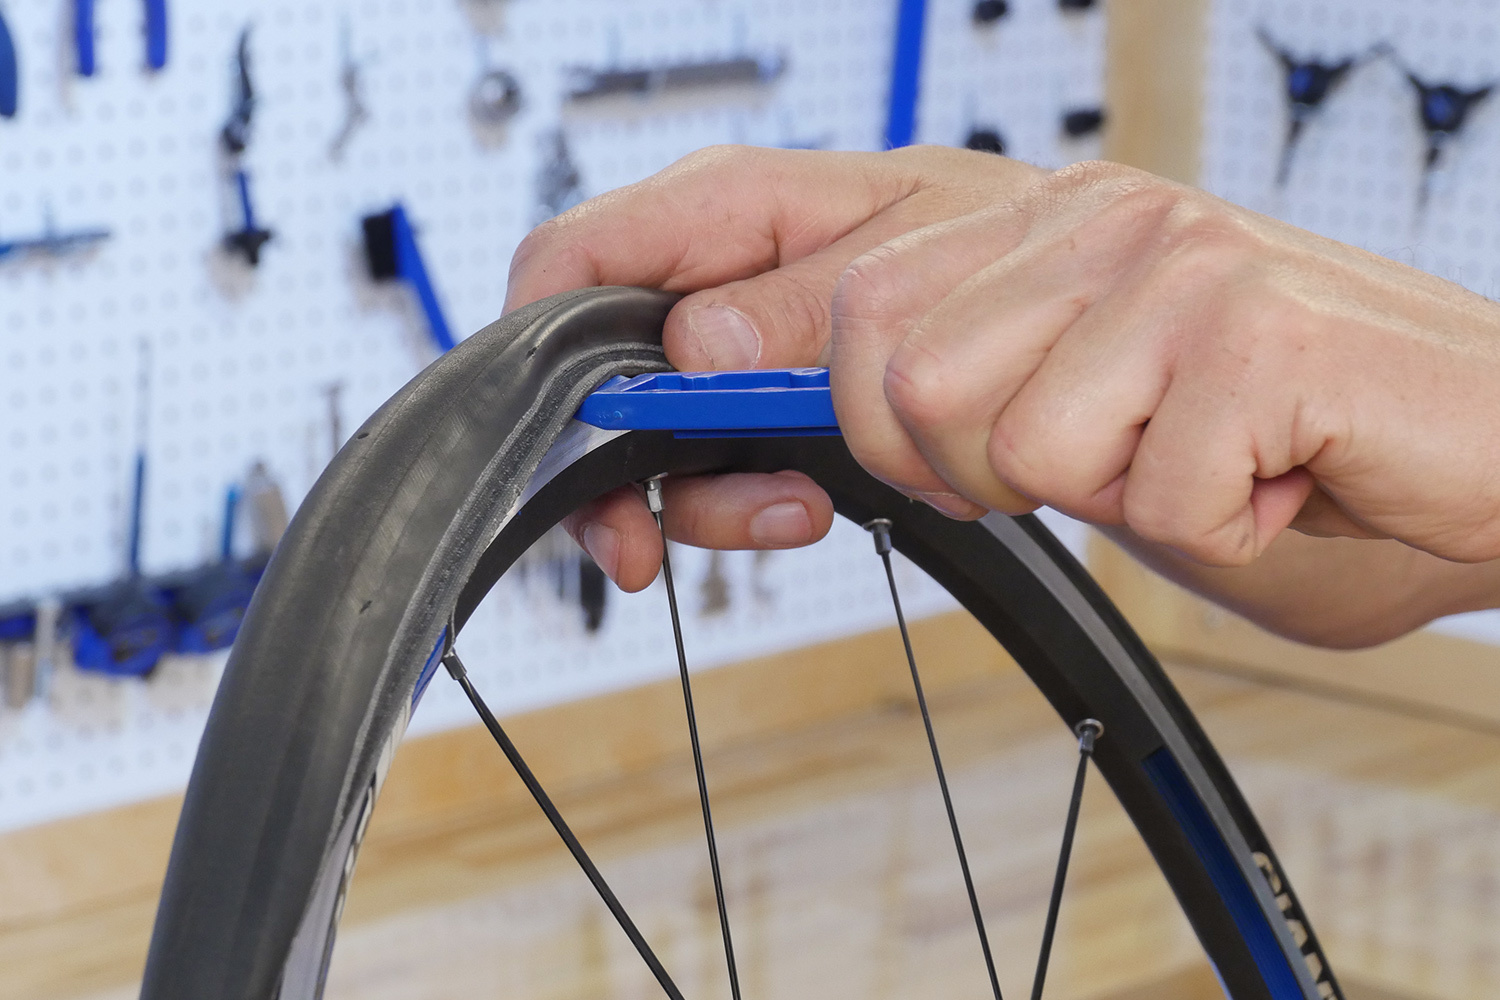
- Install one bead at a time. Work tire bead onto rim with hands. If tire bead will not seat using hand, use tire lever as a last resort. Use caution when using tire levers to avoid pinching inner tube. Engage tire lever using same orientation as removing bead.
- Work tube over rim sidewall and into rim cavity.
- Install second bead onto rim. Use care if using a tire lever.
- Inspect both sides of tire for bead seating and for any sign of the inner tube sticking out. Reinstall if necessary.
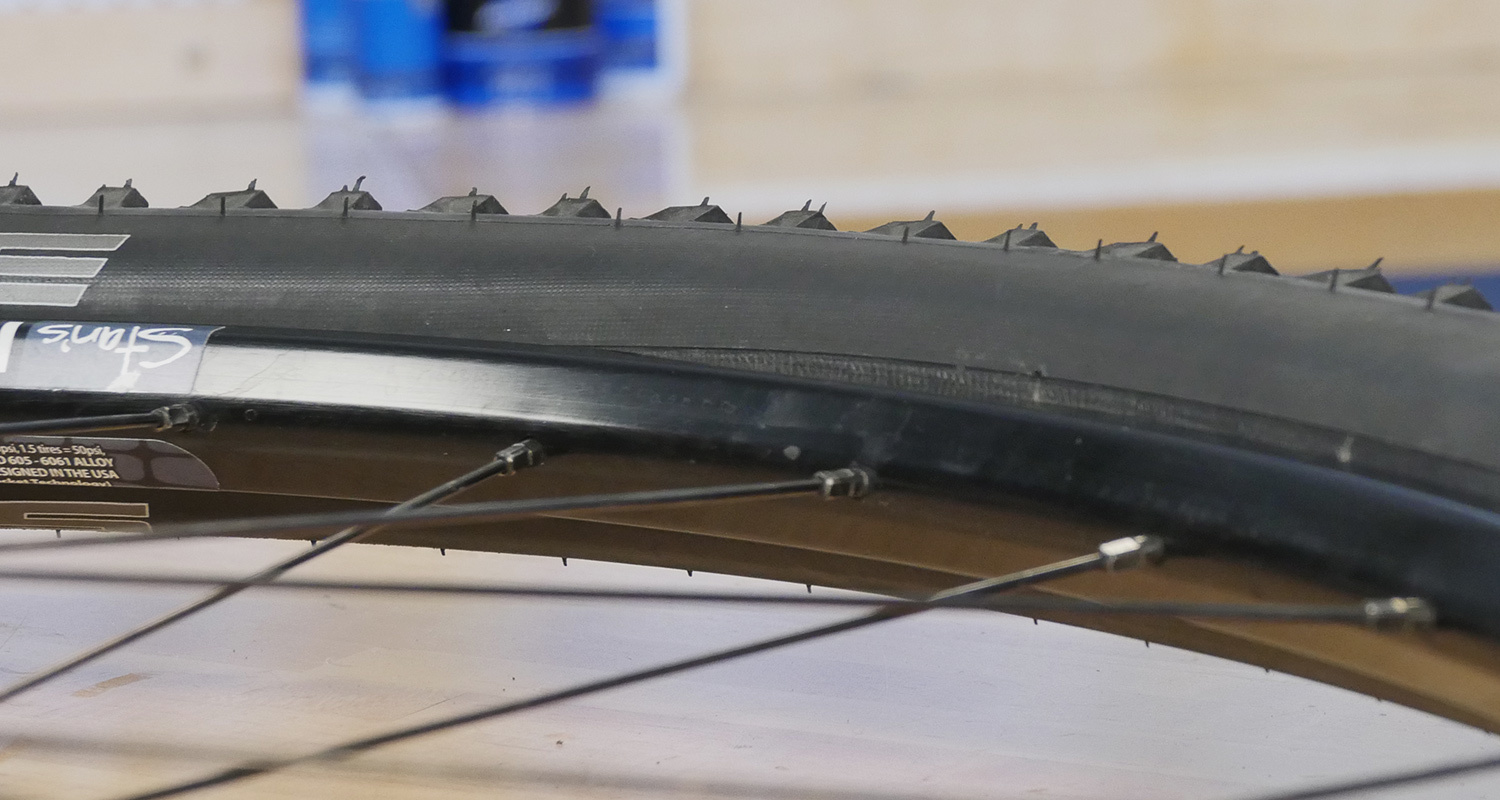
- Inflate to low pressure and inspect bead again on both sides. Look for small molding line above bead. This line should run consistently above rim. Adjust if necessary.
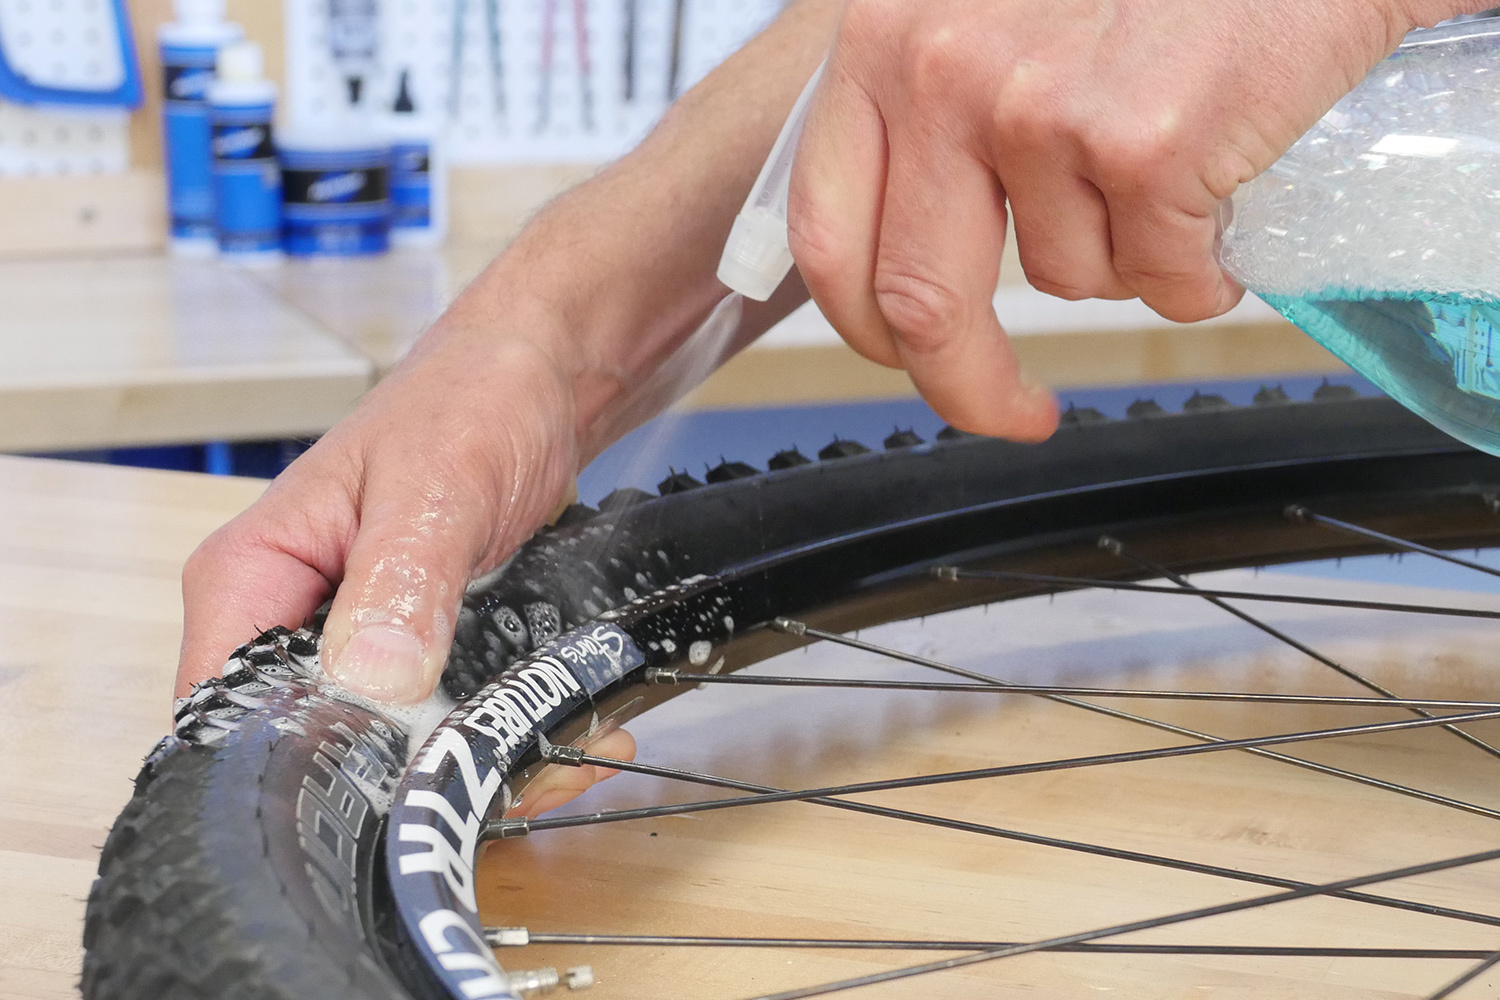
- If the tire bead is stuck below the rim, and extra air pressure doesn’t correct it, use a lubricant such as soapy water. Do not use grease or oil.
- Inflate to full pressure and check with pressure gauge. It may be necessary to press downward above the valve in order to engage the pump head. For fully threaded valve shafts, reinstall the locking nut, if any. Do not use wrench or pliers to tighten nut — tighten finger tight.
Wheel Installation
At this point, the wheel is ready to be reinstalled on the bicycle. See Wheel Removal and Installation for help with this process.
Related articles
Inner Tube Repair View Article
Tire, Wheel and Inner Tube Fit Standards View Article
Wheel Removal and Installation View Article