Brake Housing & Cable Installation: Upright Bars
This article will review housing and cable installation for upright bar brake levers.
Preliminary Info
- CN-10 Professional Cable and Housing Cutter
- SP-7 Side Cutter Pliers
- UP-SET Utility Pick Set
- CL-1.2 Chain Lube or other light lubricant
- Brake housing, end caps, and cables
- Mill file (for brake housing as needed)
The brake lever is connected to the brake caliper by the brake housing. The housing allows the cable pull to be routed along the frame, around bends, or down the fork. As the lever pulls the cable inside the housing, the calipers at the other end squeeze against the rim or rotor.
There are certain housings and cables that are appropriate and inappropriate for a brake system. Derailleur shift housing uses “compressionless housing,” which is very rigid. The support wires run in line with the load. This provides a very and rigid shifting system. Do not use the housing for brake cables because there is much greater lateral force on the cable and this may result in housing failure.
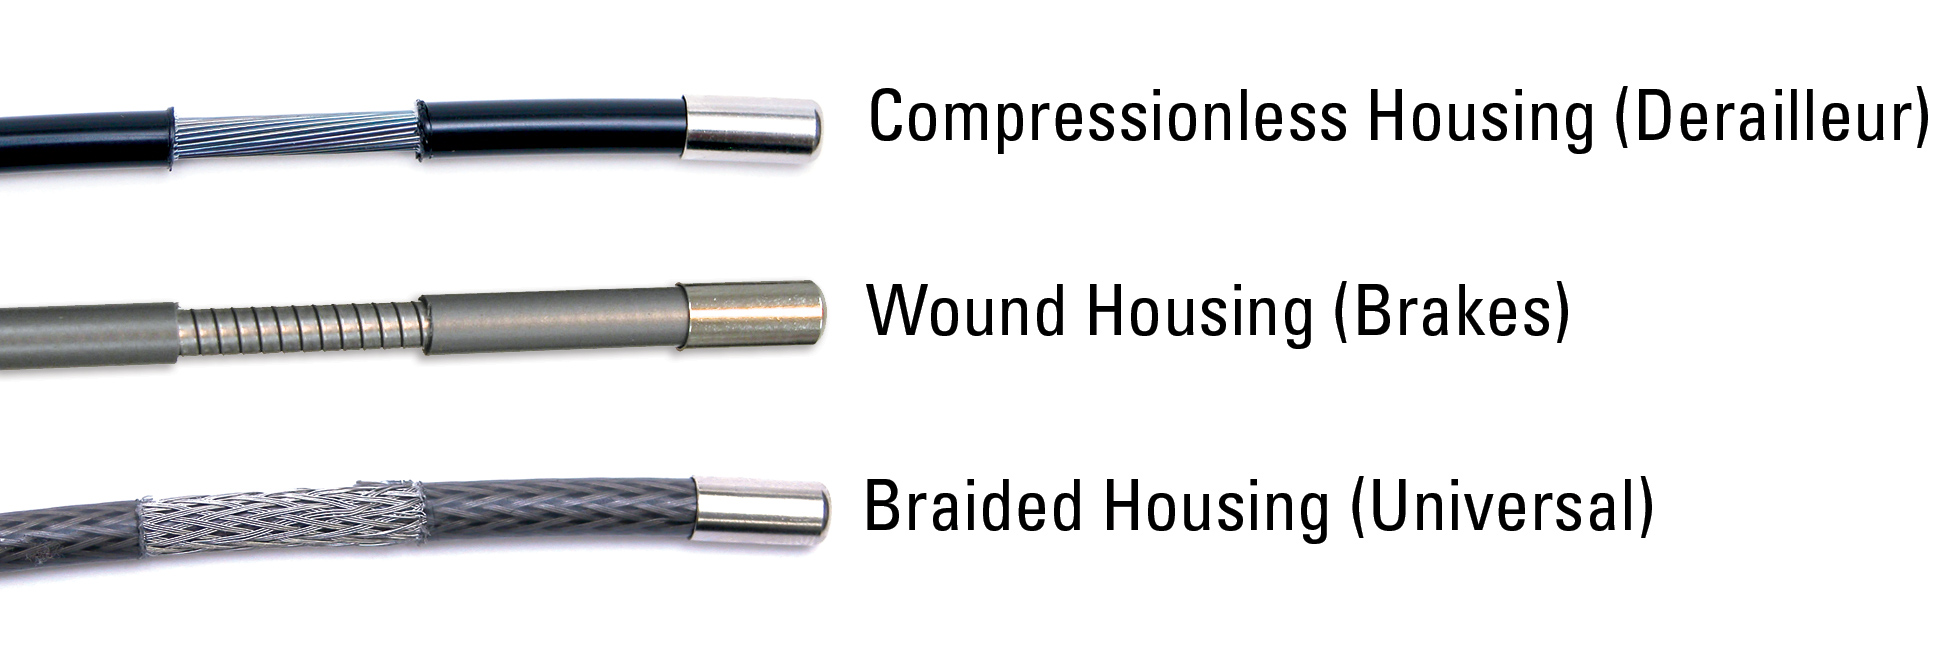
Traditional brake housing is called “wound housing,” which uses a single spiral wrap of steel. This type of housing is very strong in the direction of the force of braking, fairly inexpensive and does a good job of braking. A subtle line pattern from the coil often shows through the plastic casing.
Another option seen in the lower sample is a woven, or braided housing. Inside is a similar similar system to the compressionless housing, but this housing also uses a Kevlar weave on the outside of the liner. This type of housing is a more expensive system, but does provide good, rigid, high performance brake housing.
Determine Housing Length
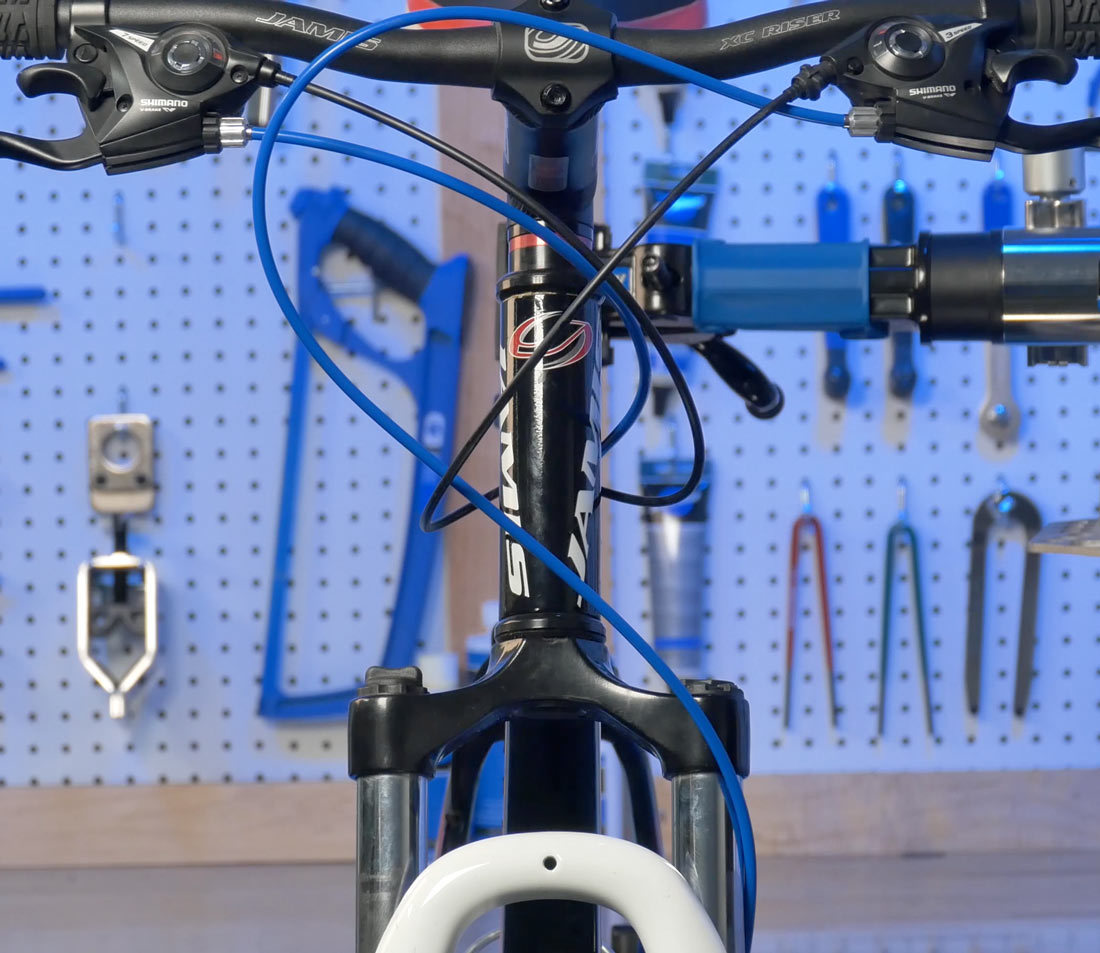
Brake and gear housing allow the cable to be routed around bends and connect the levers to the frame stops. The less drag on the cables, the better the shifting and braking performance. Housing that is too short will kink and bind, creating even more friction. As a rule of thumb, try to size the housing so it is as short as possible but it still enters the stops and barrel adjusters in a straight approach.
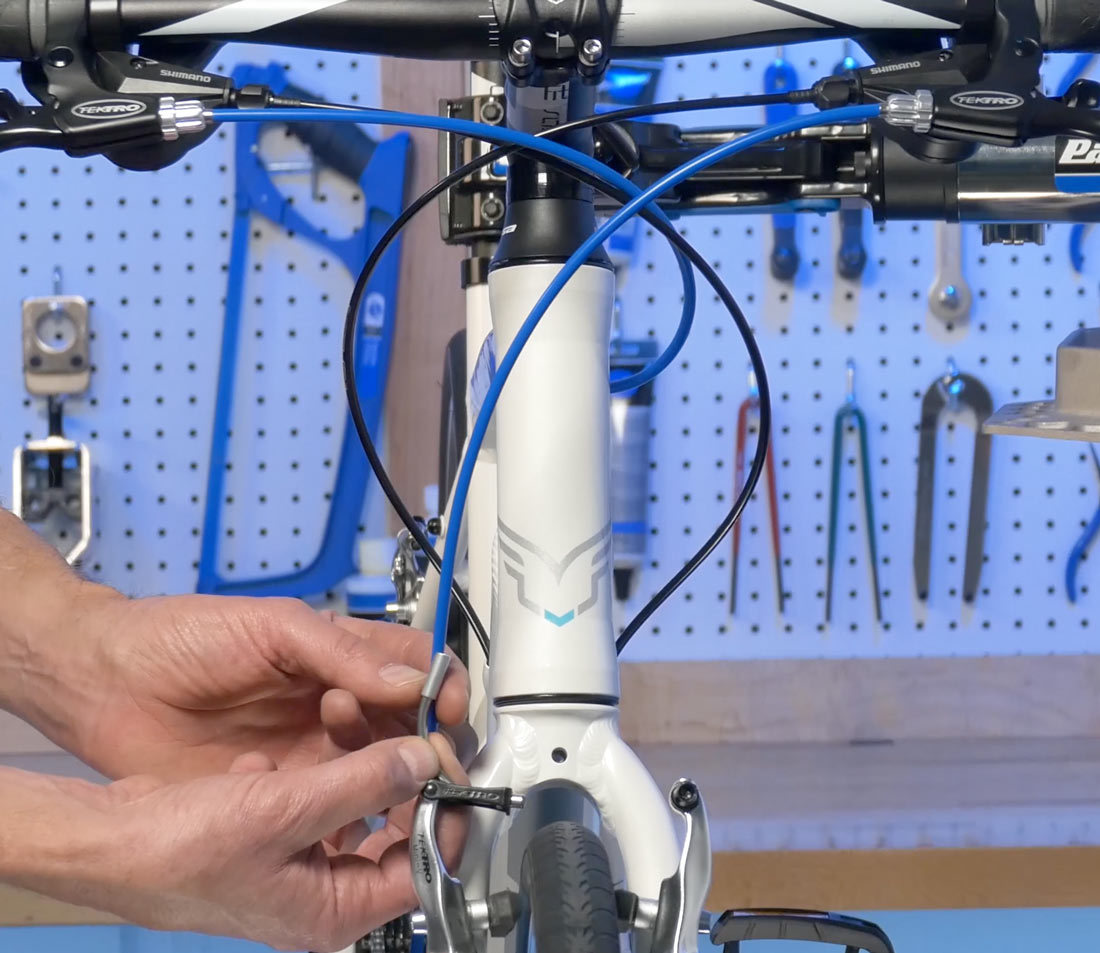
This brake housing is too long bending far past the housing stop at the lever
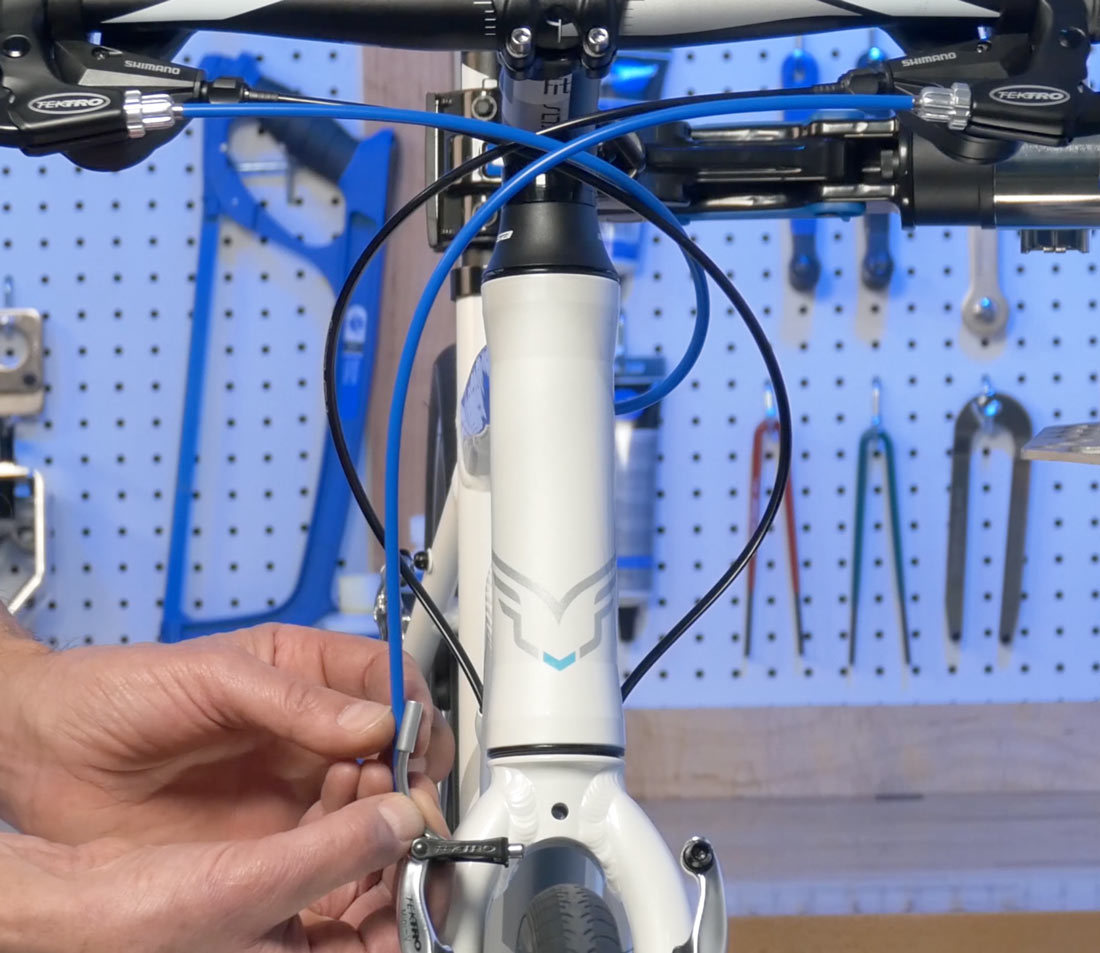
Housing that is too short enters at brake lever at an angle
Generally the idea is to have the housing be no longer than needed to enter the housing stops in a straight line. This is the same for both front and rear brake housing.
Cut & Prep Housing
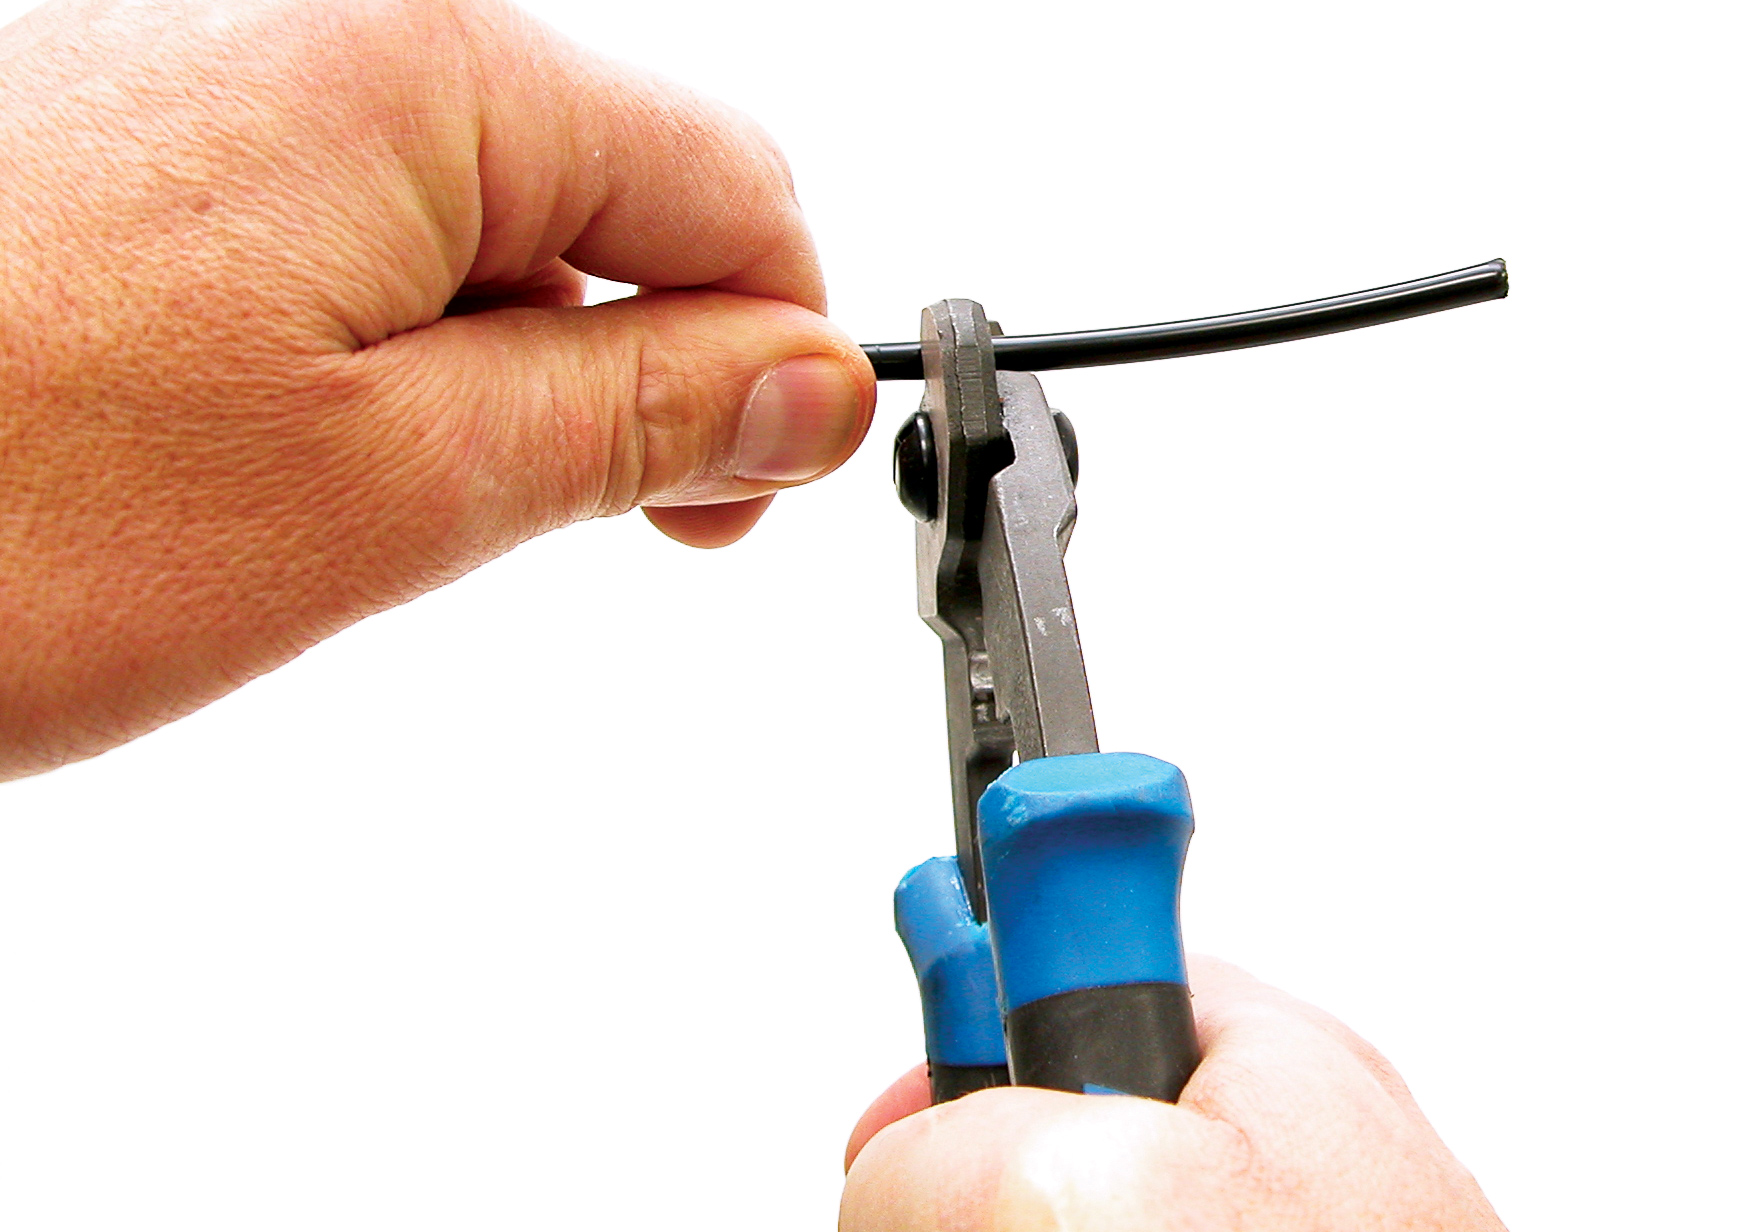
Brake housing is a single piece of wound wire so to cut the wound housing, use diagonal cutters, and reach to the end of the jaws where there’s the most leverage. Flex the housing slightly to open up the coils and achieve a cleaner cut. Sometimes there will be a sharp burr. Carefully cut using diagonal cutters to trim burr.

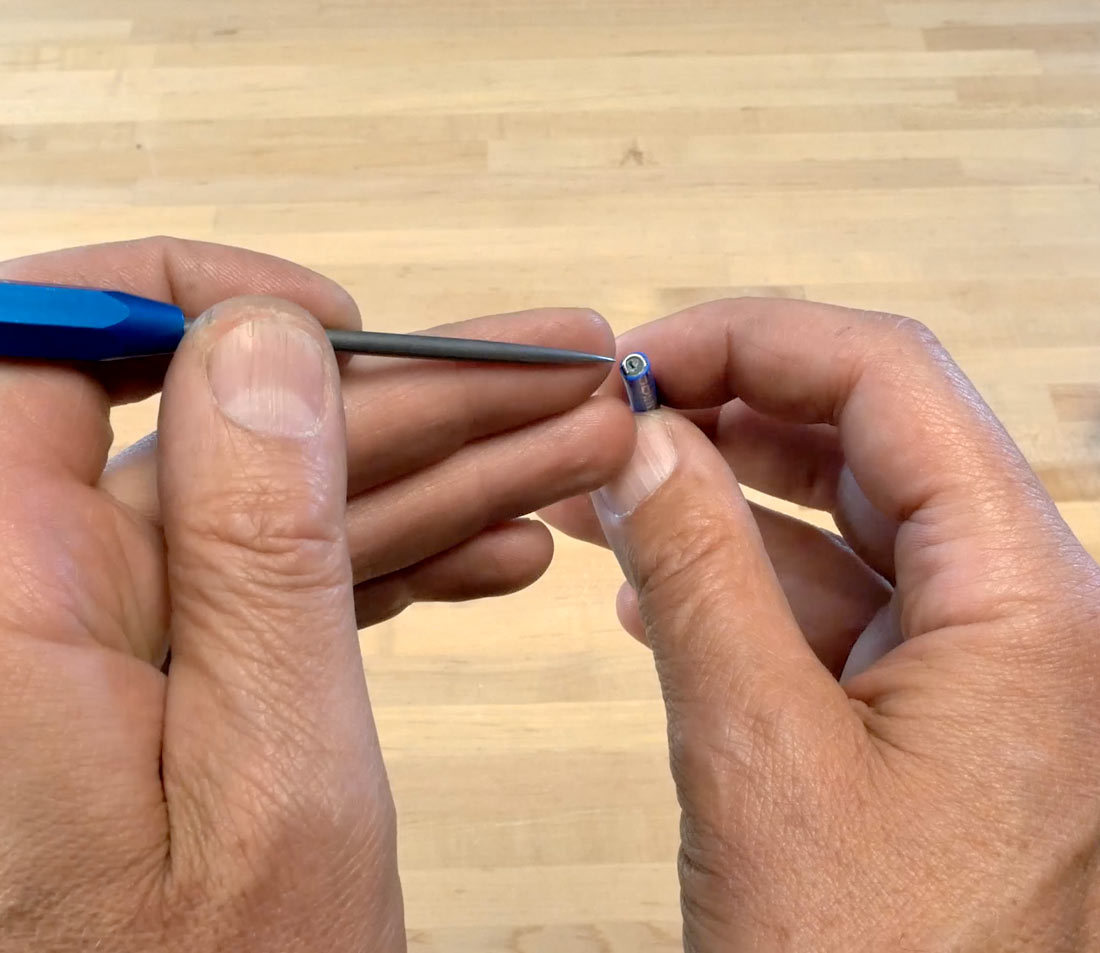
If there is still a closed end for our plastic liner, use a seal pick to open it.
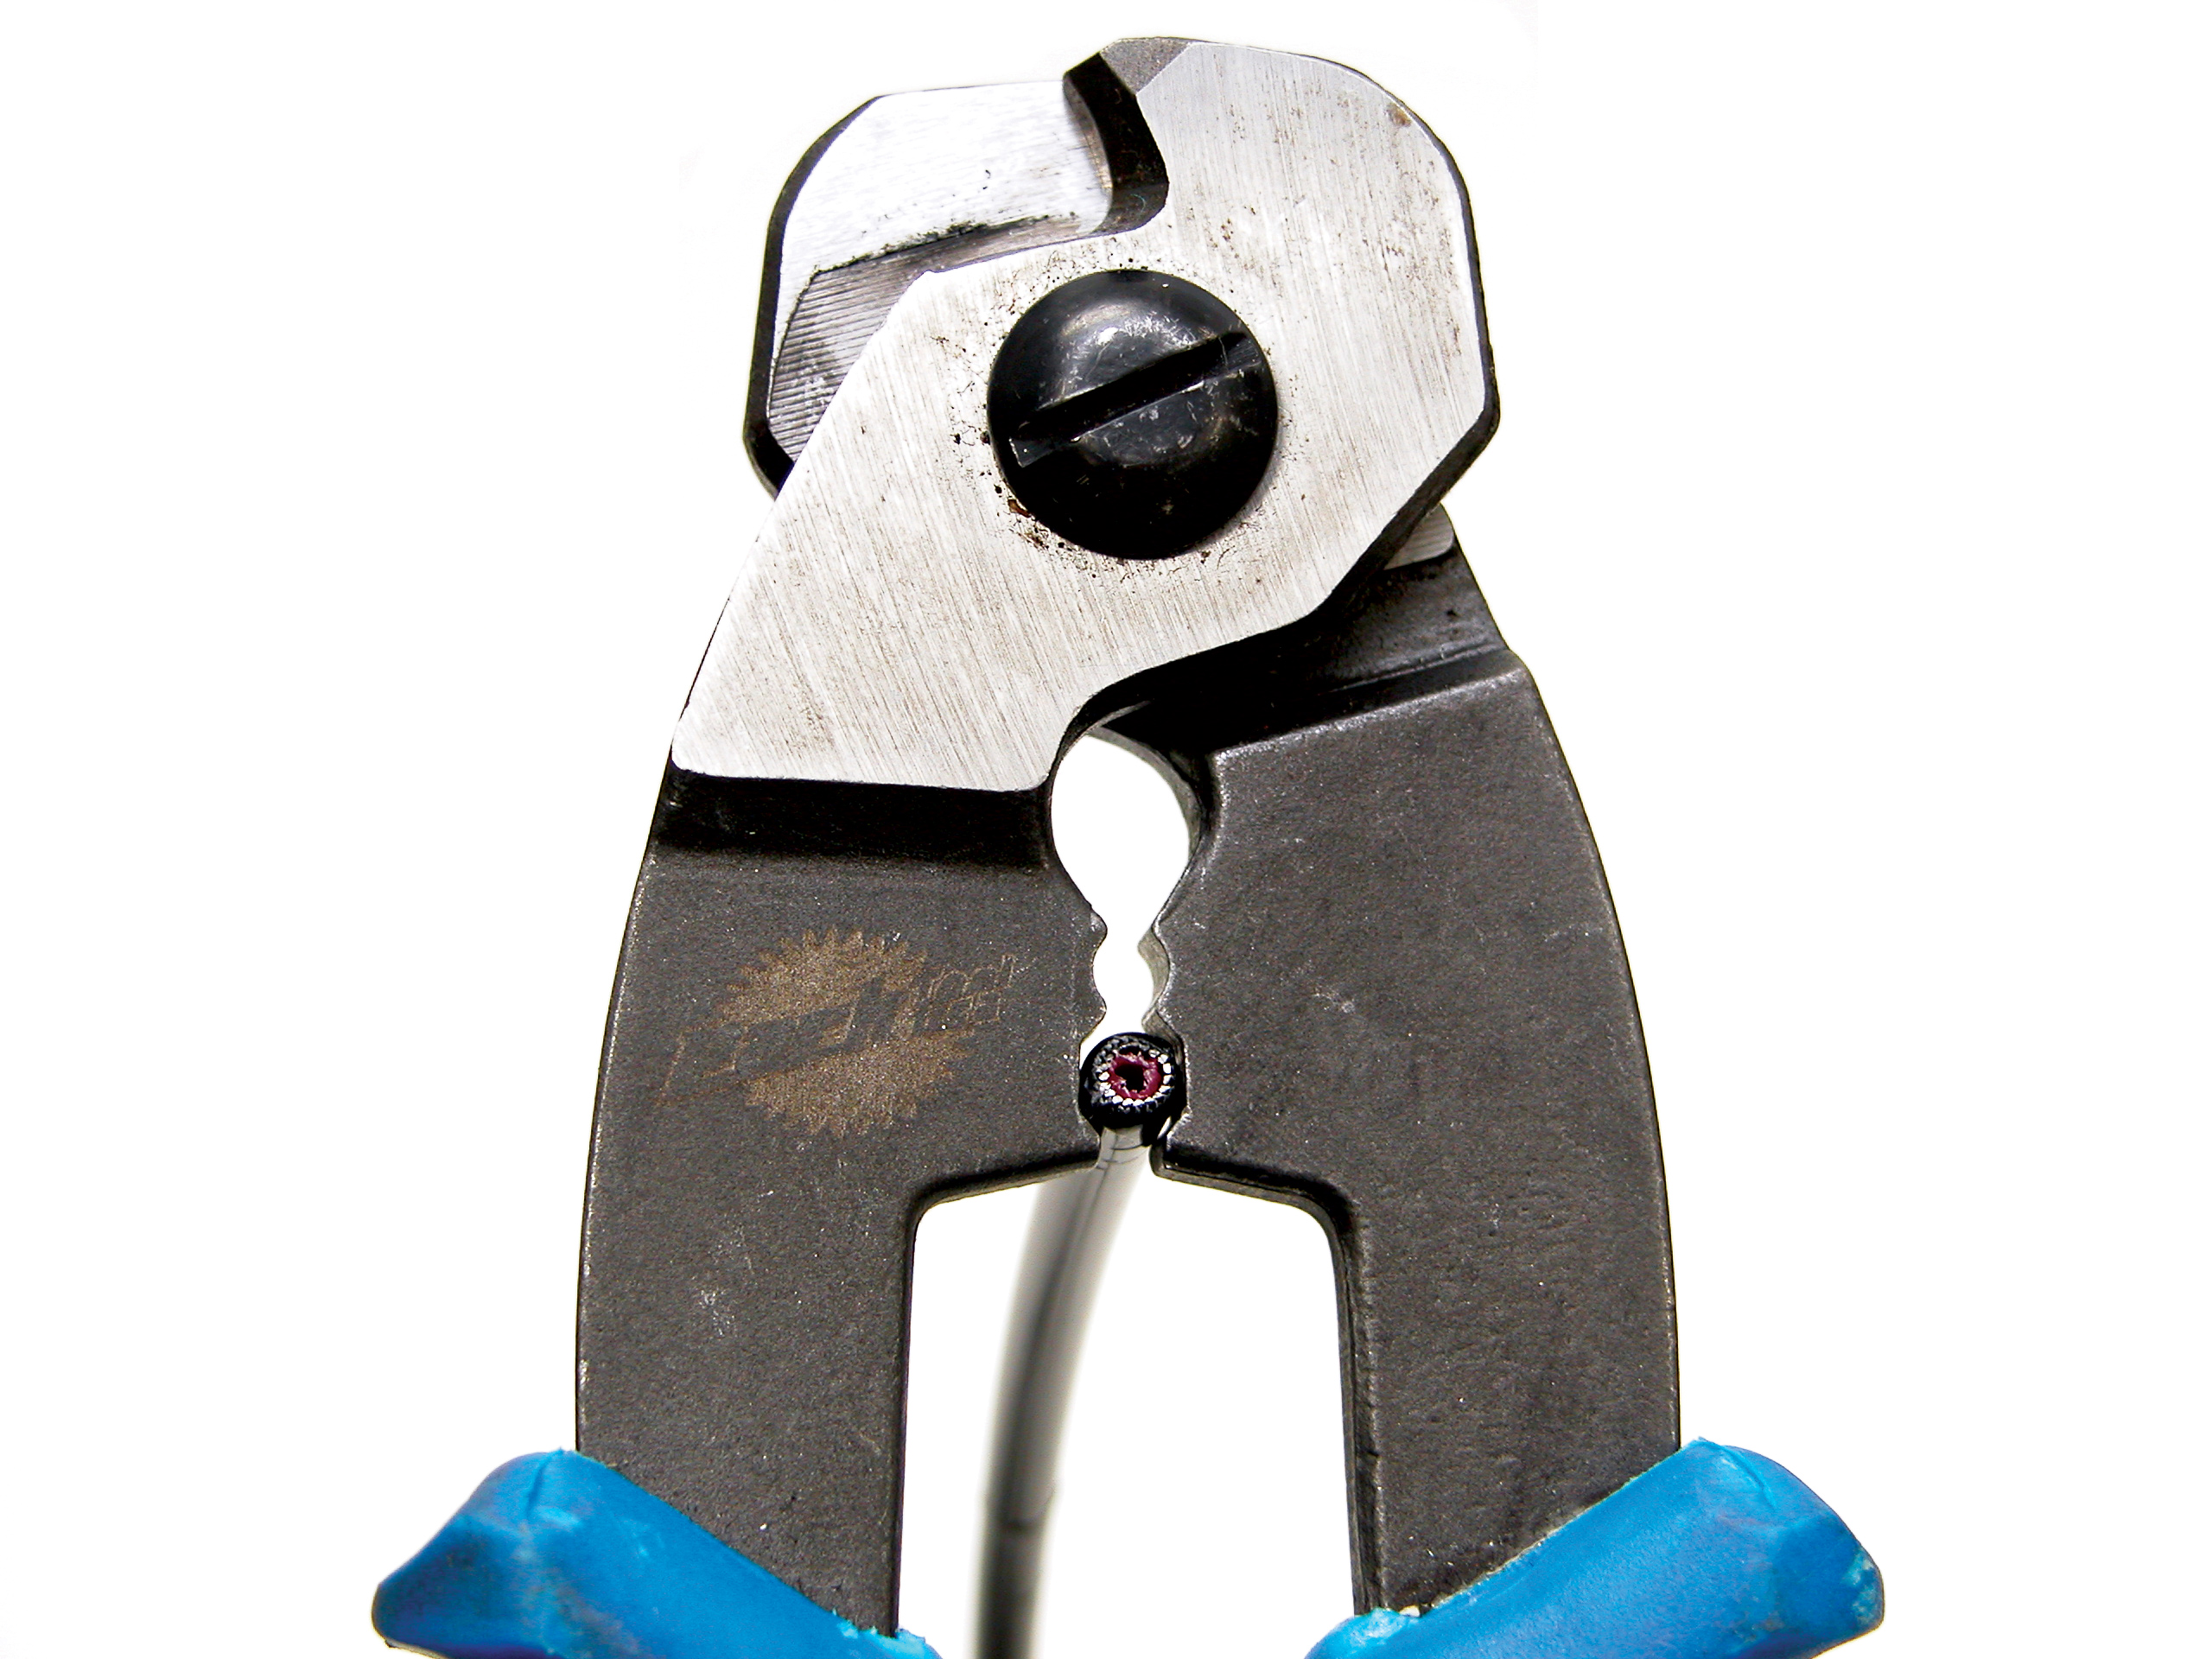
The braided or woven housing is cut with a cable cutter. Hold the housing square to the cable cutter as it is cut.
If the end housing end was deformed, use the crimper part of the tool to open up the housing. Use a seal pick if necessary to open up the inner liner.
Because of the design of the housing wire, it is not always possible to get a flat, clean cut. It is best to finish any burr with a file. Lightly grinding the end will also improve the housing and reduce friction. NOTE: compressionless housing does not require finishing.
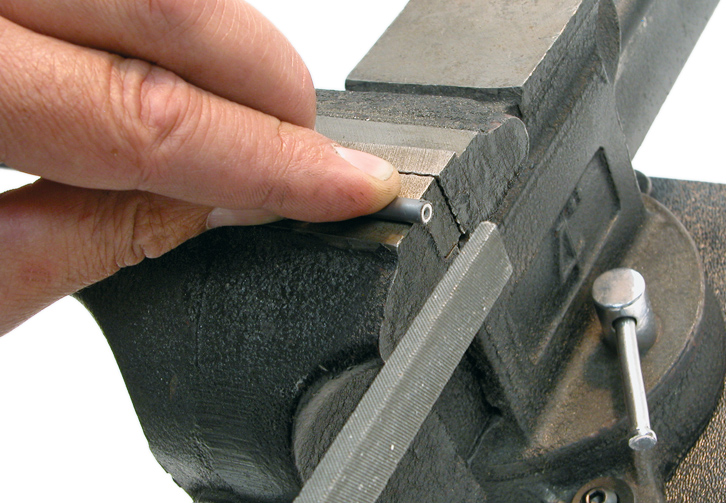
Trimming with side cutters cannot always remove a burr. These can sometimes be filed out by hand. When available, use the 5 millimeter slot with the housing protruding slightly. Gently snug down the vice, then come across the top with a file to remove the burr.
After the wound wire is filed flat and smooth, it may pinch off the liner. Use a seal pick to open it up.
Using some light lubrication inside the liner will help displace any water that might enter. A chain lubricant is a good choice.
Install Cable & Housing
Brake cables are commonly sold with two ends. The mushroom or teardrop end is for the drop bar style lever. The round or disc end is for the upright handlebar brake lever. So here we will remove the mushroom end.
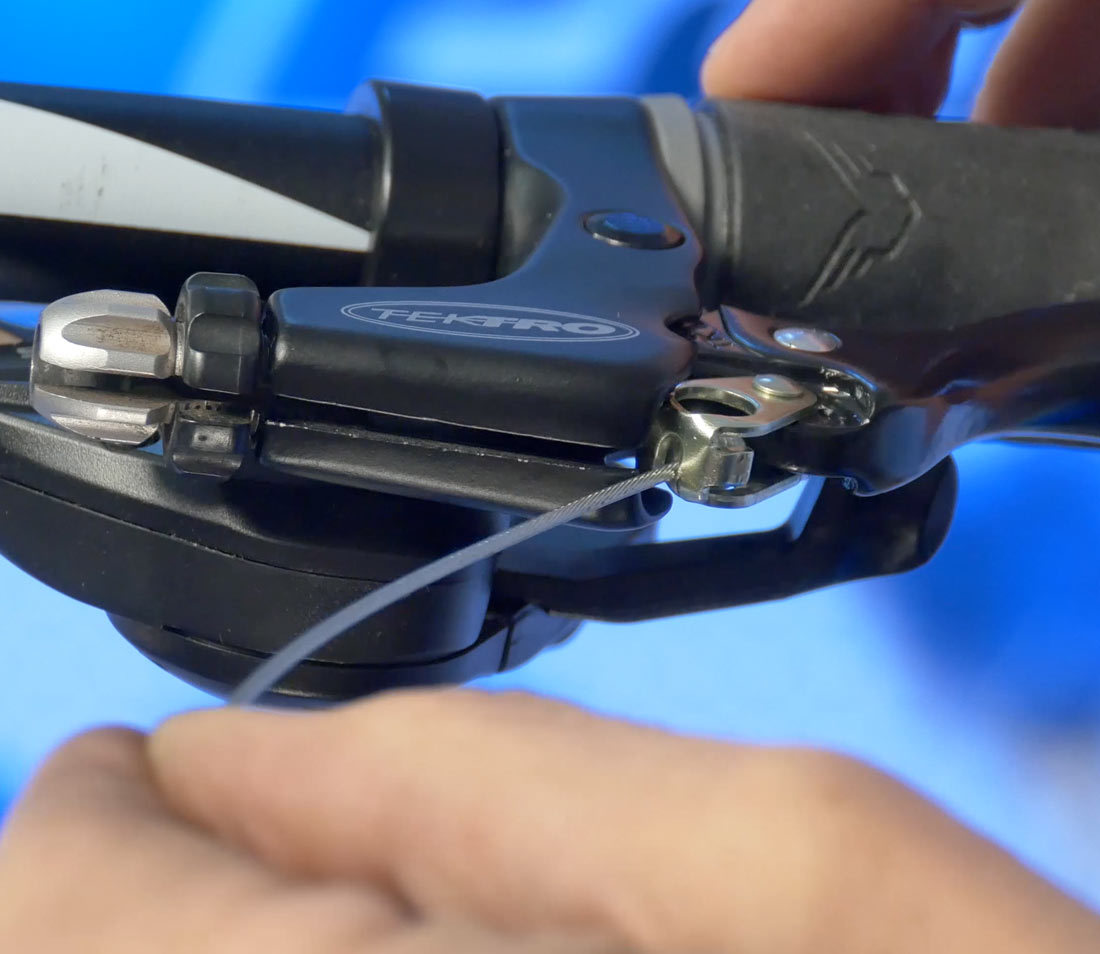
For most flat bar lever, there is a system to install cable built into the lever. Locate a groove in the brake lever, and then notice the lockring and barrel adjuster will also have grooves. Align this groove to create an opening in the lever. Next, pull the lever back and engage the cable end in the linkage that carries the cable. Lay this into the opening or groove all the way out, give that a half a turn to hold it in place.
Related articles
In-Line Brake Levers View Article
Brake Lever Mounting & Positioning: Upright Bars View Article