Crank & Bottom Bracket Removal & Installation: Campagnolo® Ultra-Torque®
This article will review how to remove and install bottom brackets for Campagnolo® and Fulcrum® Ultra-Torque® cranksets. The service requires the use of the CBP-8 Campagnolo® Crank and Bearing Tool Set.
Preliminary Information
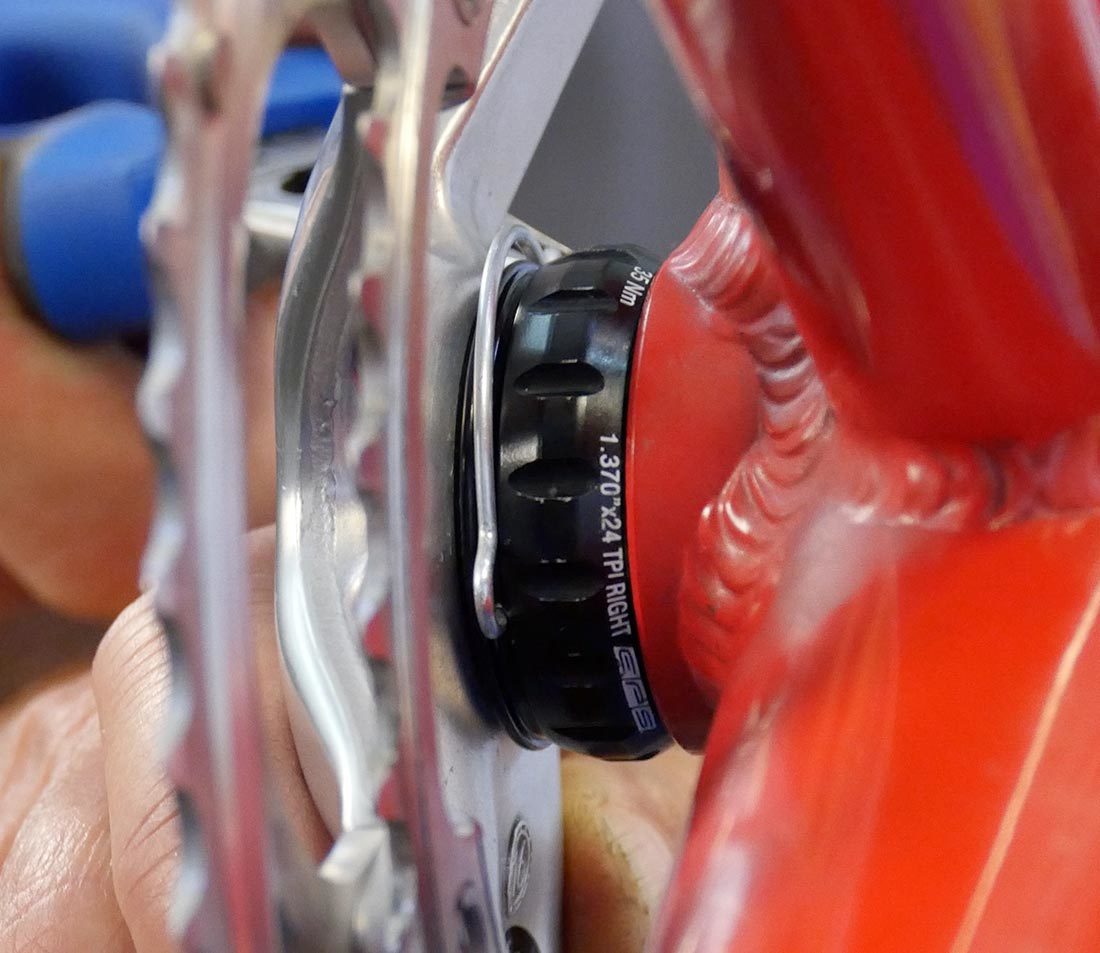
The Campagnolo® Ultra-Torque® system integrates both the spindle and bearings into the arms. The cups are installed in the bike without cartridge bearings. The bearings are pressed to the crank spindle. When the cranks are removed, the bearings come with the arms.
Crank Removal
The bearings are removed from the bike after the cranks are removed. Begin by removing the retaining clip from the drive-side cup.
Remove the crank bolt. NOTE: for Super Record™ cranks, the bolt is a left-hand thread and removes clockwise.
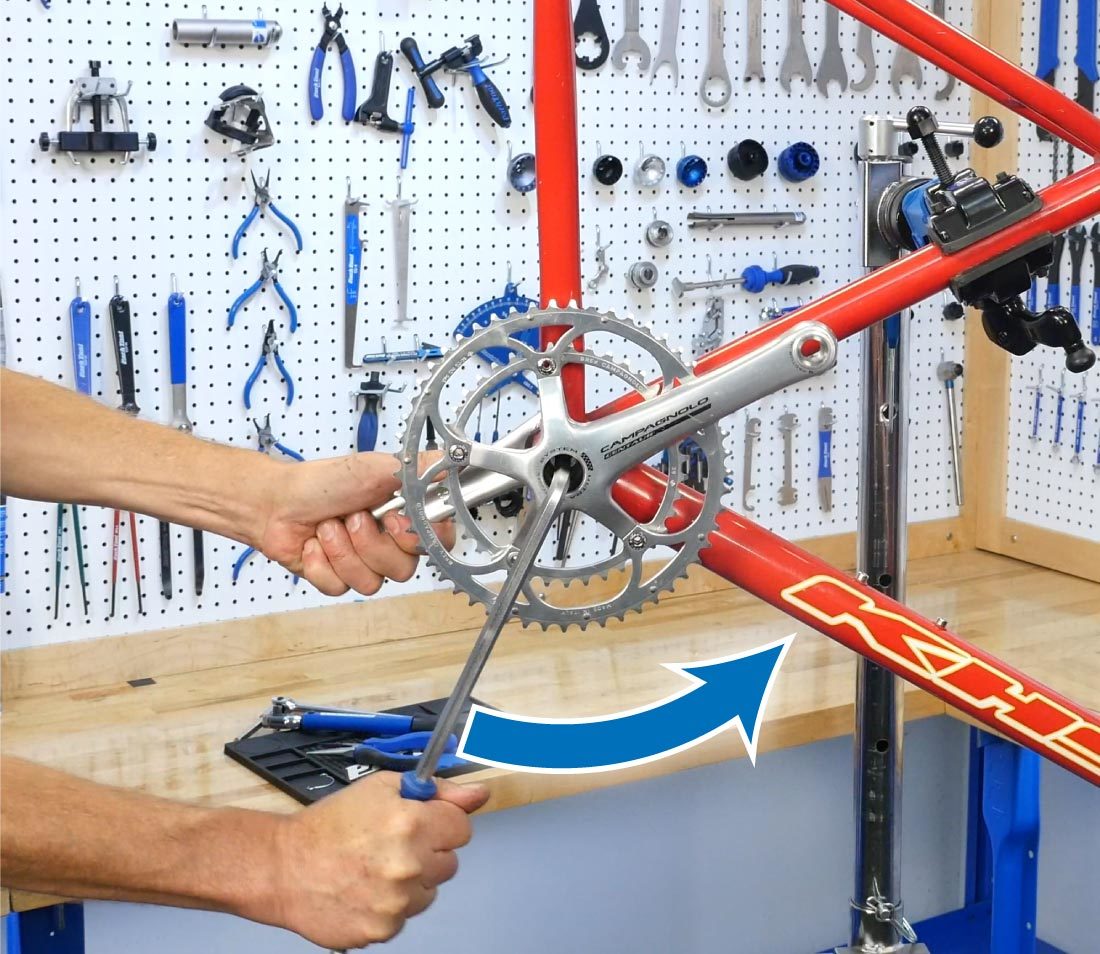
Loosen counterclockwise for non-Super Record™
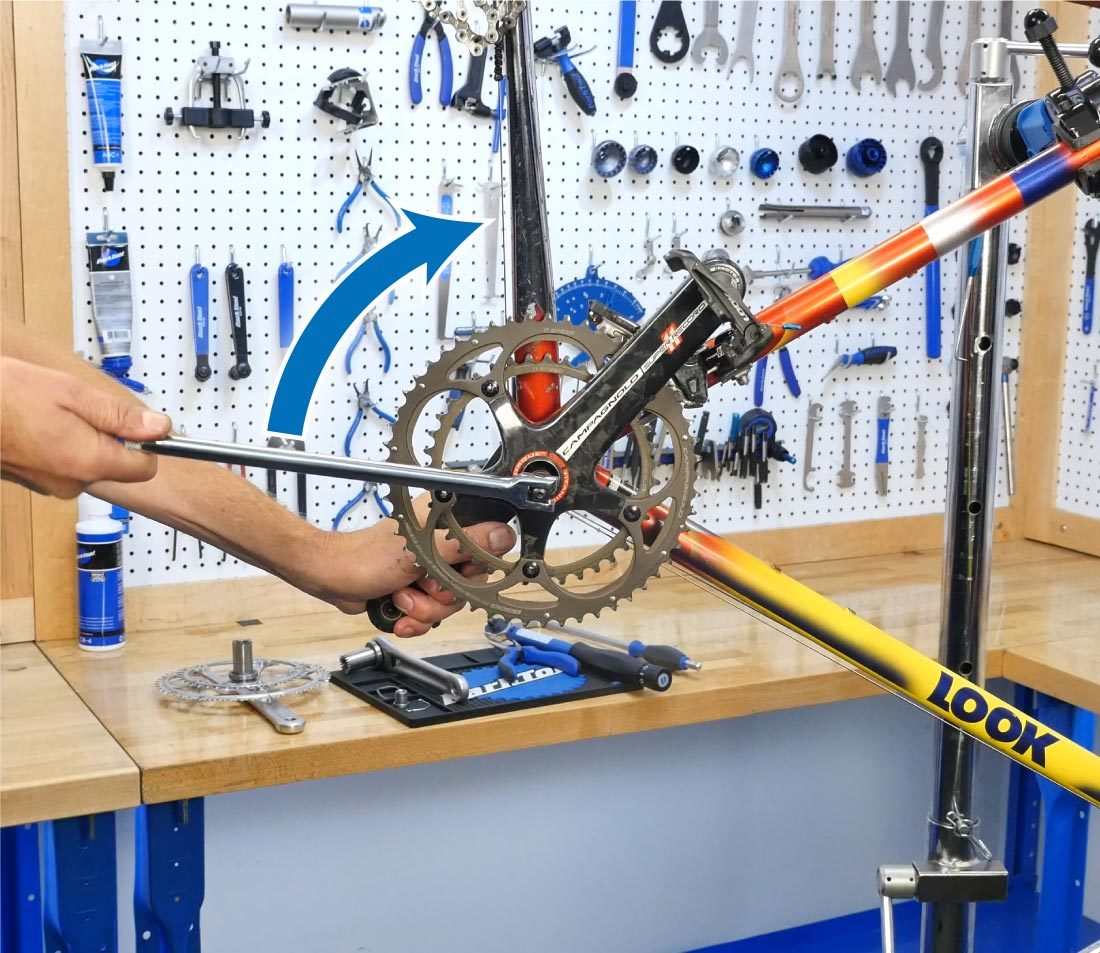
Super Record™ loosens clockwise
If removing the crank only, such as for cleaning or internal routing, the process of removal is done. Skip to crank installation.
Bearing Removal
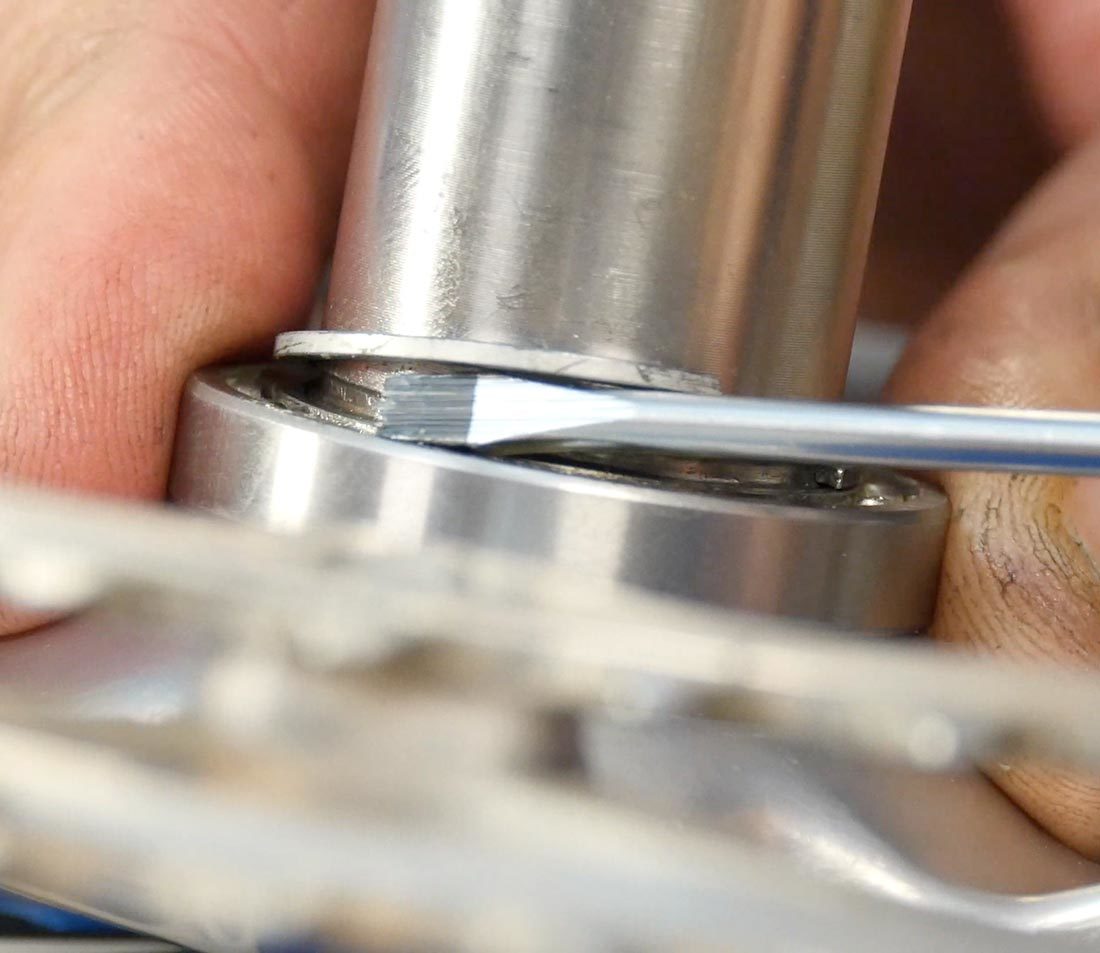
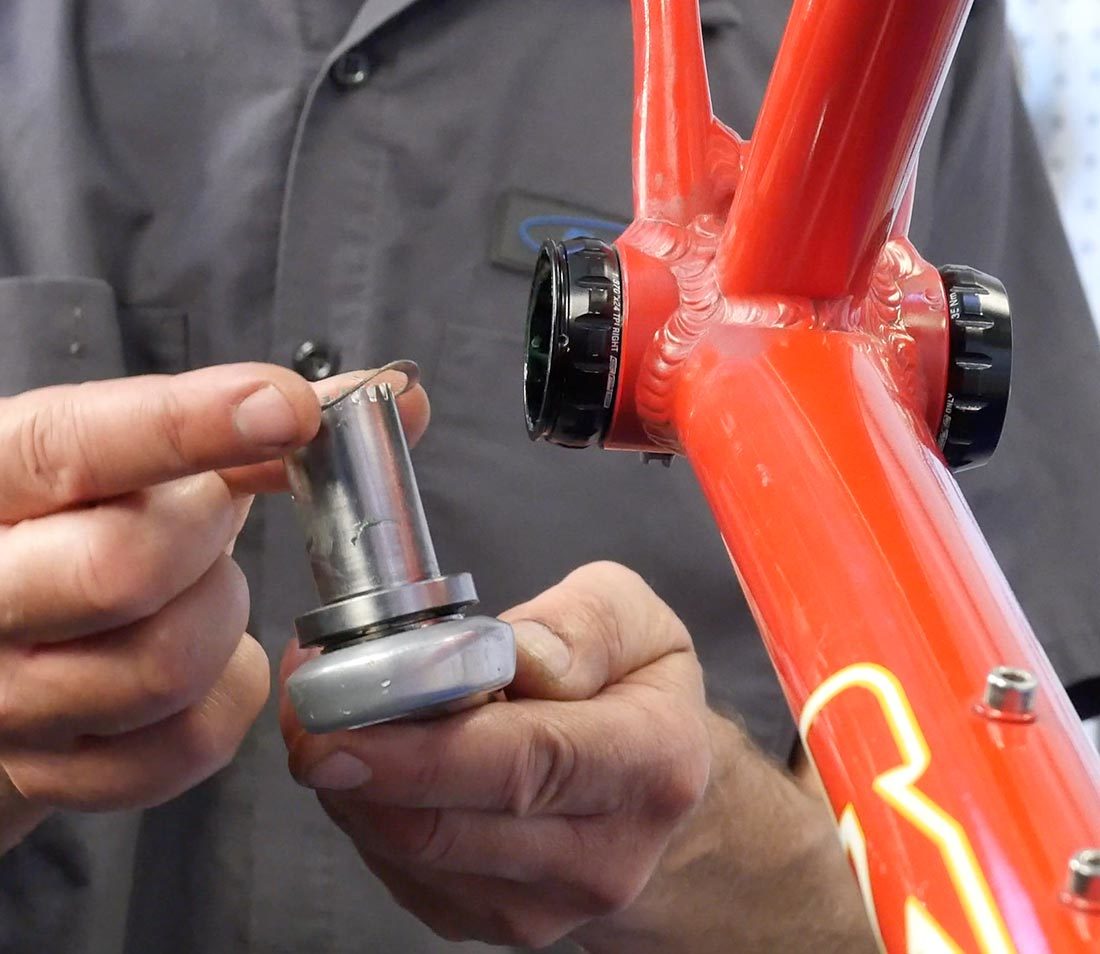
Each arm has a pressed cartridge bearing. The right side has C-clip that must be removed before the bearing can be pulled. A small, flat tipped screwdriver can be worked under the edge on the clip to pry it free from the groove in the spindle. Work the C-clip up and off the spindle.
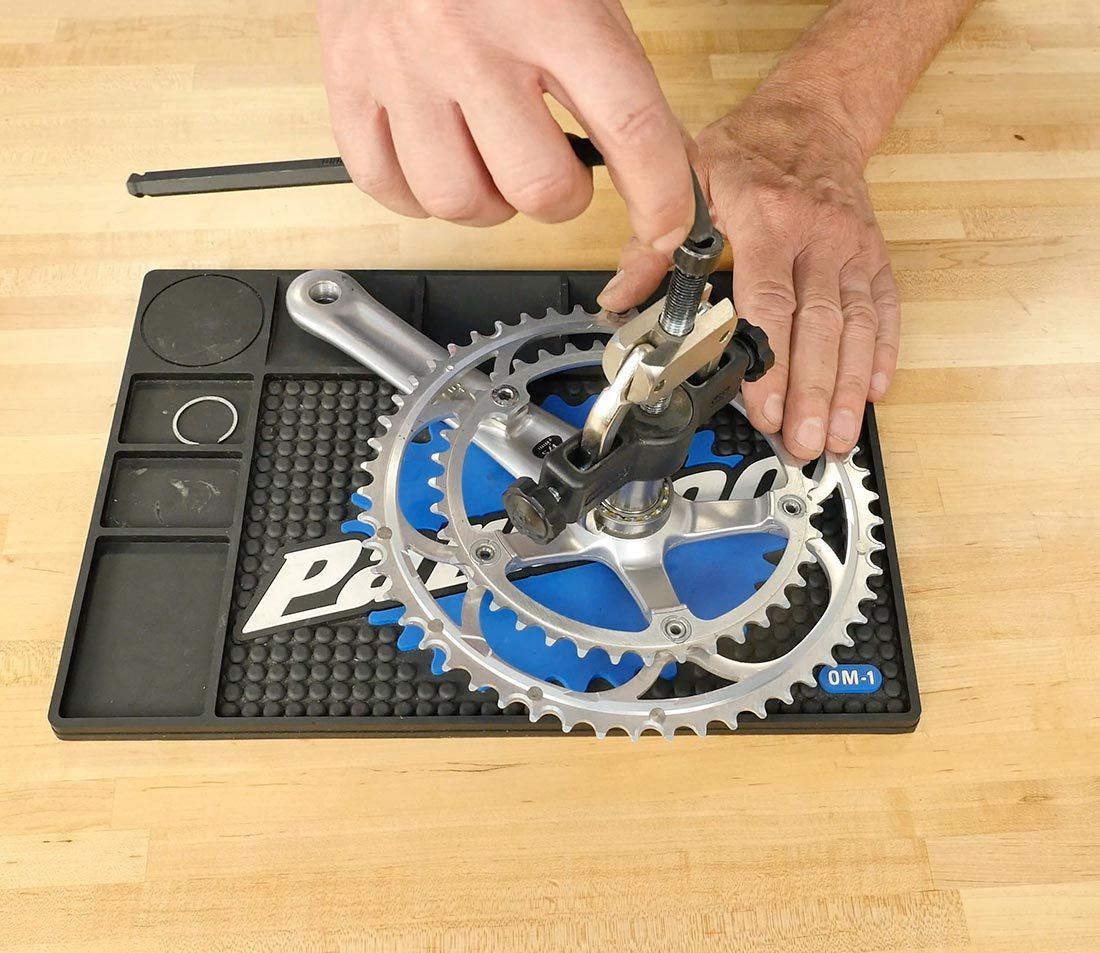
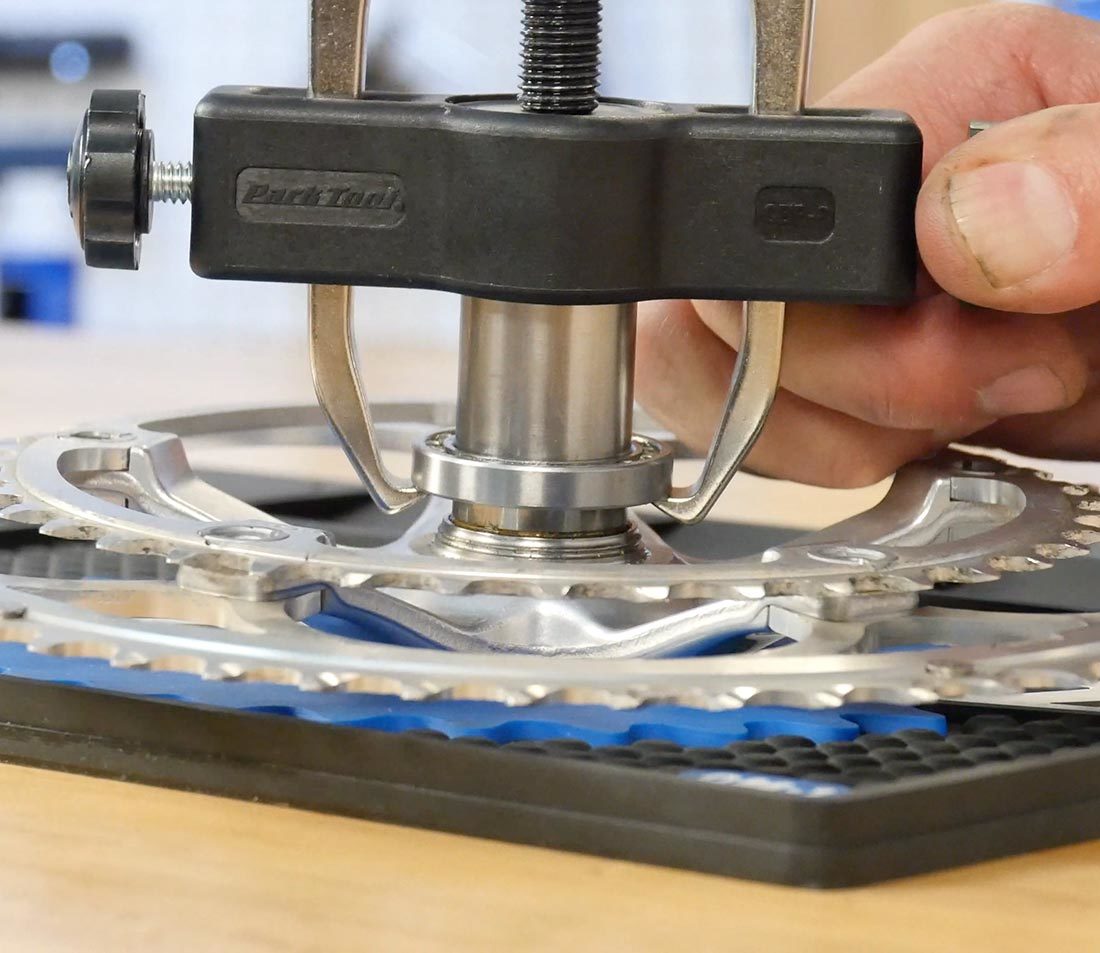
The CBP-8 uses a bearing puller consisting of two fingers to engage the bearing and a driver to pull it upward. Arrange the bearing puller assembly over the spindle. Use the side knobs to snug the fingers under the bearing.
Use a wrench to turn the driver clockwise. This pushes the tool plunger against spindle end and pulls the fingers and bearing away from the crank.
Repeat on the other arm.
Bearing Installation
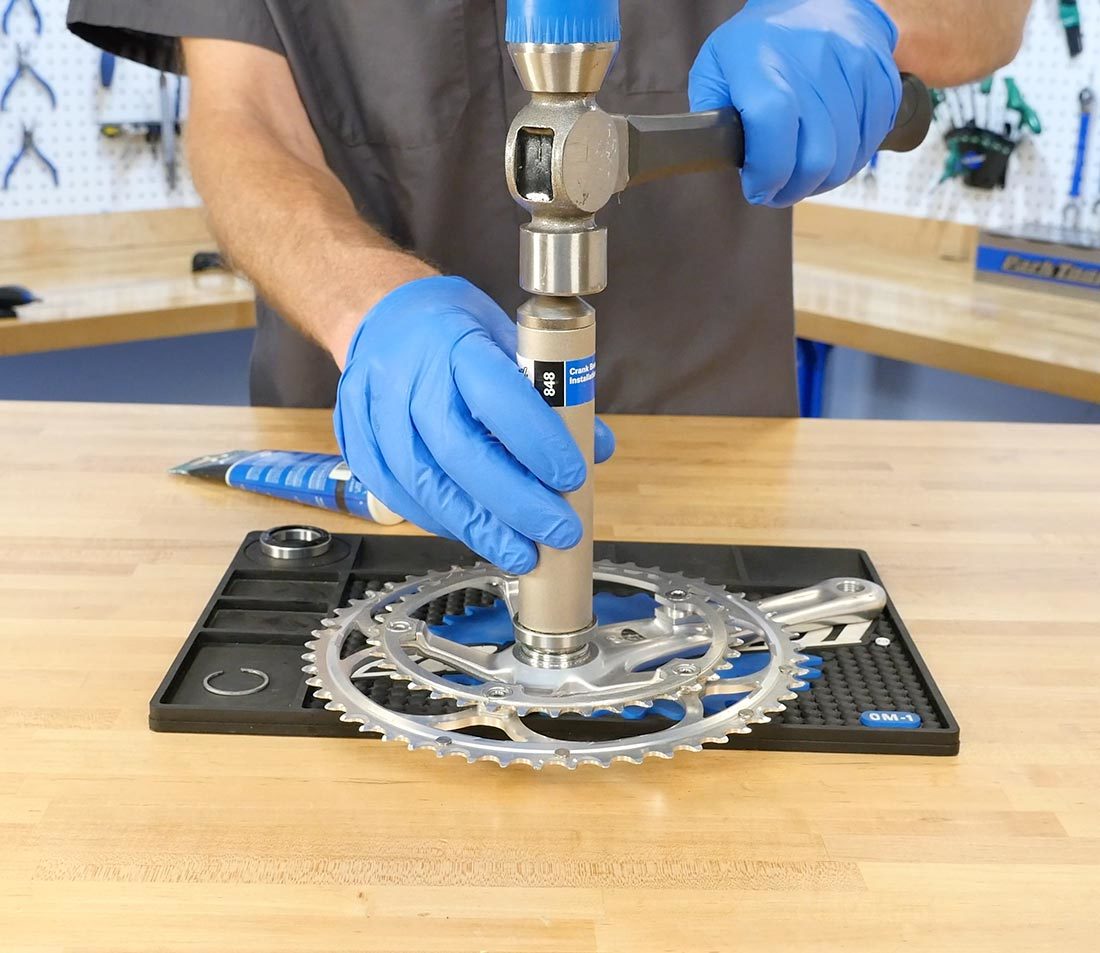
Install any crank seals that were removed. Grease the pressed surfaces and place a new bearing on the spindle.
Place the bearing driver from the CBP-8 over the bearing and strike downward with a hammer.
Engage C-clip over the right spindle end. Use bearing driver to push by hand until clip engages groove in spindle.
Drive bearings down until fully seated
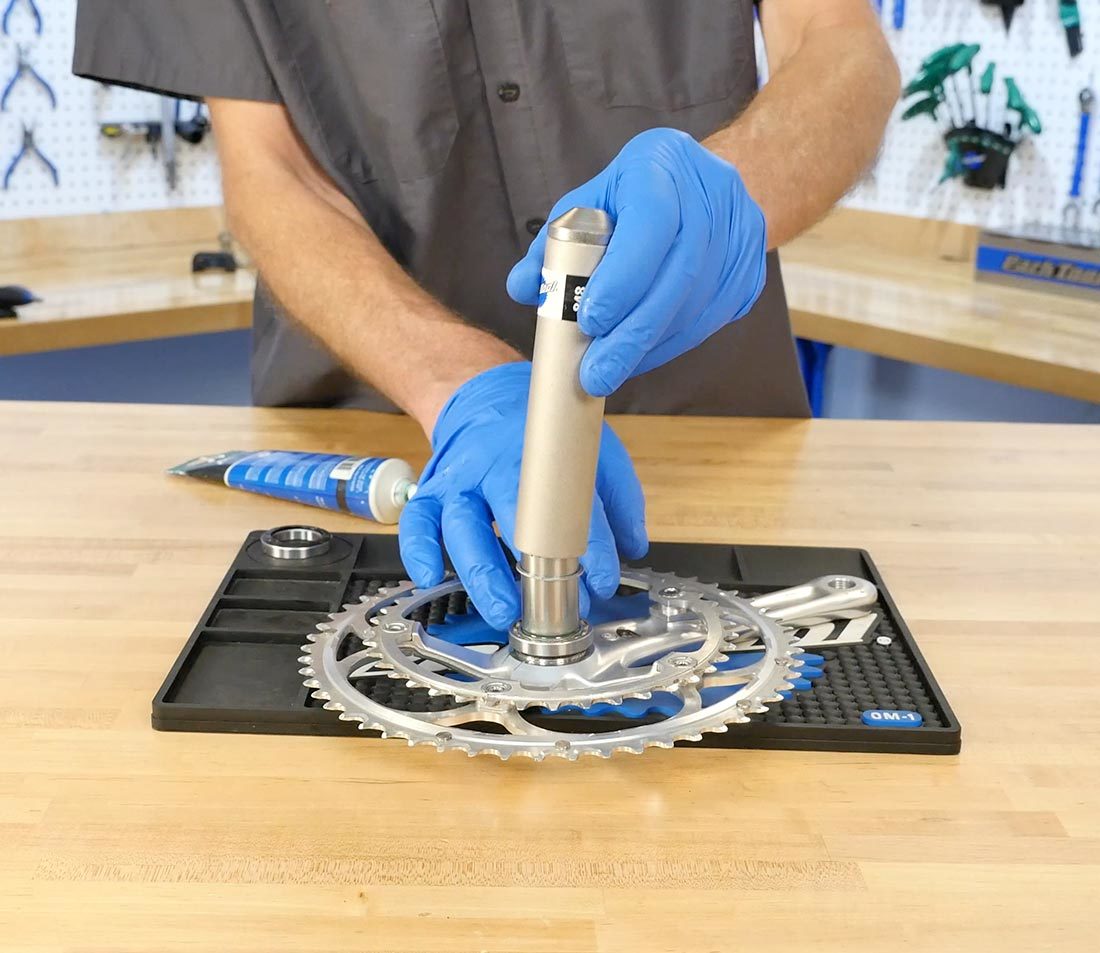
Use installer to push C-clip into place
Crank Installation
Install the wave washer onto the left bearing.
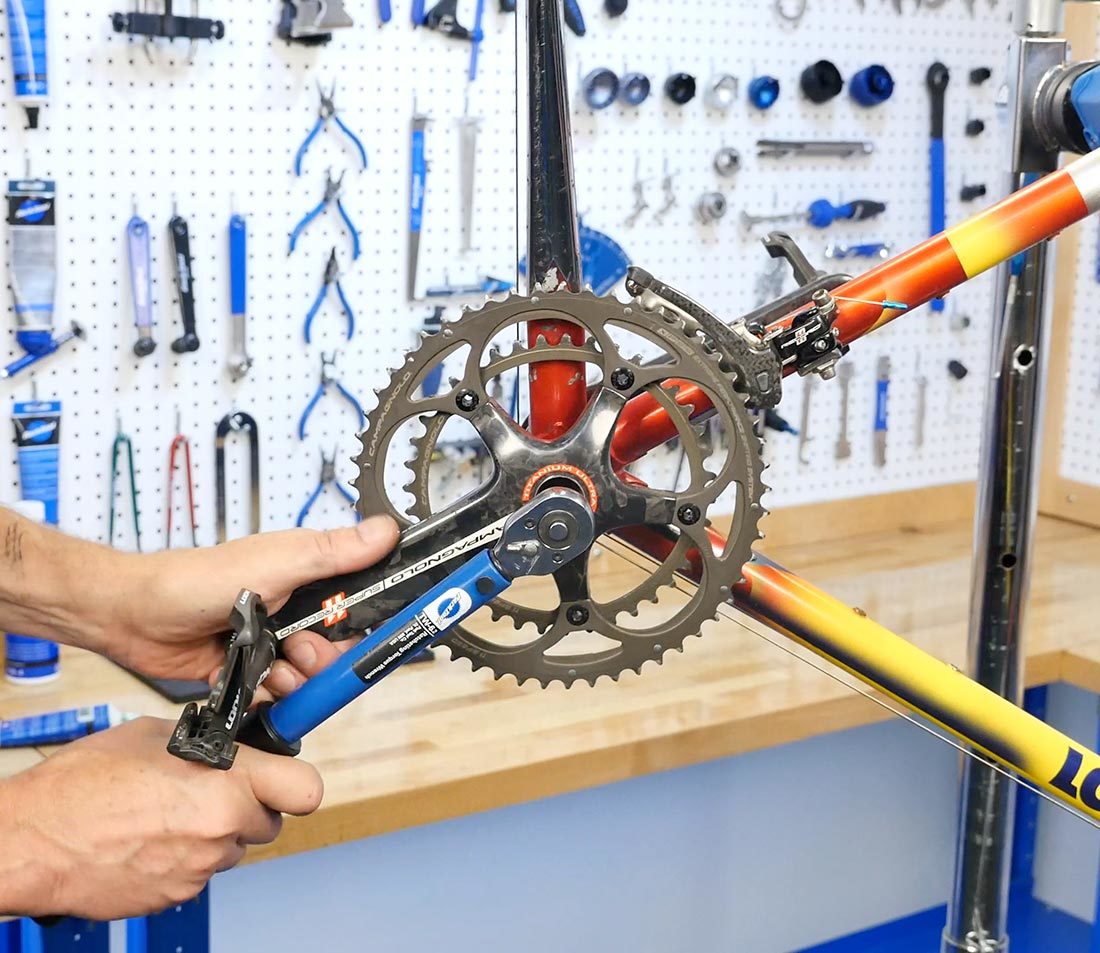
The cranks with bearings are now pushed back into the cups. Align cranks straight. Grease crank bolt and tighten to manufacturer’s recommendation.
Related articles
Bottom Bracket Standards and Terminology View Article