Bottom Bracket Removal & Installation: Threaded
This article will discuss how to remove and install bottom brackets used in threaded shells, including three-piece cranks, threaded "thru-spindle" external bearing cups, and bottom brackets used in T47 shells. Adjustable cup-and-cone threaded bottom brackets are reviewed in Bottom Bracket Service: Adjustable Cup-and-Cone.
Preliminary Info
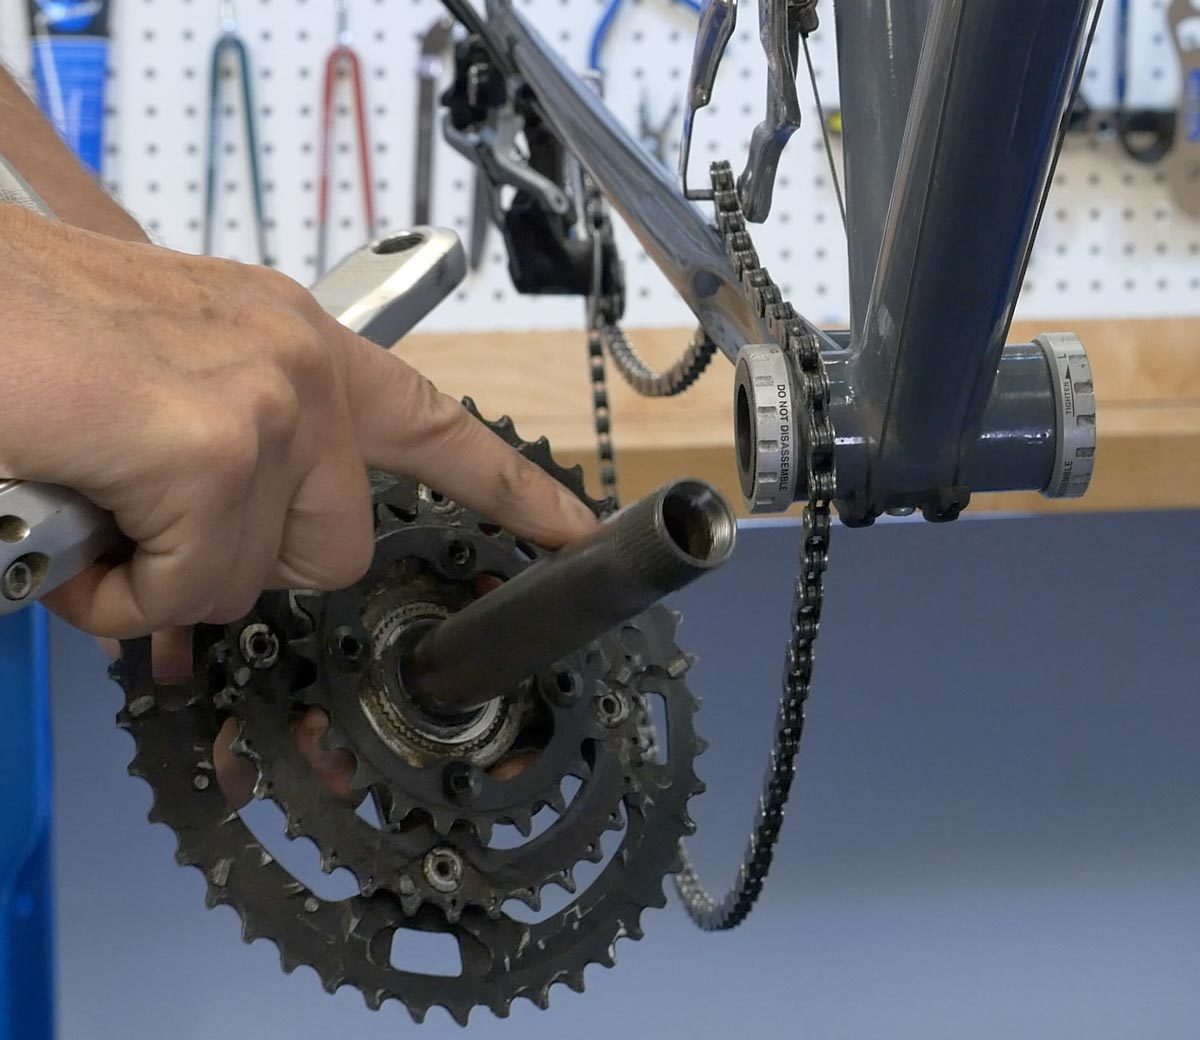
For the two-piece crankset, there is a left and right arm, but the spindle is attached to one of the cranks. The spindle passes through the bearings in the bottom bracket shell.
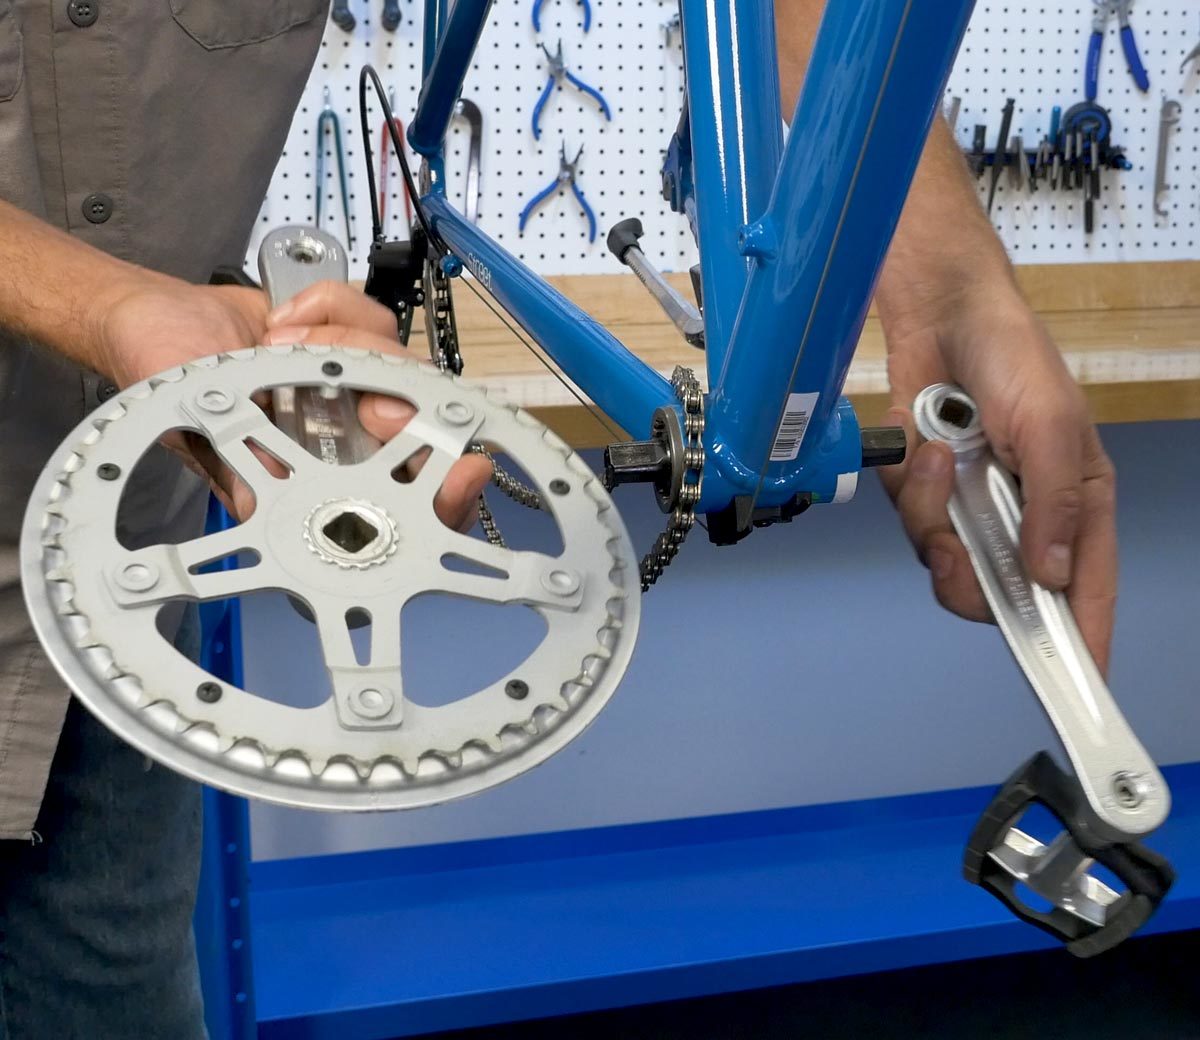
The common three piece crankset has left and right arms with the bearing and spindle integrated.
The common threading for bottom bracket shells is called “English.” The left-side cup is a right-hand thread direction, which tightens clockwise and removes counterclockwise. The right-side (drive-side) thread is a left-hand thread, which tightens counterclockwise and loosen clockwise.
The less common Italian has both left and right sides with right-hand threading. Both sides tighten clockwise and loosen counterclockwise. Italian threaded cups will have marking stating “36x24.”
Removal
Begin by removing both cranks.
Inspect the threaded cups for tool fittings. There are many different designs and tool options. See Bottom Bracket Tool Selection: Threaded and Thread-Together to determine the correct tool.
Insert the tool fully and remove the non-drive (left-side) cup by turning counterclockwise, holding the tool firmly to the cup. Remove any internal sleeve. Take note of any spacers under the cup for reassembly.
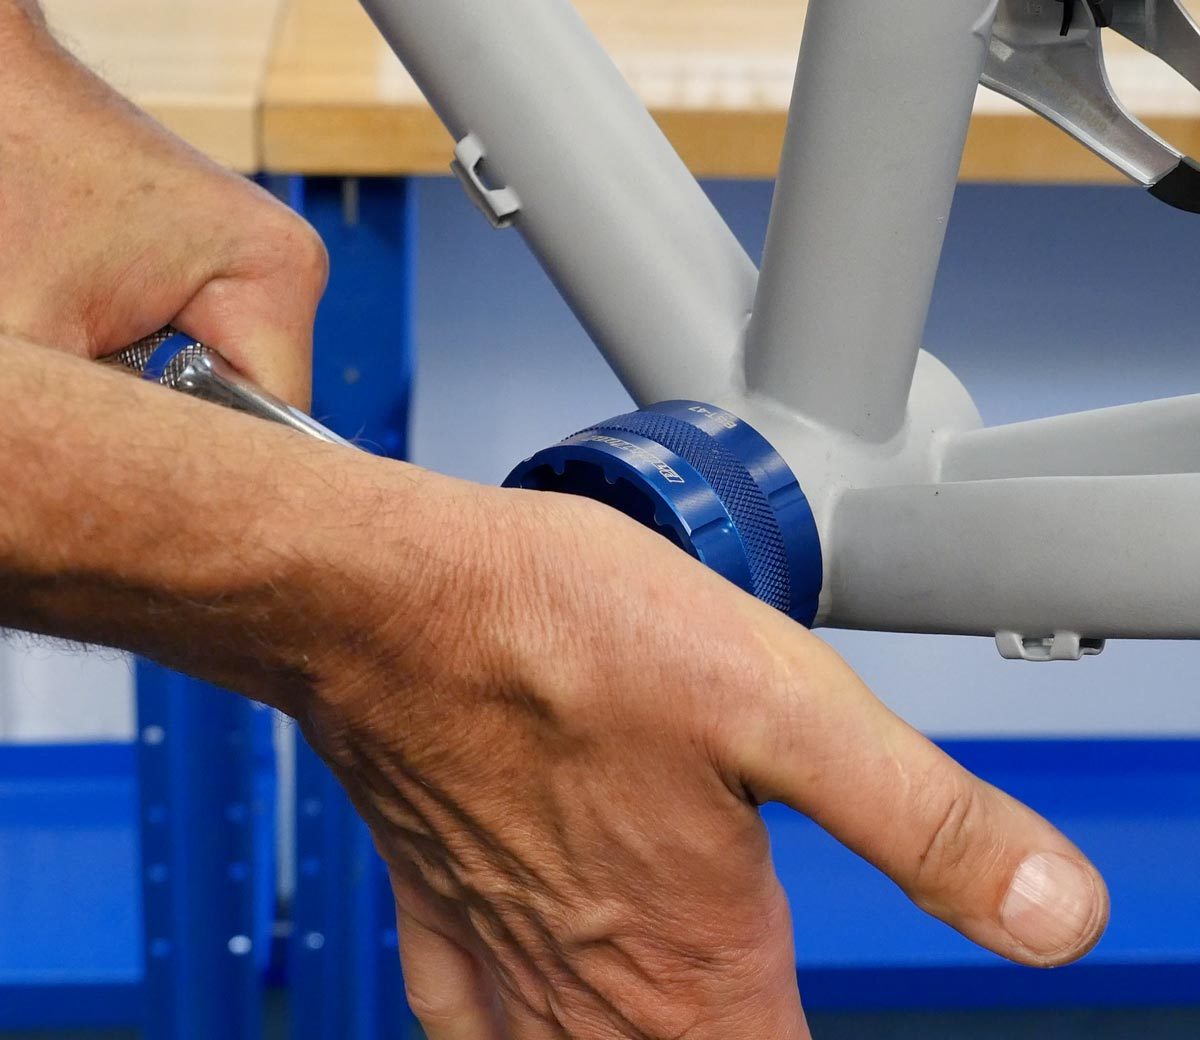
Next remove the drive (right-side) cup, turning clockwise to remove.
Installation
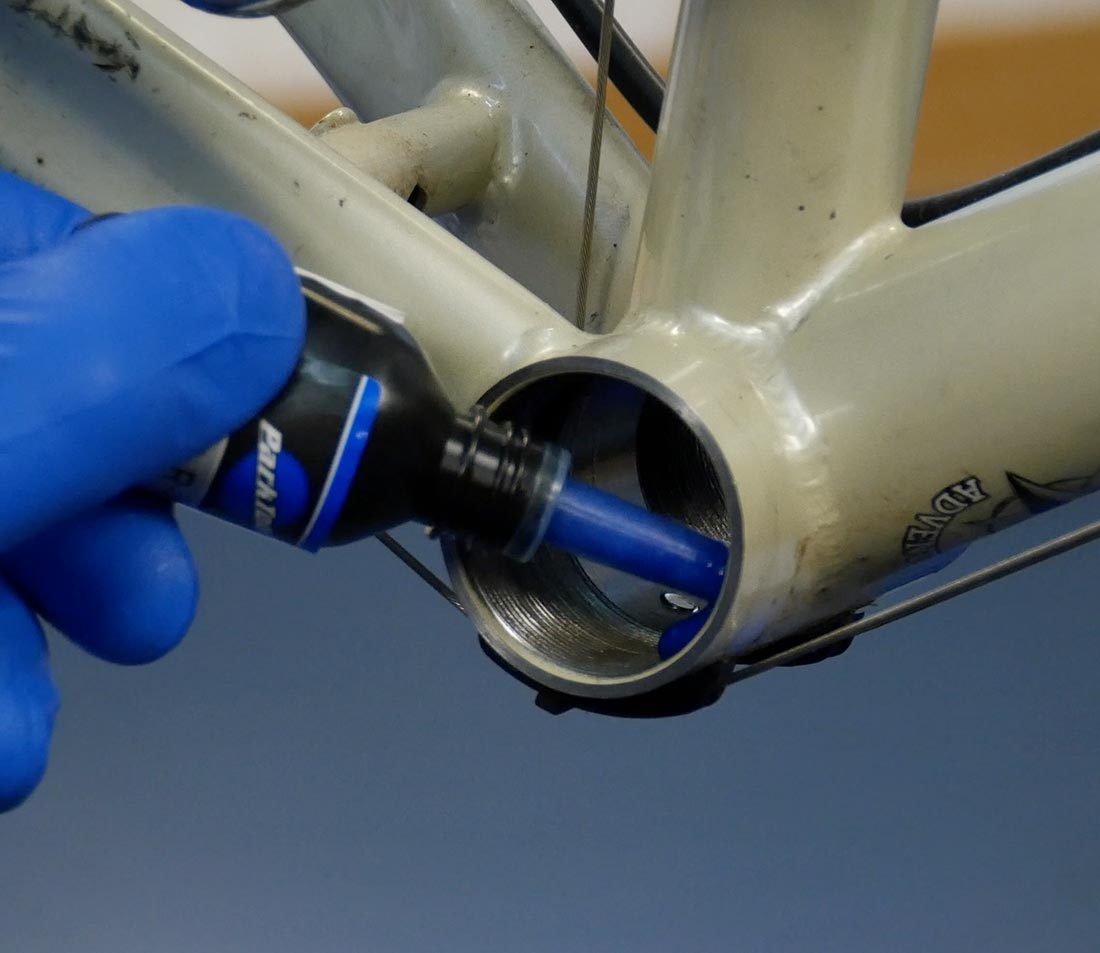
Begin with thread preparation. New cups may come with dry threadlocker already applied. Install these as they come.
Another option is anti-seize such as Park Tool ASC-1. This creates a durable barrier in the threaded joint and prevents corrosion.
Still another option is a threadlocker such as Park Tool TLR-1. The liquid compound will provide lubrication when tightening before drying and hardening to seal and keep the cup in securely.
Install any spacers as required on the right-side cup. Thread right side counterclockwise into the shell. Fully secure cup to manufacturer’s torque specifications. Typically this is between 25 to 30Nm.
Install and tighten the left-side cup, turning it clockwise to install.
Related articles
Bottom Bracket Standards and Terminology View Article